Video Tutorial Shows You How to Mount and Frame Your Own Photographs
While many of us leave it up to the labs to print and mount our photographs, there are those who would like to try their own hand at it. For those more adventurous folks, Tony Roslund has put together a video tutorial that walks you through the process of printing and framing your own photographs from start to finish.
Once you’ve gathered the needed materials, we definitely suggest you watch the full video for a detailed step-by-step breakdown. But if you’re looking for a TL;DR, the summary below should do.
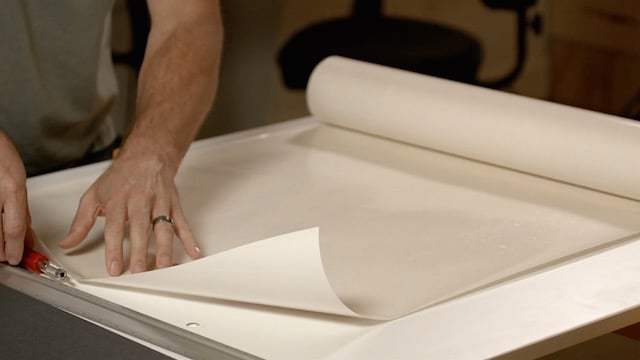
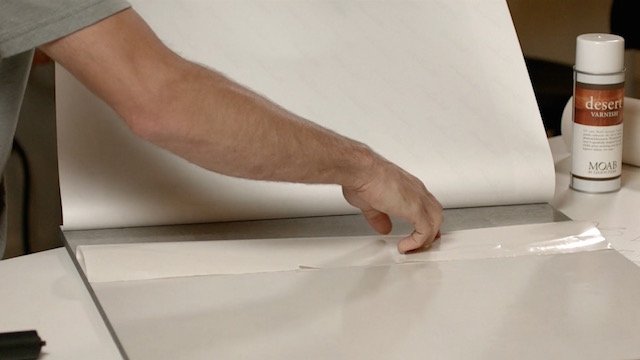
First, apply the varnish to your print to give it a protective layer, and roll out the pressure sensitive adhesive paper, tacky side up.
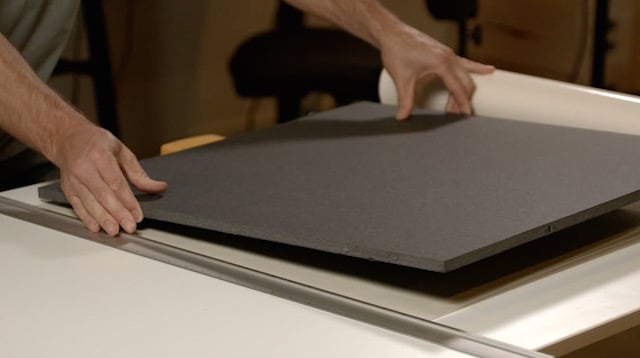
Before you begin mounting your print to your substrate, you must first clear off the substrate of all dust using some canned air. Once you’re sure it’s particle-free, you can go ahead and line up your paper with your substrate.
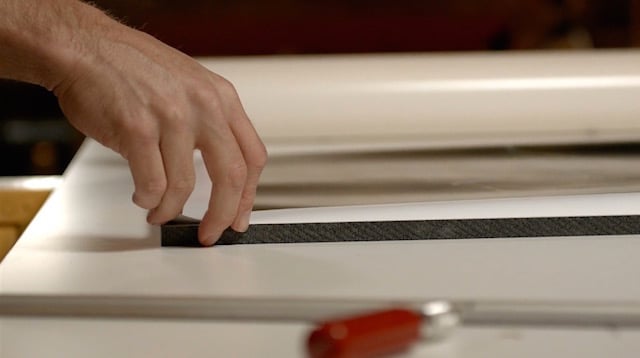
After trimming any excess paper, peel off a small portion of the adhesive paper and carefully line it up on the substrate to ensure the rest of the rolling process yields a perfect mount.
Now you’re onto the most demanding part: the peeling, laying down and flattening of the print.
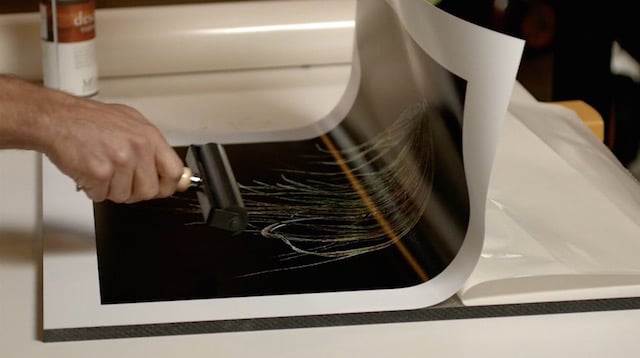
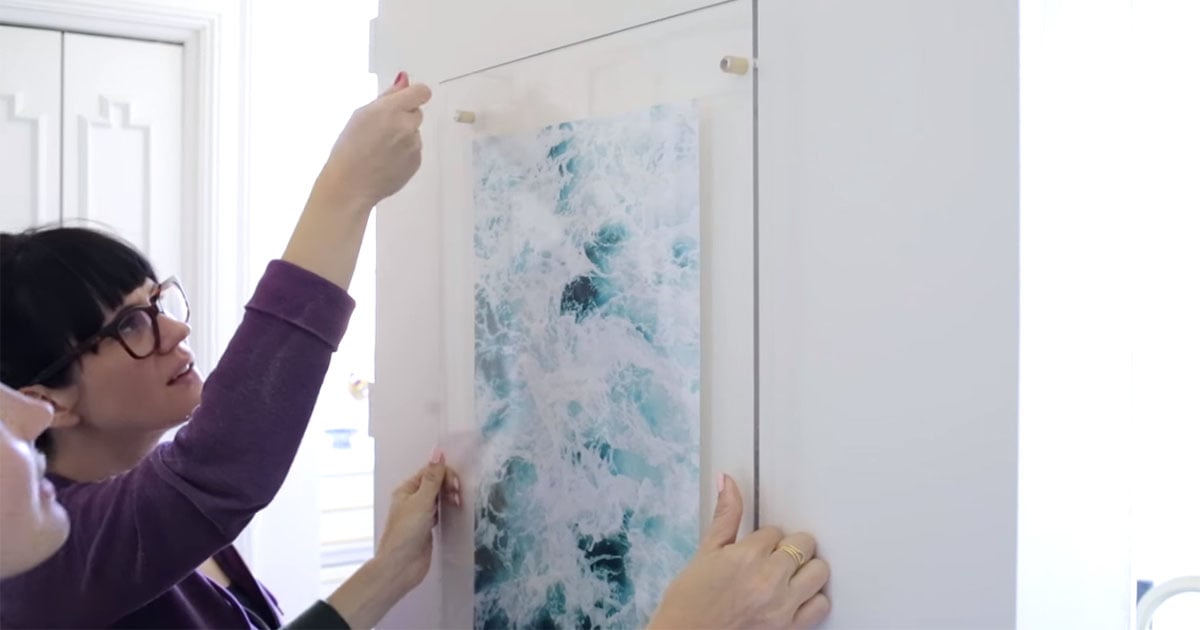
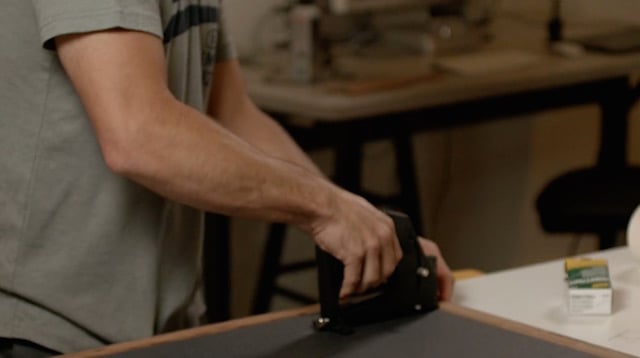
Once completely rolled onto the substrate (hopefully as bubble-free as possible) you’re one step away from being finished. The final step is to add the mounting hardware to the substrate and properly place it in the frame that you or your client will hang on the wall.
Watch the full video for a more detailed breakdown, and be sure to check out Roslund’s Vimeo channel for more advice and tutorials.