Tutorial Shows You How to Convert Manual Still Lenses Into Cine Glass
When it comes to the type of glass used in still photography, versus the glass used in motion picture, there’s quite a dramatic difference in design, quality and price. Quite often, it’s the last of those differences that is the most inhibiting for photogs who want to dabble around in motion picture.
To help ease that transition, Caleb Pike of DSLR Video Shooter has broken down a way in which you can convert still photography lenses into psuedo-cine lenses at minimal cost.
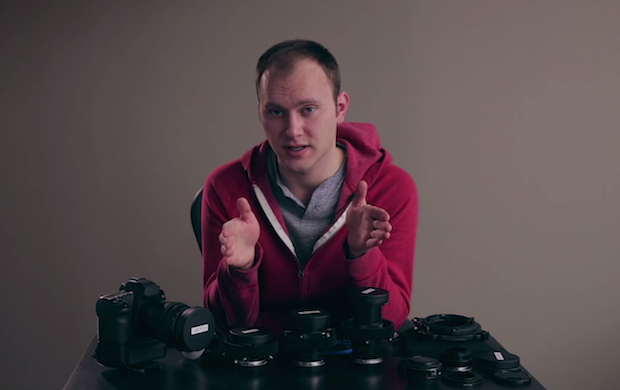
As shown in the video above, Pike takes three manual Olympus OM lenses — a 35–70mm f/4, a 75–150mm f/4 and a 50mm f/1.8 — and shares five steps that functionally change all of the lenses so that they’re as close to cine glass as you’re going to get at the price.
Note: Pike makes sure to say that you will need to us manual lenses, since the conversion requires that you do a bit of internal work, which automatic lenses will prohibit.
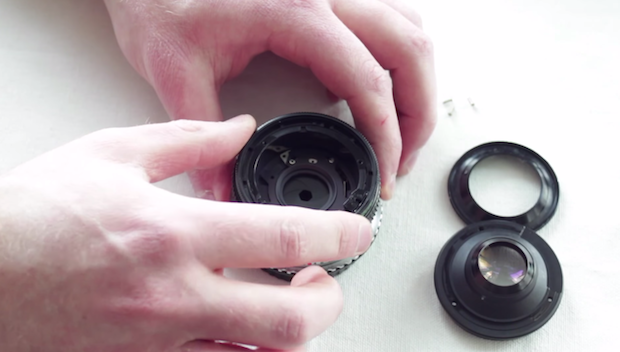
The five steps involved are: adapting the lens mount to the camera, ‘de-clicking’ the aperture ring, adding lens gears, unifying the filter size and creating special custom lens caps. Each step is covered in detail in the video above as well as on DSLR Video Shooter, where you can find links to all of the materials you need.
It’s not exactly a simple process — simple goes out the window when you have to crack open a lens — but the three lenses plus the conversion will only cost you about $431 bucks by Pike’s calculations… not bad for your first set of cine lenses.
For the detailed step-by-step and other useful info, check out the video at the top and head over to DSLR Video Shooter. And if you do give this conversion a shot, be sure to let us know how it goes in the comments down below!