How to Make a DIY Point-and-Shoot with a 3D Printer and Parts from RadioShack
Hey, not everybody wants a homemade gun. So how about using that 3D printer you’ve borrowed to make your own home-brew point-and-shoot digital camera?
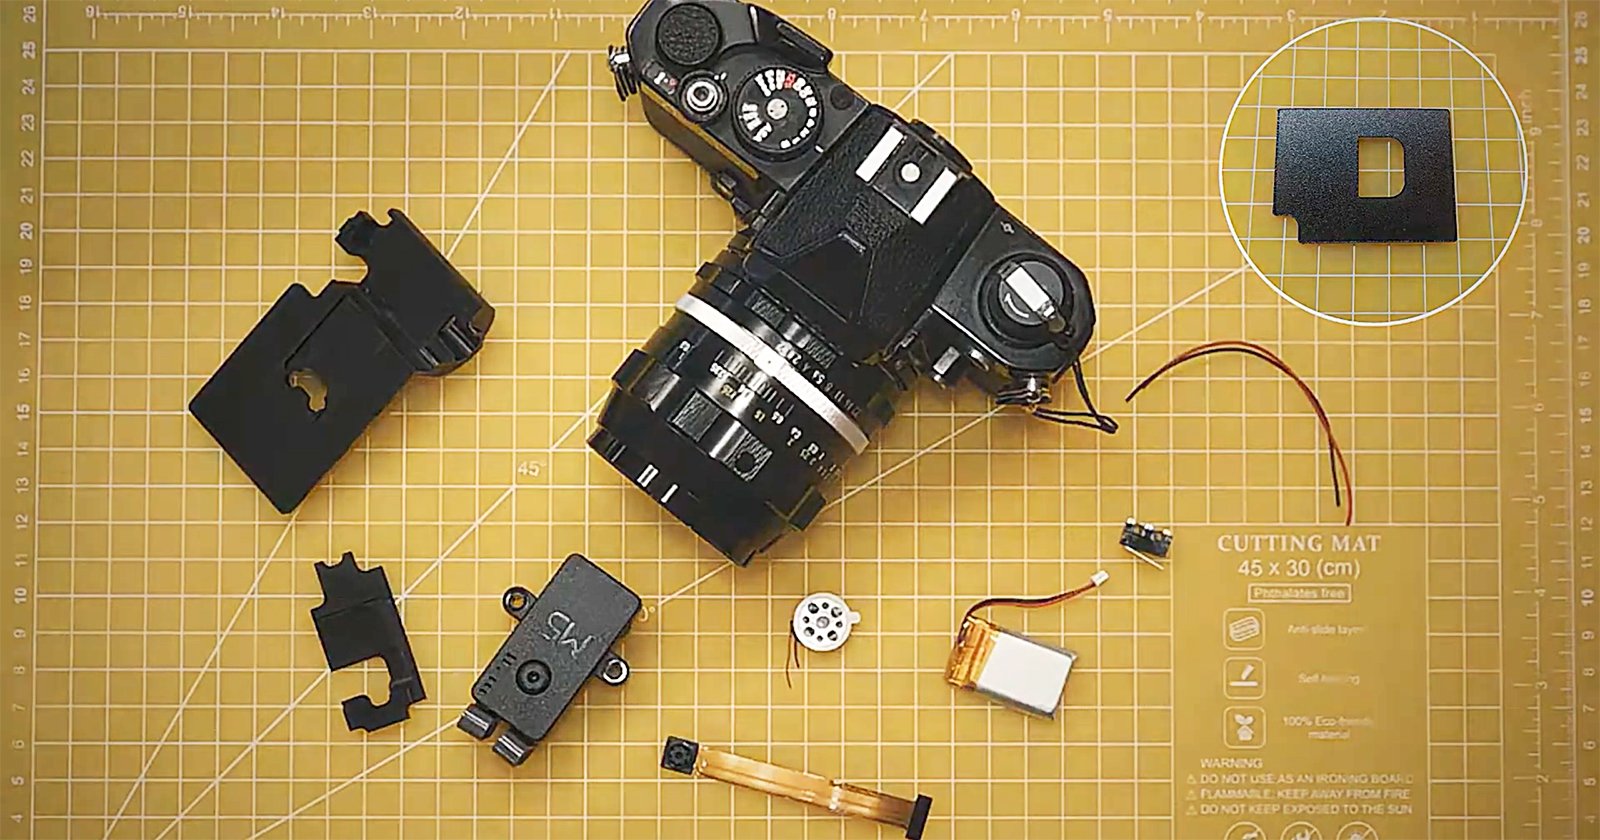
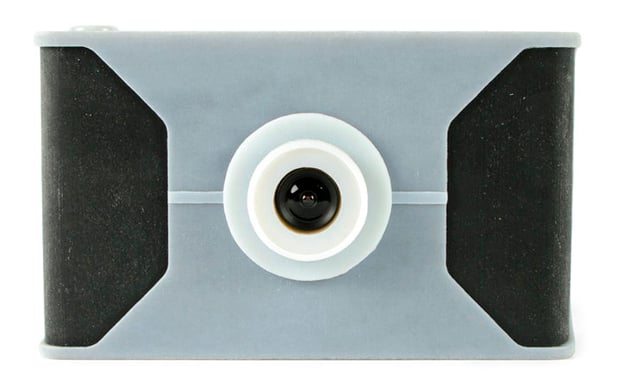
DIY portal Instructables now has directions to do just that, thanks to creator Randy Sarafan‘s plans — including a downloadable template to print the body — and RadioShack’s mighty JPEG Color Camera Board to go inside. The final product would make a fine companion to the OpenReflex 3D-printable film SLR for those ready to go digital.
The process seems relatively approachable for anyone with moderate DIY skills:
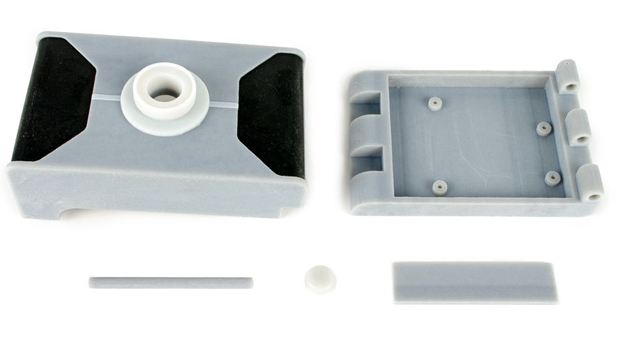
- Download the template for the camera body from Instructables, modify as desired and feed into any 3D printer you can access.
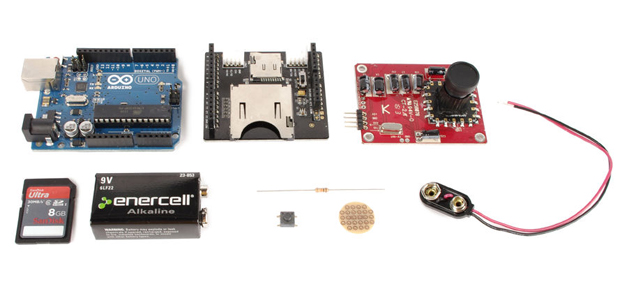
- Take the shopping list — besides that camera circuit board, you’ll need an Arduino, an SD card assembly, a 9V power supply and various odds and ends — to RadioShack and collect the parts.
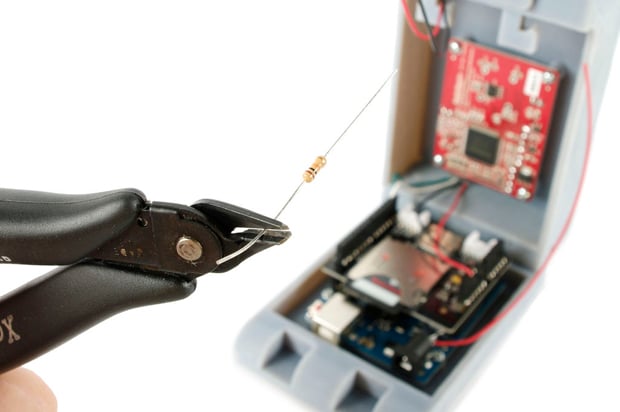
- Assemble the case with a couple of bolts, solder the electronics together and situate as instructed.
- Program the Arduino using the code included in the instructions.
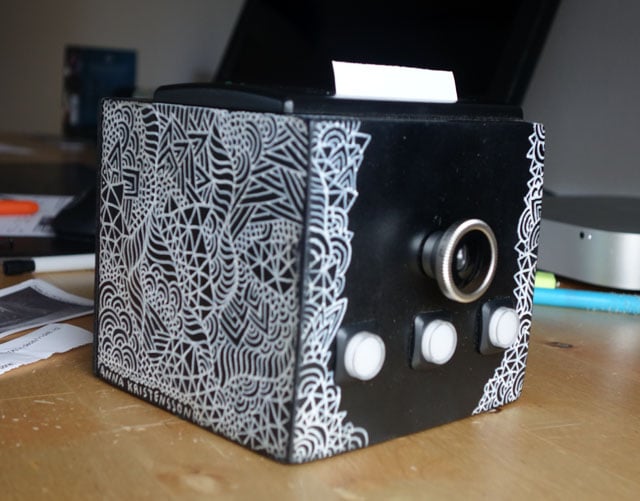
Violà! You’re done. Give it a couple of hours, and you’ll have a digicam with stunning full-VGA resolution, authentic light leaks and other aberrations that should have Instagram filter fools drooling… not to mention a fine story to tell.
Here are a few sample shots Sarafan took with his creation:
If you want to give this a shot yourself, you can find the full list of necessary parts and the complete step-by-step guide over on the project’s Instructables page.
3D Printed Digital Camera [Instructables via CNET]
Image credits: Photographs by Randy Sarafan