How to Clean Up Your Old Cameras
Treasures are often buried under dirt. Well, that’s usually the case, anyway. Treasures for photographers may mean finding a working copy of their dream camera at a flea market or on the second-hand camera market. However, more often than not, the camera may not be looking great.
At this point in time, you may whip out your microfiber cloth and dust blower, and say, “ok, let’s clean this up.”
But after an hour or so of polishing, the tarnish is still there, stubborn specks of dust may still get stuck in the film chamber and between dials. What now?
Let us take you through a quick guide on how to clean up your camera.
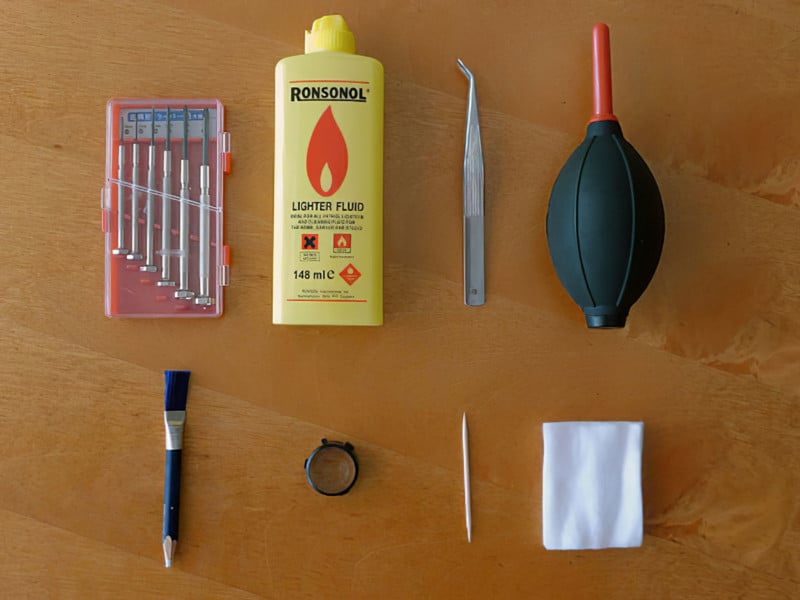
Tools You’ll Need
- Pincer with fine ends. Sharpened or dull doesn’t matter
- Toothpicks
- Dust blower
- Cotton pads or balls
- Lighter fluid or rubbing alcohol (AKA isopropyl cleaning alcohol). Both commonly available in hardware stores and pharmacies, respectively
- Eraser
- Screwdriver (optional)
- Magnifying glass (optional)
Step 1. Clean the Surface
Clean the surface you are going to work on. We wipe it with a damp cloth, allow the surface to dry, then use a handheld vacuum to suck up any remaining particles. Make sure that you have ample lighting for the workstation.
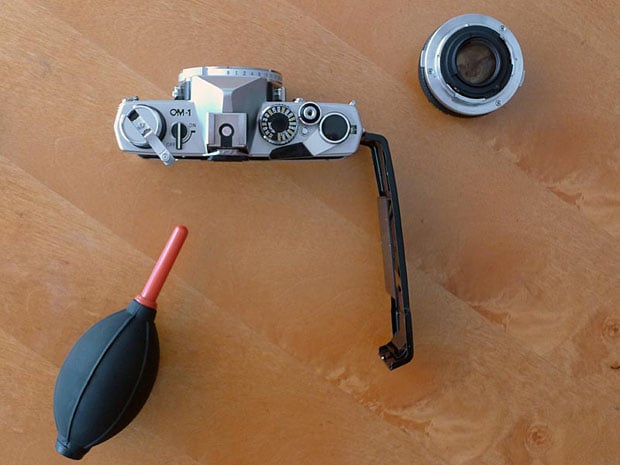
Step 2. Assess the Condition
Assess the condition of your camera for any loose parts. Take caution of these parts. Detach any lens attached to the camera, obviously, for interchangeable lens cameras only.
Step 3. Blow the Film Chamber
Open up the film chamber, and while holding the camera upside down (with the film chamber facing downward), use the dust blower and blow as many areas as possible. This is to flush out any dust particles in the chamber.
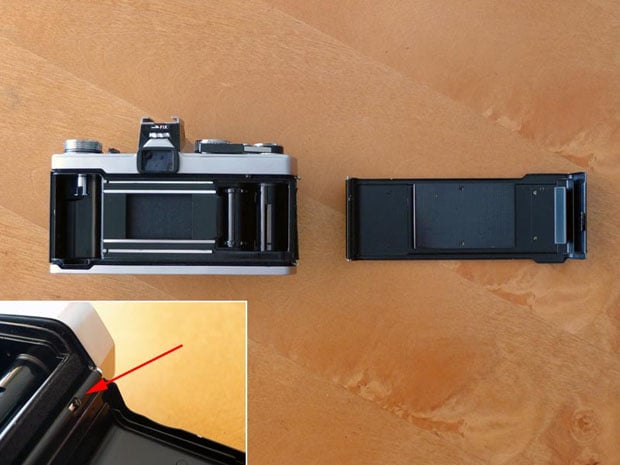
If the light seal has dried up, be careful not to touch it and create more mess. If you need to replace the light seal, make sure you do that after the whole camera is cleaned. Proceed to use the dust blower on the surface of the camera to remove any other dirt.
Step 4. Clean Visible Tarnishes
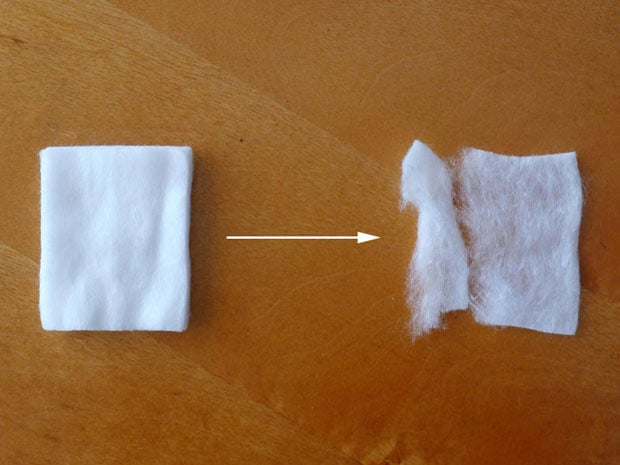
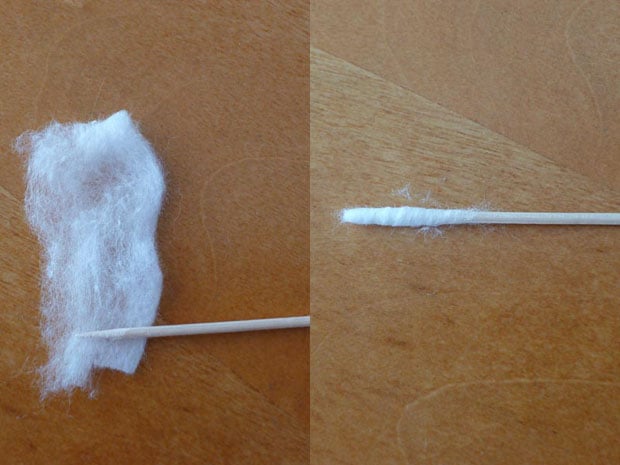
Tear or shred up the cotton pad/ball, then roll the loose cotton onto one end of the toothpick. Don’t make a big ball at the end. Just thick enough like the illustration at the bottom would do. Soak the cotton end of the toothpick in lighter fluid or cleaning alcohol.
Proceed to use the soaked cotton end of the toothpick to clean away any visible tarnishes on the camera. Take caution not to oversoak the cotton.
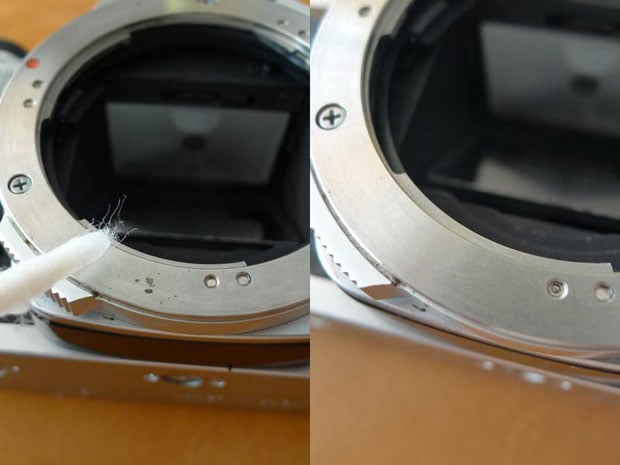
The fluid should dry up without leaving any residue or marks. If it does, discard the cotton and try again.
Step 5. Erase Stubborn Stains
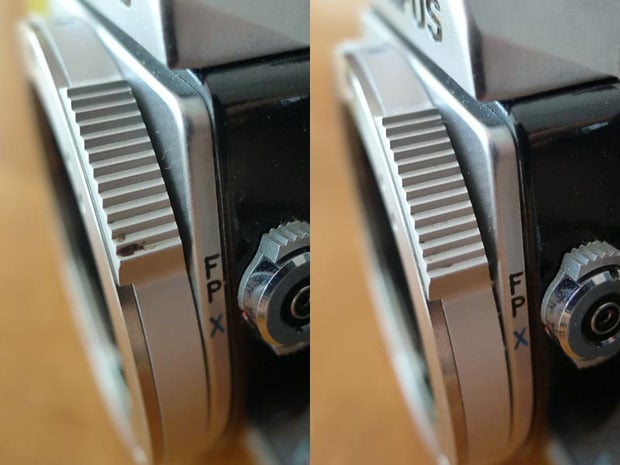
For stubborn stains and/or tarnish, use an eraser and rub them on the surface gently. We like the Lens Pen lens cleaner as the fine tips (after sharpening) allow you to clean the grooves on dials that may be hard to reach. But at the same time, remember that using an eraser will leave crumbs. Use a brush to clean them away.
Step 6. Clean the Ground Glass and Prism
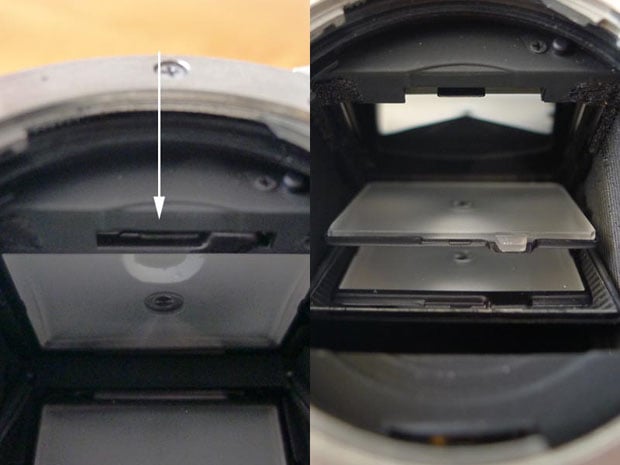
Now that we are done with the external of the camera, let’s go into the camera. Most SLRs of the past have a ground glass, and dust might have settled on it. Use a pincer and gently lift the latch, usually located just behind the lens mount. It should drop down easily.
To clean the ground glass, use a damp cotton pad and wipe it in one direction. Some lint may be left on it, so use a microfibre cloth or a dust blower to remove them.
If your camera’s prism can be removed (usually requiring a screwdriver), take it out and clean the surfaces.
Step 7. Clean the Mirror and Viewfinder
Now all that is left is to clean the mirror (for SLRs) and the viewfinder. Use a toothpick with shredded cotton on one end and damp it with cleaning alcohol or lighter fluid. Gently brush it across the mirror and/or viewfinder. Remove any lint with a dust blower.
Step 8. Clean the Battery Compartment
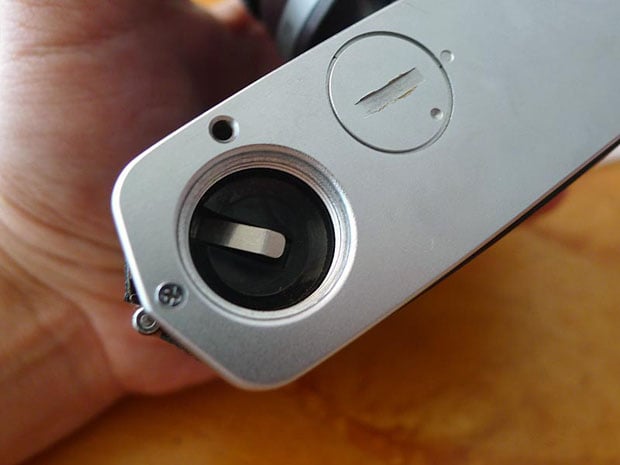
If your camera has a battery compartment, open it to make sure that no previous battery leaks have corroded the contacts. Use a dust blower to remove any dust, and if you want, use lighter fluid or cleaning alcohol to clean the contacts. Remember to let it dry fully before putting the battery back in.
So, there you have it. Quick steps to restoring the outlook of your camera.
When it comes to storing film cameras, it is advisable to remove the battery (if any), set the shutter to Bulb, take a shot but DO NOT advance the film lever. This is to minimize the tension on the springs activating the shutter curtain.