How to Make a Cheap DIY Rain Guard for Keeping Your DSLR Dry

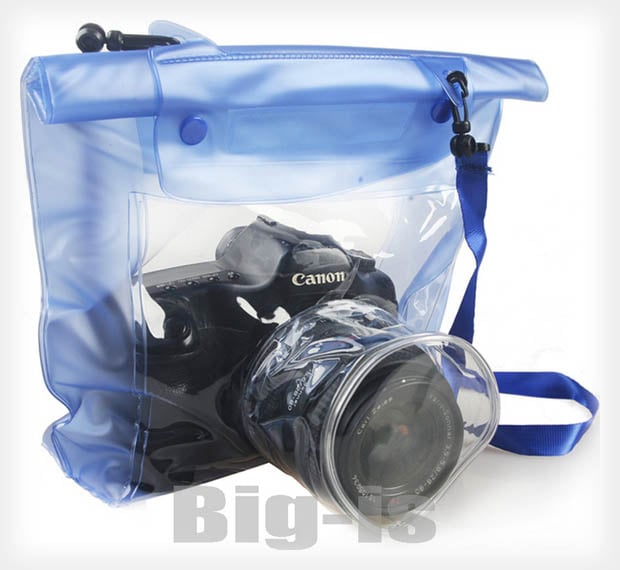
I’ve always been asked how I keep my equipment dry while shooting storms, and I figure with Hurricane Sandy on the way, now would be a good time to share! This is a very simple, inexpensive, easy-to-use, and effective solution to shooting in the rain! It costs less than 5 dollars, but I have never felt the need to purchase anything to replace it.
Materials
- Lens with lens hood
- Duct tape
- Circular take-out container
- Heavyweight clear plastic bag
Tools
- Marker
- Knife
- Scissors
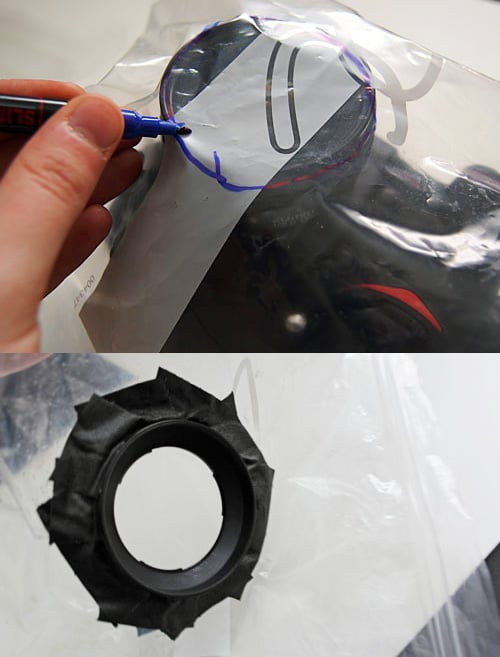
Step 1: Trace the outline of your lens hood on the back of the container

Step 2: Using the knife, cut out the circle for the lens hood. Leave a 1 or 2mm gap for the lens hood to sit on.


Step 3: Tack the lens hood in place with a few small strips of duct tape

Step 4: Tape the lens hood securely in place


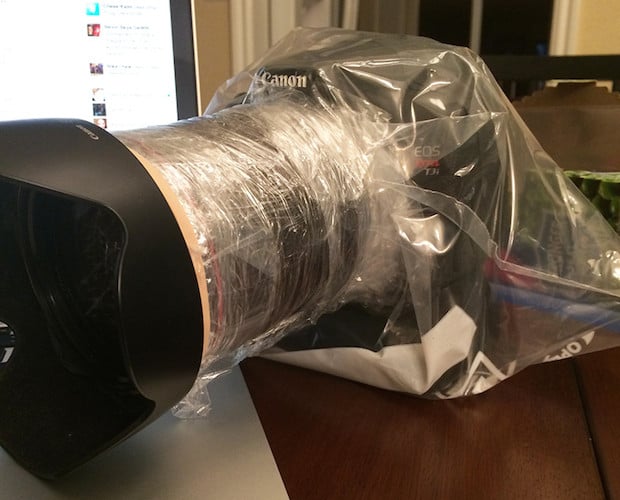
Step 5: Replace the lid and, using the knife, cut out a circle large enough not to obscure the field of view of the lens


Step 6: Cut out a corner of the plastic bag using scissors, place the hood inside the bag, and re-attach the lid

Step 7: Carefully cut away excess plastic

Step 8: Tape up the edge with some duct tape to hold the lid securely in place

Step 9: Attach the lens hood to your camera and get some awesome shots from inside the storm!