How I Shot Snowy Christmas Portraits in My Studio
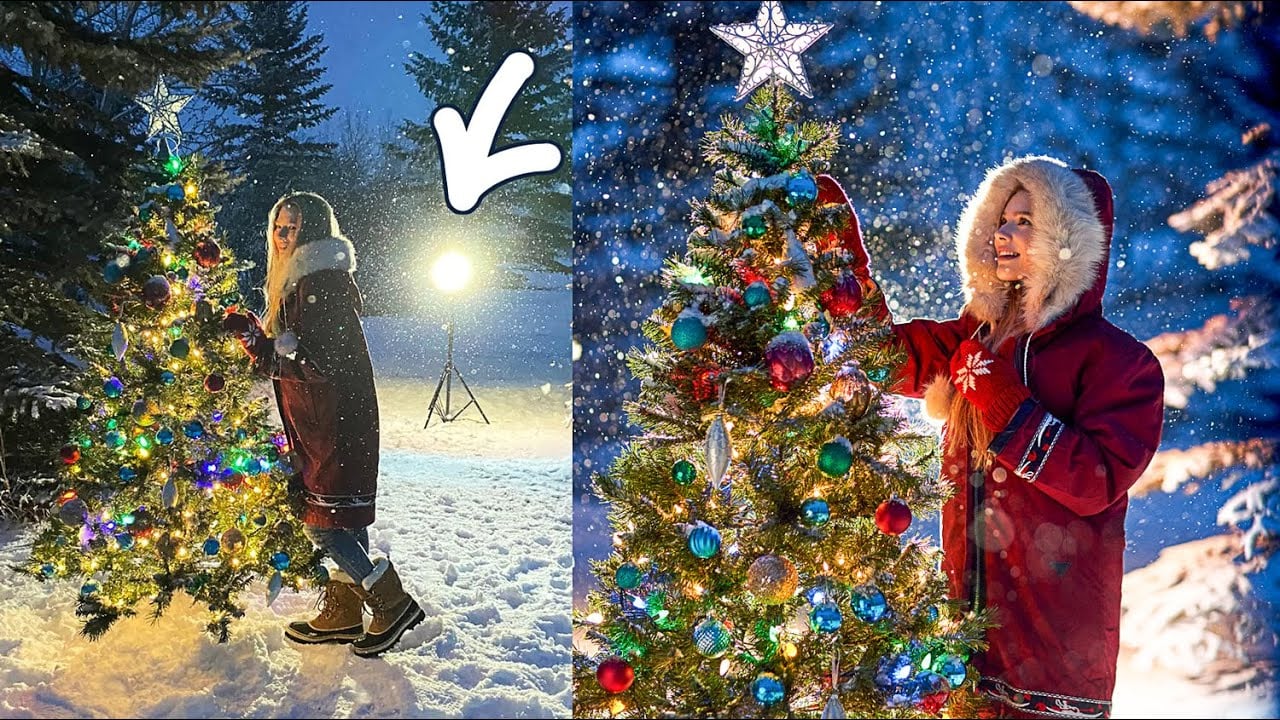
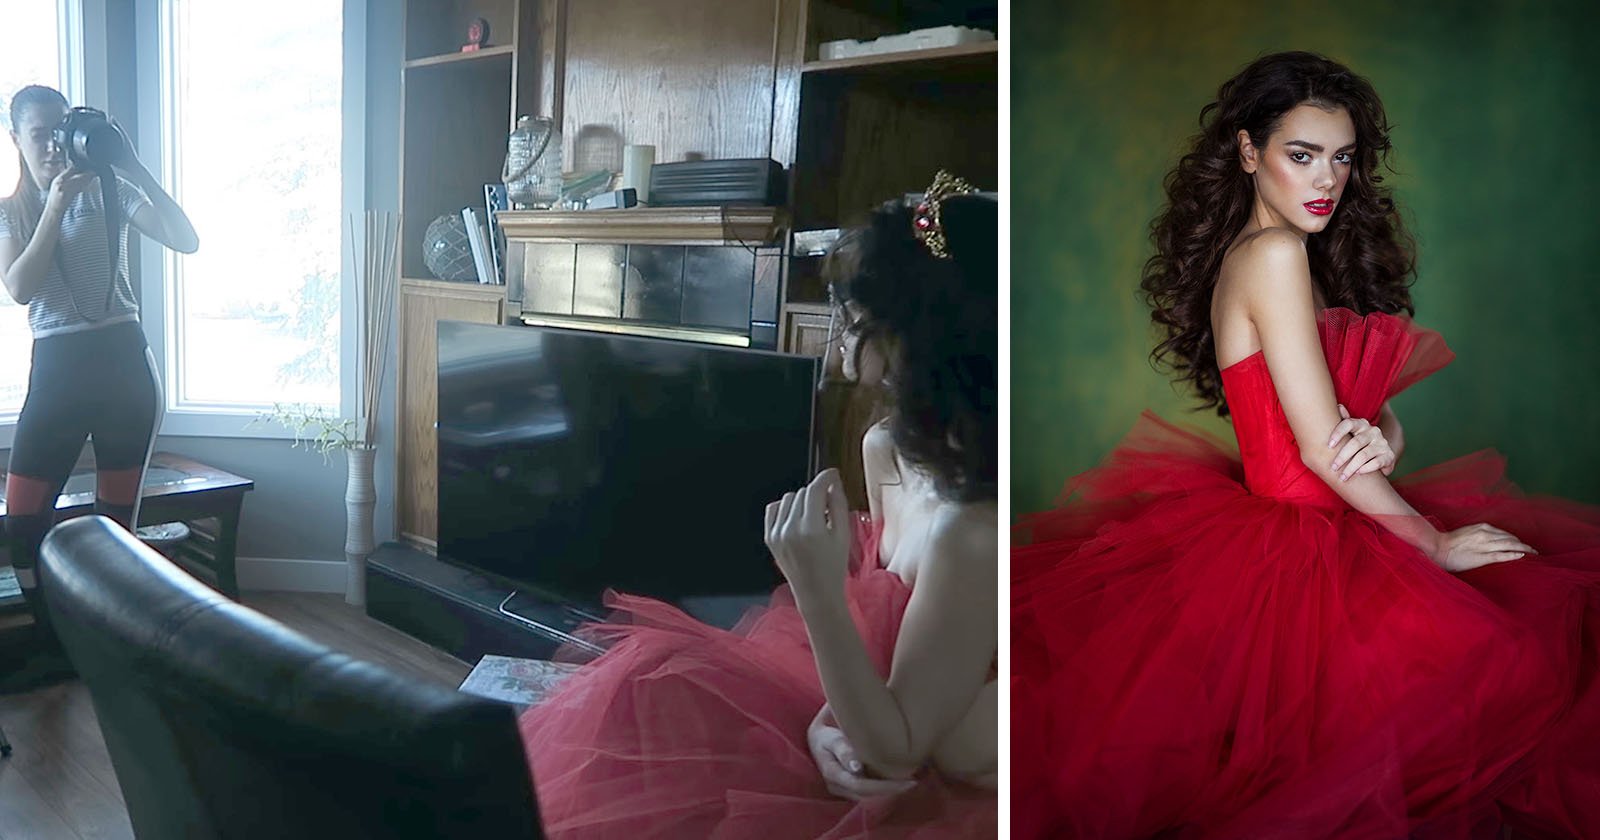
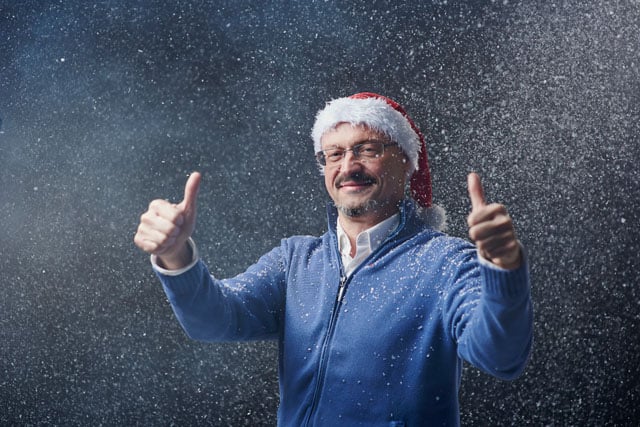
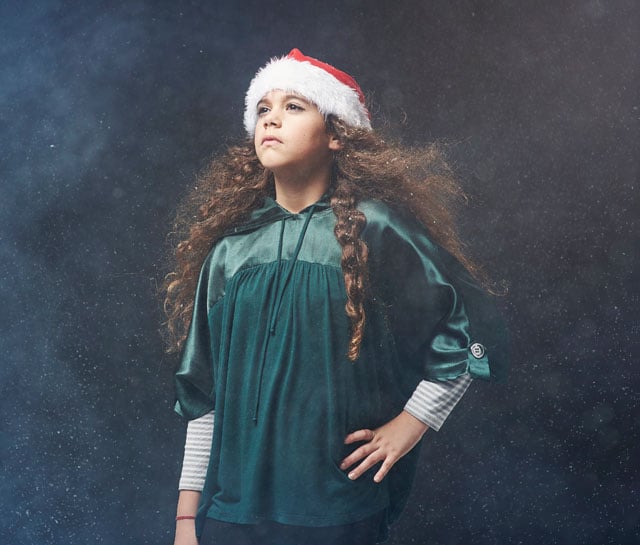
I recently shot a series of snowy portraits… inside my studio. This shoot was originally just intended to be for my own Christmas card, The idea was to do something fun, dreamy, and Christmas-related (with a Santa hat and fun poses) that I could send to friends, family and clients. As the year was coming to an end, a fun photo shoot was very welcomed. And, ironically, we didn’t have snow at this point in Brussels, which is very unusual.
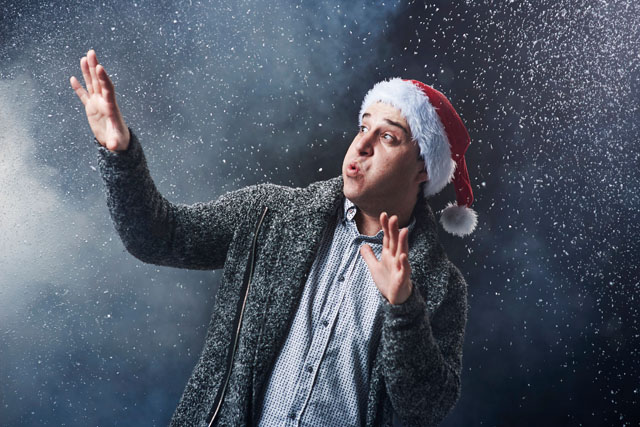
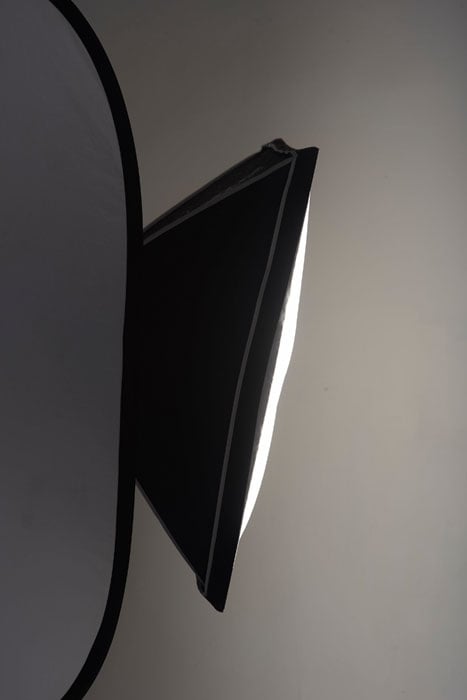
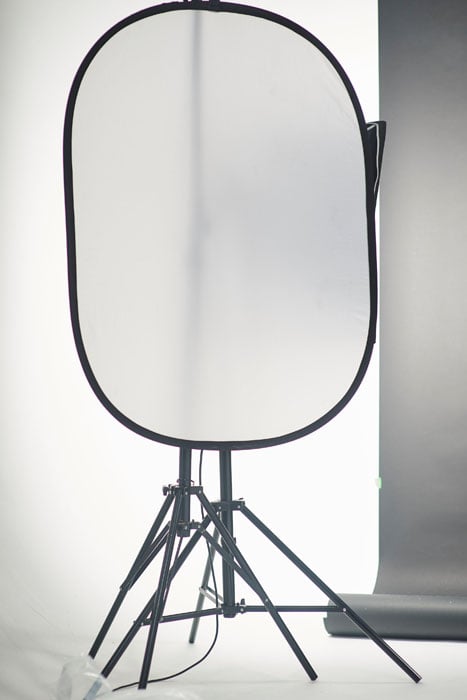
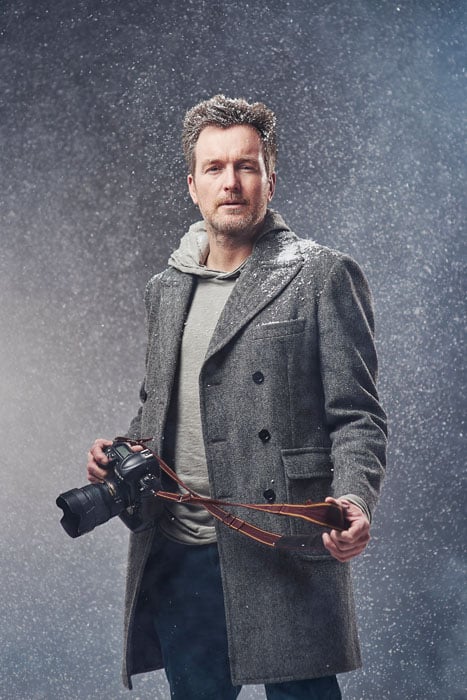
The equipment used was a Nikon D750, an 85mm f/1.4 lens, a black backdrop, and three lights with modifiers (two softboxes and one beauty dish). I shot the whole series at f/3.2–f4, 1/125s, and ISO 50-100. Oh, and we have also a smoke machine.
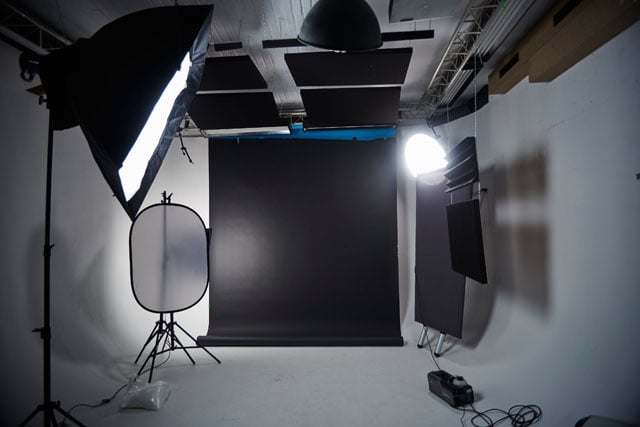
The lighting setup ended up looking like this:
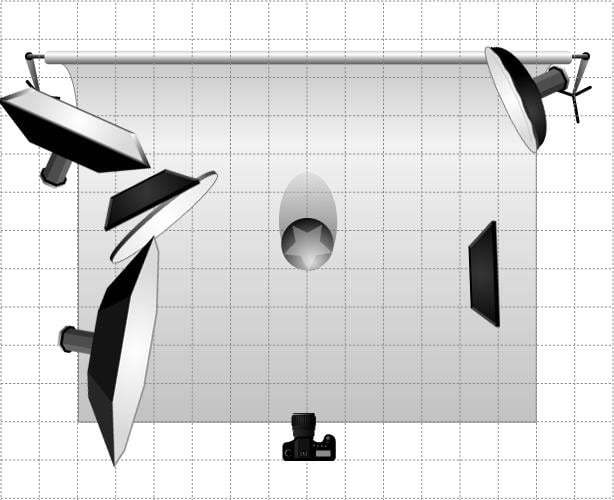
The octabox is my main light, the beauty dish my hair/backlight, and the softbox is just to make the backdrop a bit lighter.
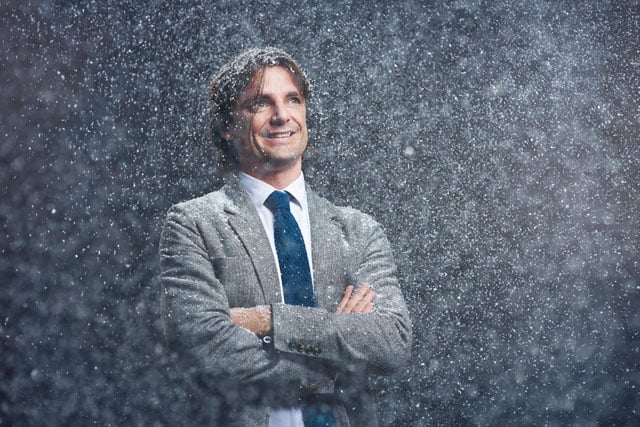
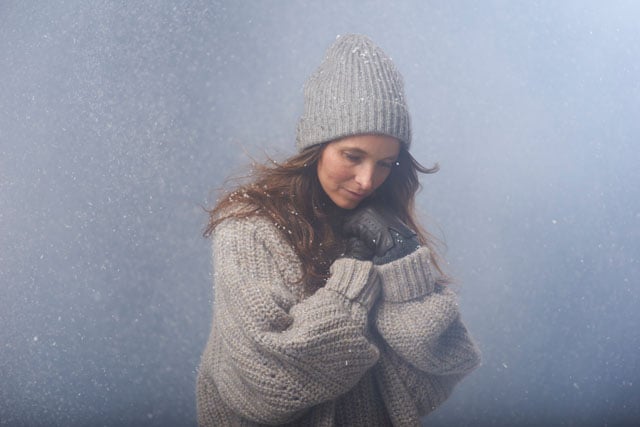
The spill on the backdrop, the shallow depth of field, and some smoke creates a hazy blue-grey-ish thing in the background. Having some light shine a little bit in the frame adds depth.
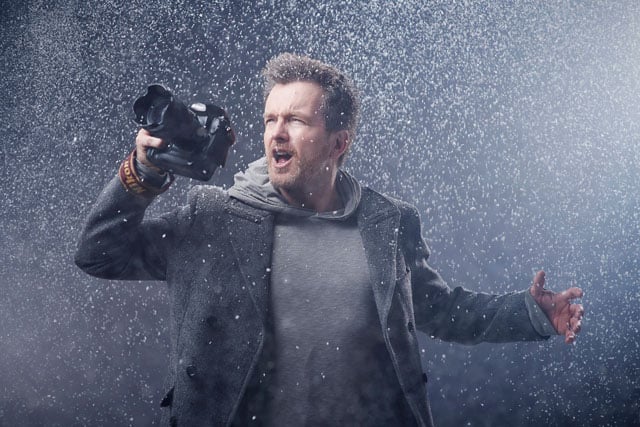
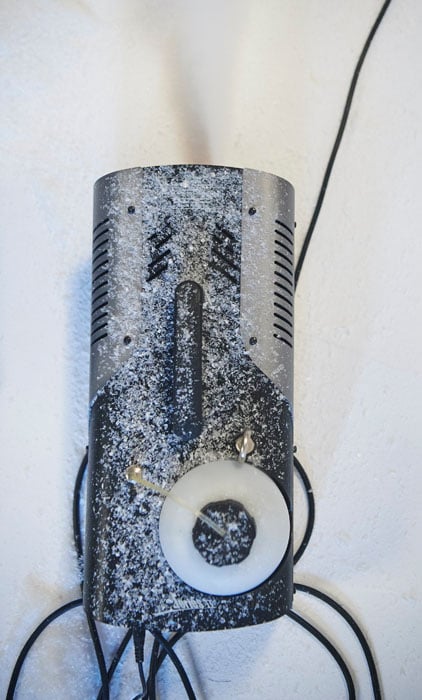
The snow itself is a fake snow that you can buy at any decoration store. I don’t know the exact material, but it feels like a mix between powder and fabric. The snow is very messy — it gets everywhere. If you shoot indoors, be prepared to clean up afterwards. It took us nearly two hours to have the studio, prep-room and break room cleaned up after each shoot.

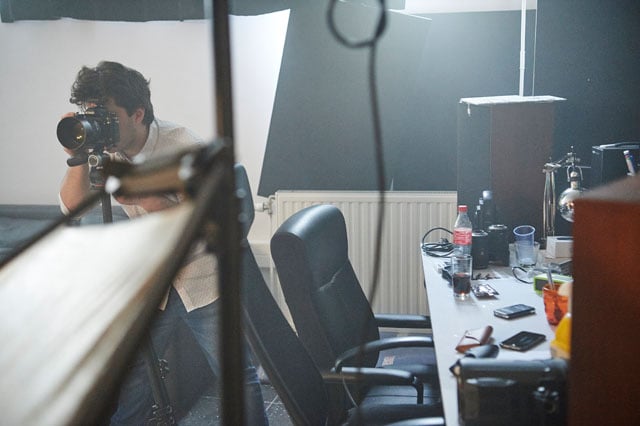
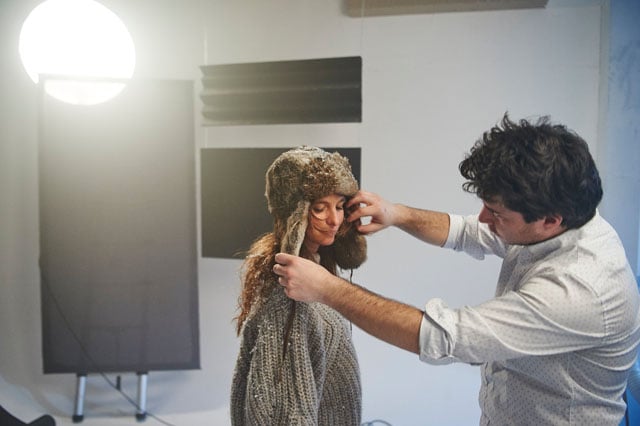
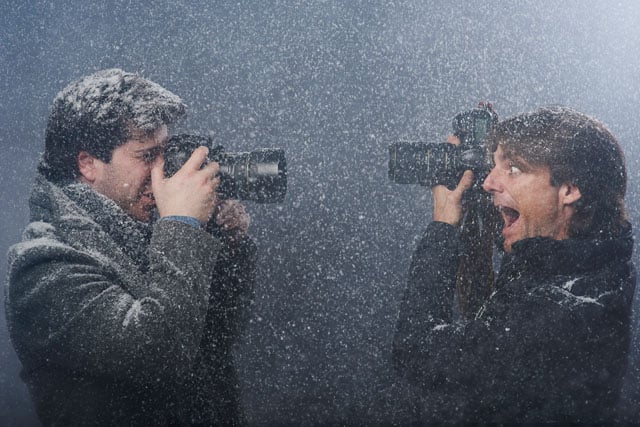
Once everything is set up, the process is simple: pose people, pre-focus, trigger the smoke machine, wait until the smoke is right, have snow thrown from each side, shoot, and then repeat.
Here are a few things that helped make the effect look and work better:
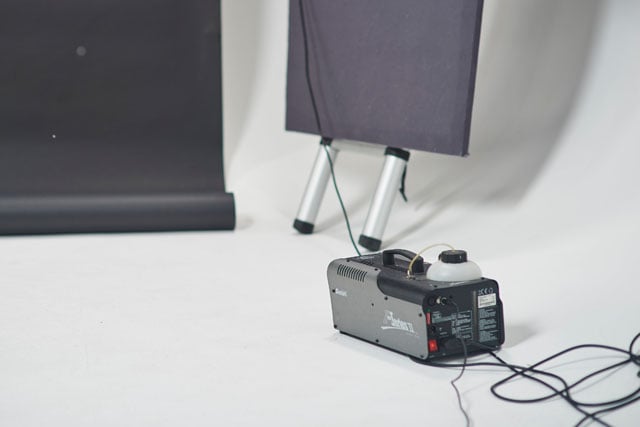
1.) Smoke creates haze, and that resembles the fog you see in snow
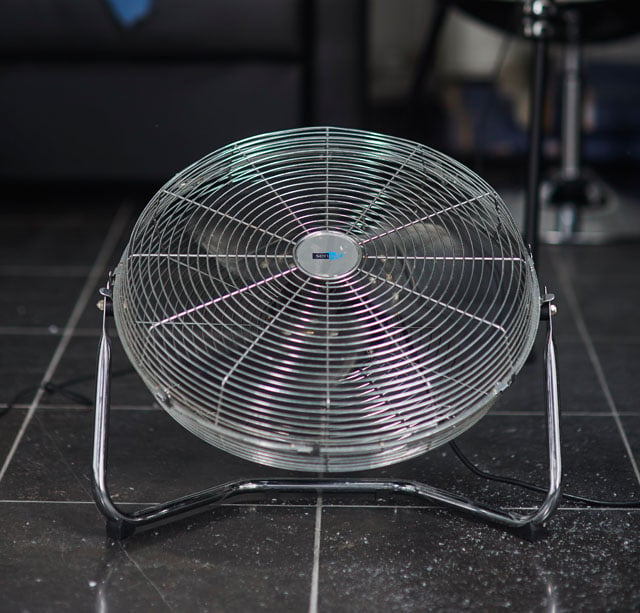
2.) You have to give dimension to the snow: people should throw behind and in front of the person, and with the use of a well positioned fan, you get some snow thrown back in the foreground.
3.) Spray a little bit of water on your lens filter. It’ll be illuminated if light shines onto your lens.
There is only basic post-processing involved: just some basic contrast and color conversion on the raw file and a bit of fine-tuning in Photoshop. I did shoot some snow plates though, just in case I needed them to embelish the snow, but I didn’t end up using them.
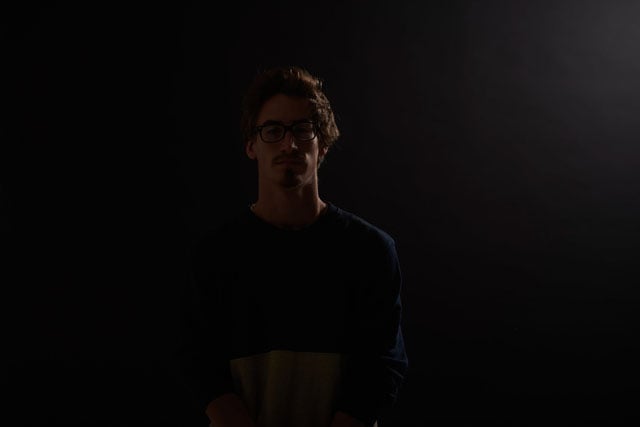
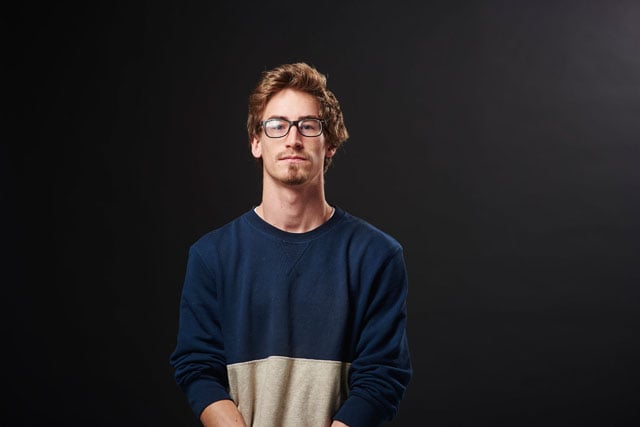
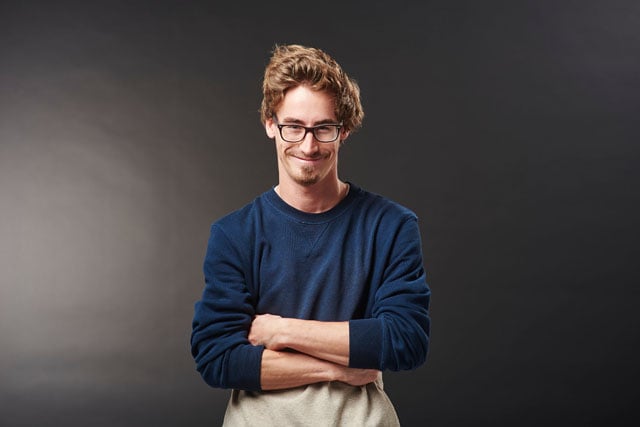
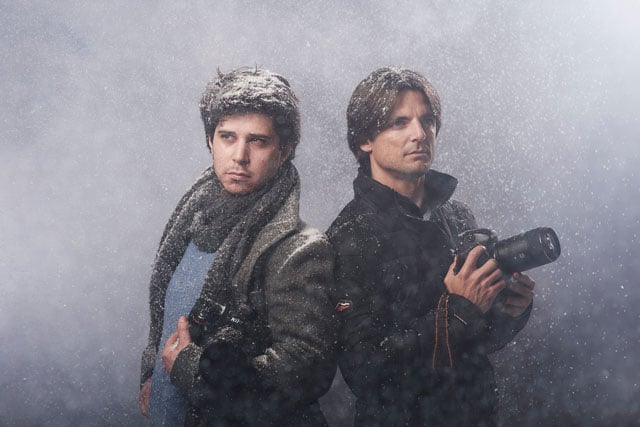
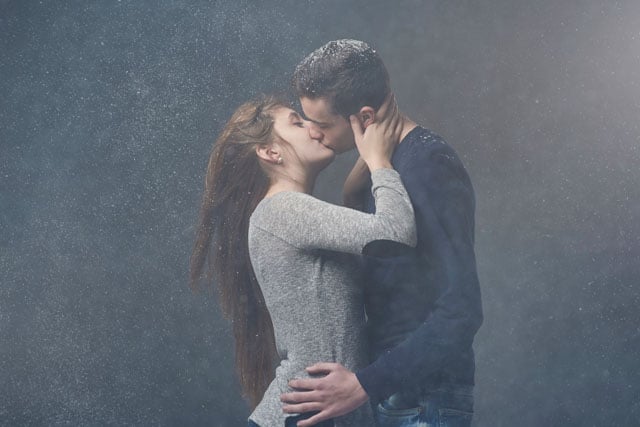
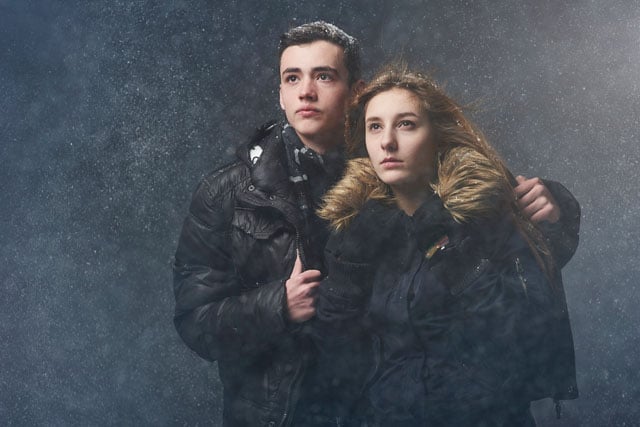
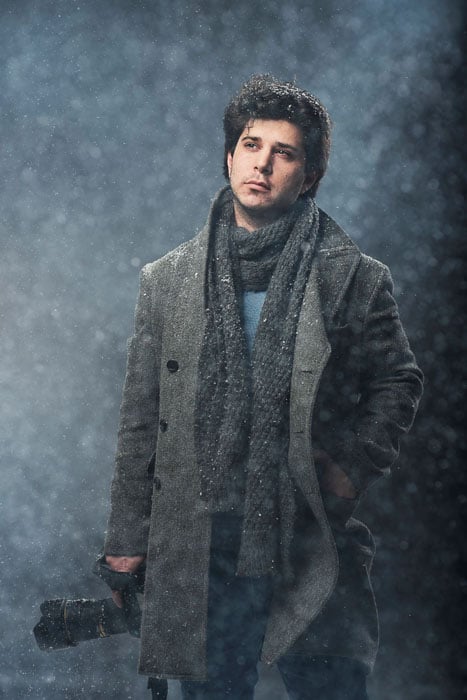
It was very cool shoot for everyone. In total, we shot 12 people over the course of 7 hours and the kids had a blast throwing the snow around. Here are some of the photos that resulted:


About the author: Jonathan Vahsen is a photographer based in Brussels, Belgium. You can find his work on his website here.