How To: A Primer on Reducing Noise in Photos Using Adobe Lightroom
Nothing can be more frustrating than taking a beautiful photograph only to later find out that it is riddled with digital noise. While digital image sensors have advanced the field of photography, they have also introduced new problems to tackle. Luckily, programs such as Adobe Lightroom can reduce the amount of noise within a photograph caused by high ISO settings or long exposures. Today, we are going to learn how to tackle noise reduction in Lightroom CC.
The Explanation Behind Digital Noise
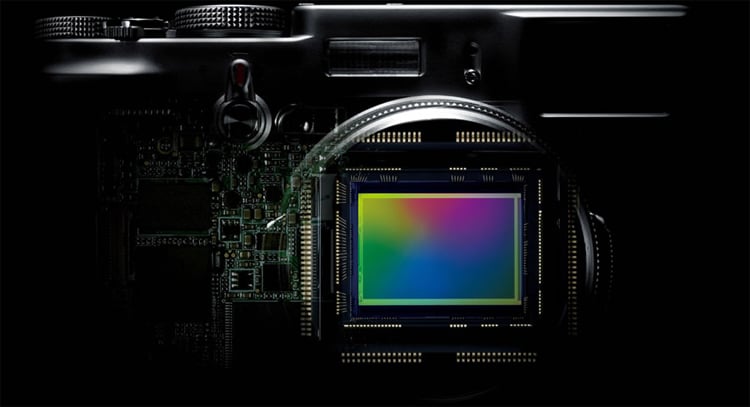
Before we can tackle the issue of digital noise, we must first learn what causes it. Most digital sensors consist of a pixel array that captures light waves and then converts them into digital signals. Noise is a natural occurrence in these digital systems caused by digital interference and the sensor’s own heat. However, when your camera begins to manifest more noise than the signal it is trying to pick up, then there is a problem.
As mentioned above, the two most common causes of digital noise include shooting at a high ISO or using a long exposure time. When using a high ISO, your sensor becomes more sensitive to light, but also begins to pick up more noise as a result. When shooting a long exposure, there is an increased chance of pixels picking up excess static and the sensor’s surface heat increasing. Either way, noise is usually something that most photographers will want to do away within their workflow.
It is also important to know that there are two types of noise that your photographs may display. The first is called luminance noise: this kind of noise looks similar to film grain in some ways and generally mimics the surrounding colors. Luminance noise is caused by individual sensor pixels picking up different amounts of light. The second is known as color noise and appears as splotches of mismatched color. For better understanding, take a look at the included photographs in this tutorial.
Using Lightroom to Enhance a Photo
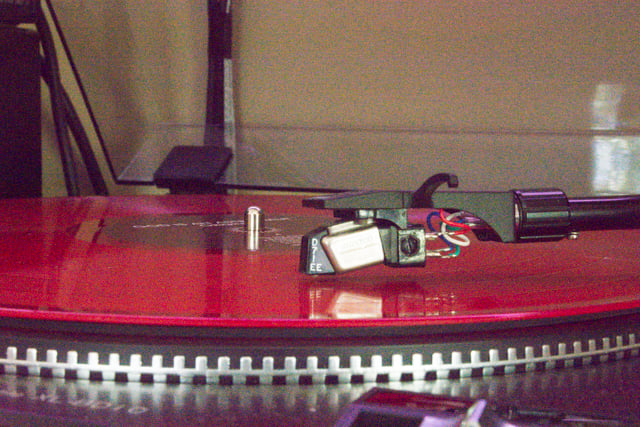
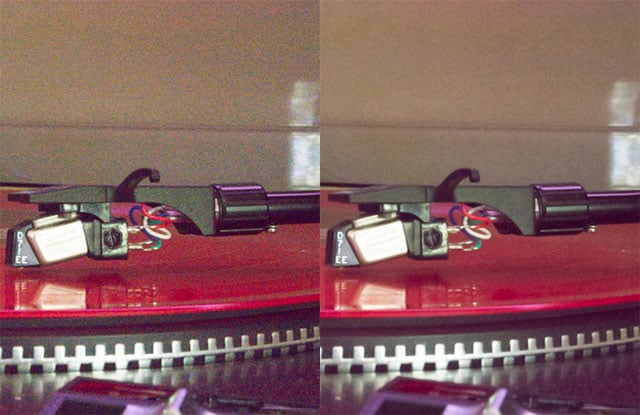
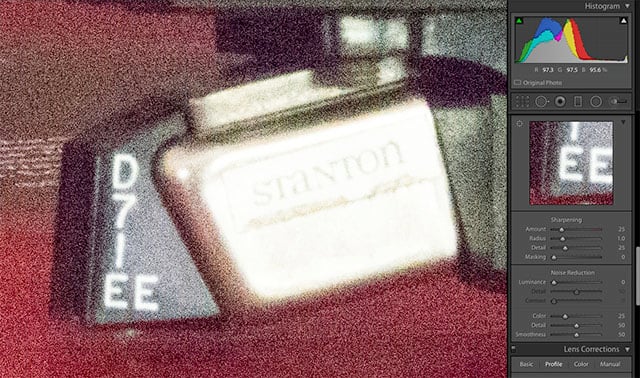
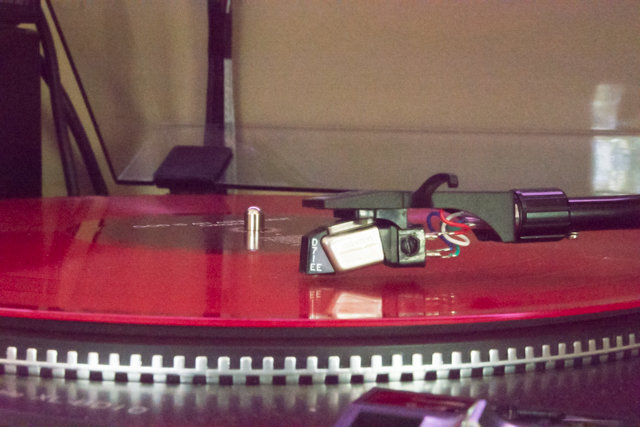
For the purpose of teaching, we will be using a photograph taken at ISO 25600 with a Nikon D7200. The image was captured as a Nikon RAW file (NEF) with high ISO and long exposure noise reduction switched to the off setting. This image could have been shot with much less noise by utilizing a lower ISO, wider aperture, and faster shutter-speed, but we wanted the most noise we could produce for example purposes.
Begin by viewing the image straight out of the camera. Notice how when the photo is zoomed in 100% there is a collection of noise visible. We will be using Adobe Lightroom’s noise reduction settings to take care of the problem. It is critical to note that the process of noise reduction will reduce sharpness in the photograph, so we must find a balance between noise and sharpness – this is a personal preference.

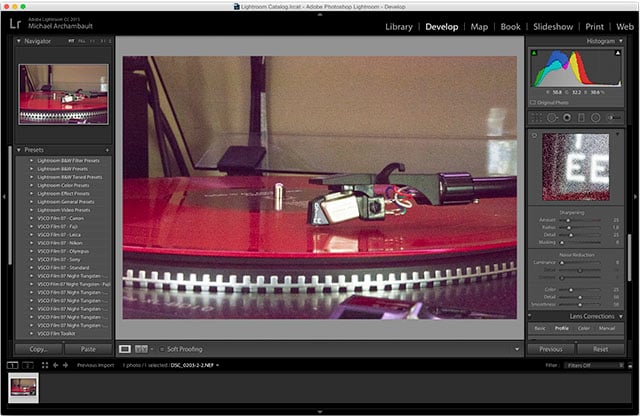
If you would like to follow along, you can download this particular image from our official Flickr page by clicking here. Once you are ready, open Adobe Lightroom and import the photograph by going to ‘File’, then clicking the ‘Import Photos and Video’ option.
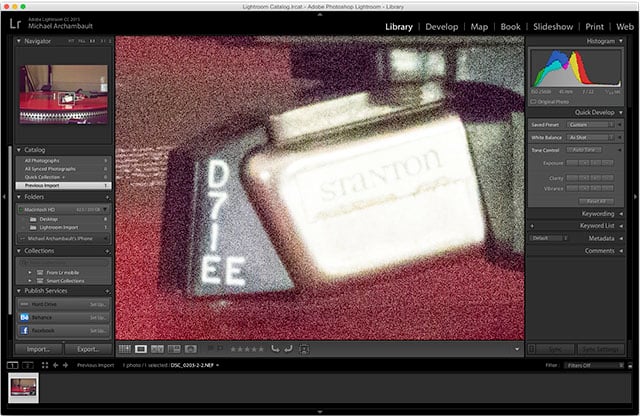
Once Lightroom has your file loaded, click on your file and select ‘Develop’ in the upper right-hand corner of the window. The right side of the screen will now display a number of adjustments; scroll down until you find the section labeled ‘Detail’. You will notice that the detail section contains sliders for sharpening the image and reducing noise.
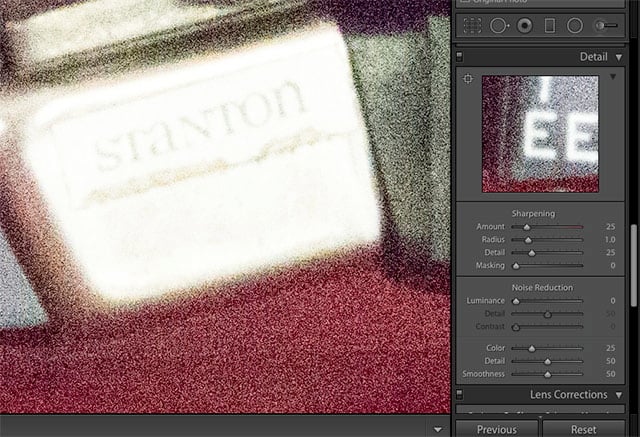
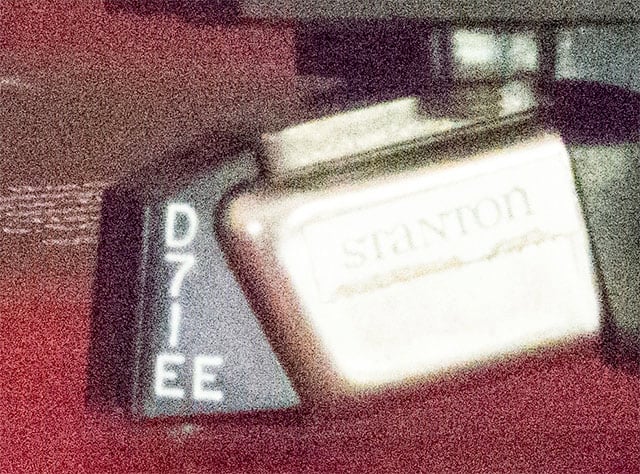
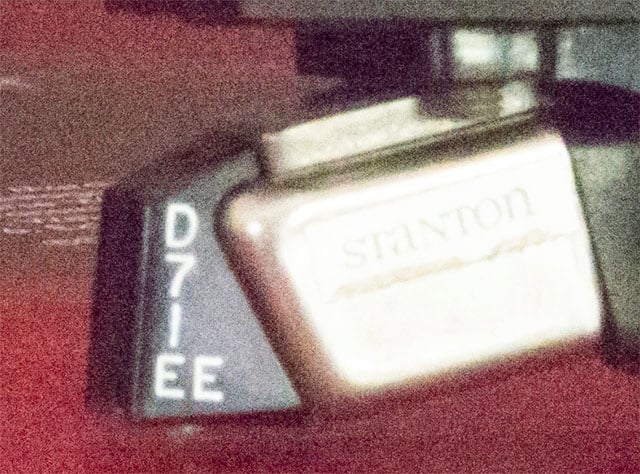
The detail section also provides a small window that shows a zoomed in portion of your image. To the left of the little window is a cursor icon that allows you to select the area where you would like to zoom in closer. I chose a closeup of the two letter ‘E’s within the photo, as they will allow me to notice when an image is getting too soft. The white and black contrast of the letters on a black background will also enable me to quickly recognize and eliminate color noise.
Removing Color Noise from the Photo
Now that our workspace is setup, we can begin removing noise from our photograph. You will notice two sub-options under the ‘Noise Reduction’ section: one is for luminance noise while the other is for color noise. I personally prefer to deal with color noise first, so that is what we are going to tackle.
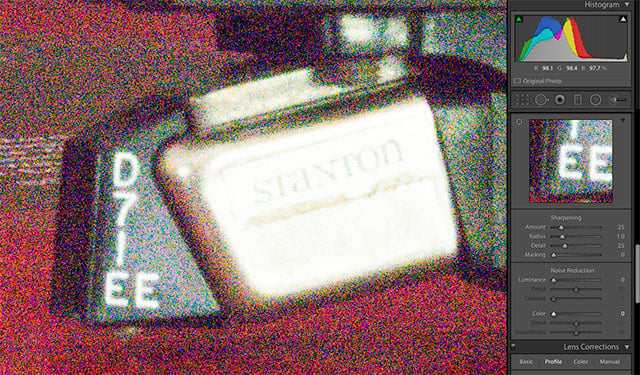
Color Noise is typically easier to remove from a photograph and causes less destruction than luminance noise removal. By default, Lightroom sets the color noise reduction to a slider position of ’25’, which means you may not see any color noise at all. To see just how bad the color noise was before Lightroom made the change, we can move the slider to ‘0’. Yikes, that is a ton of color noise! Luckily, Lightroom did a good job on its own, so we will set the slider back to ’25’. If needed in your own photographs, you can adjust the slider to eliminate preciously more or less color noise.
You may wonder why we don’t just move the slider all the way to ‘100’ to make sure all color noise is eliminated at full power. While color noise reduction does not pose as much damage to the photograph as you will see with luminance noise reduction, we can begin to lose color details in certain areas. Feel free to play around with the slider to see how the photograph reacts.
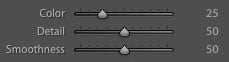
Underneath the ‘Color’ slider for noise reduction is two additional sliders for fine detail and smoothness. The ‘Detail’ option allows you to set the threshold for what Lightroom considers to be noise. The default for detail is set to 50, which I personally find a good selection. When adjusting your photograph, you can play with the level of detail if needed. The ‘Smoothness’ slider is also available, so you can smooth your image if the color reduction makes it too harsh. In this example, we are going to leave the smoothness setting at ‘50’ as an adjustment is not needed.
Removing Luminance Noise from the Photo
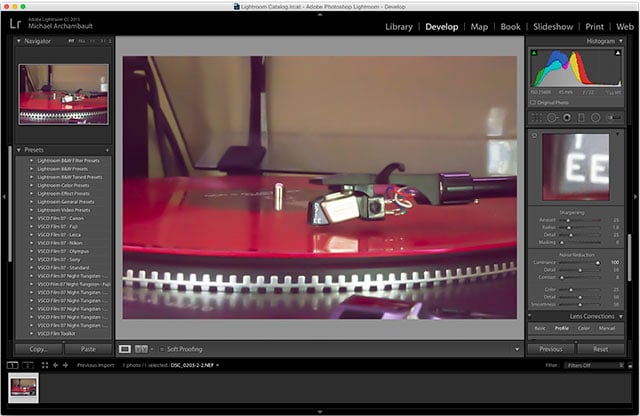
Now that we have removed color noise, we are going to want to tackle the big giant that is luminance noise. Once again, you will see three sliders grouped together for luminance noise reduction. The first is the master slider while the other two are for fine detailing. So that you can see the power of noise reduction, take a look at how it looks when we set the slider to ‘0’ and when we set the slider to ‘100’. While ‘0’ makes the image looks gritty, the ‘100’ setting makes the picture look like a melting Dalí piece.
You are going to need to find a balance between the gritty noise and the smooth effect of the noise reduction tool. Finding the perfect balance will take practice. Make sure that while you make each luminance change, you view the photograph to make sure you aren’t eliminating too much detail; this is especially important when working with photographs that have people.
I find it more helpful to look at the large version of the photo when adjusting luminance noise reduction because I can see the overall effect and every area of detail. For this example, I have selected what is considered a high setting of ’40’. However, I can fine tune this a bit using the sliders below.
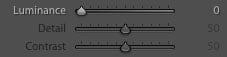
Just as before, we can adjust the ‘Detail’ slider to establish the threshold of what Lightroom considers luminance noise; once again, I am going to leave this at ’50’. I am more interested in the ‘Contrast’ setting, which will allow me to select the amount of contrast between bits of detail. I have zoomed in on my photograph and decided to settle for a setting of ’50’, which is quite a high setting, but I like how the picture looks in the end. Noise reduction is all about the balance between noise and sharpness and involves a photographer’s personal taste. While some photographers may enjoy a bit of noise, others will have a disdain for it.
Saving Your Image
Well, that is all. I am quite satisfied with how my image looks. You can compare full-resolution images of the before and after results by visiting our official Flickr page. We can still see a lot of noise that is inevitable at ISO 25600, but the image is perfectly shareable on social media or in other non-professional areas. Remember, the best way to prevent noise is to shoot at a low ISO. But just in case, Lightroom is here to help you out a bit.