How I Made Myself a DIY Spider Light for $40
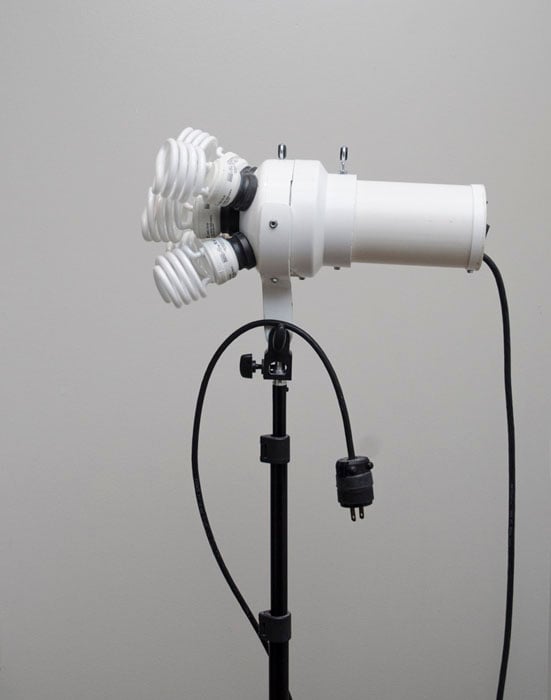
I recently made myself a DIY Spider Light as a thrifty alternative to the Spiderlite that costs hundreds of dollars. The entire project ended up costing $40 per light and can be built entirely with parts from a local home improvement store.
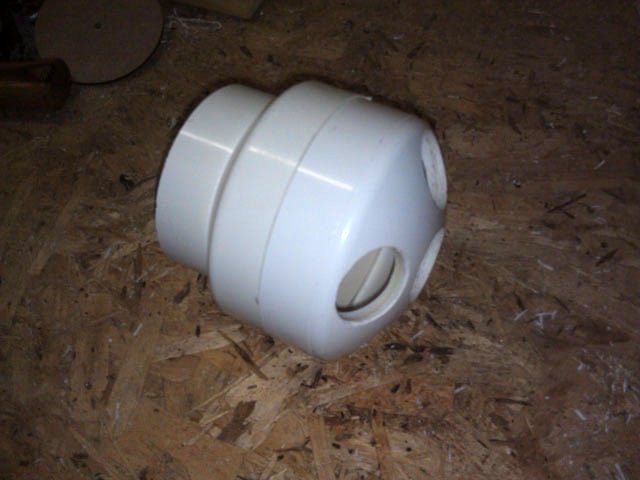
It turned out pretty well I think, with the added benefit of being bulletproof — you can stand on the body without breaking it.
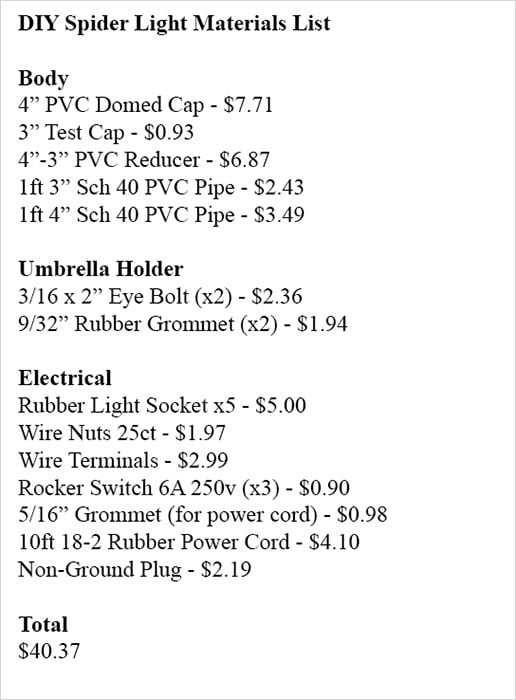
What You’ll Need
How to Build It
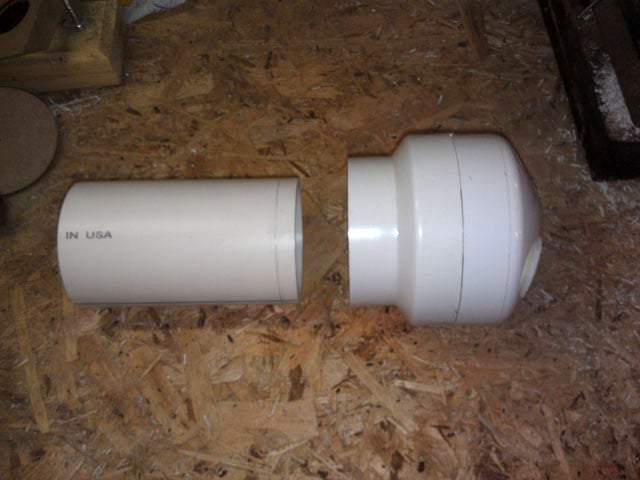
I started off by using a holesaw to drill socket holes in the 4” domed cap.

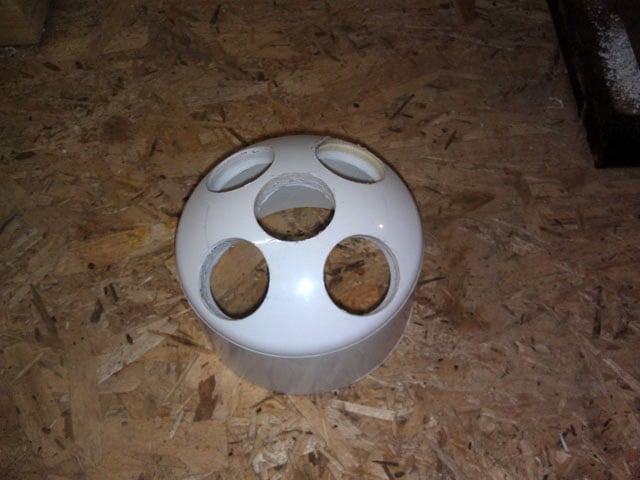
Then I trimmed some length off the back end of the 4” cap and both ends of the 3-4 reducer. This isn’t necessary but makes the assembly more compact. Drilling the socket holes first gives you something to hold or clamp through when cutting.
I used a 10” miter saw, which is why you see an uneven cut in the finished photo. A bandsaw or even a handsaw would probably be better. Keep your trimmings.
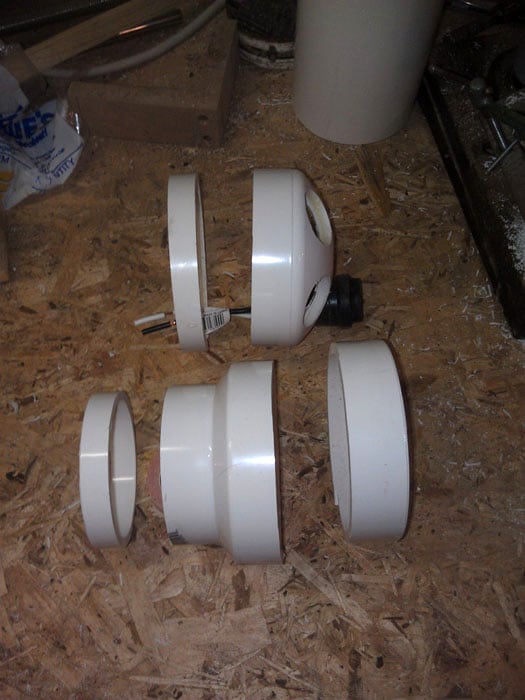
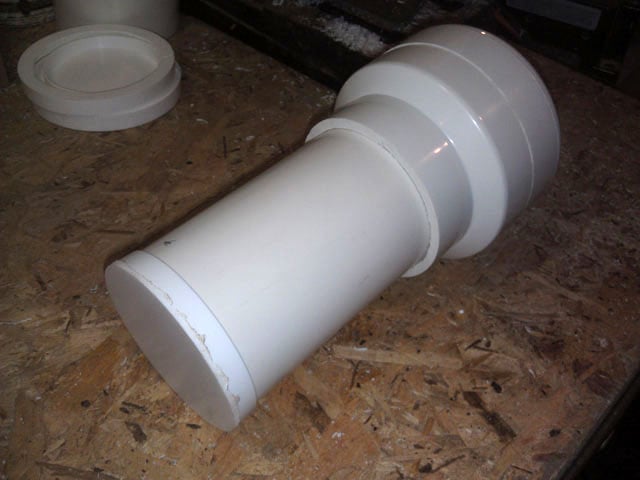
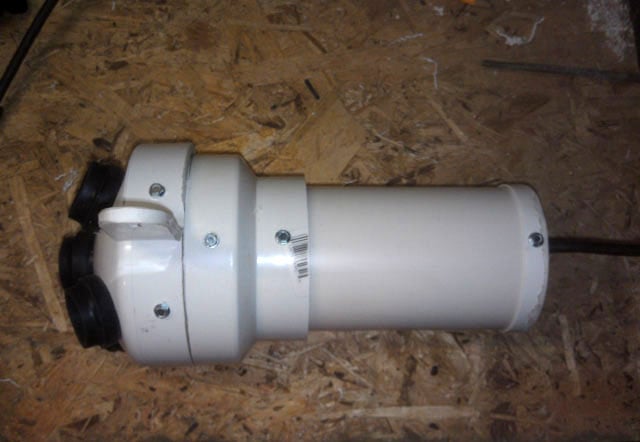
Then cut 1.5” or so off of the 4” pipe to use as a hidden connector between the domed cap and the reducer.
6” worth of 3” pipe makes the rest of the body length.
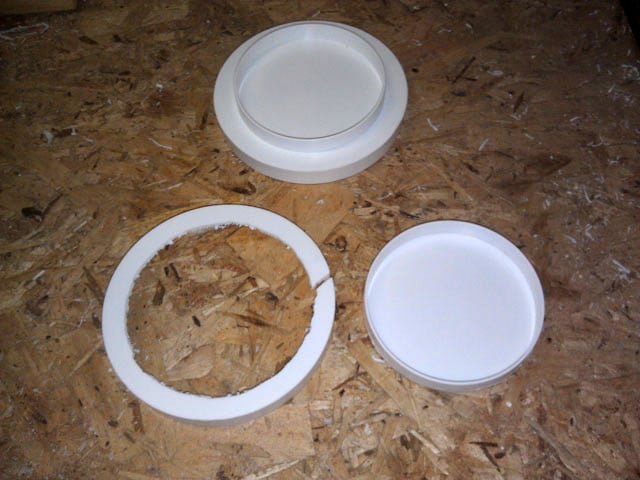
The 3” cap I got was dual purpose for 3” and 4” pipes. I cut off the 4” part to make a flush fitting 3” cap.
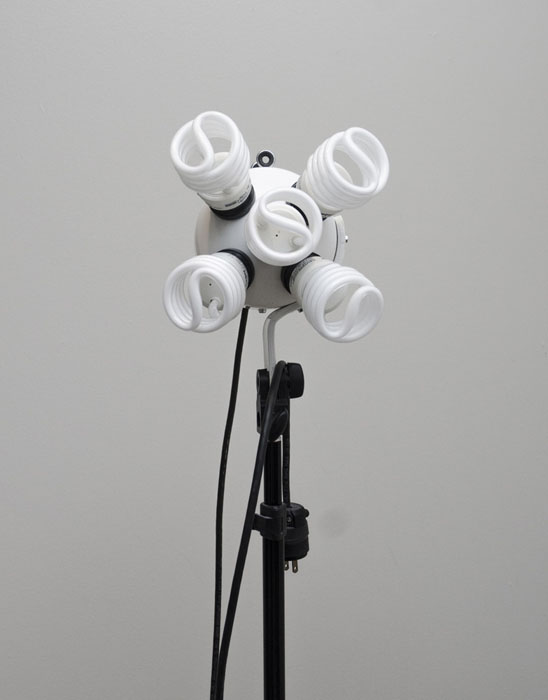
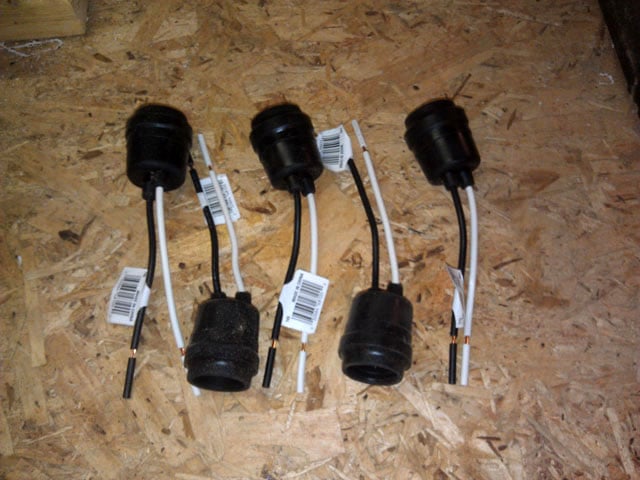
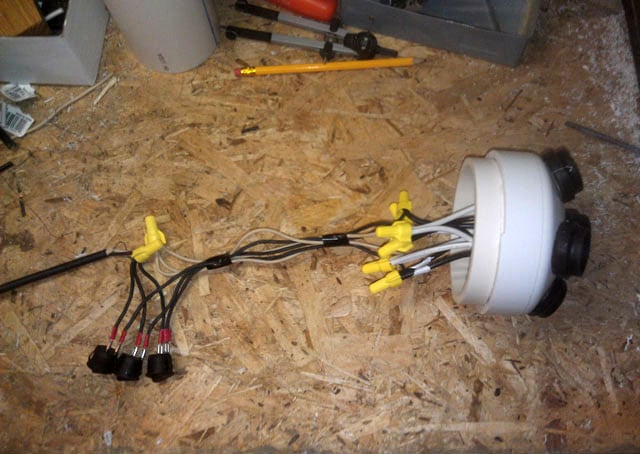
Here are my indoor/outdoor rubber light sockets (I saved a lot of money by buying them bulk on eBay):
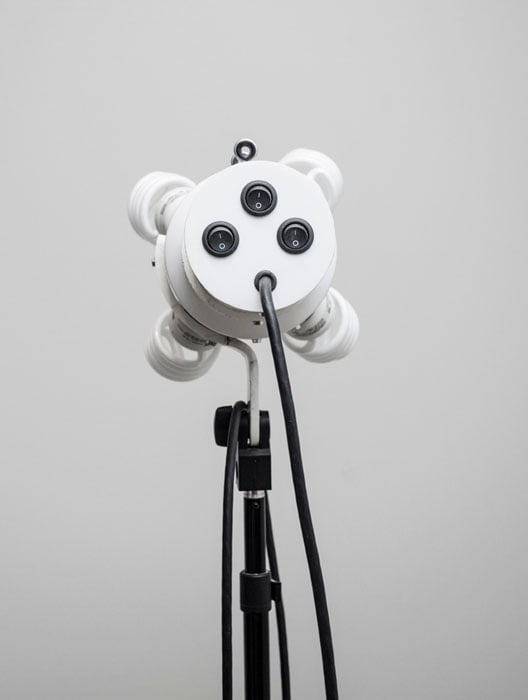
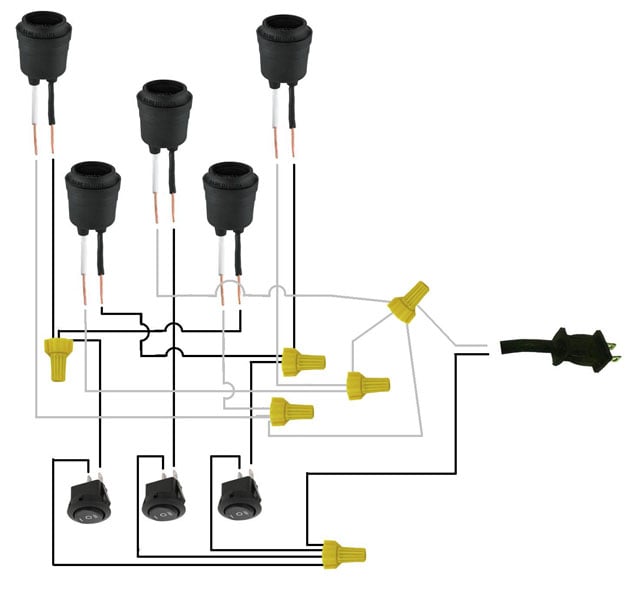
The center switch controls the center bulb only. Left switch controls the top left and bottom right bulb, right switch does the opposite. So using only the center gives me 1 bulb on, using only a side switch gives me 2, a side and the center gives me 3, both sides alone gives 4 bulbs and all 3 switches on gives all 5 bulbs. Probably more control than anyone needs, it was mostly just to see if I could do it.
The schematics of a man that doesn’t know how to draw schematics, good luck.
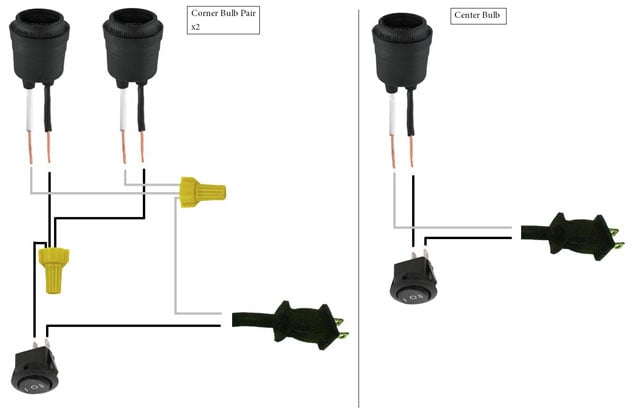
Breakdown of the schematics in an attempt to make them less convoluted.
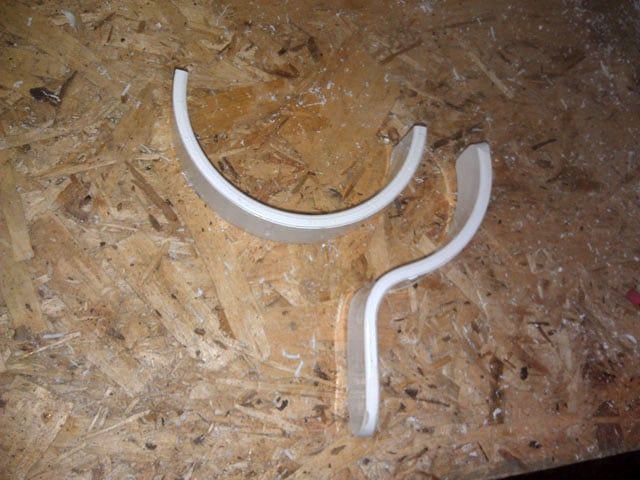
The trimming from the 4” cap was cut in half, then soaked in boiling water until I could bend it into the mounting bracket.
A tripod mount from a cheap single bulb light holder.
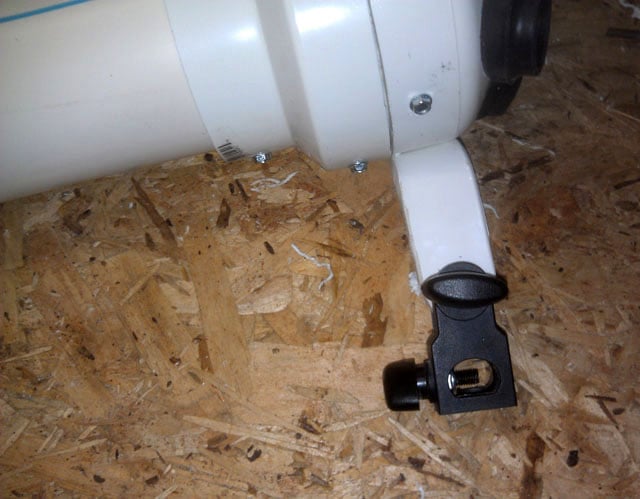
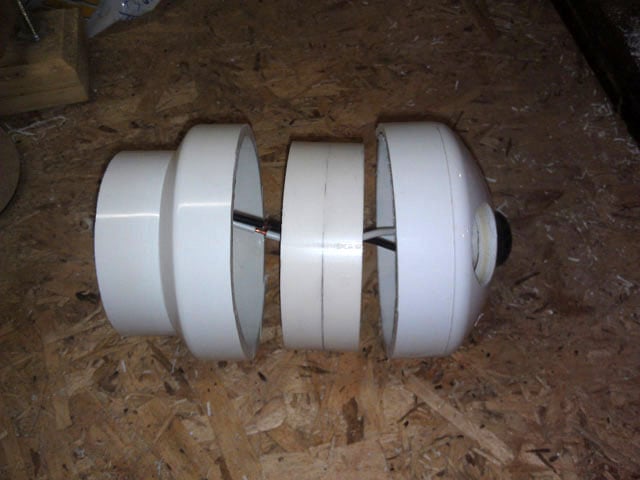
All connections are made by drilling a hole and screwing in a single self-tapping screw. This lets me open the body if I need to later and avoids the mess that purple pvc solvent would make glueing it all together.
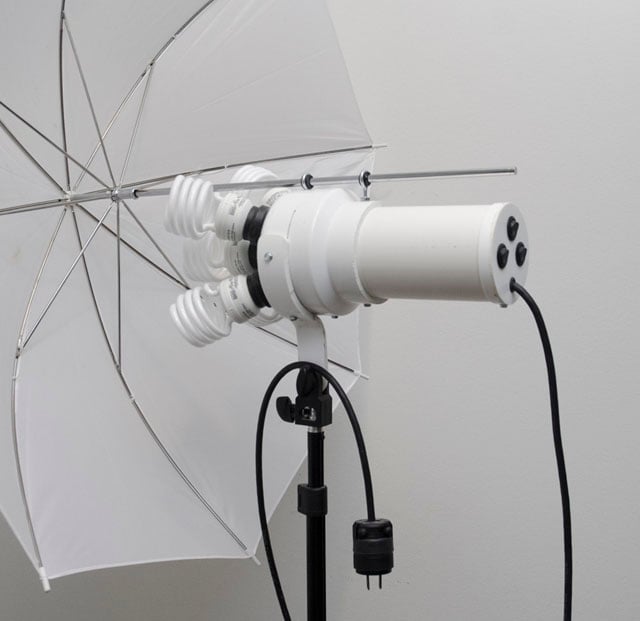
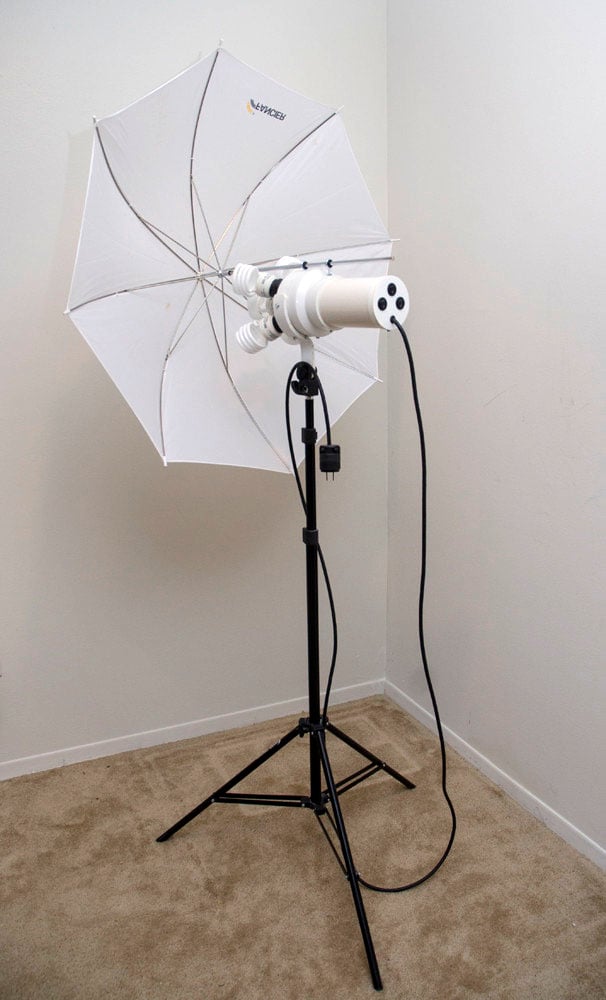
The unit is a little back heavy without the umbrella but balances perfectly with it. Using the 3” pipe for the main body allows it to accept a softbox speed ring. This was my original plan but you would need to cut a slit in the softbox for the light stand to reach up through. Also, removing a softbox to store the lights while not in use requires the light to be detached from the light stand.
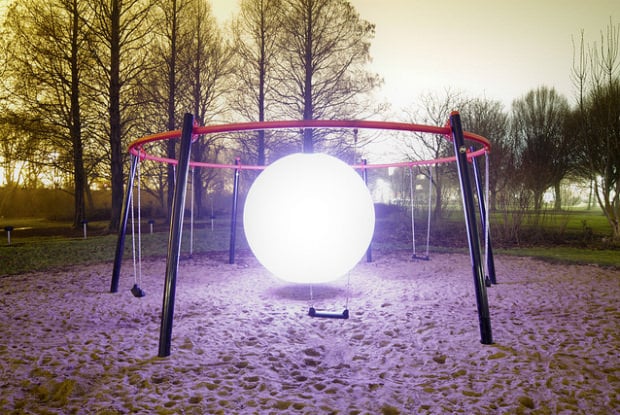
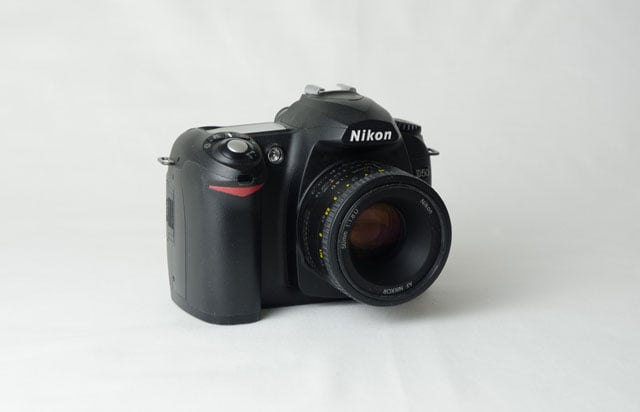
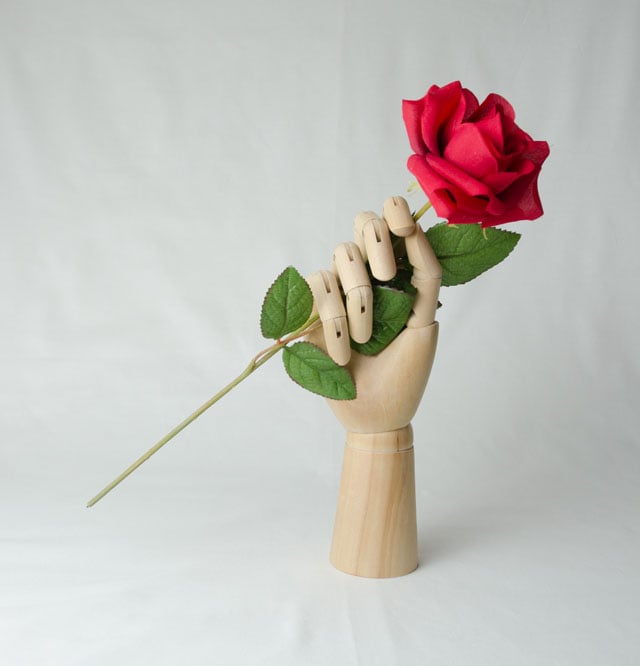
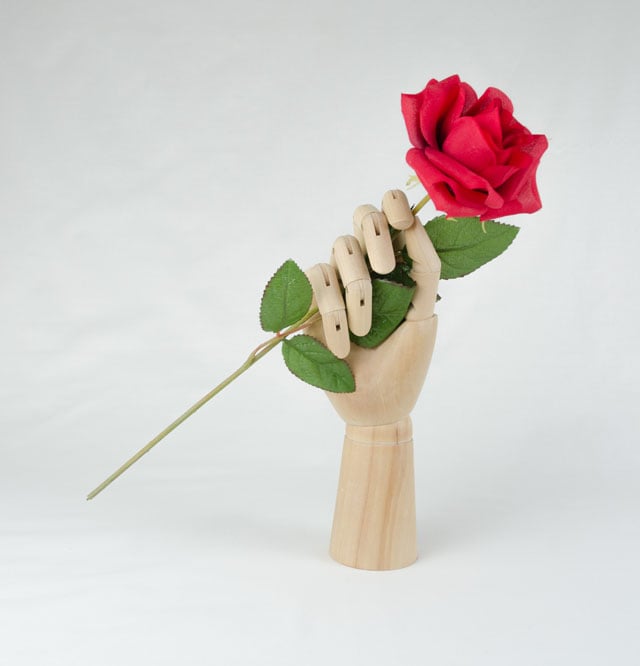
Here are some super fast test shots captured with my DIY Spider Light:

About the author: Ray Dennis is a photographer based in Ypsilanti, Michigan. You can find some of his work on Flickr.