Capture an Elegant Portrait with an Octobox, Styrofoam, and a Plastic Bag
I love capturing one light photos for my studio shoots, and I recently bought a 120cm octobox to add to my set of diffusers. I’ll be sharing with you a simple but elegant lighting setup only using one light and some interesting stuff found around the house.
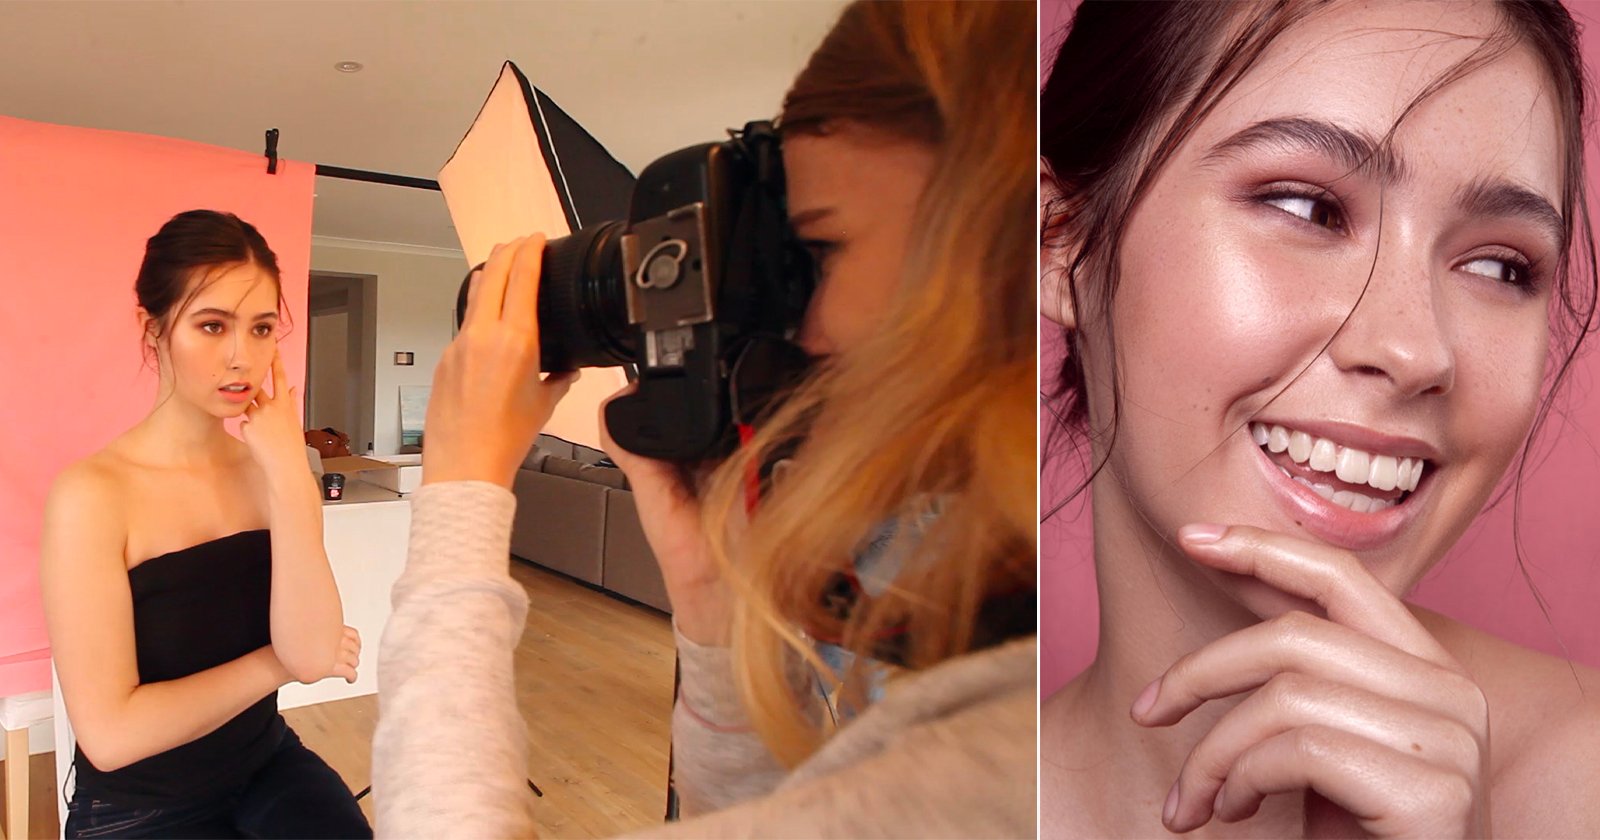
In my free time I always practice my lighting and photography and this is the best time to play around and have the freedom to make mistakes and learn new things. I was trying out the octobox with my girlfriend and was using it as my main light source coming from my back, I was shooting at around f/2.8 to get a shallow depth of field.
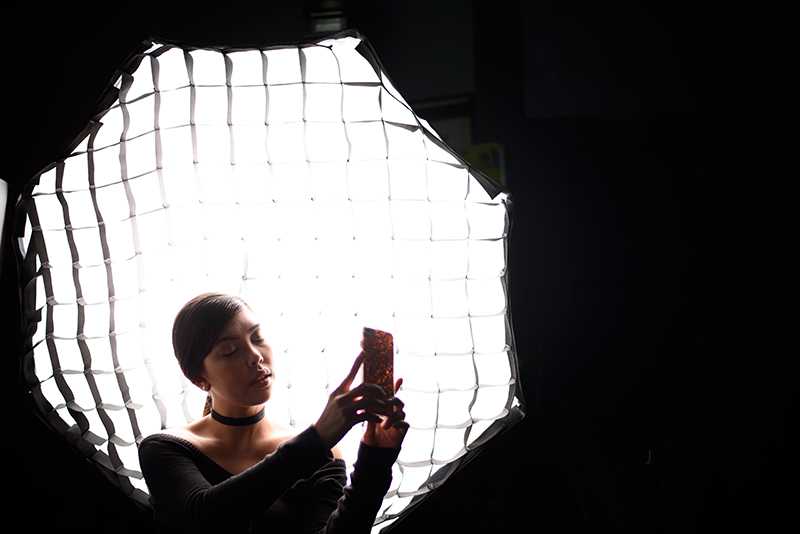
We were having a quick break as I was looking at the photos and I caught my girlfriend taking a selfie. I saw the beautiful wrap around of the light coming from her back and it gave me a quick idea on the next set I wanted to do.
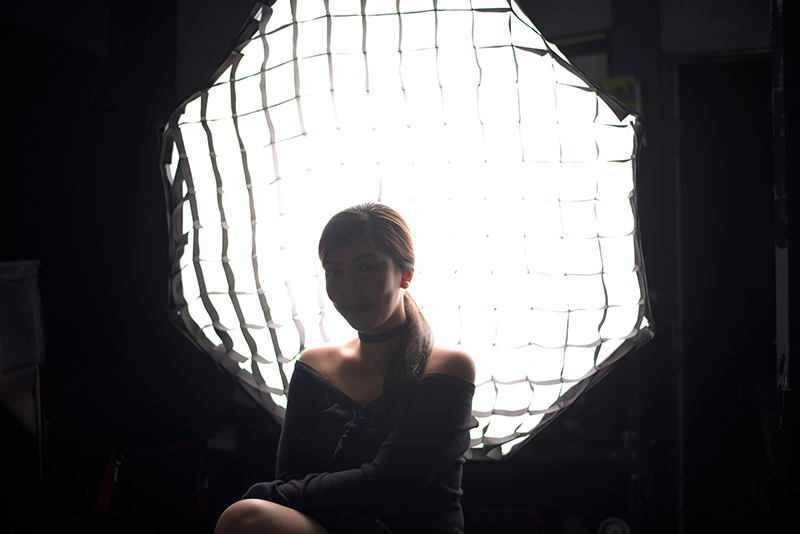
She was already sitting in front of my octobox so I tested the light first to see if I didn’t have any strong overexposed parts on her. You can control the amount of light wrapping around your subject by moving her closer or farther away from your main light source.
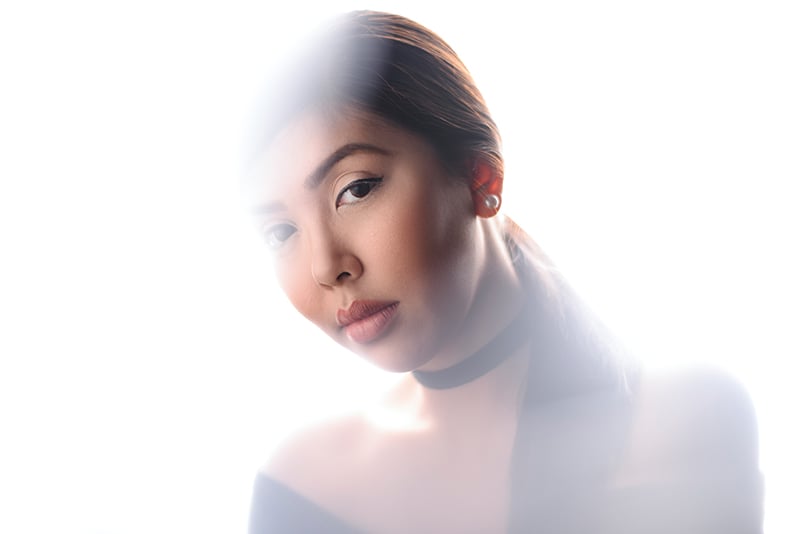
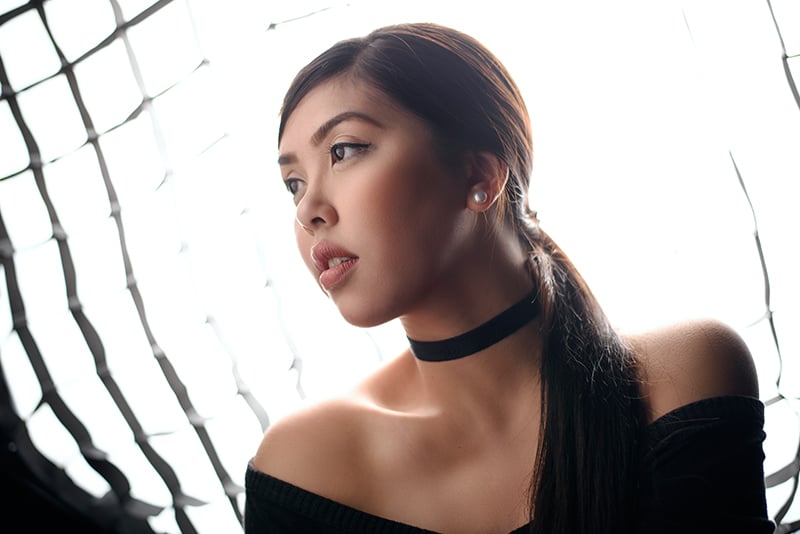
I wanted to make this lighting setup as simple as possible so I had a big white styrofoam lying around in my studio that I use for fill lights for products so I got this and positioned it where my subject was facing. I placed it as close as possible to get more light reflected back at her. You can also use a reflector, or a big illustration board for this.
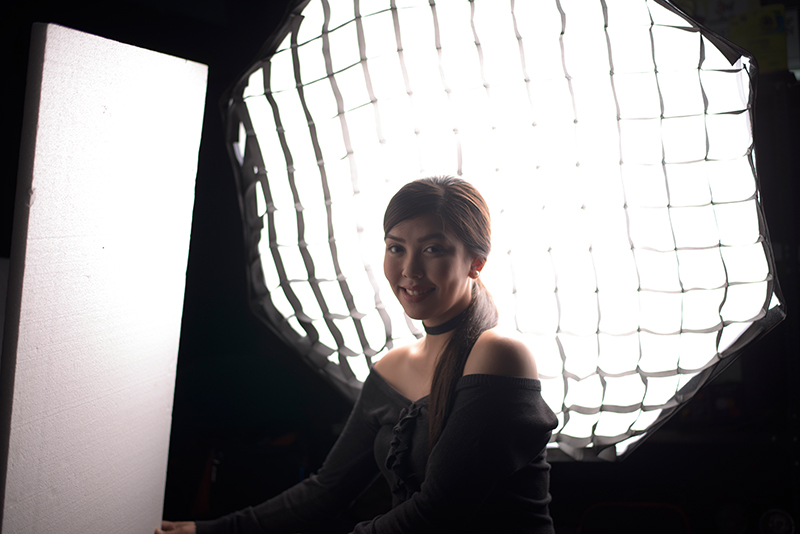
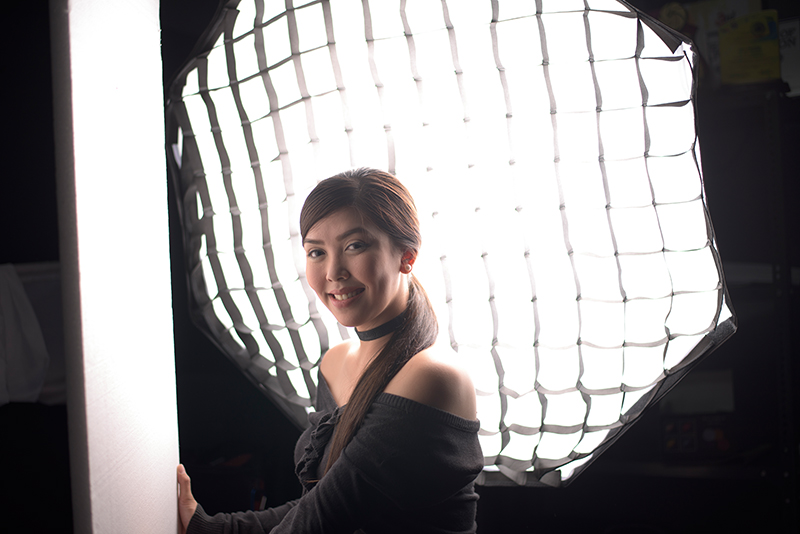
I was happy with the grid in front of the octobox because it added some depth to the shot but I also tried removing it for a clean white background.
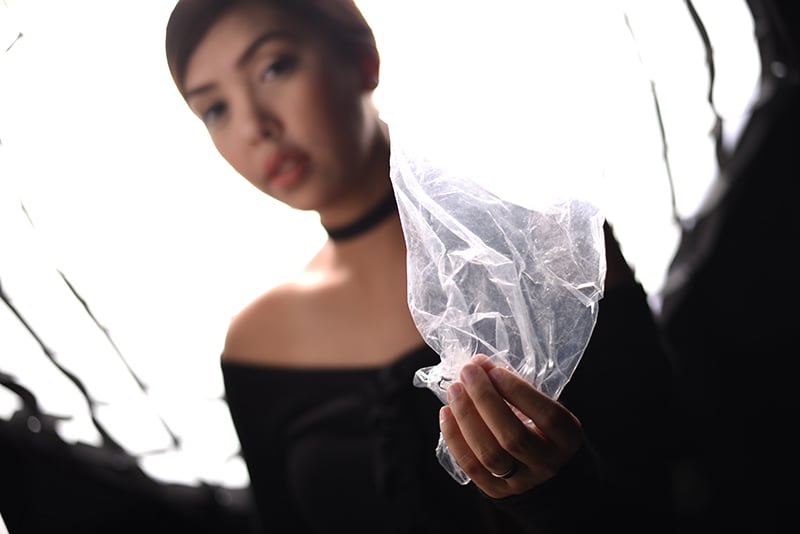
I really liked the result but wanted to add more spunk to the shot. I still had the plastic wrapper of the octobox laying around so I held it with my free hand and placed it in front of my lens to get some depth and bokeh in front of her.
For the editing I wanted to make it as clean as possible so I went with the frequency separation technique, you can check a more detailed tutorial on how to do the frequency separation here.
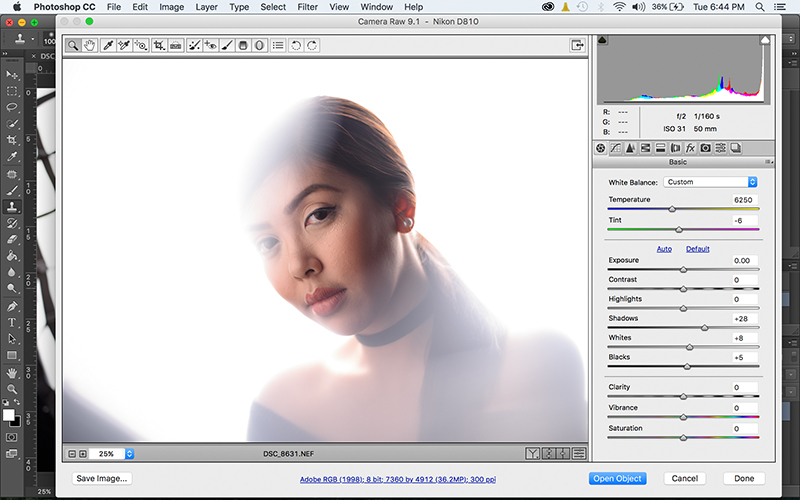
I first imported my image into photoshop and made some quick adjustments using levels, temperature and tint.
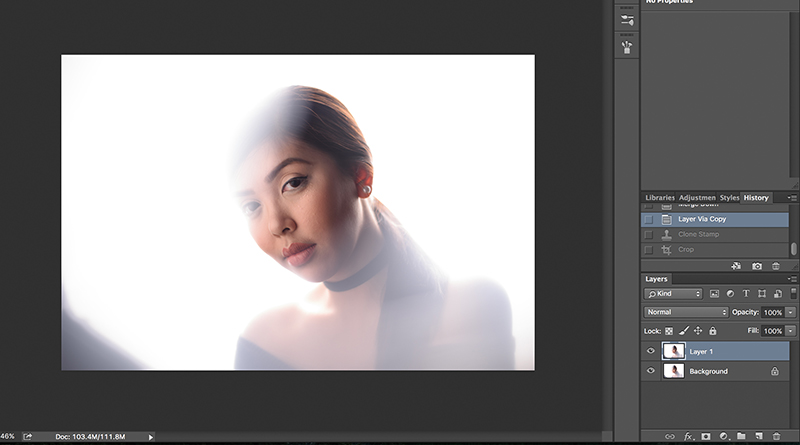
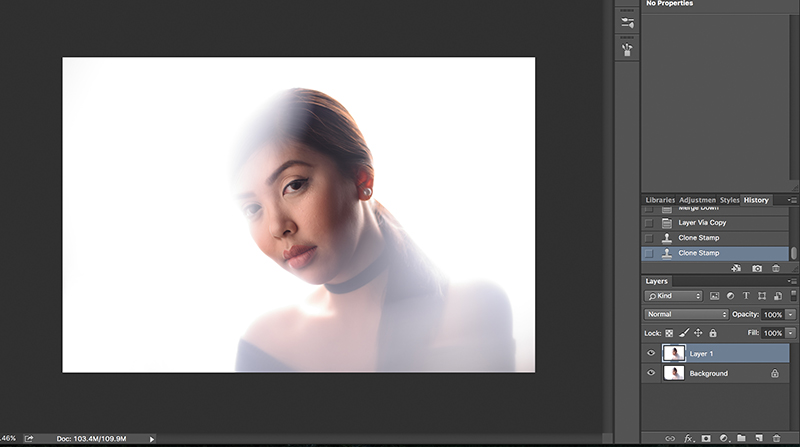
I wanted a clean white background but because of the shape of the octobox I got some black color on the bottom left of my photo, I duplicated my layer and cleaned it using the clone tool.
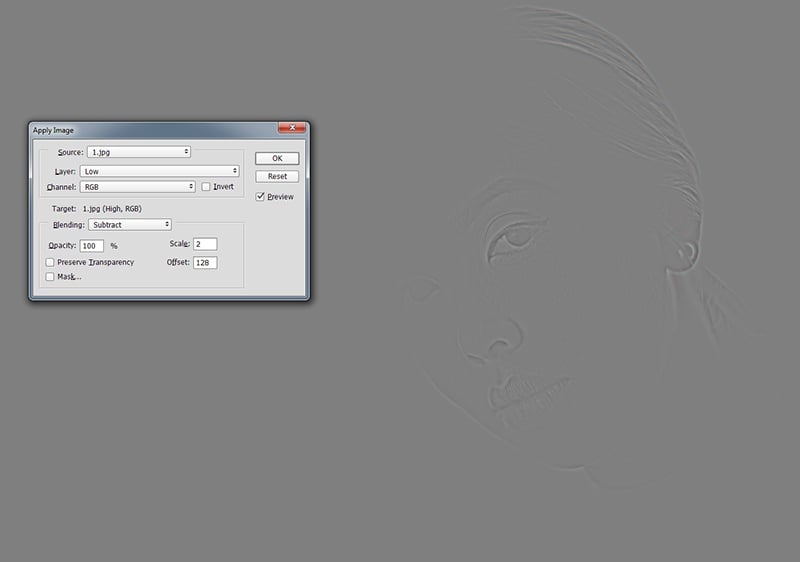
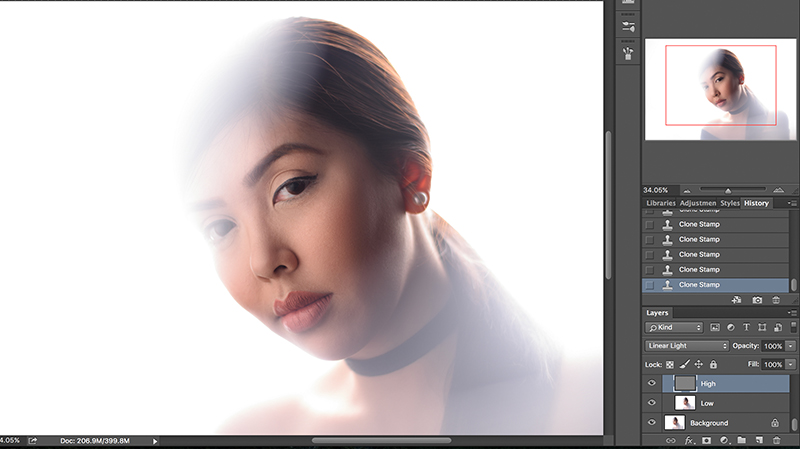
After cleaning my background I separated my high detailed layer from my low detailed layer. I duplicated my background layer two times and renamed the first layer low (for the layer of the color) and my second layer High(for the layer of the textures).
For the low layer I added some Gaussian Blur to around 13px radius. For the high layer I went to Image>Apply Image, Layer: Low, Blending mode to Subtract, Scale:2, and Offset 128. After clicking OK, change the blending mode of the “High” Layer to linear light.

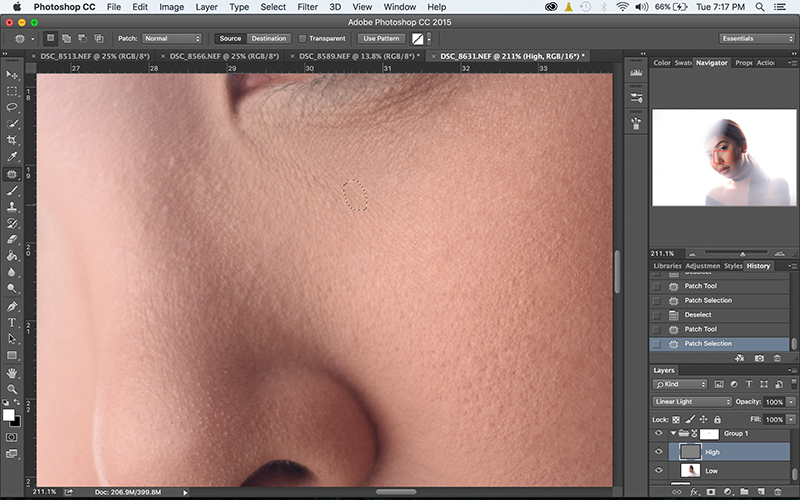
I cleaned all the marks on her face by using the patch tool brush.
The last thing I did was add a little bit of dodging and burning to make the photos stand out more.
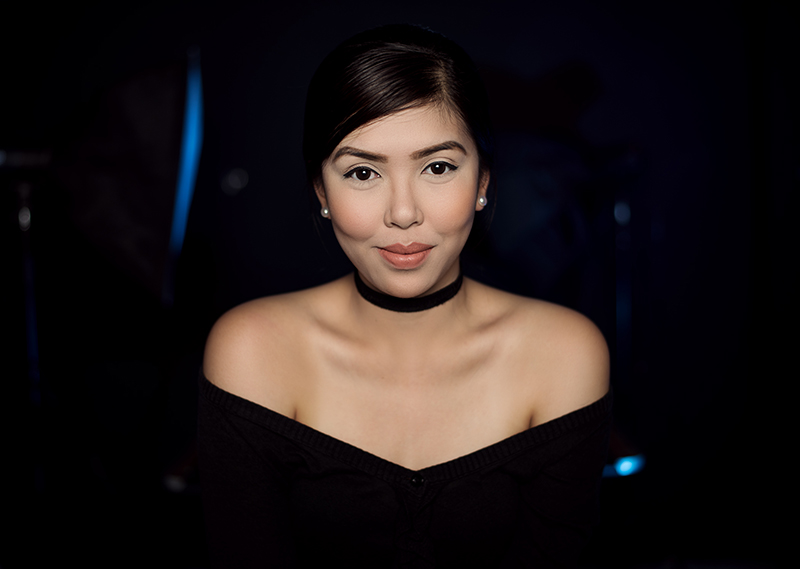
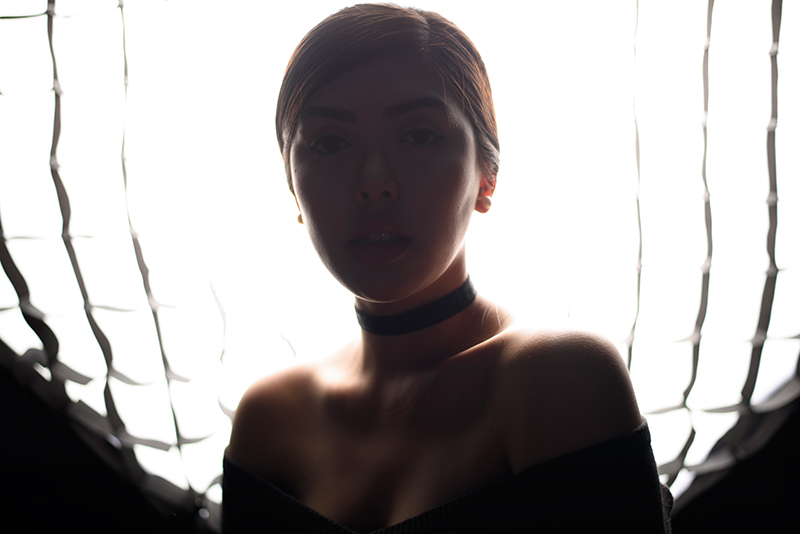
Final Results:
There you have it, a very simple but elegant lighting inspired by a selfie.