How to Avoid Ugly Newton Rings When Doing Nikon Glass Scanning
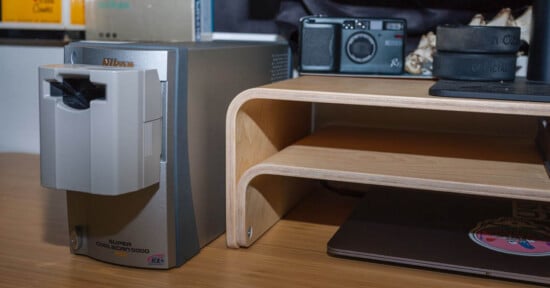
The Nikon Coolscan 9000ED scanner is an excellent scanner. The included holders are of a very good standard and many extremely useful and high quality optional holders are available. None of them, however, are cheap.
Nevertheless, I had ordered some glass insets some time back from Focal Point — mostly out of curiosity. In my limited testing the gains were modest and the extra effort significant so they mostly stayed in the box.
In the past six months my camera stable grew to include two medium format folders: the new Lomography X 6-12 6×12 camera and a beautiful German Agfa Record III 6×9 folder with the high quality Solinar lens. All of a sudden I was having significant challenges with film flatness. Try as I might I could not get the flatness I needed out of Nikon’s “tension” holder.
The product offered by Focal Point for the 9000 is a pair of glass inserts that fit in the standard FH-869S film holder. The standard way of doing this is to make a sandwich with the Anti Newton Ring (AN) glass on top facing the “shiny” side of the film and the standard glass on the bottom in contact with the emulsion side of the film.
Since the shiny side is usually the side that has bad Newton Ring problems this is meant to work well. However, in my experience with the films I shoot (and maybe the climate I’m in) I often find that the emulsion side is smooth enough to give rings and I invariably only find these later when I’m editing. These problems dissuaded me until my new cameras prodded me to solve the problem.
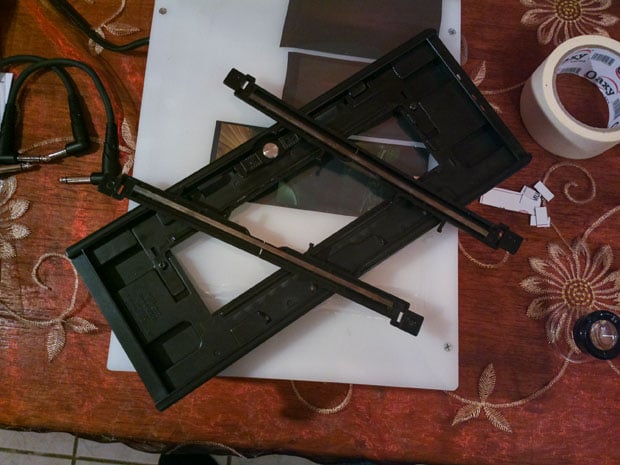
First of all, here is the standard Nikon FH-869S holder with the tension clamps removed:
I have two pieces of the Focal Point glass. One plain and one AN. The AN glass has a sort of frosting on one side. You won’t see this by just looking at it but you can see it easily if you cause a bright light to be reflected by it.
Here is the shiny (plain) side:
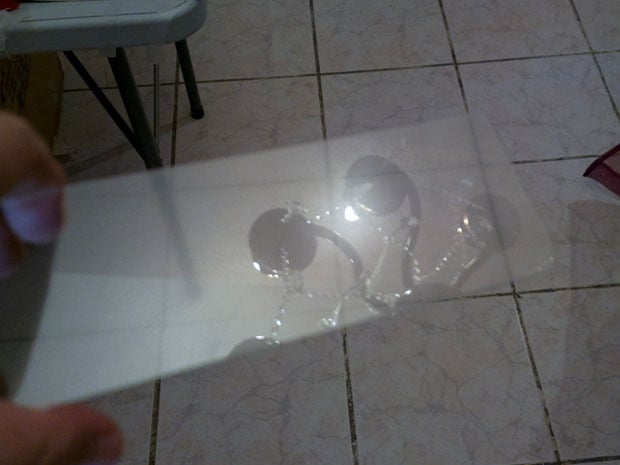
Here is the “frosty” Anti-Newton side:
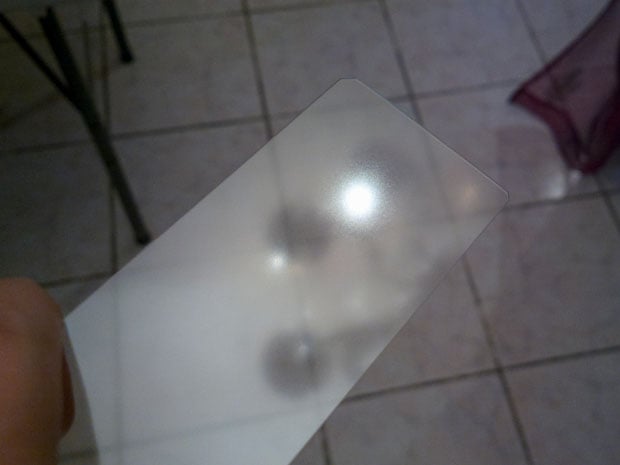
It is hard to tell from these shots but both sides of the Focal Point glass look equally clear until you get a bright reflection bounced off them.
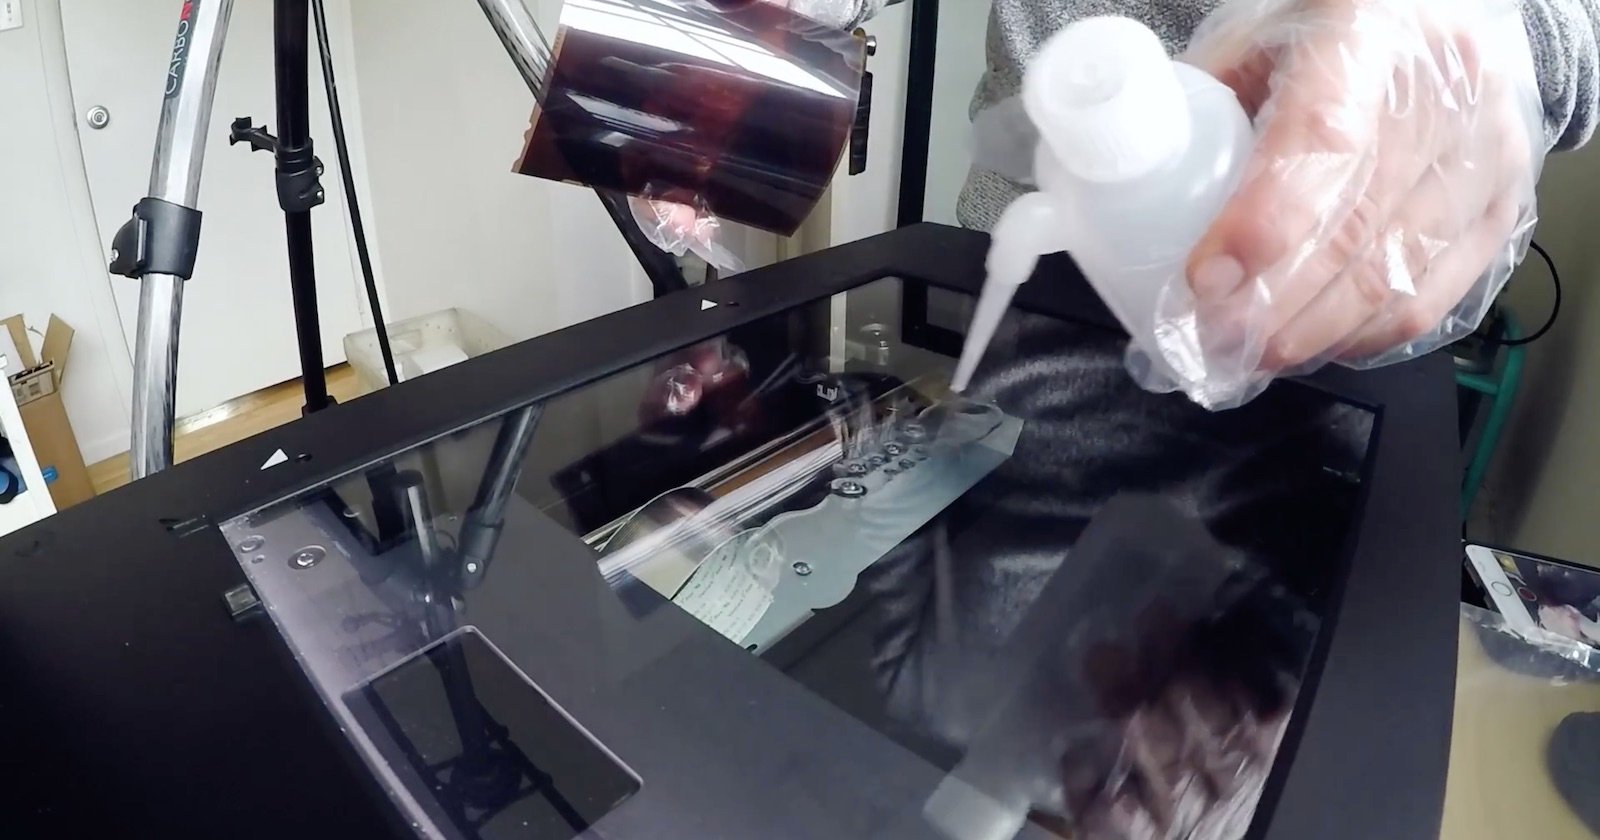
To scan without Newton Rings we are going to take advantage of the features of the AN glass and the Nikon holder. First step is to find the AN side of the glass and lay the glass down with the AN glass facing up. The second step is to lay the piece of film on the glass with the shiny side of the film facing the AN side of the glass:

Next step is to carefully tape down one end of the film to the glass. Once the one end is taped down you need to place some tape on the other end and tape it down whilst applying tension along the length of the film. This tension will keep the film firmly against the glass in the middle although the sides will still curl away:
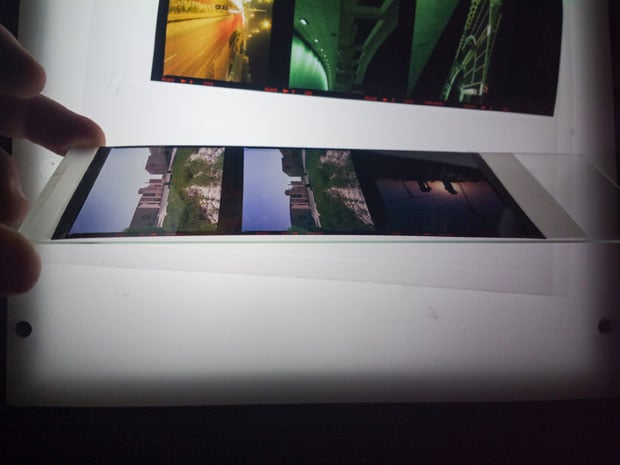
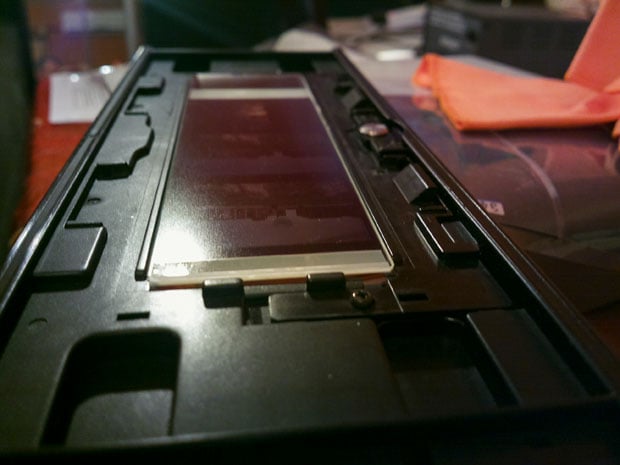
You don’t have to worry about these edges because the next step is to place the glass in the holder with the film facing down. The film edges will now be held flat against the glass by the edges of the film holder:
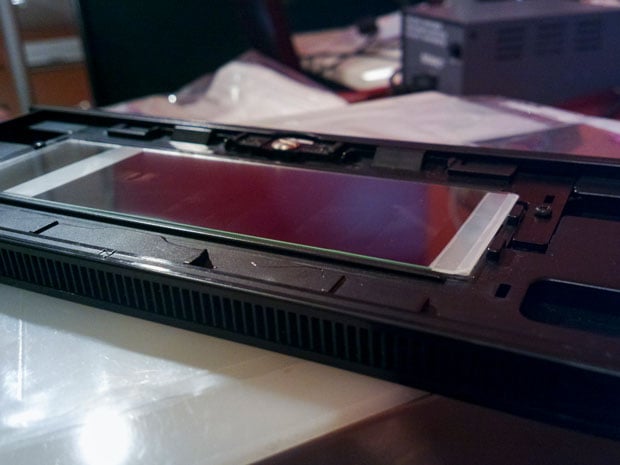
The thing to watch for now is that the glass will only sit down flush in the “channel” in the holder if you carefully press it firmly and evenly down into the gap. It is a tight fit. It is a tight enough fit that you may or may not need to tape the assembly down. I usually tape it down just because if it does pop up you have to do your whole scan over again. Here is the same glass and film assembly properly pressed down. Note the edges of the glass versus the edges of the channel in the holder:
There are a number of advantages to this way of doing it:
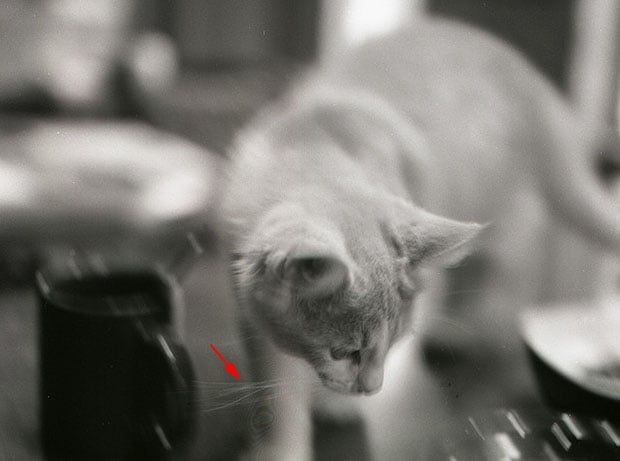
- You avoid the Newton Rings that arise from the emulsion side sitting against the plain glass at the bottom of a traditional glass “sandwhich”. These are the only kind I used to get
- You avoid scanning through a layer of glass. The emulsion still faces the lens with nothing but air in between it and the scanner’s lens
- You only have two extra surfaces contributing more dust to your scan versus four extra surfaces when using both pieces
- Setup and teardown is faster than when making and securing a glass sandwhich
- Dealing with extremely curly films is much easier because you tape one end and then tape down the other end using tension. It can be very hard to get a curly piece into a sandwhich
I hope this solution is useful for some other of you Nikon scanner owners out there. I do find the larger the piece of film the more objectionable the random soft areas from non-flat film become.
About the author: Sam Agnew is a professional photographer based in Doha, Qatar. Visit his website here. This post was originally published here.
Image credit: mag354 1024 by Nesster