How to Make a Thread Wrapped Leather Camera Strap

I have a small obsession with cameras, also, a slightly smaller obsession with film cameras. My favourite camera is Lubitel 166B. It is a medium format camera, this basically means it has a large image area to capture photos, using the larger 120mm film. The Lubitel’s were twin lens reflex (TLR) cameras. They have a little pop up cover on top, you then look down through the viewfinder. The nature of holding the camera like this will getting the settings set up for the shot can sometimes be a pain, so having a nice camera strap to hold it at the correct height, and nice and steady is a great idea.
Step 1: Materials and Tools

Materials and tools needed include:
- Some nice slightly supple leather, about 3mm thick should do. I used an old leather belt of mine, belts are normally plenty long enough, and proper leather ones will work nicely.
- A couple of keyrings (the round slip rings)
- A spool of thread
- A normal household stapler
- PVA/Elmers Wood glue
- Good sharp knife
Step 2: Cut a Strip

For my leather I used belt, this made cutting my leather very easy. I basically split the belt in half clean down the middle. I only used one half, so you can get two straps out of each belt. I plan to make a second one for another one of my cameras.
If your struggle to balance the ruler on the leather, I have two suggestions,
- Using some scraps of leather or card/paper add some support under your ruler for when cutting
- Tape the leather onto the cutting board, this makes it much hard for the leather to slide and move as you cut it.
Be sure to measure and mark all the way down the belt to get a nice parallel strip.
Step 3: Check the Length

Once you have your strips, a good way to check you got a standard width is to roll up your strip and see if it sticks up at all.
Next we need to get the right length for your camera of choice. For most cameras its a case of holding the camera at a point that feels right for you. A normal strap length would place the camera resting on the crest of your rib cage.
For my camera it is slightly different, a Twin Lens Reflex camera is held at a specific distance down from your eyes. I decided it would be handy to have the strap hold the camera at this point. So that when I am setting up a shot it will take most the weight while I mess around.
Once you have your distance mark on the inside of leather for the next step.
Step 4: Adding Some Rings

Don’t cut down the length of your leather just yet! Lets attach our ring first, its easy enough to cut down the leather afterwards. Place one of your keyrings onto the strap where you marked. Fold the strap over so that it folds on the line where the keyring is. I decided to add an extra bit of security here, I did this by placing my folded leather onto an old cutting mat, I then used a staple gun to plonk a few staples through both layers, you can then peel the leather off the mat and fold over the staple ends.

You can see that with my strap I used a normal stapler, as you can see, only two of my staples went in, and they only just went in, you can do it with a normal stapler, but use a staple gun if you have it!
Step 5: Thread Wrapping

You want to start wrapping your thread about 20mm from the end, or wherever seems right to you. Tuck the end of your thread into the gap between the leather. Place your spool on a pencil, and hold the pencil with your knees, or in a vice. Once your thread is stowed somewhere, you can go about wrapping the leather with thread, start slowly and work your way up the strap, the more you wrap around the faster you will get, you can make it super neat, or kinda messy. Your choice. If you want a bit more of a ‘funky’ look, you can use a coloured thread, perhaps to match the colour of your camera.

Once you get about 50mm up the strap that should be plenty to hold the leather. Using a needle tie off the end of the thread, and tuck the spare end into the leather.
Step 6: Extra Strength

I performed an extra strap on my strap, did not fancy £100 worth of vintage camera smashing on the floor, when I could prevent it with lots of extra steps.
My final extra step was to cover my thread with glue, I used a PVA/Elmers glue. Which I used to just cover the thread. This stops all the thread unravelling if one section gets worn over time.
Step 7: Finished

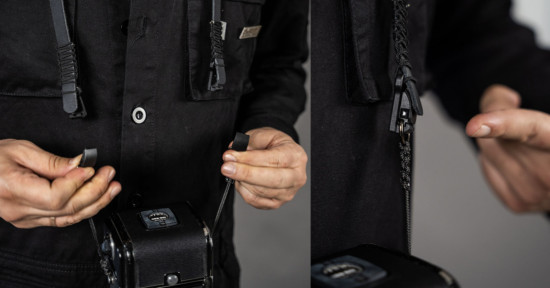
The final step is to thread your strap onto your camera, this should be easy enough using the keyrings. There are a few other options for different cameras.
- Instead of using keyrings you could use little clips
- Using smaller or larger keyrings depending on your camera
- Adding a small extra keyring onto the existing keyrings
- Adding a small extra bit of leather thong to attach the keyring to the camera
Any other suggestions you have, be sure to add it in the comments. Thanks for reading.
About the author: gmjhowe is a british based graphic designer who enjoys hacking and modifying everyday objects in his spare time. You can check out his other projects over at Instructables, or follow him on Twitter.