How to Make Your Own Instant Film
A decade ago, I stumbled upon a page where someone detailed their process for crafting their own instant film, something similar to Polaroid Type55 or the New55. At that time, the instructions seemed too complex for me to tackle, and I never ventured into the world of instant film creation.
With that in mind, I decided to create a video and write an article to guide anyone interested in crafting their own instant film and taking the plunge into this venture. So, here’s your step-by-step guide on how to make your own instant film.
Making the Monobath Paste
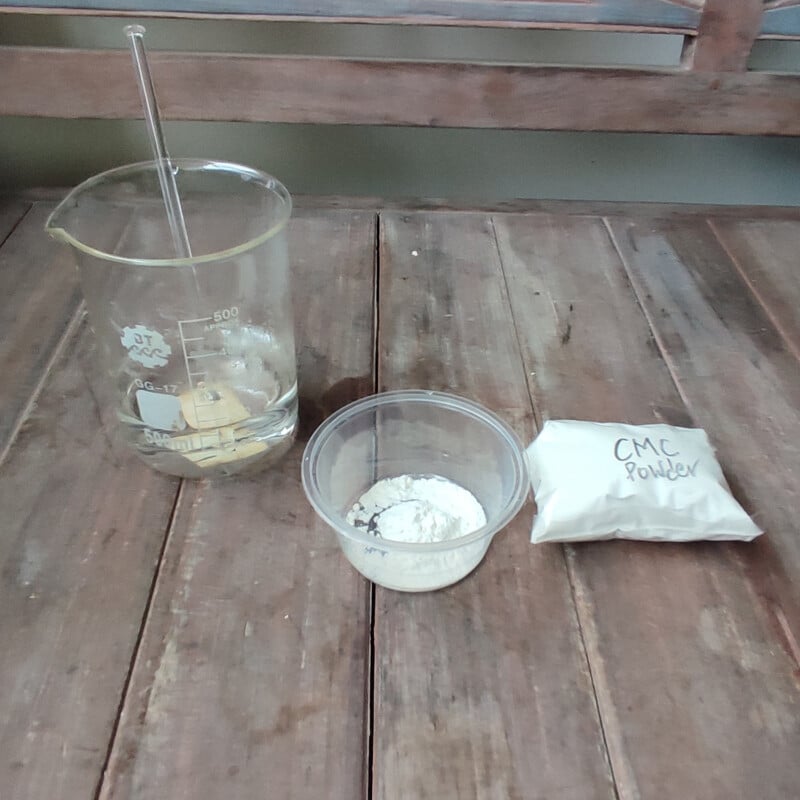
Step 1. Thickening Agent: Combine 5g of Carboxymethyl cellulose (CMC) powder with 100ml of water. Heat the water to approximately 70°C, then gradually add the CMC powder while stirring continuously. Keep stirring until you achieve a uniform, viscous paste. Cover the mixture and let it sit overnight or for a few days to get rid of the air bubbles and smoothen the paste.
Step 2. 15% Sodium Hydroxide Solution: Mix 7.5 grams of sodium hydroxide in 50ml of water. Caution: Wear safety glasses and gloves as this mixture may splatter and generate heat. Let it dissolve and measure the pH. You may need to add sodium hydroxide or water until you reach a pH level of 12
Step 3. Monobath:
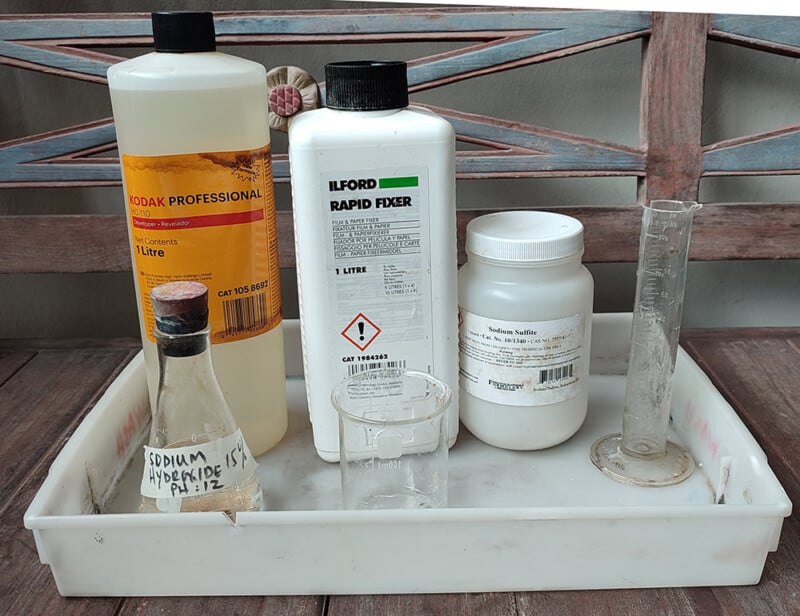
3a. Combine 8ml of Kodak HC110 (using the newer, less viscous HC110).
3b. Add 1 ml of Ilford Rapid Fixer.
3c. Mix in 4ml of sodium hydroxide from step (b)
3d. Add 0.5 grams of sodium sulfate.
3e. Next, add 10 ml of the thickening agent prepared in step (a) to this mixture. Stir and blend thoroughly. The pH of this solution should be around pH 9. Cover it and let it sit for a few hours or even a day until the paste becomes smooth and well-incorporated.
Creating the Pod
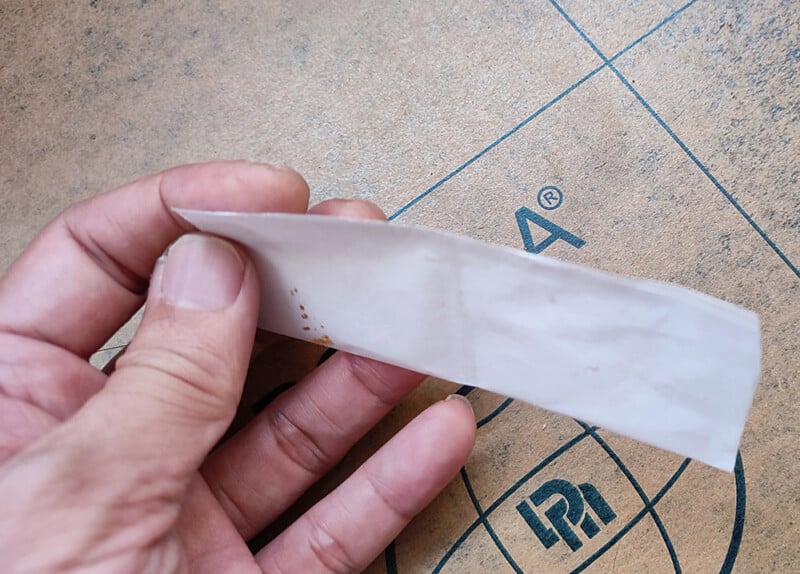
Step 1. Cutting the Freezer Paper: Take a piece of freezer paper measuring 12×7 cm. Fold it in half along the long side, with the plastic layer on the inside.
Step 2. Sealing the Long Side: Seal the long side using an appropriate heat sealer. I used setting no 3.5. The goal is to create a strong seal that won’t leak but is still weak enough for the rollers of the Polaroid 545 to break.
Step 3. Dividing the Pod: Increase the heat sealer setting (to 4.5 in my case) and seal along the center of the short side. This effectively divides the pod into two pockets.
Step 4. Filling the Pod: Use a syringe to inject 1ml of the viscous monobath into one pocket and seal the short ends. Repeat the process for the other pocket. Both seals should be sealed using the higher setting.
Receiver Positive Sheet
Step 1. Preparing the Sheet: Take expired Ilford RC 5×7 paper and fix it in rapid fixer (1+9) for 2 minutes without exposing it. Wash and dry it, then cut it to a width of 4 inches, leaving the length uncut.
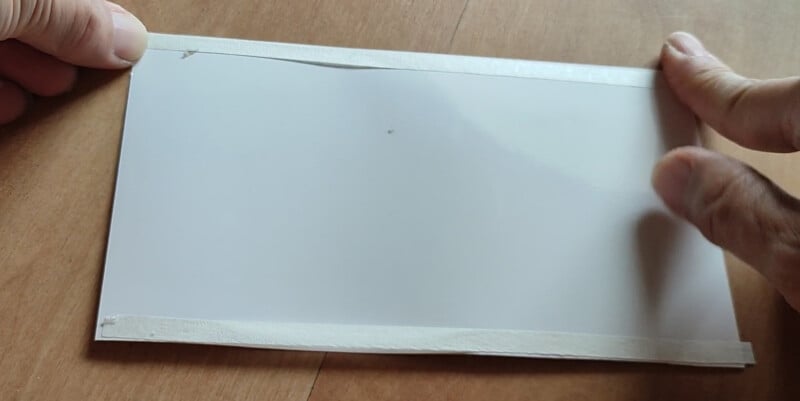
Step 2. Creating Space: Apply two narrow strips of masking tape along the two long sides. This creates a gap between the sheet and the negative, allowing a layer of monobath paste to be spread between the two surfaces.
Using Foma RC Paper as the Photo Negative
Here’s how to prepare the negative:
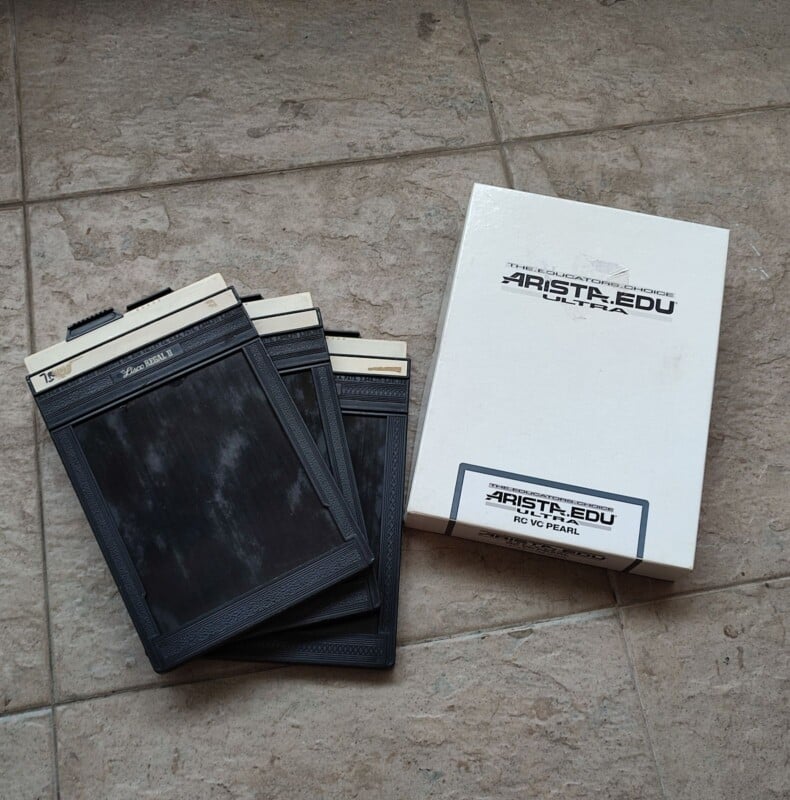
Step 1. Cut the Foma RC paper down to 4×5 size and load it into the 4×5 film folder.
Step 2. Use a 4×5 large format camera to expose this photo paper negative (ISO 6).
Step 3. Since photo paper is used as the negative, final assembly can be done under red safe light conditions. If film is used as the negative, it must be assembled in total darkness.
Step 4. Place the exposed photo paper negative (emulsion facing down) on top of the positive paper at the pod to make it stick to the double-sided tape
Assembling the Pod
To simplify the assembly process, create a rig to help in aligning the pieces
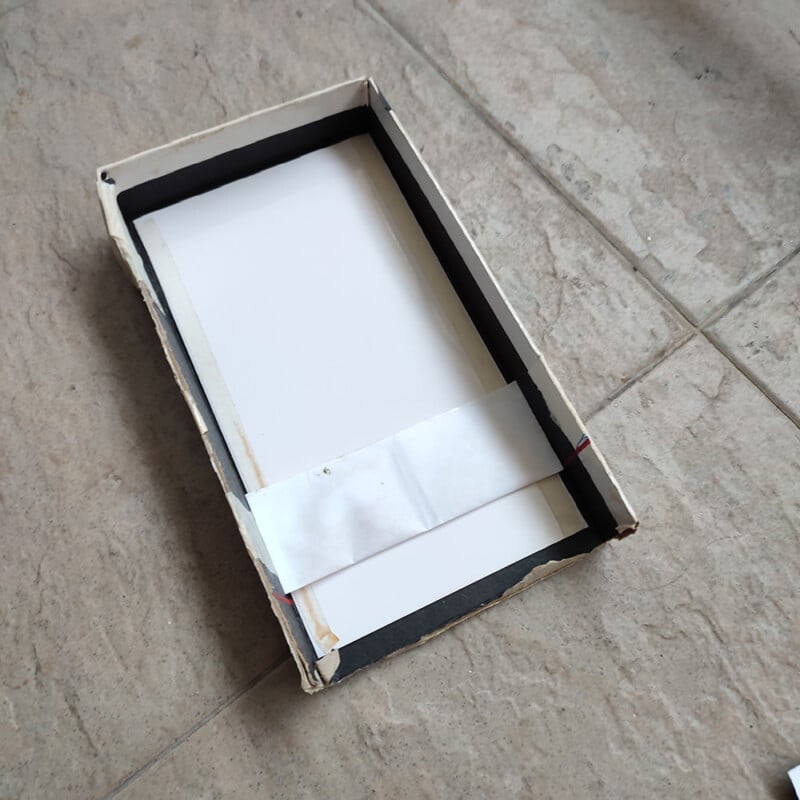
Step 1. Place the fixed photo paper with the emulsion side facing up.
Step 2. Securely tape the pod onto this paper.
Step 3. Apply a piece of narrow double-sided tape on the top side of the pod. This will allow you to attach the negative sheet on top of the pod, ensuring alignment between the negative and positive sheets.
Processing
Step 1. Use a piece of black paper to craft a black envelope that encloses the assembly. ( I used white paper in the video demo)
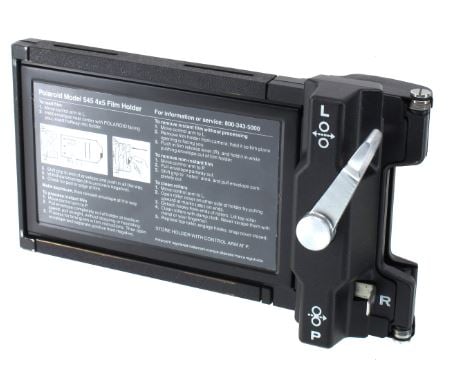
Step 2. Load the entire assembly into the Polaroid 545 holder and slowly and firmly pull it through the rollers.
Step 3. If all goes well, the pod will break and spread the monobath paste between the negative and positive sheets.
Step 4. After 5 minutes, remove it from the black envelope and carefully peel it apart to reveal a positive image and a negative.
Step 5. Finally, fix the negative paper with some rapid fixer to stabilize it. For the positive sheet, a simple wash with water to remove the paste.
Example Results
![]()
![]()
![]()
![]()
Conclusion
This isn’t instant film in the commercial product sense since you need to shoot the negative separately and manually assemble it in the dark. However, this concept provides insight into how diffusion transfer reversal works, opening the door for further experimentation.
About the author: Cheng Qwee Low is a (mainly) film photographer based in Singapore. In addition to using cameras ranging from 35mm to ultra-large-format 8×20, Low also enjoys alternative processes such as kallitype and albumen printing. The opinions expressed in this article are solely those of the author. You can find more of Low’s work on his website and YouTube. This article was also published here.