How to Turn iPhone 14 Pro Snapshots Into High-Quality 48MP HEIC Photos
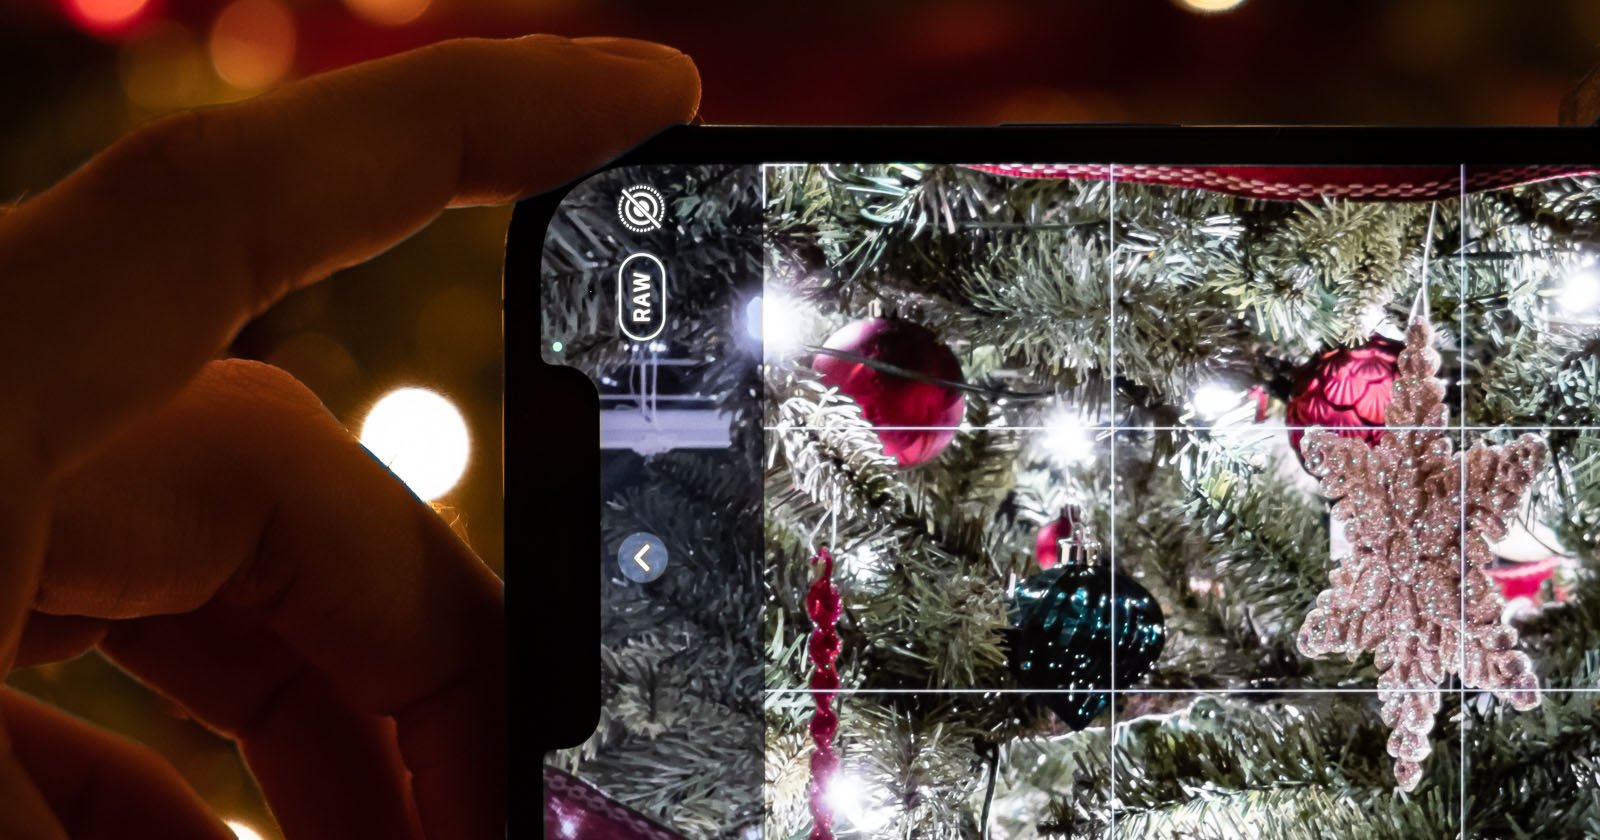
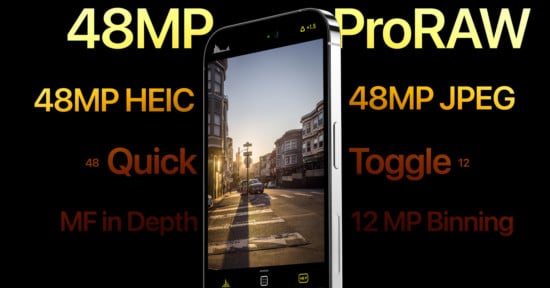
Did you know that you can capture 48 MP HEIC files, not just ProRAW DNG files, on your iPhone 14 Pro? No? Well, neither did I until I started to wonder about this possibility on a recent vacation to the beach with my family.
iPhones and smartphones have had quite an impressive journey over the last 15 years. Some would argue that the quality of some of the latest mobile phones rival that of DSLR and mirrorless cameras. Having used digital cameras for the better part of 15 years, I find myself using my iPhone way more often for everyday photography than my other digital cameras. Why? The image quality has become extremely comparable and the best part is the camera is always on you.
So as I was pondering this conundrum of wanting to shoot ProRAW all the time but worrying about disk space used, I decided to turn to Reddit to see what others had to say. That’s when I landed on this thread.
User /u/grapplerone points out that you can convert the ProRAW DNG files to HEIC files using an Apple Shortcut. Brilliant!
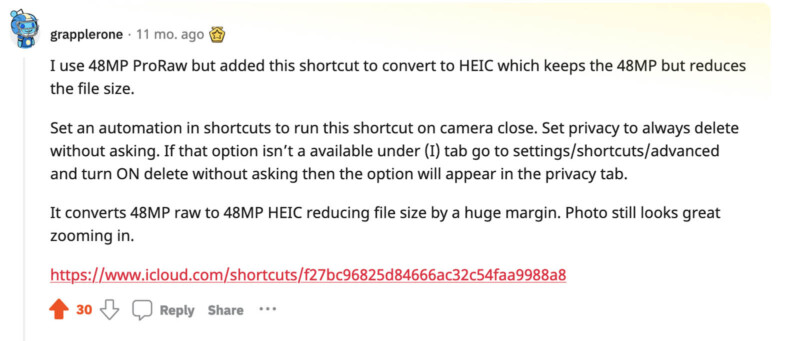
Here is the Apple Shortcut: https://www.icloud.com/shortcuts/f27bc96825d84666ac32c54faa9988a8
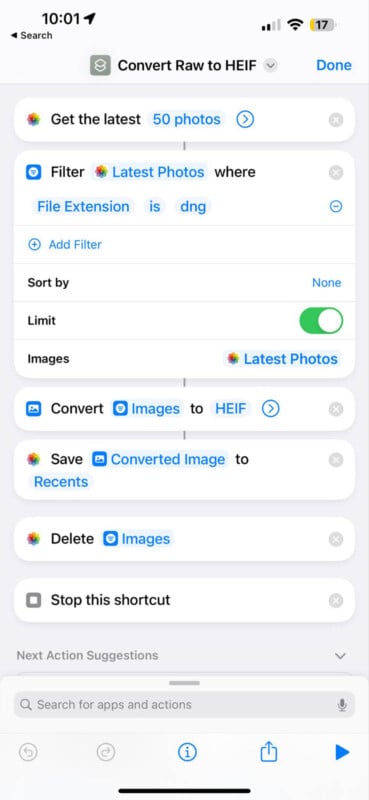
Here’s what the Shortcut looks like when installed:
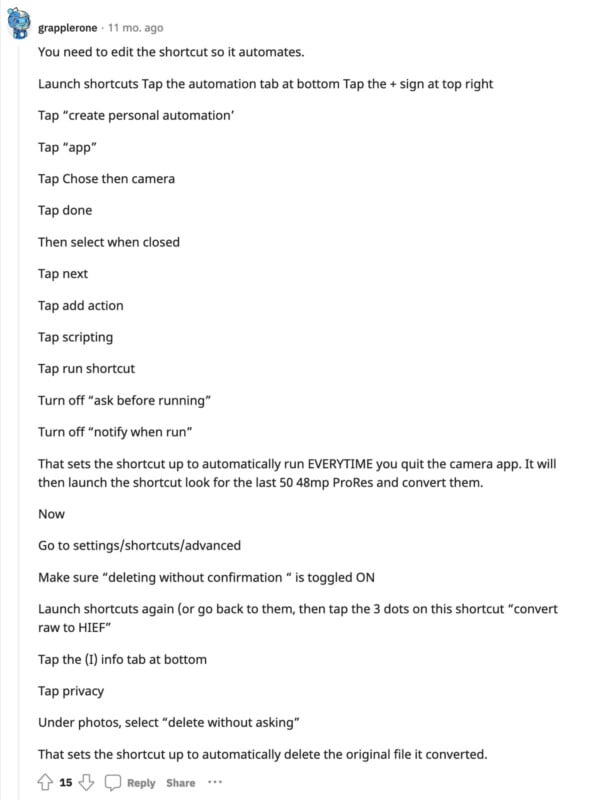
The Reddit user further points out that in order for the shortcut to automatically run, rather than manually tapping on the Shortcut to convert ProRAW (or RAW) DNGs to HEICs (and also deleting the DNG file), you need to follow these steps:
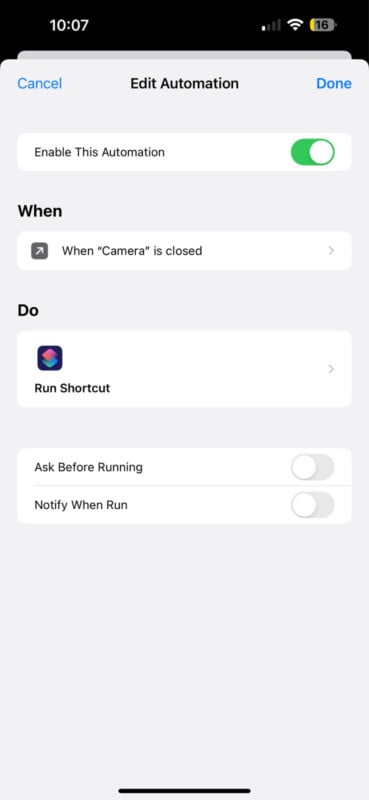
Here’s what the automation looks like:
After I read through the thread, I implemented this conversion process on my iPhone 14 Pro Max. Voila! I was snapping ProRAW files that would immediately convert to ~3 – 10 MB HEIC files (and delete the original ProRAW DNGs) once I closed the Camera app.
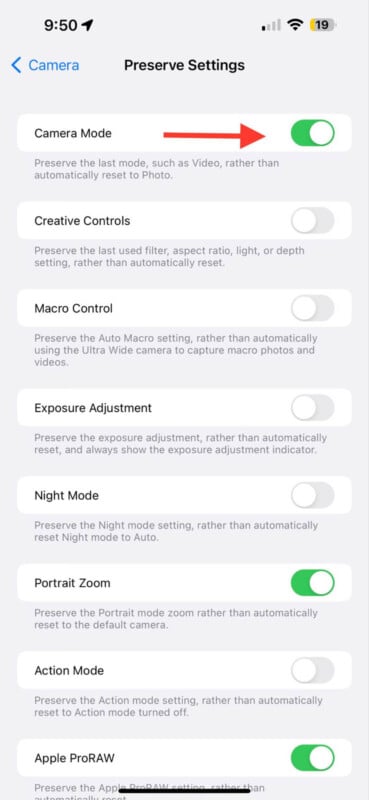
In order to capture in ProRAW and preserve the ProRAW settings in Camera, visit Settings>Camera>Preserve Settings>Camera Mode and toggle on. This way, when you have RAW enabled in Camera it will always remain on.
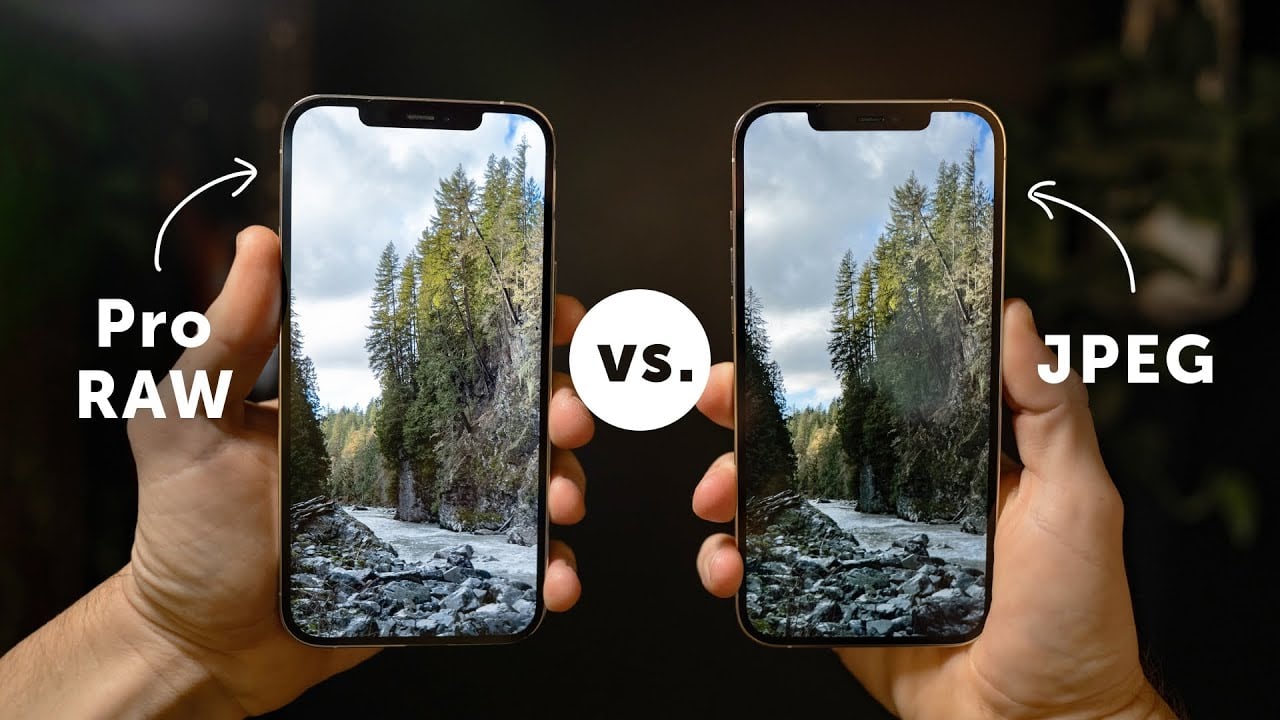
Obviously, any discerning photographer knows that you don’t get the flexibility and dynamic control in a HEIC file versus what you would with a ProRAW file, but mind you, this is on your iPhone and mainly for casual everyday snapshots. Besides, the exposure is more than likely automatic on your iPhone so you don’t have to worry about botching a shot via under or overexposure and having to correct in post.
A noticeable downside to this process is that your DNG files are placed into your trash folder in Photos. So if you want those files, you’re going to want to transfer them to another folder or computer or write another script that somehow keeps those files. Another caveat is that ProRAW capture in the Camera app is slower than standard HEIC/JPEG capture. So if you are a spray and pray mobile photographer, this solution may not suit you.
Not only do you now have access to 48 MP HEIC files, but you also bypass the garbage processing that Apple has introduced on standard HEIC files. Perhaps this is more of a subjective opinion, but I’d argue to say the processing has gotten more aggressive over the years and really makes what would otherwise be a decent smartphone image look overprocessed.
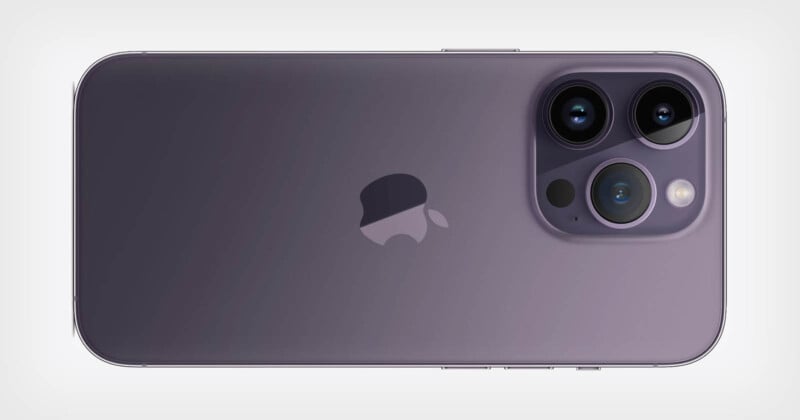
Go forth and unlock the power of 48 MP HEIC files on your iPhone 14 Pro!