How to Make Your Digital Photos Look Like They Were Shot on Film
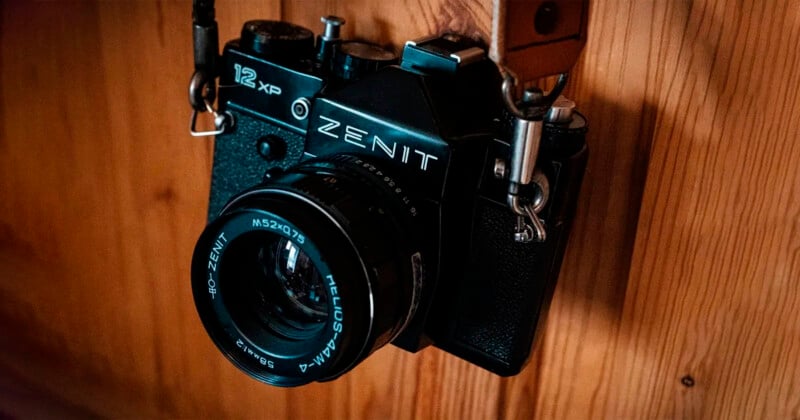
I don’t enjoy my Zenit camera (it keeps chewing up film) but the lens that comes with it (the Helios 44/2) is legendary for its surreal swirly bokeh, so is an excellent choice to adapt. It’s often cheaper to buy the camera and steal the lens than buy a copy of the lens.
Being one of these film fanatics myself I totally get it: analog photography gives us imperfect, flawed photos with bags of character. With digital cameras getting sharper and more perfect, social media filters, and more and more access to editing software, I think we are craving something more authentic. We want those flaws and rough edges back in our work.
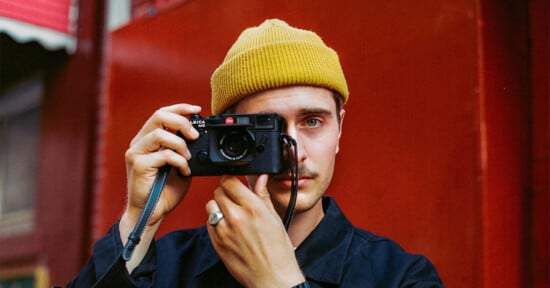
Of course, the easiest and most accurate way to get that film photography look is to buy analog cameras and shoot film. But with prices going through the roof for both film and vintage camera equipment, this isn’t possible for a lot of people. Even as a professional photographer myself, using digital for the majority of my work makes more sense (as a wedding photographer I usually pack digital cameras and an instant camera. My medium format and 35mm film cameras usually stay home).
This article is meant as a starting point for experimenting and getting that analog roughness and expression into your digital work.
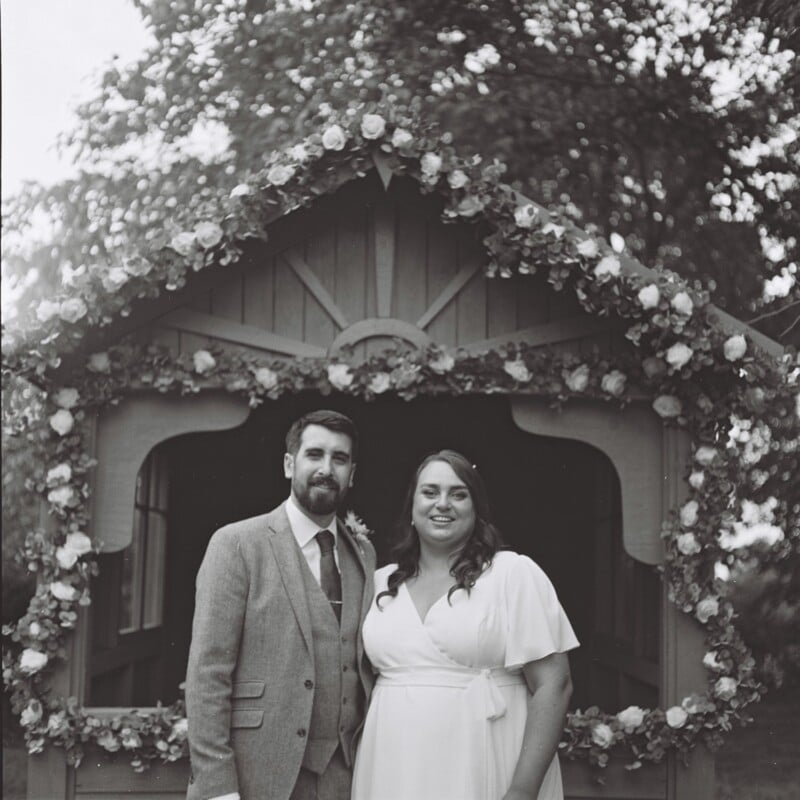
Shoot Vintage Glass
There are loads of great manual-focus vintage lenses on the market and they can bring bags of character to your work. They also tend to be super cheap – especially those for discontinued lens mounts like the M42. You can pick up an adapter for your camera from Amazon or eBay and be off shooting for the fraction of the price of a new digital lens.
Having to manually focus also means that you will not always be spot on, adding character without even trying. I find the art of manually focusing also makes me more aware of where I’m placing my focus and opens up creative possibilities I may have missed if I leave it to my supercomputer digital camera.
Make Your Modern Glass Look More Vintage
You can also experiment with filters. This summer I’ve been using black pro-mist filters (these are produced by Tiffen, Cinebloom, and K&F). They make the highlights bloom and slightly soften the image – giving that dreamy look that we often associate with film and analog photography. If you don’t want to fork out for filters, a stocking over the lens or Vaseline on a filter can give a similar look.
A lot of manufacturers are also making modern lenses with a more vintage feel. I have a Mitakon Speedmaster lens that I love to bits, but companies like 7Artisans and Meike are making great cheap lenses that have a character all of their own. They may be a bit soft around the edges and not have the modern coatings – but it all adds to the feel.
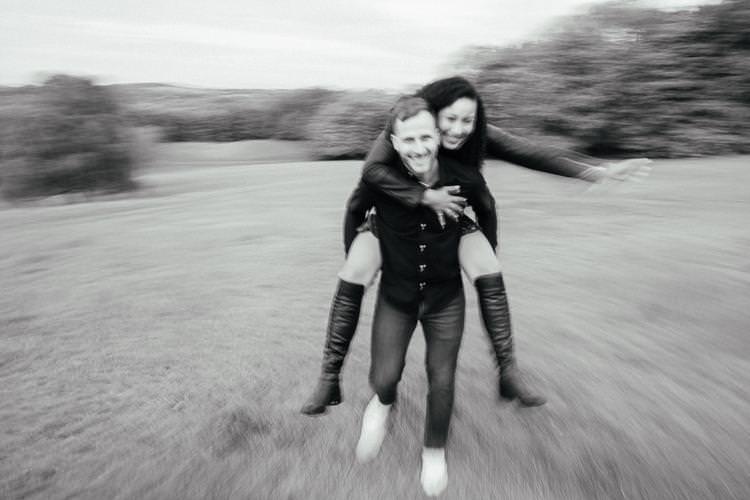
Slow the Shutter Speed
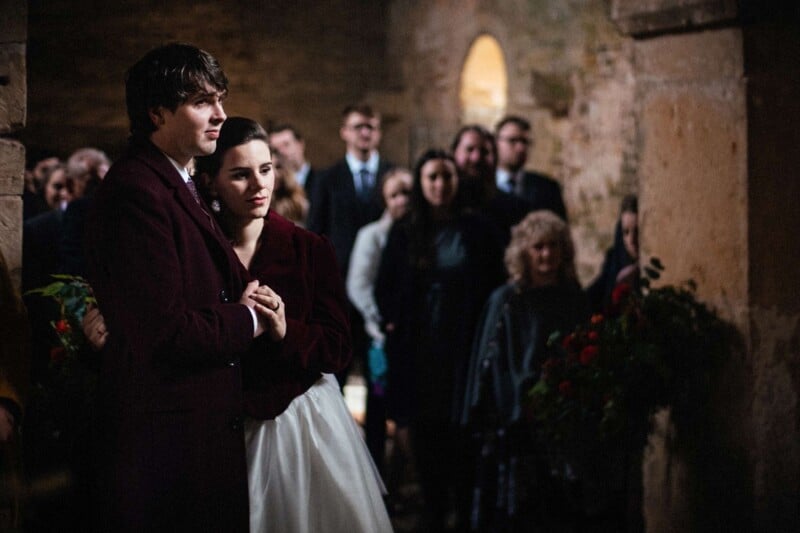
Often when looking back at older photos we see motion blur (or people trying to hold very still). This is often because the photographer had a slower film stock in his camera (it does not often turn out well when you push film to the same ISOs as digital cameras). Medium format cameras often come with lenses that start out at f/4, so with the aperture and the ISO hampered (and the need to shoot at higher shutter speeds anyway, as it’s medium format) blur is very much part of the user experience. Slow your shutter down and you will open up a whole new world of creative possibilities
Use That Flash
Use the flash in the way that everyone tells you not to – direct and full-on. If you want to emulate instant film or cheap point-and-shoot cameras just hit your subject with the flash, straight on. Because that’s how a lot of vintage cameras take their photos in poor lighting conditions.
If you want a more refined and controlled look (think Larry Fink or Martin Parr) you can also get a cable and take your flash off the camera to add direction to the light.
Editing Programs and Presets: Film Looks Out of the Box
Exposure X7 is one of my favorite programs for getting the film look straight out of RAW files. The quality of the grain rendering in Exposure is heads and shoulders above all the other editing options I’ve tried – you can assign it just to shadows, highlights or to help bring out detail. It also has creative tools to add light leaks, lens flares, and all sorts of vintage goodness.
Saying that, I find it hard to make Exposure X7 fit my workflow well – so often my go-to when trying to match up film and digital files are Mastin Labs Lightroom presets. These do a great job of emulating the most popular film stocks and fit in really well with my Lightroom workflow. Mastin also provides a lot of instructional videos to help you match up the files to the scans you get back from the lab – which is especially helpful if you shoot a mix of digital and analog.
In the digital world, I use Fujifilm cameras, and Fuji is really good at creating film-like images straight out of camera. As well as the more analog experience of shooting with Fujifilm cameras and lenses I think this is one of the things that drew me to them.
Editing Tricks
I’m a liberal user of the Dehaze tool in Lightroom – if you use it for the opposite purpose it was intended! If you slide it to the left it will give a softer dreamier look that comes close to the look of Promist filters or vintage glass. If you want you can paint it into parts of the image where you want that softness.
You can also add grain in most image editing programs. The great thing about digital is you can add it to taste and on an image-by-image basis, rather than just seeing what comes out of the camera. Using a generous but well-blended vignette can help emulate that vintage lens look.
Film also comes with a pre-set white balance. So it’s useful to remember that if you want to emulate the film look accurately then set the white balance to match up with the film you want to emulate. Some images may be warmer or colder than you would have chosen if editing afterward – but that’s all part of the analog feel.
Change Shape
We’re so used to seeing photos in a 3:2 format (every digital camera) or 4:3 (iPhone pics) that switching to a different format
Medium format can be square, 6×7, 6×4.5… if you mix it up people will often assume it’s shot on film, especially if you put a fake film border on it.
Embrace the Benefits of Shooting Digital
Of course, the bonus of shooting digital is you can play with all these things in post-processing (you can choose the amount and style of grain you like, for example) – You aren’t dealing with the real-world limitations of vintage film cameras – so you can play around, take lots of photos and test photos and embrace the quicker learning curve that digital offers.