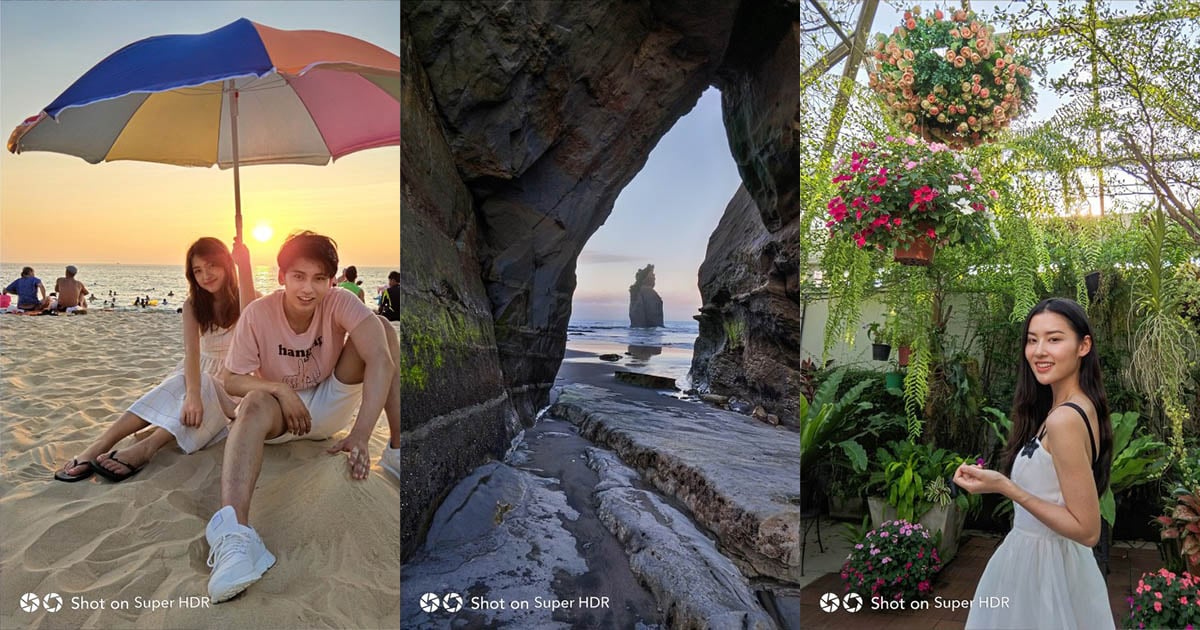
Understanding Fujifilm High Dynamic Range
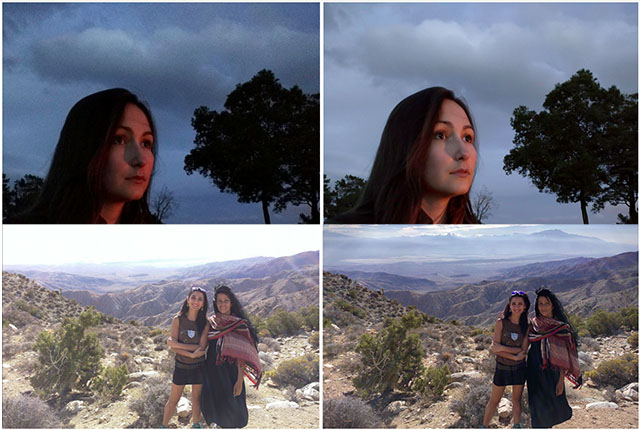
HDR stands for High Dynamic Range and is a setting available on several Fujifilm cameras, including the X-T4. HDR involves merging separate images together to create a single JPEG file in order to provide the maximum amount of dynamic range possible out of your image.
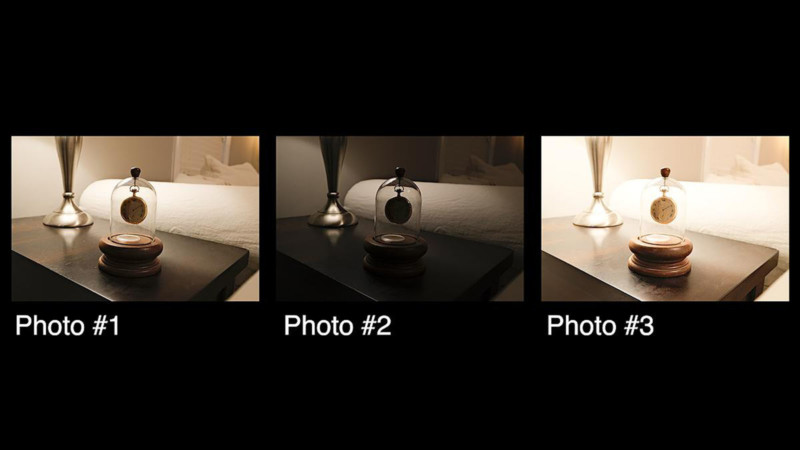
When you set your Fujifilm dial to HDR and press the shutter button, the camera will take three photos at once. Photo #1 will use the exposure settings you made at the time you took your shot. Photo #2 will be underexposed and Photo #3 will be overexposed. Then, the camera will merge together these three photos and save the result to the SD card as a single JPEG image.
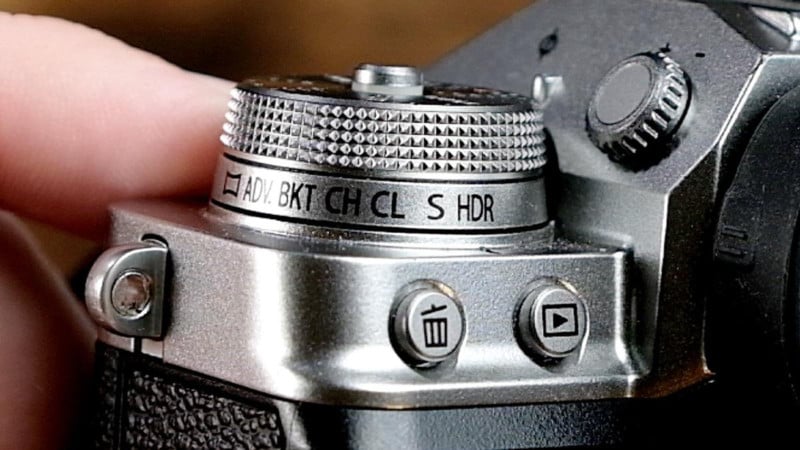
The X-T4 allows you to specify the exposure settings for the HDR image:
HDR 200%: Sets HDR bracketing to one stop of exposure.
HDR 400%: Sets HDR bracketing to two stops of exposure.
HDR 800%: Sets HDR bracketing to three stops of exposure.
HDR AUTO: The camera automatically chooses between HDR 200%-400% based on the lighting of the scene.
HDR 800%+: This is a more extreme version of HDR 800%. From what I was able to test in the video, it appears to combine the functions of HDR 800% with D Range Priority set to STRONG. According to Fujifilm, by using HDR 800%+, the “camera settings are adjusted for maximum variation in dynamic range.”
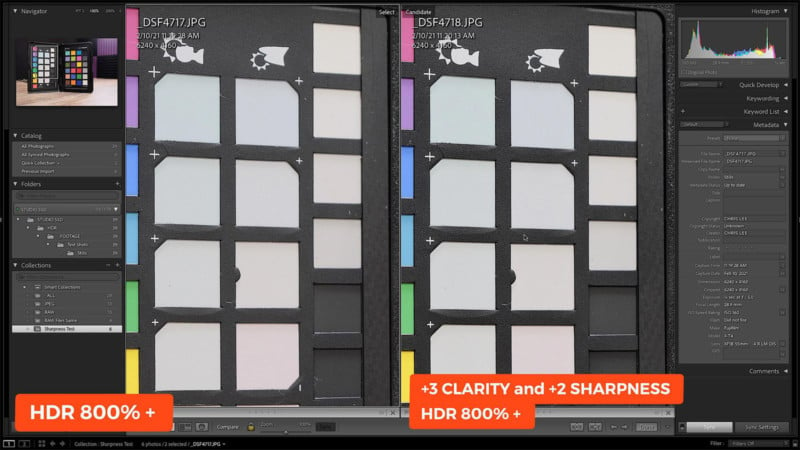
HDR 800%+ Is Very Noticable

While all the other HDR settings (200%, 400%, and even 800%) don’t have as much noticeable effect on the shadow detail of the images, the 800%+ certainly does. Almost too much, in fact. It often has a ‘muddy’ look to it if you’re not careful.
To help alleviate this, I recommend setting your Clarity to +3 and your Sharpness to +2 to bring back some ‘punch’ into the photo when using HDR 800%+. These clarity and sharpness settings can be found in your camera menu.
But RAW Files Are Also Affected!
Sort of. If you shoot in HDR mode with your camera’s output setting to (Fine/Normal) + RAW, then you will get two files: 1.) an HDR-produced JPEG and 2.) a RAW file.
The file size of the RAW is 3X larger than a normal RAW file from the camera. This is because the RAW file actually contains three separate photos inside the single .RAF file!
Included is the first photo that you shot, which is based on the exposure settings at the time you took the photo. Then, a second photo that is underexposed by however many stops you set HDR. And then, there’s a third photo that is overexposed.
However, when you open up that single .RAF file in Lightroom, Photoshop, Capture One, and so forth, it is only seen as one single file. And only the data in the first photo inside the file is used by the program.
It turns out that there is an official name for this kind of Fujifilm file: Fujifilm HDR RAF. But it gets even stranger. On the Adobe website, they indicate there is a setting that you can make in Lightroom where you convert the Fujifilm HDR RAF into an Adobe DNG file.
You must be in the Library module. Then, you select the photo you want to convert, go up to the Library menu item, and then choose “Convert Photo to DNG.” You’ll see a dialog box come up with a checkbox that says, “Embed original Raw file.”
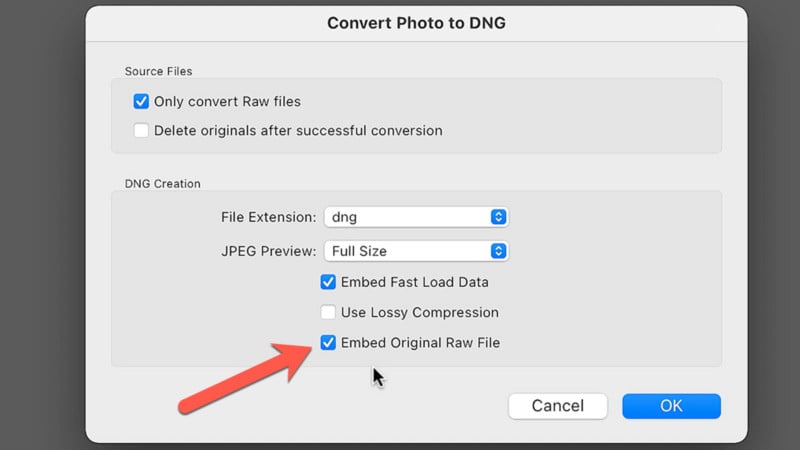
If you tick that box, supposedly Adobe will take information from all three of those embedded photos inside your one raw file and produce a DNG from that. I ran some tests doing this and unfortunately I found absolutely no difference using the embedded original options checkbox selected or not selected. In both cases, the resulting images looked identical.
It would be interesting to see if anyone has found a way to extract out the three separate RAW files from the single .RAF image produced by the camera. This way, all three files could be imported separately into Lightroom or Photoshop and merged together with far greater control.
Of course, the Fujifilm camera offers a very similar and actually much better process by using the Exposure Bracketing feature that’s also included in the camera. However, the HDR feature was important enough to Fujifilm to include on the very top dial in a prominent position, and it’s certainly worth exploring in greater detail.
Happy shooting!
About the author: Chris Lee is a corporate photographer, technical trainer, video editor located in the Atlanta area who created the pal2tech YouTube channel last year. The opinions expressed in this article are solely those of the author. Lee recently woke up one morning and realized that he loves teaching photography even more than actually taking photos. We know… he still finds that hard to believe also.