Exquisite Geometry: A Wacom and Projector Photo Shoot
This was my first time working with Amber. In preparation for the shoot, I told her the same thing I tell all of my models: bring 4-6 different outfit options and have hair and makeup ready when they arrive.
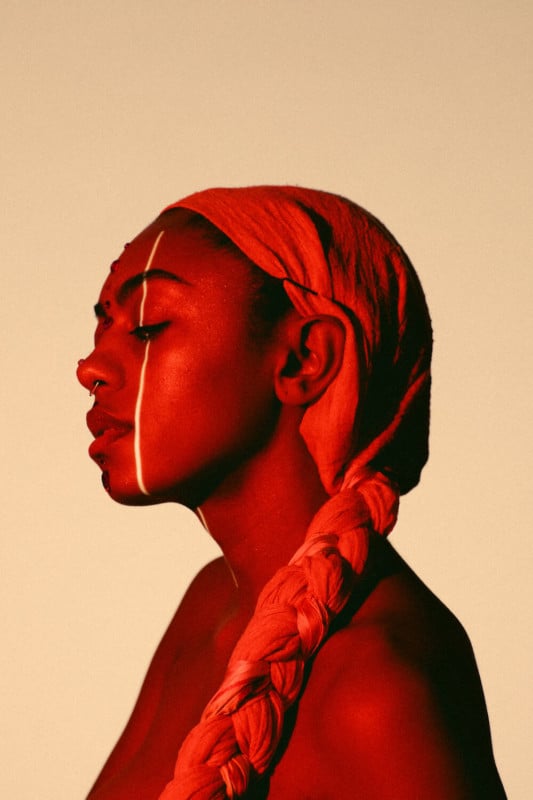
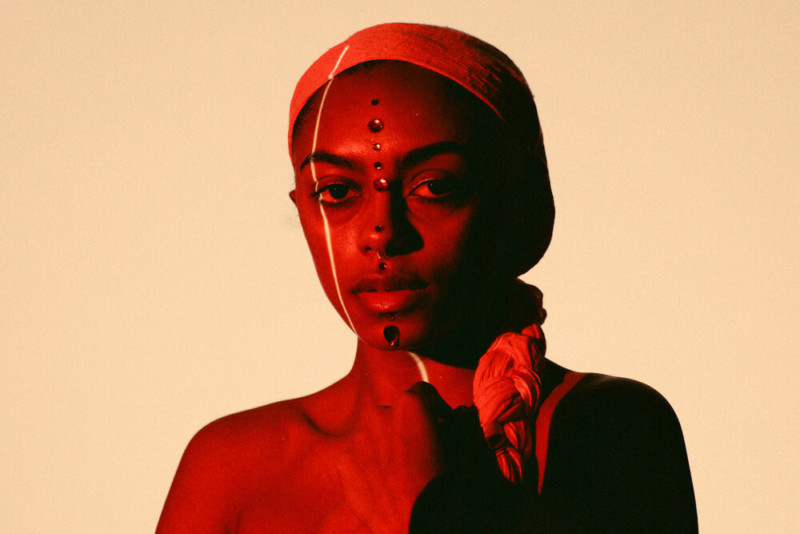
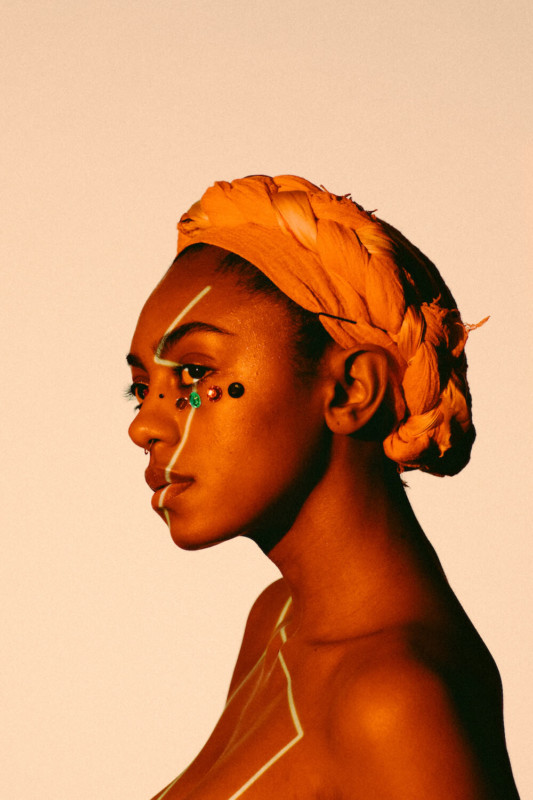
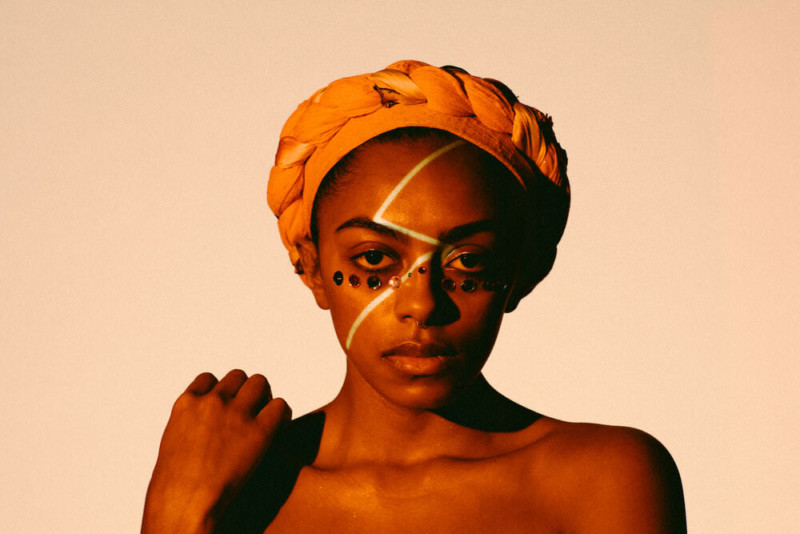
Along with several wardrobe options, Amber came to the shoot with a bunch of different head wraps and rhinestone stickers. Going into the shoot I loosely knew that I wanted to use a projector and play with colors and shapes, so I suggested that we keep it simple and do a beauty shoot showcasing different head wraps and rhinestone configurations (across the eyebrows; down the nose; across the jawline, etc).
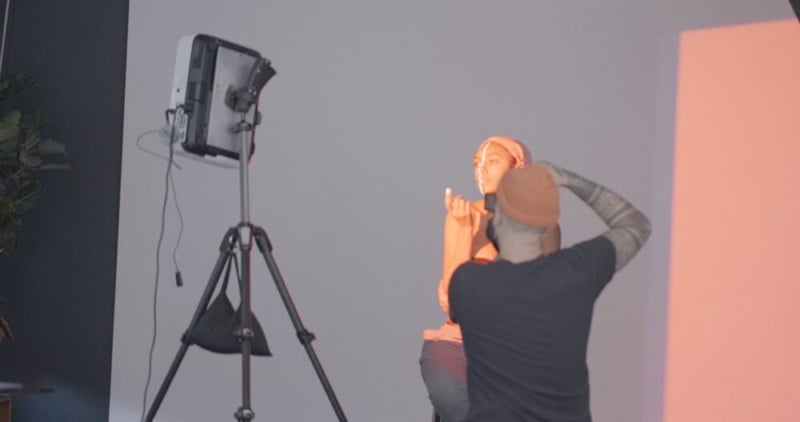
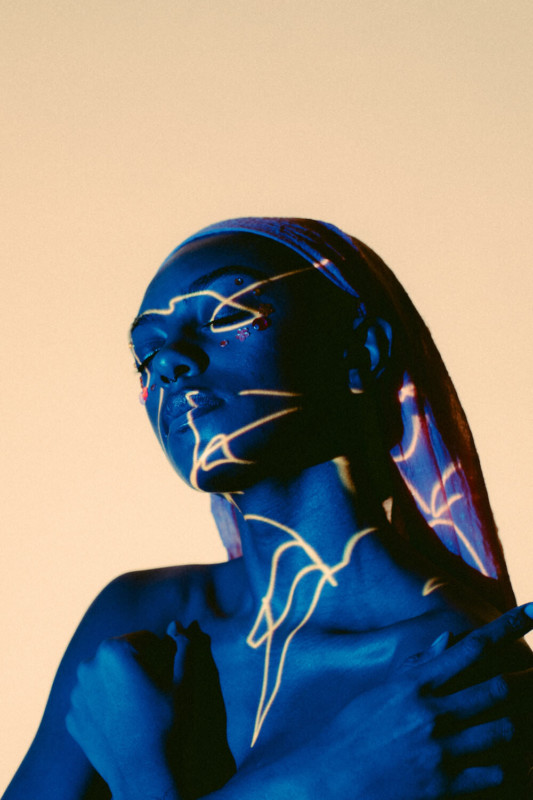
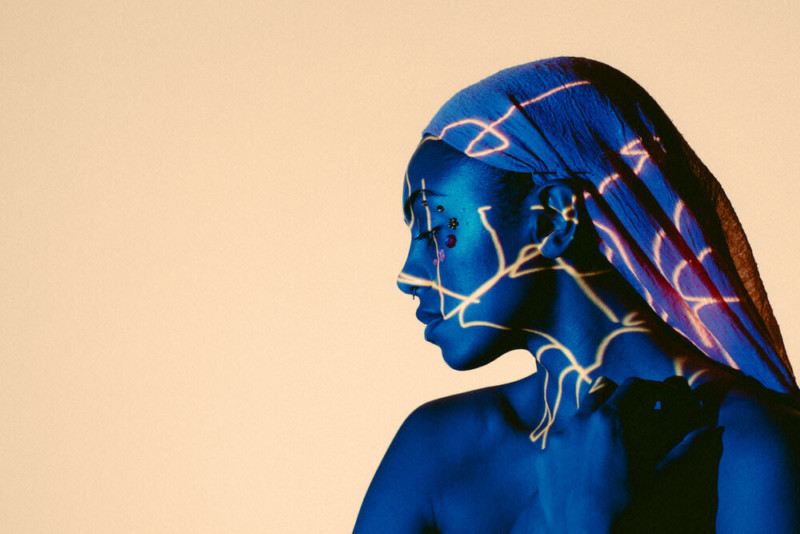
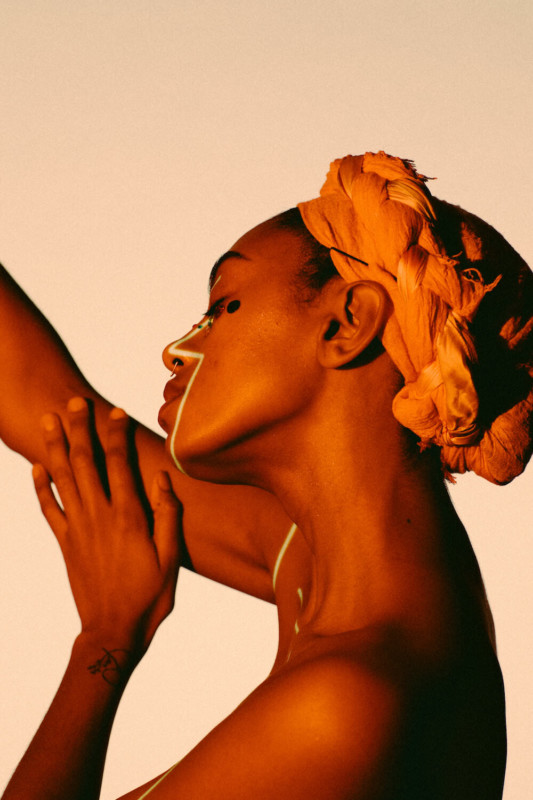
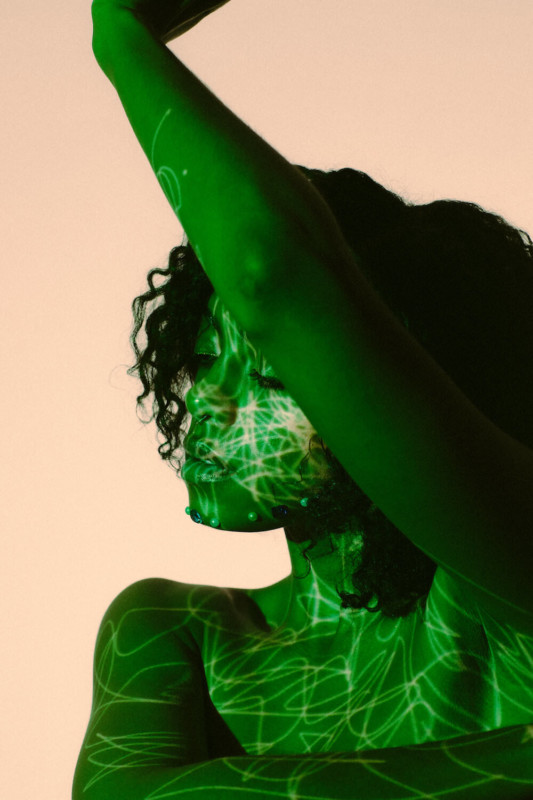
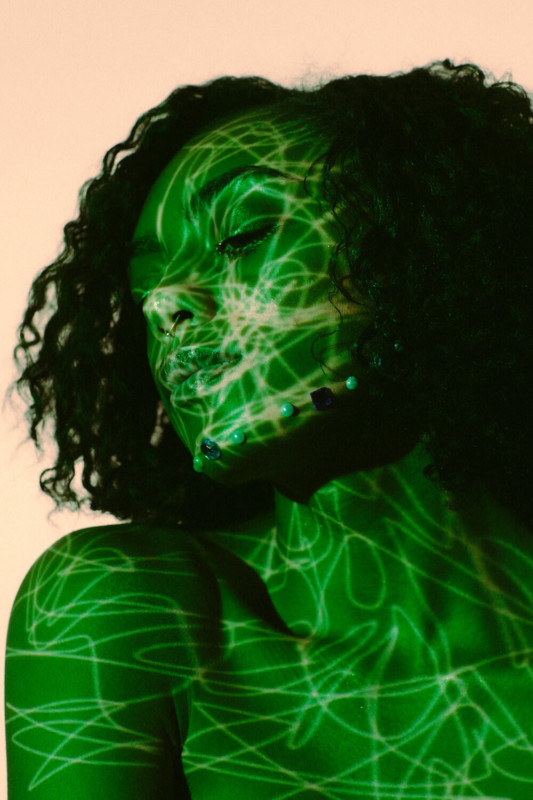
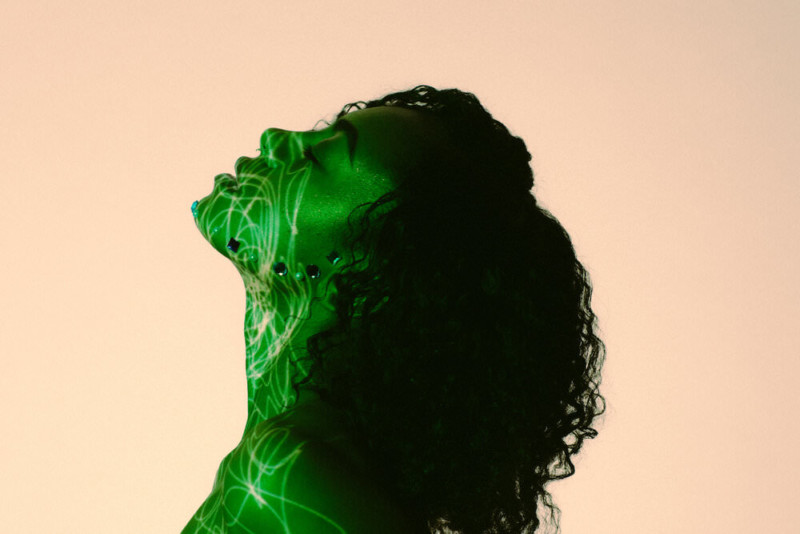
From a lighting standpoint, all I used was a projector and a background strobe. I hooked my projector and Wacom tablet up to my MacBook and opened Photoshop. Then I created a colored canvas and began creating white lines/shapes which were projected onto Amber.

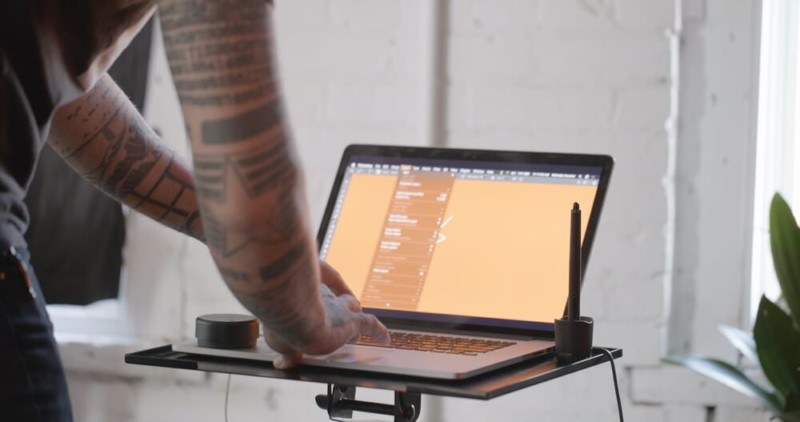
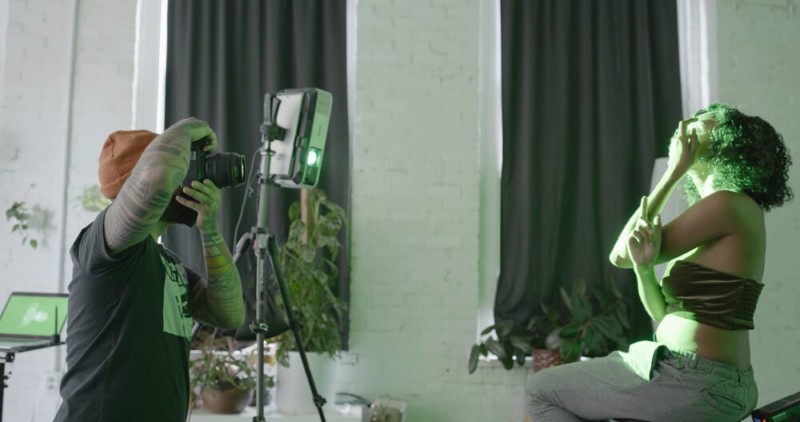
After getting a range of shots with one of the colors/shapes I simply shifted the hue of the canvas in Photoshop and made new lines. We shot four different setups in less than an hour.


Behind the scenes images captured by Brandon Goodyear.