How to Build a Low Budget Photography Set
For my latest project, “we are the dead,” I decided to build a room in which to shoot my pictures. I had absolutely no idea how to do this, but there were some facts I needed to consider.
- The only available time I had for this was mostly late at night, or whenever I could find any time to spare between a full-time job and being a mom. I had to fit all the planning, shopping and actual building in those rare free moments.
- I would have to do this with my own two hands, literally. Because of the time limitations, it was not that easy to call someone for help. So whatever I made had to be easily doable.
- My budget was really low, so I wanted really cheap solutions.
- The only available space was in my garage, so it had to fit there.
With these in mind, I started to do some research. My initial inspiration for such a set, came from Eugenio Recuenco‘s set for “365º”. He used a wooden structure that resembles a huge cube, with a small opening on the left side. This structure was built inside a large studio with various lights and other fancy equipment.
Most of the time he would use the cube as it were, but for some pictures, he would add staff to the structure (railings, furniture, staircases, etc). That was really interesting but seemed like really hard and expensive work.
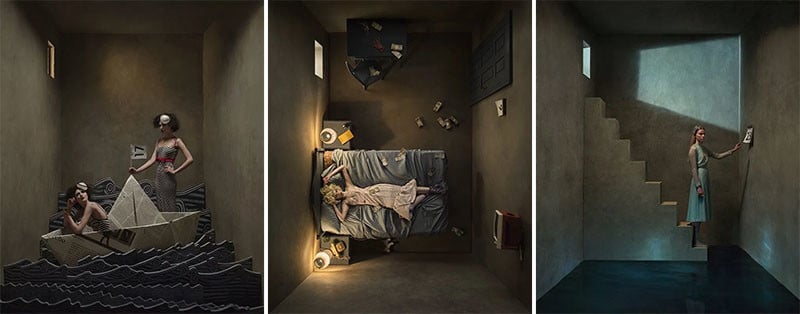
Brooke Shaden had also built her own room inside her studio, for the needs of her series “Fourth wall”. As she describes here, she also used wood for her construction and also added various other items in the room, to serve her needs. She even flooded the room with water! That also seemed cool, but still rather expensive and complicated.

I needed to find a material that would be cheap and easy enough to work with. I consulted a set and costume designer and she gave me some ideas. I could try and build some simple theater flats. All I was going to need was some wood to build the rectangular frames and some kind of fabric or canvas to wrap around them. It seems rather simple and easy, plus you can make as many as you want and use them however you like. They are also easy to stack and store.
I found several articles and videos online that show how to do that. However, this solution was not simple or cheap enough either. The fabric alone was way over my budget. Plus, I did not trust myself to make those wooden frames on my own. It did not seem like work for one and I certainly could not afford to pay someone to make them for me.
However, the research for theater flats brought something new to my attention: V-flats. I don’t think I had ever heard the term before, so I got intrigued. It turns out that a V-flat is a light modifying tool comprised typically of two large foam boards, either black or white, used to cut/flag light, or reflect it. They can also be used as a backdrop or even flooring.
As I researched how to make your own V-flats, I found several useful articles (see this and this) that all agreed that they are really simple to make and cheap. Well, isn’t that something! The most common material for them is foamboard, but many also use insulation boards that they then paint. I came across this video that describes a really simple way to build a V-flat or backdrop for photography:
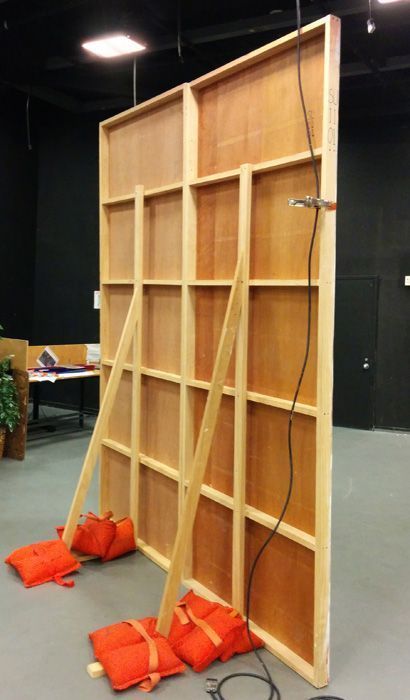
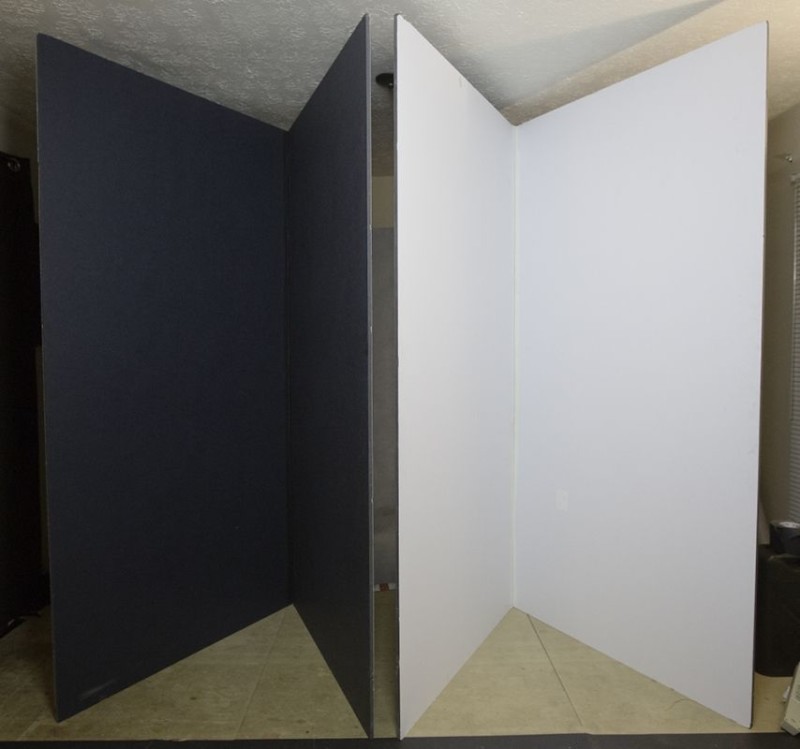
So, now that I had settled on an idea, I searched for materials. I have never done any sort of crafts or construction on my own before, so that meant I had absolutely no idea where to start. My online research showed that I probably wouldn’t find such large pieces of foamboard. I could get smaller ones and tape them together but I wasn’t very fond of that idea. So I visited a couple of the big hardware stores in my town to see what I could use.
After considering thin MDF boards and drywall, I finally found a cheap, light and easy to use material: insulation boards made of polystyrene. The ones I found were 2.5m tall and 60cm wide. I needed to be able to fit at least five people in the room I was going to build, so I decided to make it 1.8mx1.2m. I only needed seven of those boards to build it that big. Their height was just right for my garage and I could easily cut them in case they wouldn’t fit.
These specific boards are designed so that each one fits inside the other, so that was a plus because it would help to put them together nicely. For the price of €4.35 (~$4.8) each, they cost me a little over €30 (~$33) in total, plus delivery costs because they wouldn’t fit into my car.
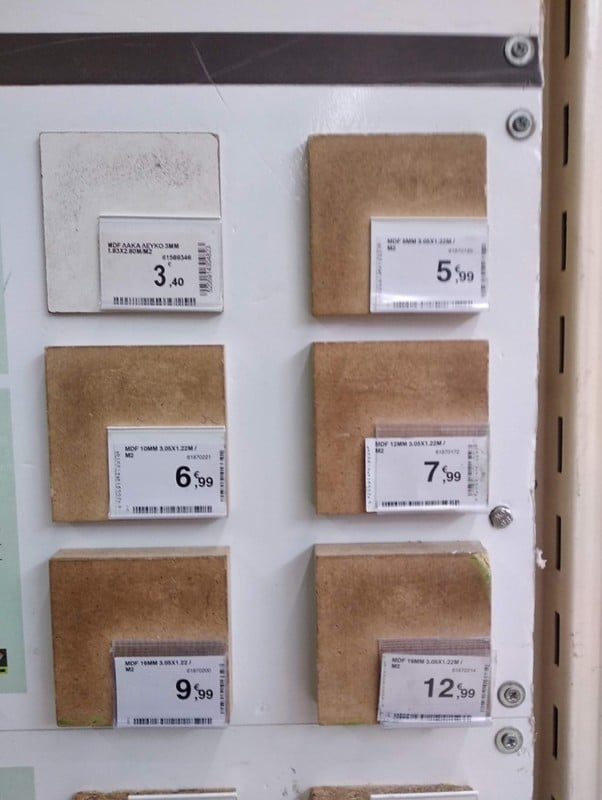
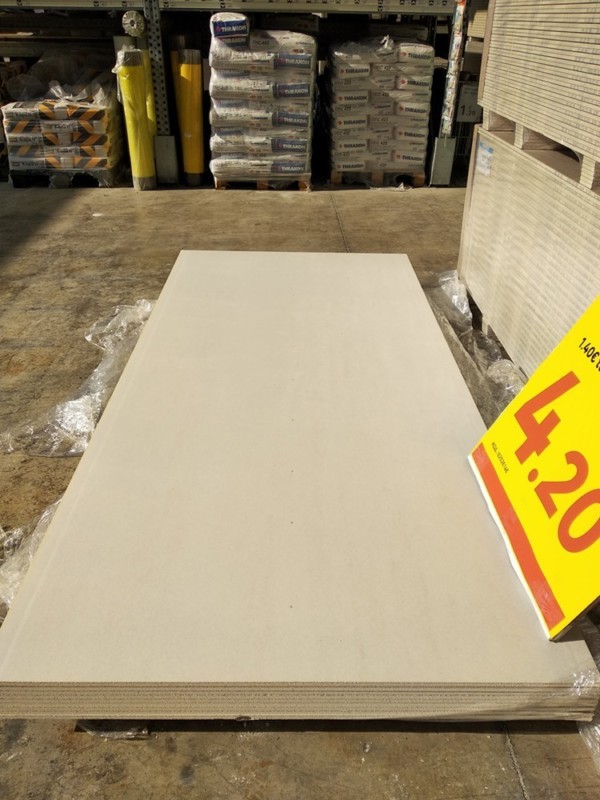
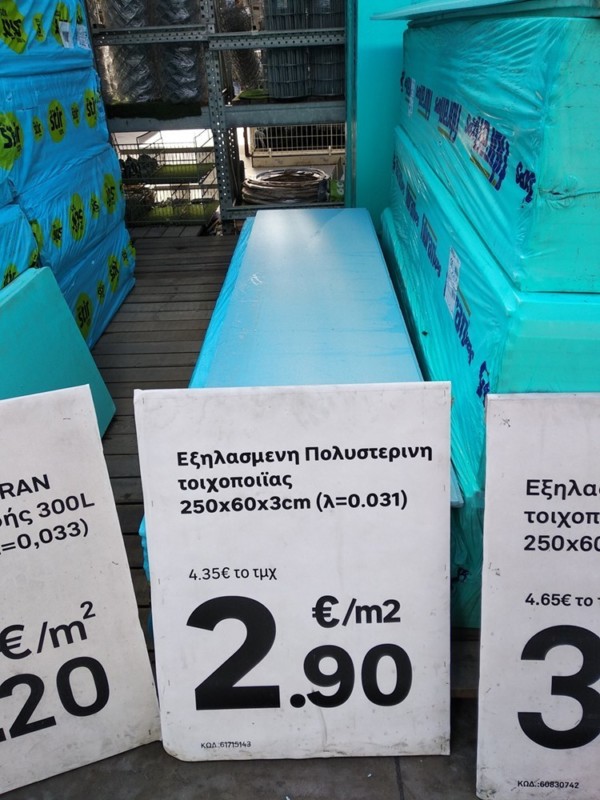
mdf
After I gathered my materials, it was showtime. I bought about a liter of paint and applied two coats on each one. I only needed to paint one side for my project, but if you’re building a V-flat, you can just as easily paint both sides. Painting on them was rather easy and once they dried, they looked really good! Their original color is light blue and I used a light brown paint on them which did a very good job in covering the original color.
As I said the boards were made to fit into one another, but of course that wasn’t enough to hold them together. I bought some mending plates and I used them to fix the boards together with screws. In practice though, that did not work well because this type of material can’t really hold the screws and they came right off. So out came the glue gun.
I glued their sides and pressed them together for a bit. Then I put the mending plates again, this time also using glue. That seemed to work. The toughest part was holding the wall while simultaneously trying to put it in place. It would have been easier if someone else could hold the wall.
Very quickly the main structure of the room was ready. It was very light so I had no problem moving it around on my own. I was careful though because it is very easy to break. The next step was to conceal the points of contact between the boards as well as I could. What I did was tape over them and then paint over the tape. That seemed to work ok, although I still had to do some cloning later in Photoshop.
The final step for my construction was the floor. I could have used the same type of boards, or fabric or even real flooring. For my project, I decided to use dirt, which served as a symbol of the project’s general concept. I first laid a large piece of tarp on the floor to avoid making a mess and then I poured about five or six bags of pure organic dirt on it. The organic thing is not necessary of course — I just liked its color and texture.
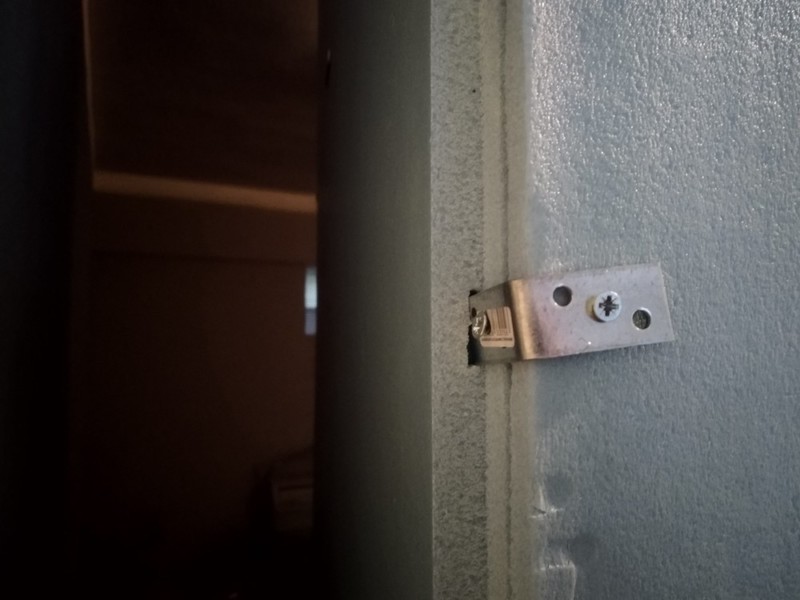
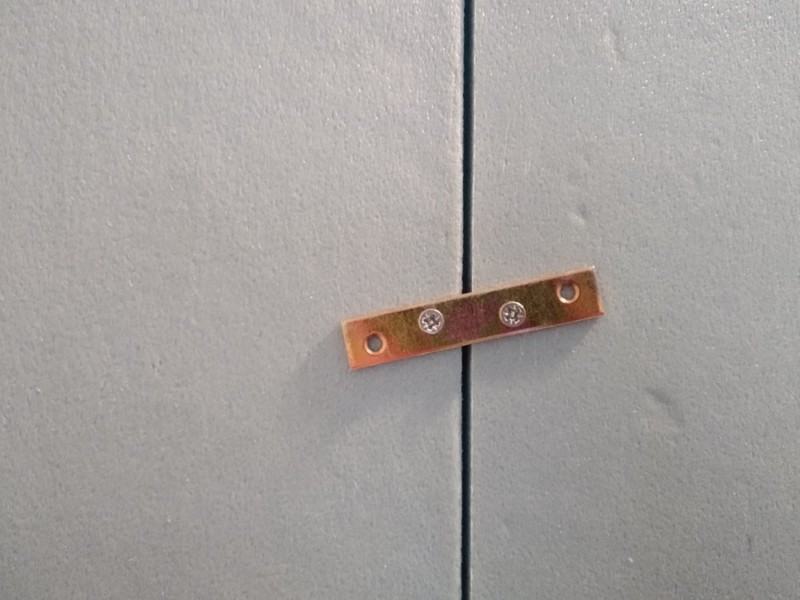
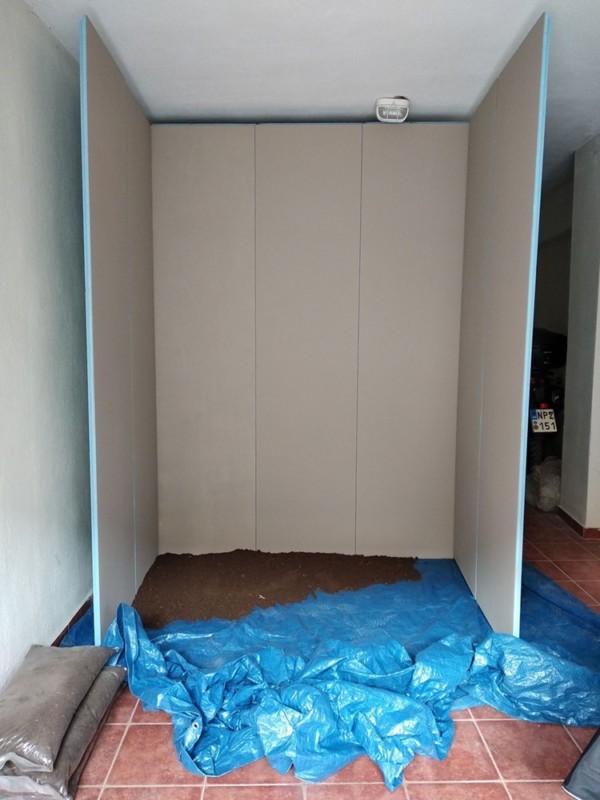
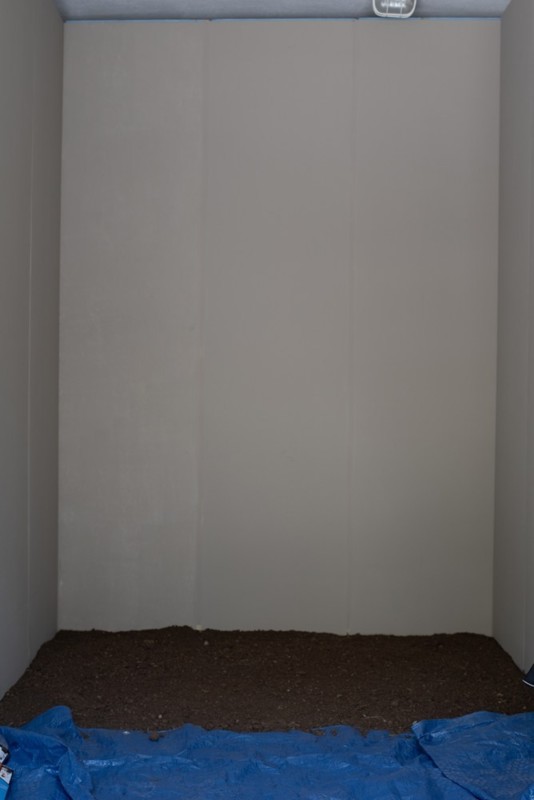
That was it! I had made the windowless room I was looking for! Its walls were not very sturdy but that was okay for my purposes. I was able to put pins on it very easily to get the look I wanted for the project’s first image. I suppose getting the same effect on a wooden wall would require much gluing. I was also able to stick mirror shards and an adhesive chalkboard on it for some of the other images.
![]()
![]()
All in all, this structure served my purposes very well. I was able to shoot all of the project’s nine images in it and they came out just as I had imagined. Most of all, it was a challenge that I had to overcome and I am very happy that I did not give up and made it work, learning a lot in the process. I highly recommend trying this if your budget is low and you are not that good with construction work.
Right now the boards are sitting in a corner in my garage waiting to be used again. And they surely will!
Materials Used
- 7 polysterene insulation boards 2.5mx60cm
- 1 litre of light brown paint
- 1 roller painter, 1 paint brush
- Tape
- 8 flat mending plates
- 4 corner mending plates
- 24 screws (1.5cm long)
- Silicon glue gun with a couple of silicon bars
- A large piece of tarp
- 5-6 bags of dirt
Total cost: ~€80 (~$88)
About the author: Nicki Panou is a fine art photographer based in Greece. The opinions expressed in this article are solely those of the author. You can find more of Panou’s work on her website, Facebook, and Instagram. This article was also published here.