How to Get Great-Looking Skin Tones in Lightroom
Ryan Breitkreutz over at Signature Edits has created a useful tutorial that dives into one of the most critical aspects of portrait photography: skin tones. In this 30-minute video, he shares some his personal tips and techniques for capturing natural-looking skin tones, first in-camera, and then in Lightroom.
Critically, Ryan begins the tutorial by emphasizing the need to get the lighting right in-camera when you’re out on-location.
“I can’t stress this enough,” says Ryan. “If you have photos that were taken in the middle of the afternoon, and you try and take a photo and edit it to look like one that was taken at sunset, you will never get there. It’s like baking a cake, and trying to make a good cake without having any sugar. It’s not gonna happen.”

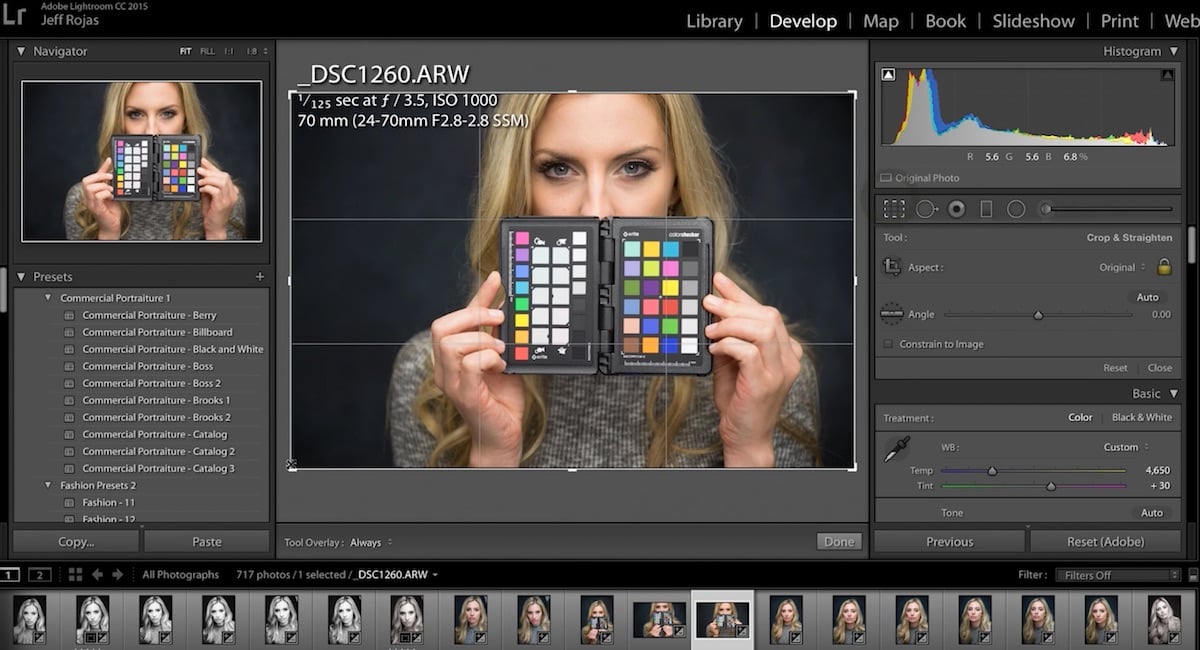
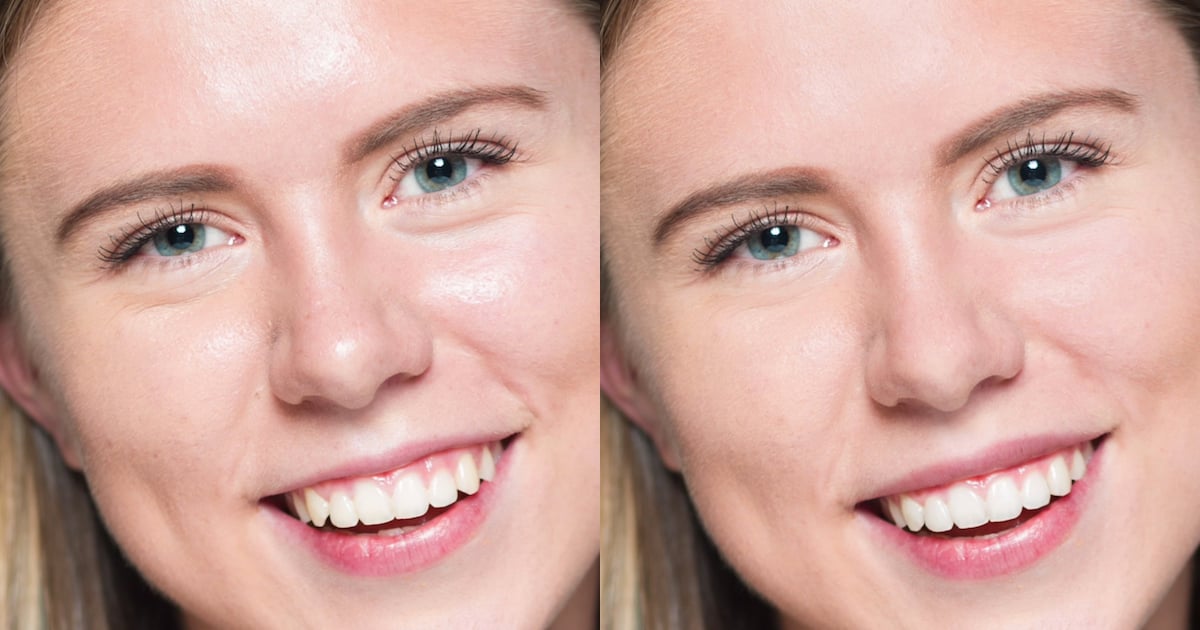
After that, he dives into Lightroom and shows you some of the tips, tricks and techniques the he wishes people had shown him when he first started editing portraits in Lightroom. From White Balance, to the HSL Panel, to Camera Calibration settings, he covers all three major tools for dialing in skin tones, and shows you how to use them to generate natural-looking, Pinterest worthy results in your portrait photography.
If we have one slight criticism for the video, it’s that it doesn’t offer much in way of diversity of skin tones that he’s editing and referencing, so it’s not going to be as much help if your subjects aren’t white. That said, you’ll be using the same tools to adjust any type of skin tone, so if you understand the basics of what is being done and how these edits work, you can apply them to any subject.
Check out the full tutorial up top to see how Ryan uses these tools to get the skin tones right in his work, and feel free to drop a few of your own editing tips in the comments.
(via Fstoppers)