A 2-Minute Primer on How to Use a Color Checker
If you’ve never used an X-Rite ColorChecker Passport before, this quick-and-dirty primer by photographer Jeff Rojas is a great place to start.
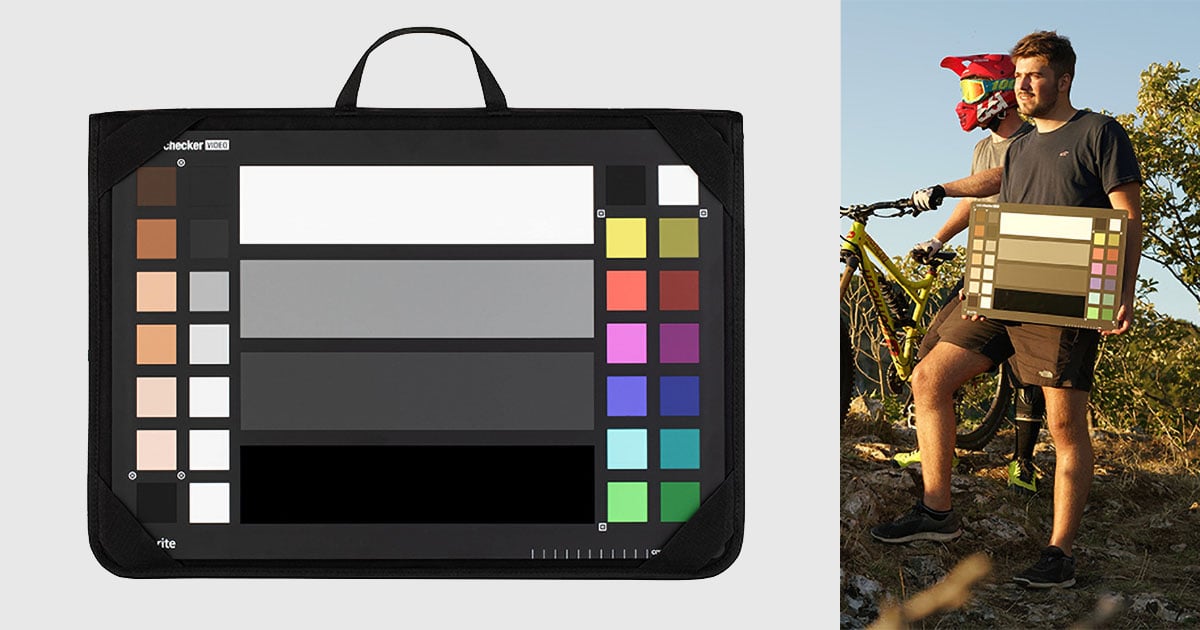
X-Rite’s ColorChecker Passport is extremely easy to use, and works with accompanying software. Basically, all you do is take a portrait with your subject holding up the color checker without covering any part of it up. Then, import that photo into Lightroom, right click, and select Export > ColorChecker Passport.
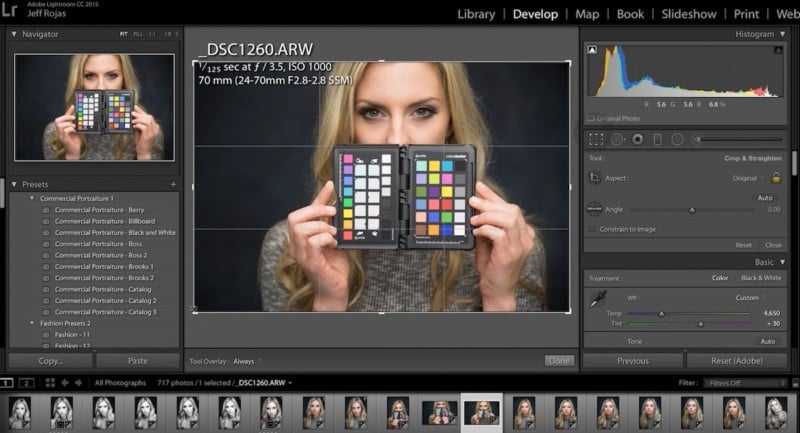
This will create a custom DNG profile that ensures all of your colors are 100% accurate, allowing you to edit from an unblemished starting point. Once you’ve restarted Lightroom, you can select this custom profile in the Camera Calibration section on the right.
A ColorChecker Passport costs about $85, but it’s worth it to make sure you nail skin tones (and every other color) every time. Unlike a grey card, it handles way more than white balance.
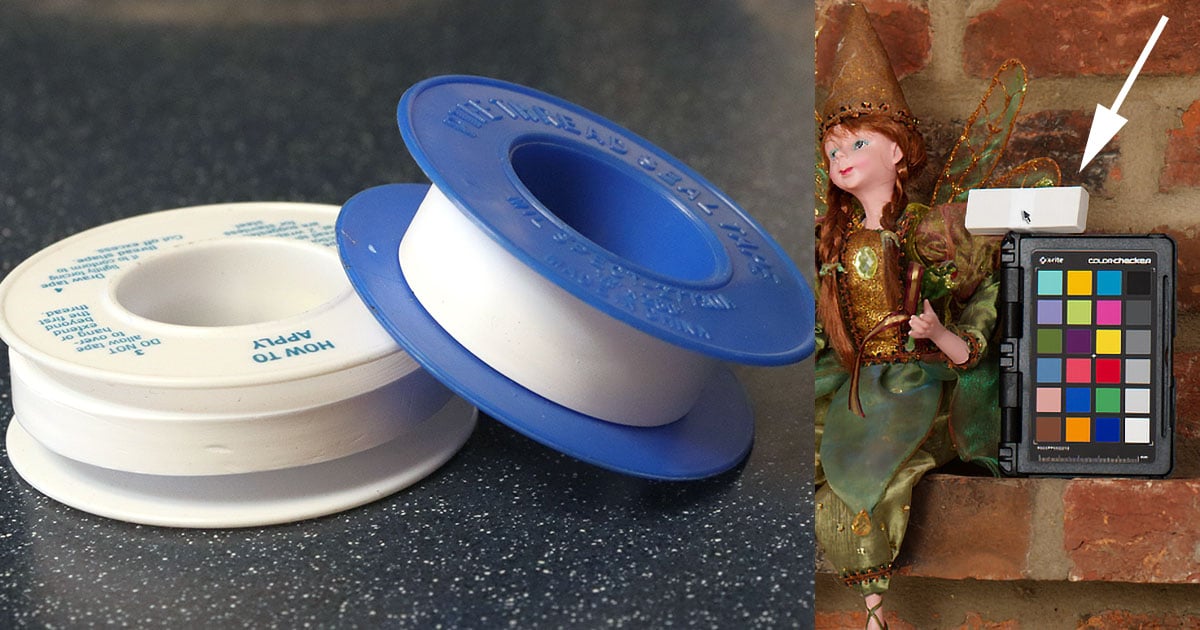
Plus… if you’re looking to nail white balance, there’s always this ‘scientific’ method.