Capture One Pro Basics: How to Adjust Exposure, Contrast and Saturation
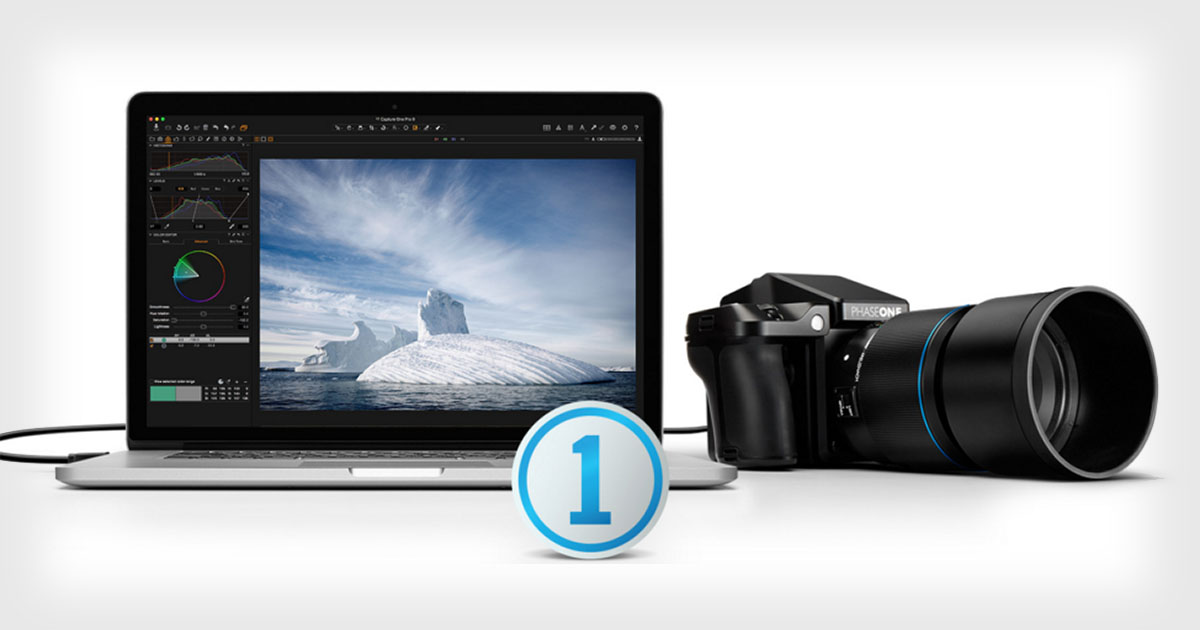
When it comes to Lightroom alternatives, nobody has taken more users away from Adobe than Capture One Pro. But if you’ve never used Capture One and you need a crash course on the basics, Ted Forbes of The Art of Photography has put together a helpful video that you might find handy.
This short beginner’s guide—a Capture 101, if you will—covers all of the ways that you can adjust the exposure, contrast and saturation of your RAW files in Capture One Pro.
This might seem painfully basic, but if you’ve never used the program, it’s extremely helpful to get an overview of the core features and understand how they differ from something like Adobe Lightroom.
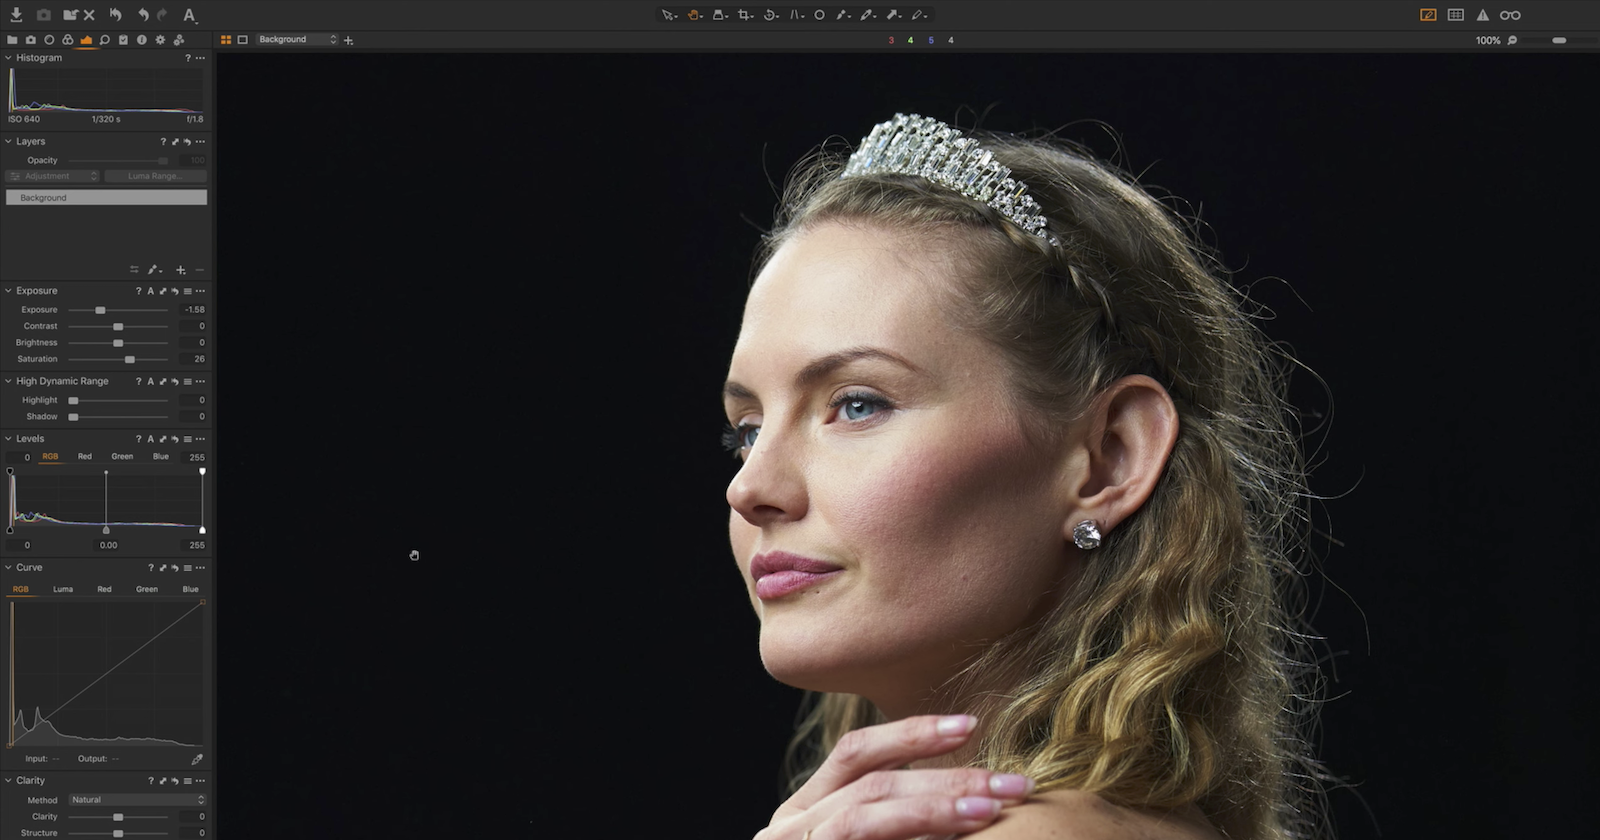
Throughout the video, Forbes edits a couple of photographs using the Sliders, the Levels, and the Curves tools, showing you how each of them works a little bit differently than the other, and sharing some helpful user interface hints for Capture One newbies along the way.
Check out the full video up top to watch this little beginner’s guide to Capture One Pro, and give The Art of Photography a follow if you want to see more. This is the first of a series of videos Forbes promises to do on the Lightroom alternative, which could come in very handy if you’re tempted to jump ship.