Panasonic Lumix S1H: A Review of the Best Hidden Features
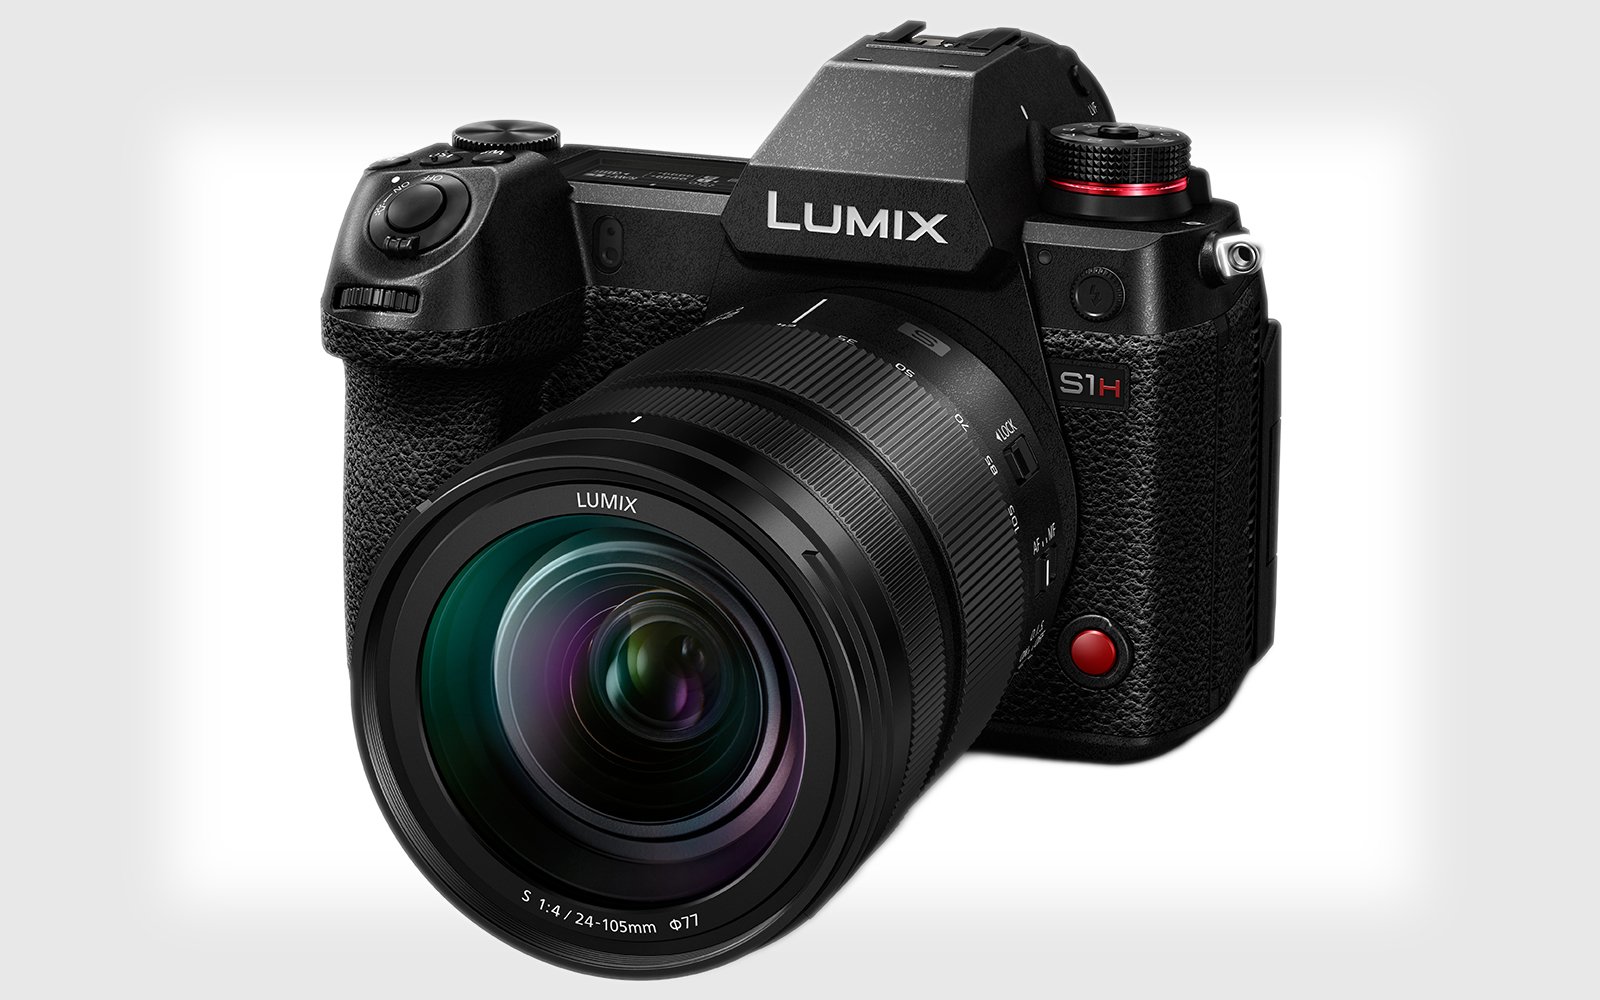
A few days ago, Panasonic released their new LUMIX S1H. The S1H has gone to town with new features designed to match most filmmakers needs. The features that filmmakers have grown to love in the GH series are now available and improved upon in the full-frame S-Series.
The S1H bridges the gap between solo content creators and the cinema production world. Included headline features such as V-Log and V-Gamut with 14+ stops of dynamic range, open gate 6K recording capability, HLG HDR recording options, timecode in/out and compatibility with the XLR1 ensure that this is a camera ready for even the most demanding productions.
But there is also a whole raft of hidden usability features that are new to the S1H. Rather than cover the specs again, which many websites have done, I also want to run through these lesser-known features that show the attention to detail the engineers have put into this camera.
Freedom with Anamorphic Shooting
The anamorphic modes of the S1H have received a lot of press from the launch. The S1H along with the GH5 is an amazing choice for consumer-level anamorphic features that are only often found in high-end cinema cameras.
After some investigation in the anamorphic shooters FB group, we discovered that de-squeeze and IBIS stabilization features from 1.3, 1.33x, 1.5x, 1.8x and 2x are no longer constrained by the recording mode like in the GH5. This means you can de-squeeze 5.9k and Cinema 4K whilst using the frame markers (outlined below) to shoot alternative anamorphic formats beyond the classic 4:3 2x.
C4K mode also gives you roughly Super35 4-perf image height to squeeze as much image out of a classic Super35 anamorphic as possible.
Video Frame Markers
The V2.0 firmware for GH5 brought us frame line markers, but the implementation was somewhat simple. In the S1H, the customizability has seen improvements. You now have the ability to select from 4:5, 1:1, 4:3, 16:9, 1.85:1, 2:1, 2.35:1 and 2.39:1. You can also specify a frame edge color and change the opacity of the mask to 0%, 25%, 50%, 75% or 100%.
IBIS Percentage
When using manual lenses, you can now save lens profiles. Within that, you can specify the image circle size, focal length and name for the lens, but also a % value for the IS area. This means that if you have lenses that sometimes show dark corners, you can now reduce the IS strength. This ensures you are not getting the dreaded IS darkening bouncing into the edge of the frame.
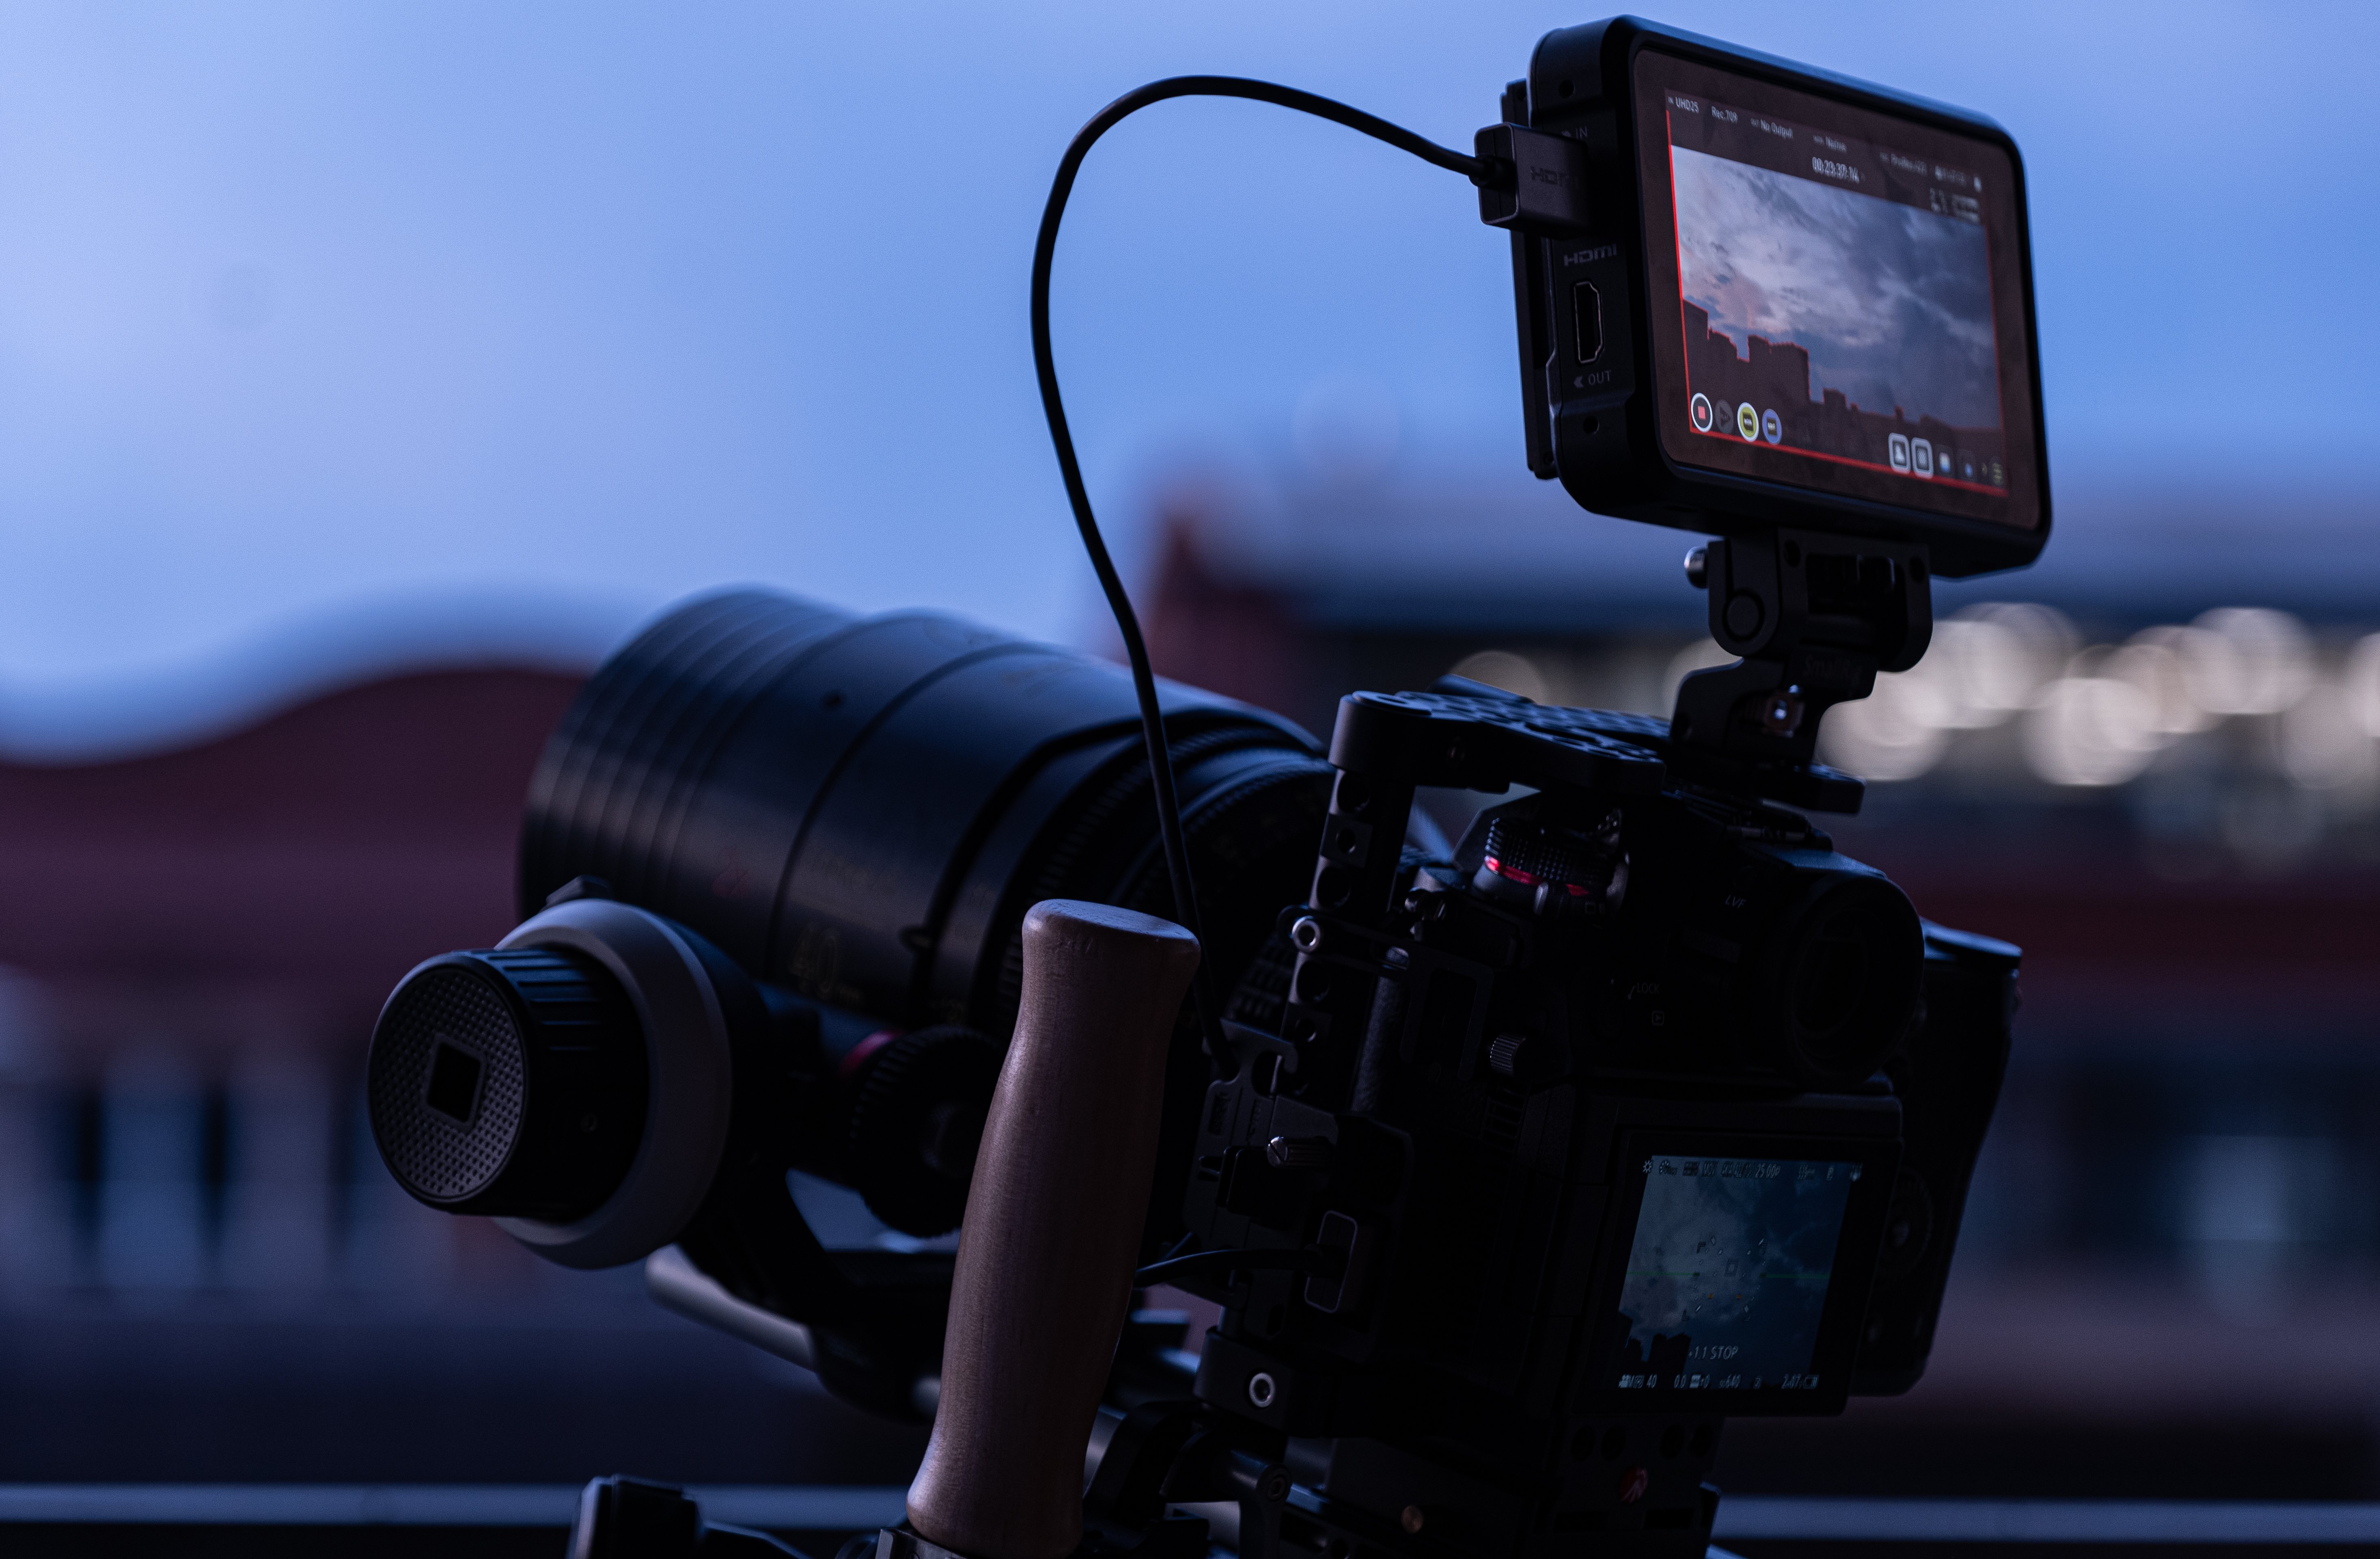
Frame Record Indicator and Tally Lamps
New to the LUMIX range is the inclusion of a recording frame indicator and front and rear tally lights.
The S1H has tally lights in the front and rear—these are user-selectable so you can choose to have them both on, front or back, or turn them off individually. The S1H also has an extra recording indicator in the form of a frame indicator that adds a red outline to the screen when recording. This is great as, unlike the tally light, you can still see this even when using the EVF. No more missing when the camera is rolling (we’ve all done it…).
Strap Lug Alignment
Simple but smart: the strap lugs are now aligned to the sensor for easy distance measuring!
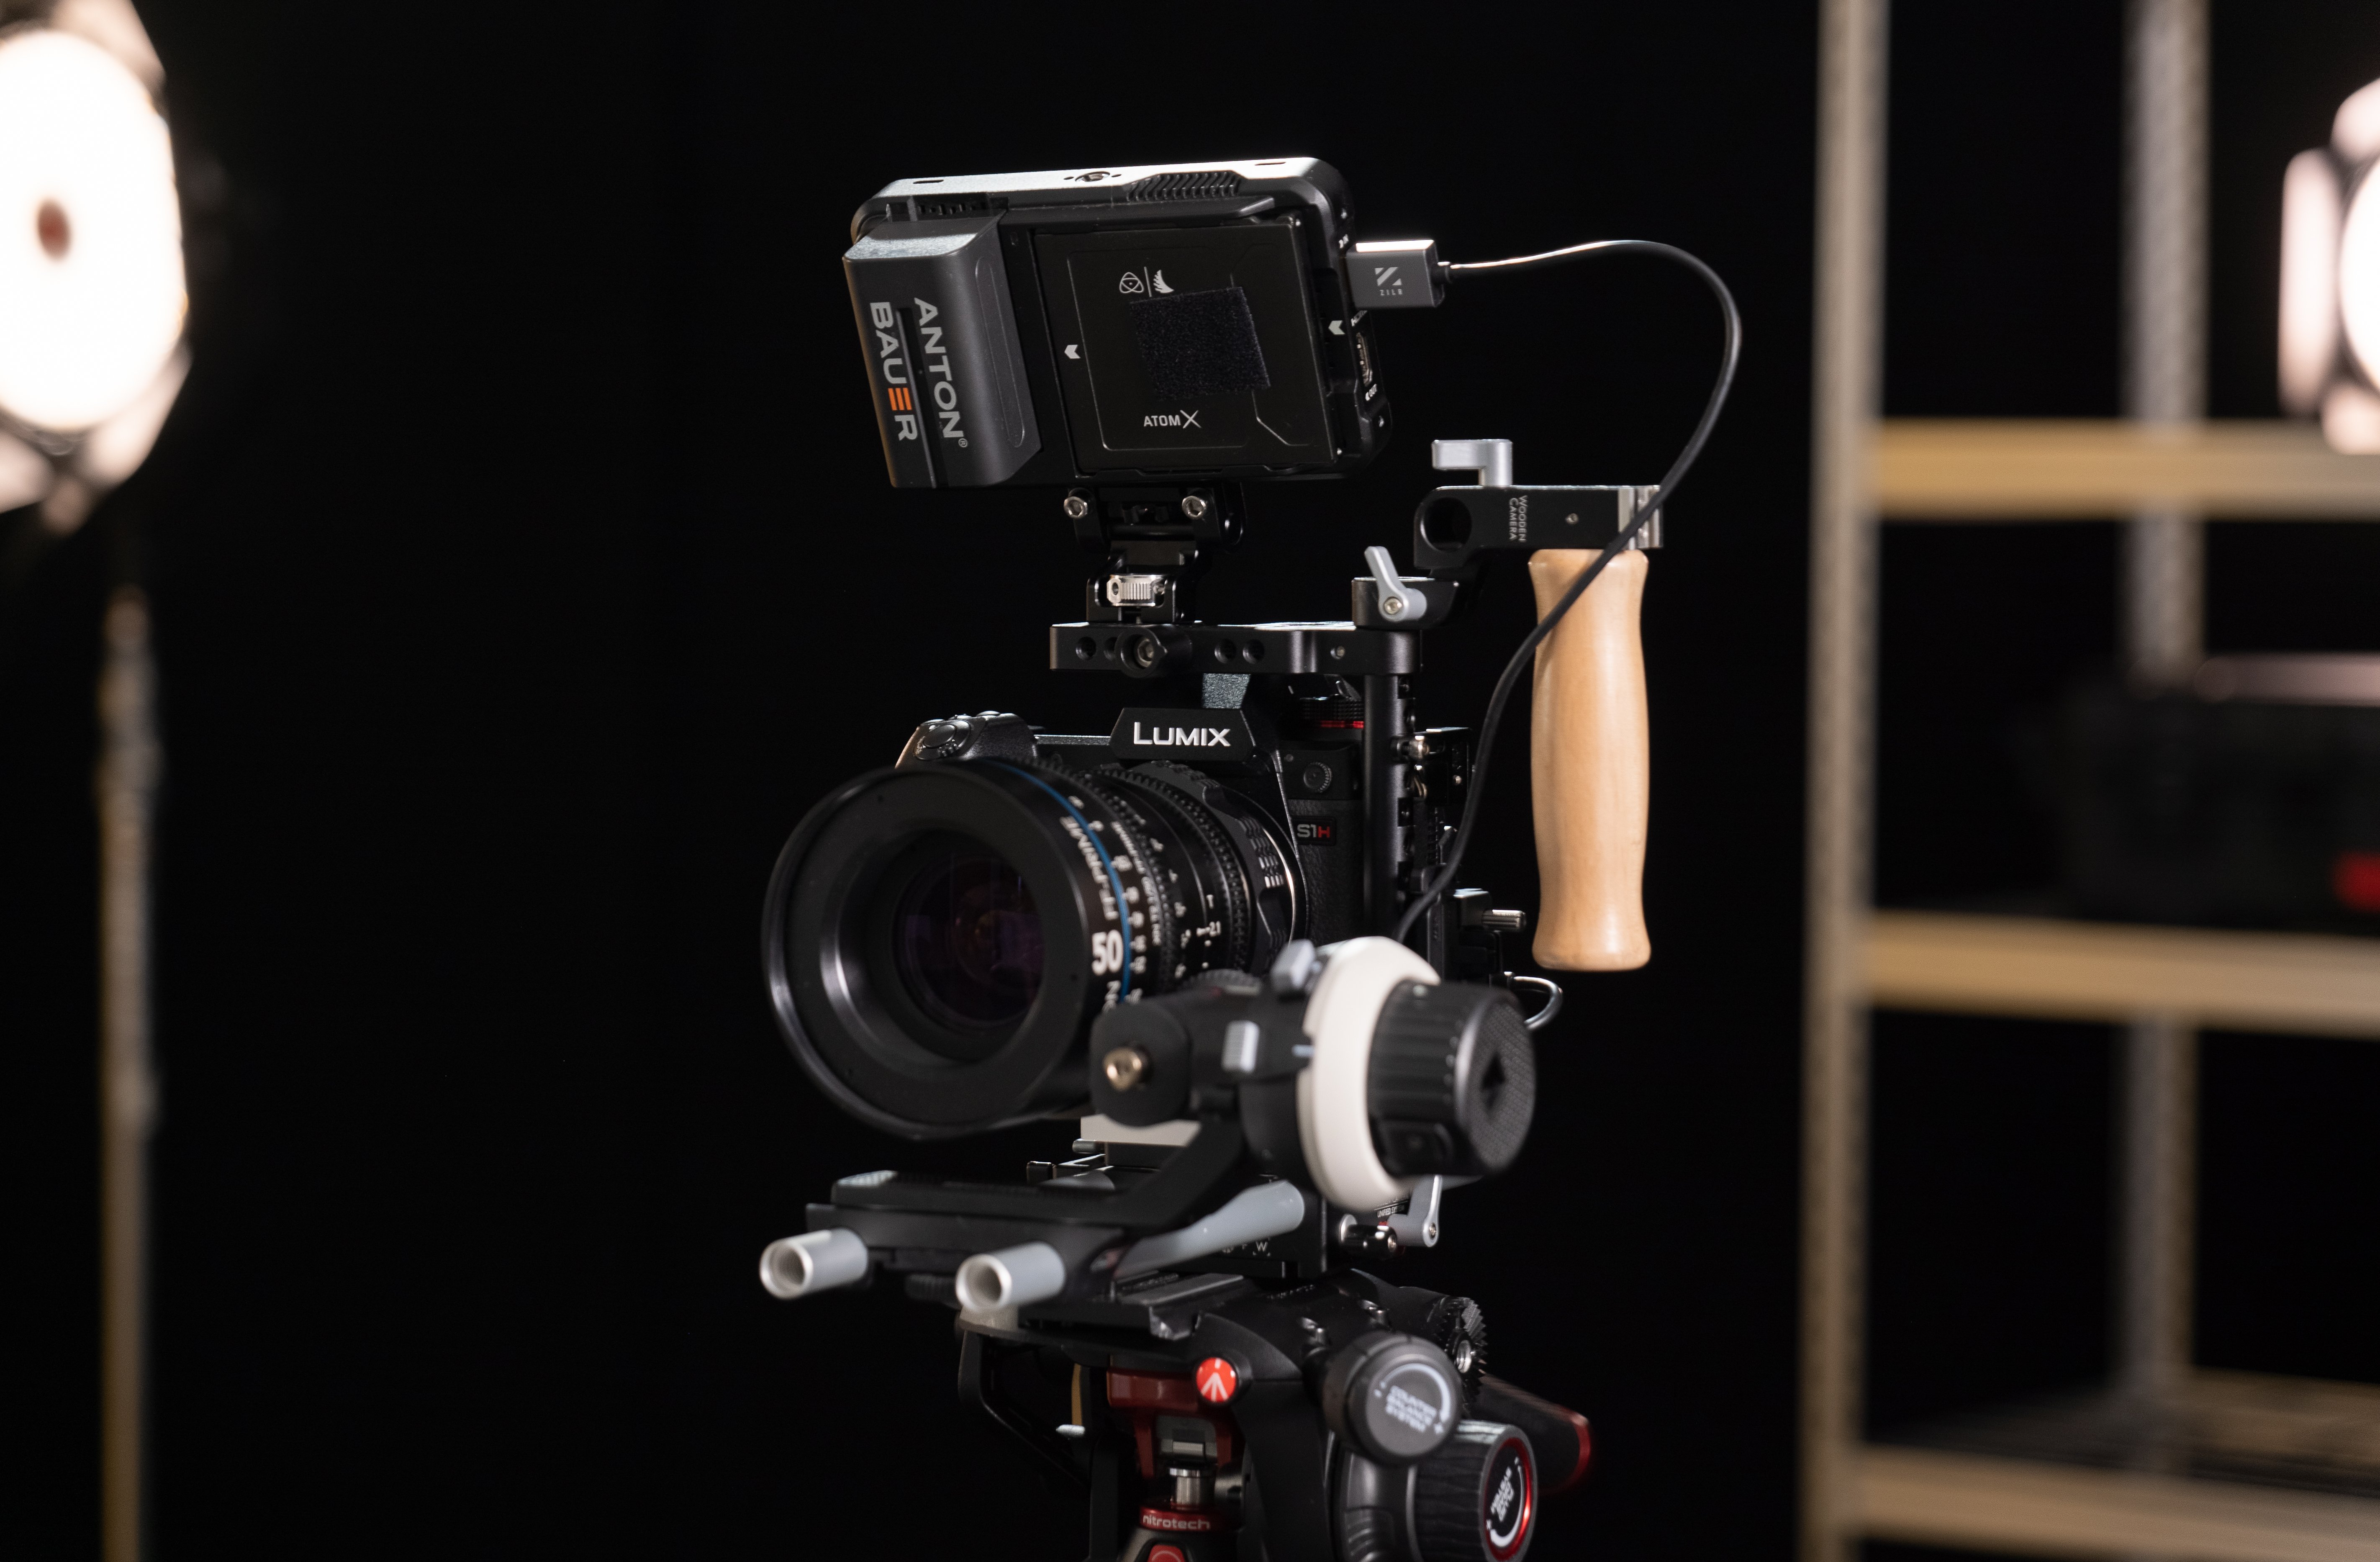
Tilt screen/HDMI clearance
The dual tilt and vari-angle screen on the S1H has had a lot of coverage. It’s a great design that combines the best of both worlds. The main benefit is that we can now use the ports and HDMI lock and still have full tilt of the screen, even when extended outside the edge of the body.
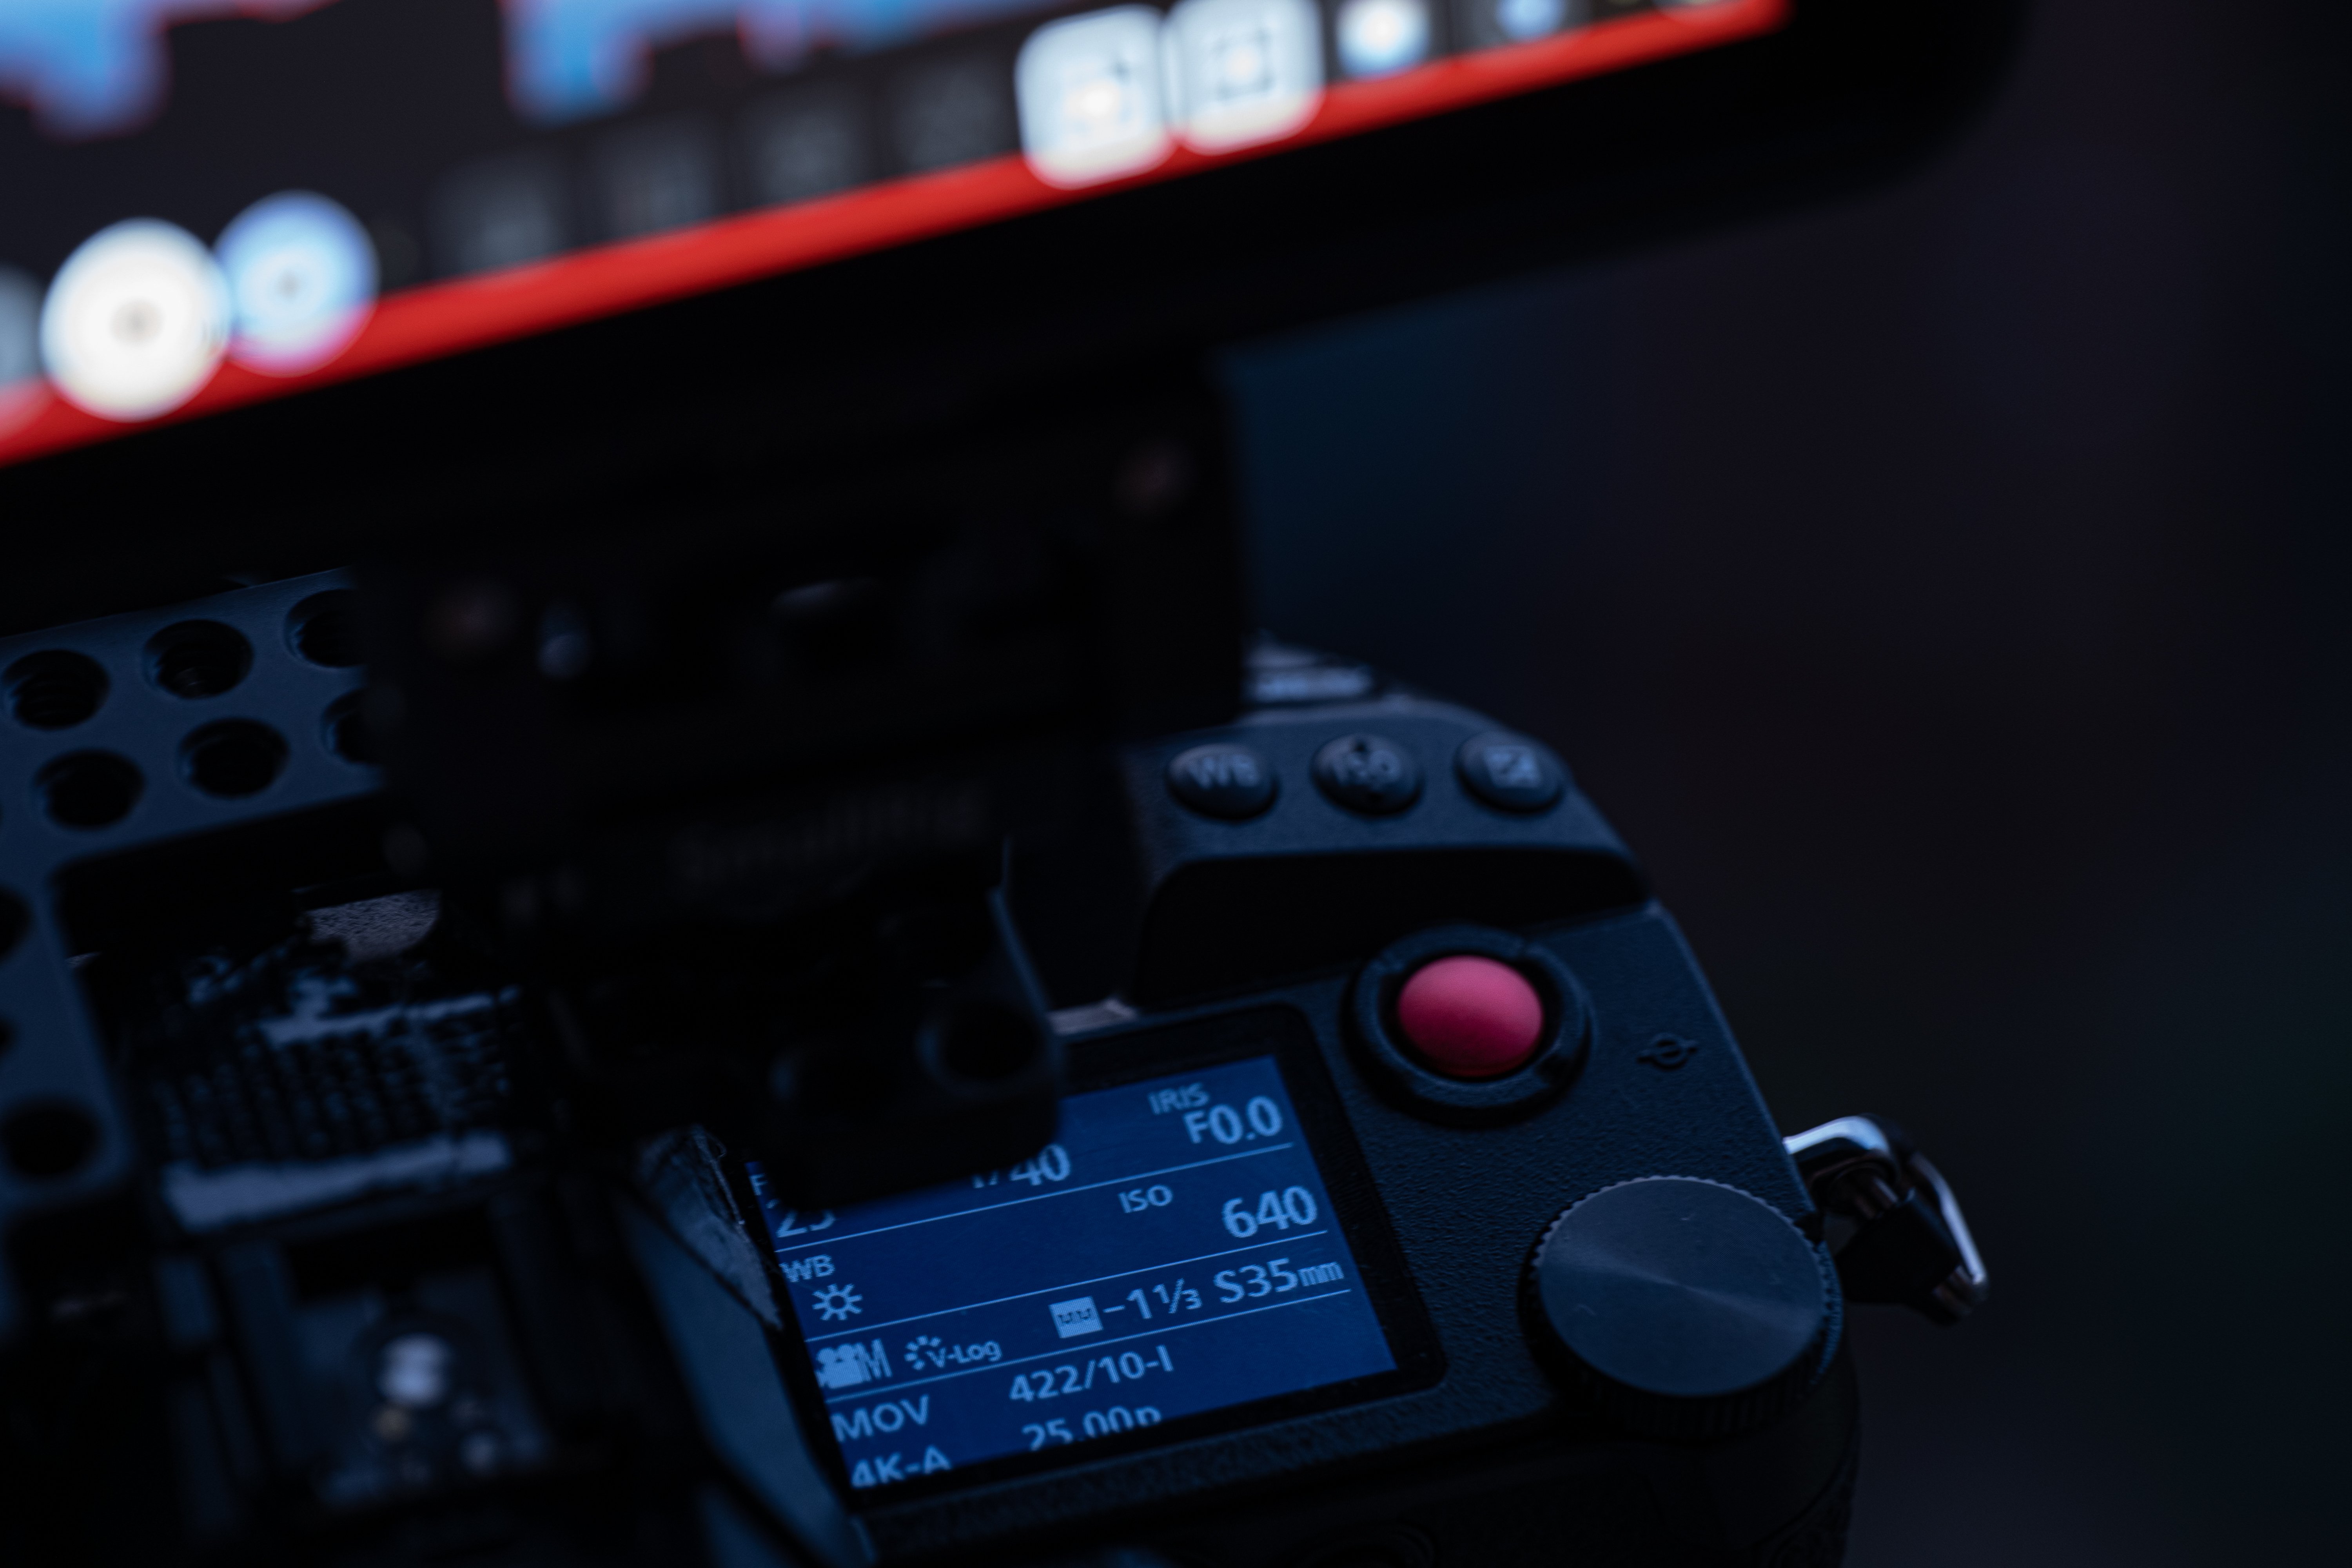
Swappable Top Screen Colors
One of my favorite features on the S1H is the new top display. It’s amazing, super easy to see from all angles and displays a lot of great information. You can now also swap the text and background colors from white on navy to black on white depending on the situation you’re shooting in.
Audio Levels via top screen
Want to easily see your audio levels? Live audio levels are now visible on the top display, which makes glancing at the levels quickly and easy.
Mount Adapter Screw
The S1H also has a small screw on its mount in preparation for future mount adapter designs. This will help prevent focus shift, which can happen with a mismatch in adapter and mount tolerances.
Luminance Spot Meter (0 Stops for V-Log exposure)
A new feature for the S1H is the luminance spot meter. This allows you to read the exposure of a small area of the frame. When shooting in V-Log this shows in stops, with 0.0 stops being the exposure of 18% grey. This makes accurate exposure in V-Log super easy.
Zebra Improvement
Ever wish you could set two different zebra levels? Now you can. In the S1H, you can show both Zebra 1 and Zebra 2 in the same frame. This is great for checking skin tone exposure and highlight retention at the same time.
There’s also a new base/range option where you can specify an IRE value and +/- either side from 0.2 stops upwards. This makes checking exposure with an 18% grey card or ensuring skin tone exposure is spot on very easy.
Scalable Waveform Monitor
Everyone asked for it, Panasonic delivered. You can now scale and move the waveform monitor.
Tripod Plate Alignment
The tripod screw on the bottom of the S1H also has the extra pin spot for alignment of the tripod plate, and/or to prevent rotation and loosening of the plate. Simple, but super useful.
Color Bars
There’s now also EBU and ARIB standard color bars and test tone to go with the SMPTE version found in the GH5.
Conclusion
Hopefully, this quick run down was useful for those of you interested in the S1H as your next camera. If you have any specific queries or questions, don’t hesitate to drop them in the comments and I’ll try my best to answer them for you.
About the author: Jacob James is a travel and cultural documentary photographer based in the UK. The opinions expressed in this article are solely those of the author. His work has been published widely in publications across the Web and world. You can find more of his work on his website. This article was also published here.