I Shot Ultra-Macro Video of the Wet Plate Collodion Process
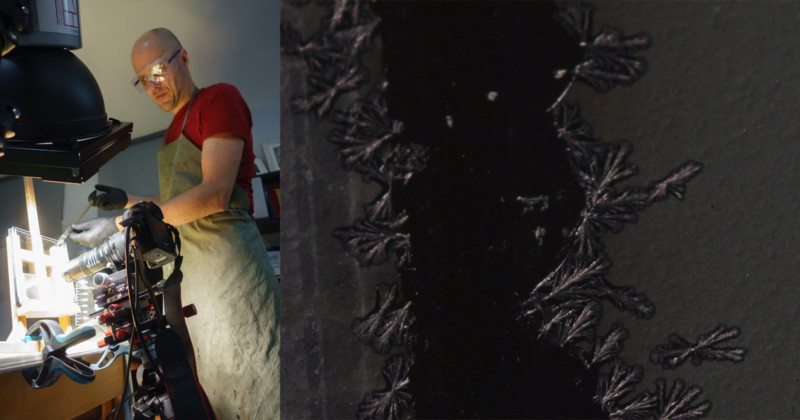
Normally I use videos to document my work. This time the video is the main outcome of my work — I shot an ultra-macro video that shows how the crystals/salts change during the wet plate collodion process.
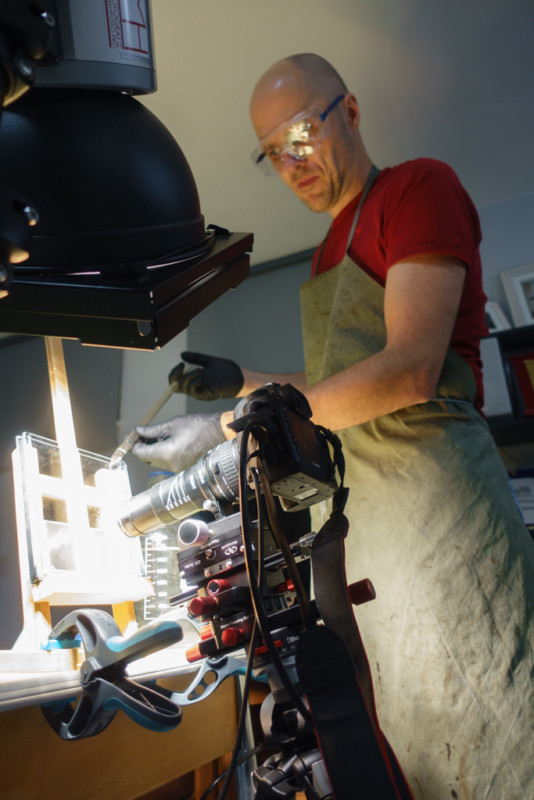
What I did not know was that the outcome would be this amazing — they’re mesmerizing pictures from another world. Our jaws dropped during the first video of the developer doing its work. I say “our” because my good friend Erich helped me capturing the process. Thanks again for everything! Another great guy who made this project possible is Reinhold of Glaserei who made the little glass containers I was filming the chemicals through. More information about that later.
First, I want to show you all the two videos that resulted. All closeup macro videos of the chemicals were done with the Laowa 5x ultra macro lens without any CGI!
This first one is about the whole wet plate collodion process:
This second one shows the mesmerizing chemical ultra macro animation with relaxing music in 4K — it’s something you can just run as a screensaver, or just if you want to slow down and relax.
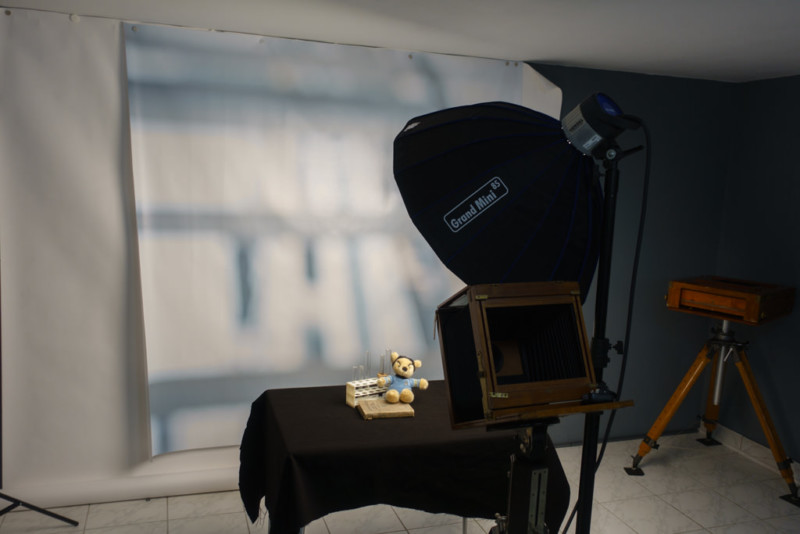
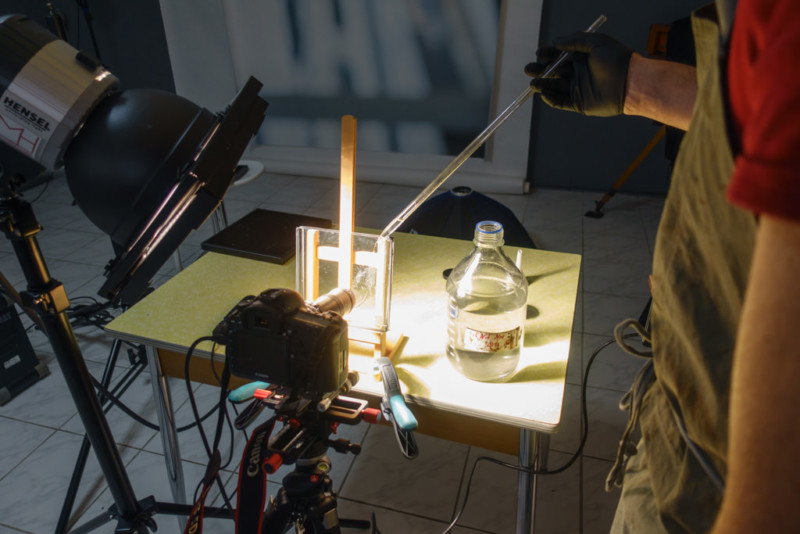
It was much more work to get the job done than I thought it will be. The depth of field at this magnification is about 1/10th of a millimeter. For that reason, I used a self-modified macro focusing rail — actually three of them — partly made of laboratory equipment. The focusing on my Canon 5D Mark IV was done via HDMI on a bigger screen. The screen on the 5D would have been too small for that.

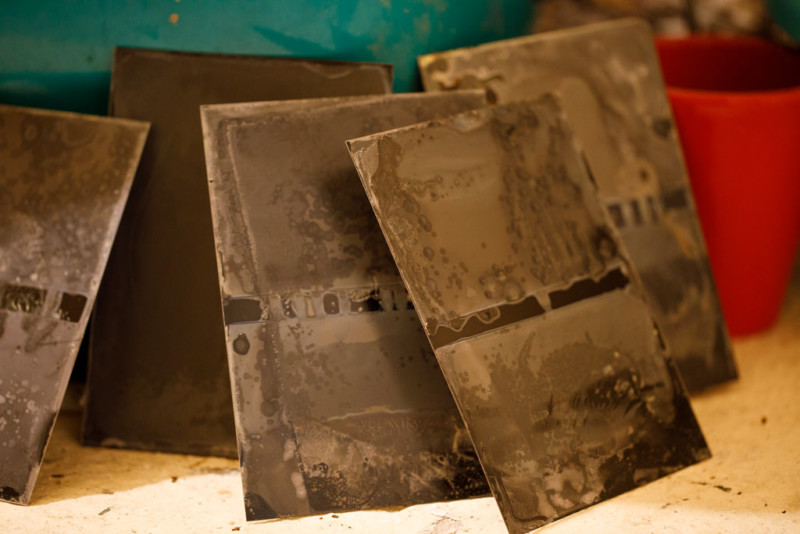
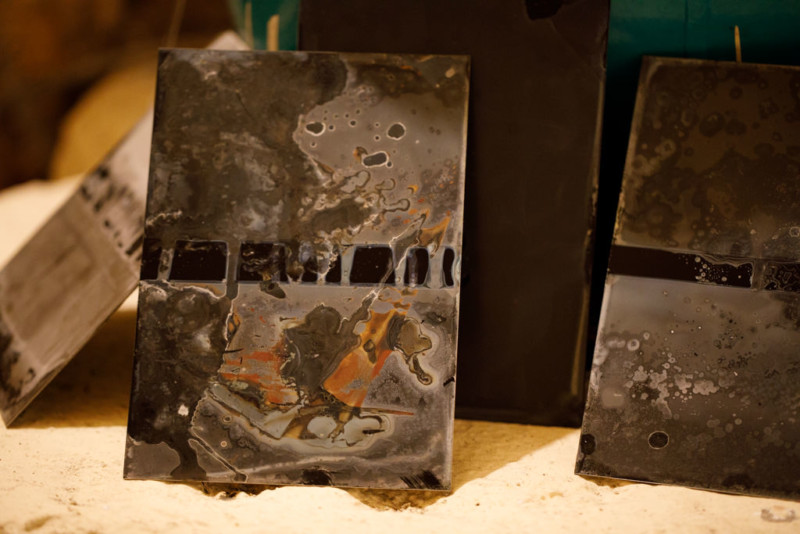
This was also the reason I consumed a lot of plates — it’s because I pre-focused before I put the plate in the glass tank to get a smooth video. If I misplaced the plate for only 2/10th of a millimeter, I had to do the shot again. But even these plates look kind of cool. I started to do scratches on the plates before I put them into the tank, so it was easier to focus.
Beside the tiny depth of field, every tiny vibration was a huge problem. If you see some tiny movements during the video, this is because we were not standing as still as we should have. I never thought the tiles on the floor move, but they do, even when we stand 2 meters away. That’s also the reason our making-of material is limited.
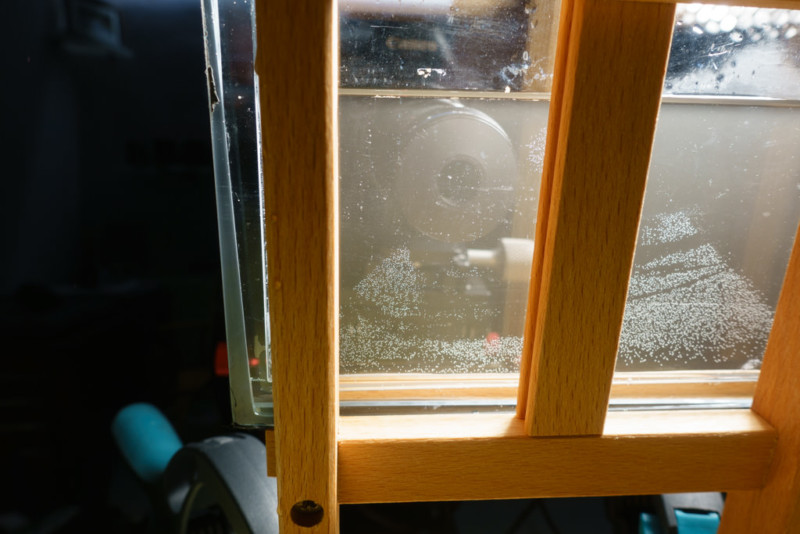
The next issue was the light, it heated up the chemistry and that resulted in little bubbles that showed up. So we had to clean the tanks pretty often to move them away.
A short explanation of the whole process:
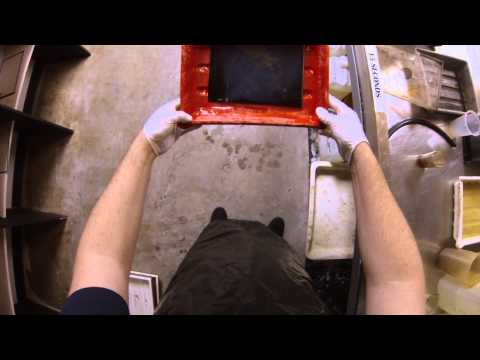
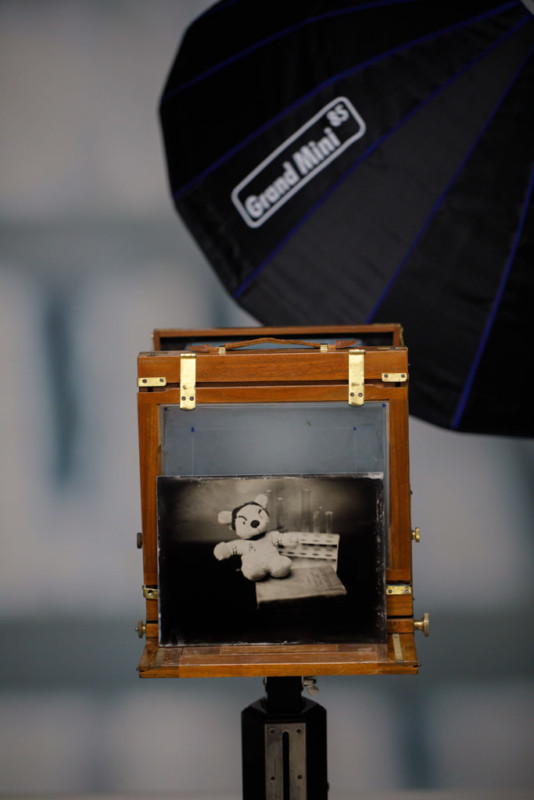
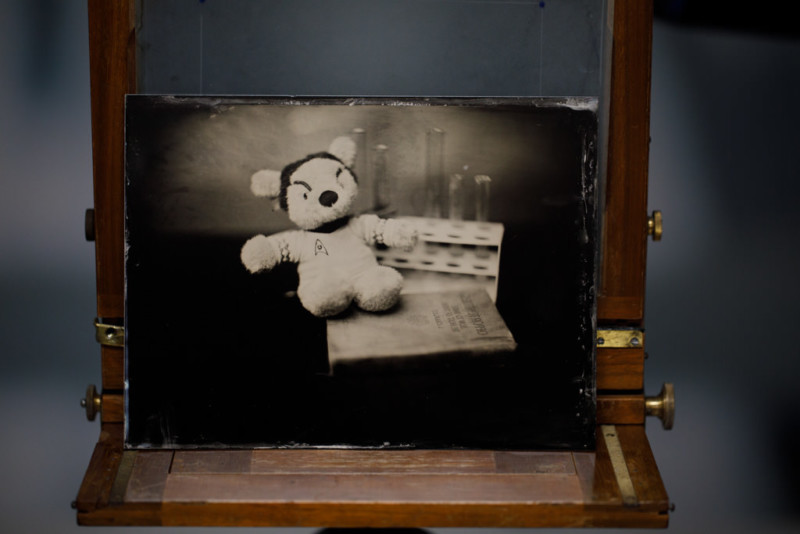
In the beginning, I pour a mixture of ether, alcohol, collodion, cadmium bromide and ammonium iodide on the plate. After I put the plate in the silver bath, this cadmium bromide and ammonium iodide turn to silver bromide and silver iodide – which are light sensitive. From now on I have to work under safelight when I put the plate into the plate holder.
After the plate holder is mounted on the camera I do the exposure. Now it’s time to go back into the darkroom and develop the plate. The developer contains ferrous sulfate that sticks to all the crystals that are charged with light. After stopping the development process with water I start to fix the plate. The fixer contains sodium thiosulfate that washes away the unexposed silver and the image appears.

About the author: Markus Hofstaetter is a photographer who enjoys life and meeting people around the world. You can connect with him and find more of his work on his website, blog, Facebook, Twitter, and Instagram. This article was also published here.