How to Overpower the Sun to Shoot Stunning Outdoor Portraits
Taking portraits in bright sunlight has been a bit of a no-no for a long time, but the truth is that you can actually get stunning results if you use a fill flash. The results look awesome and give a high-end feel to any outdoor portrait, and the best thing is that it’s really not too difficult. You just need to understand how to use a fill flash.
Check out the image below showing why we use a filll flash in photography and the best way to think about it (you can see this in the video at around 1:35):

The Basics of Using a Fill Flash
1. Set your camera up to expose the background perfectly. Ignore the subject and don’t use a flash at this point.
2. Take a photo with the subject and you should see that the background looks great but the subject is in silhouette
3. Add a flash on the subject ‘filling’ them with light. You may need to play around with the flash power a little to get it correct. There is no rule to this as it depends on how bright the ambient light is, what you ISO and Stop is and how close the flash is. But it’s pretty easy to figure out. Just leave the settings exactly as they were for the background and increase or decrease the flash.
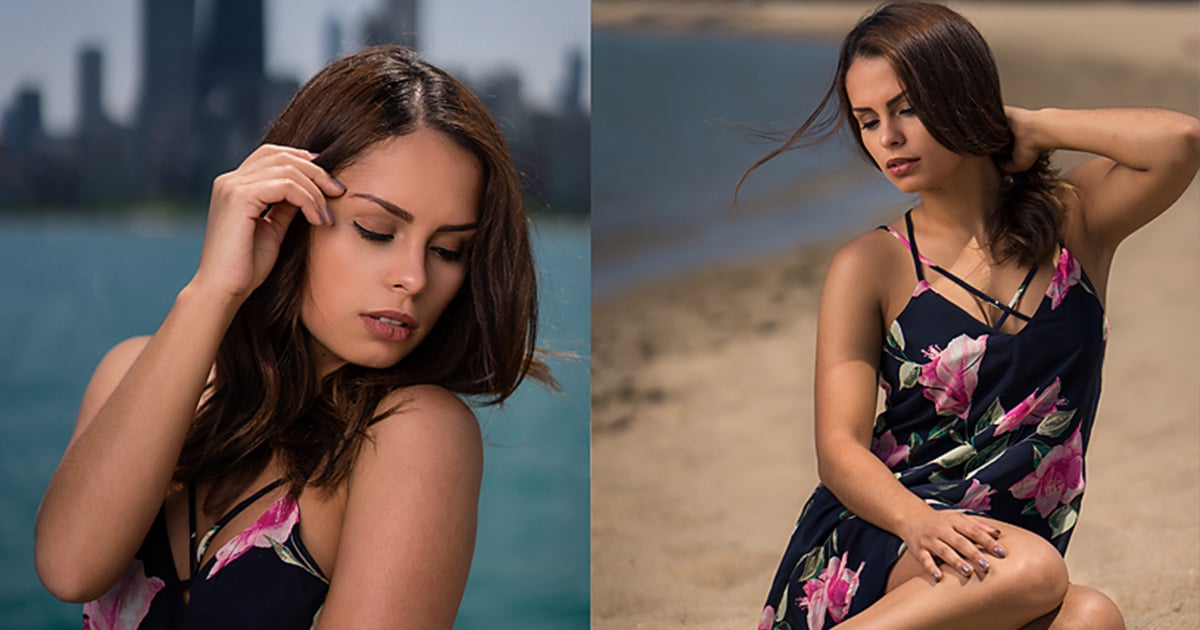
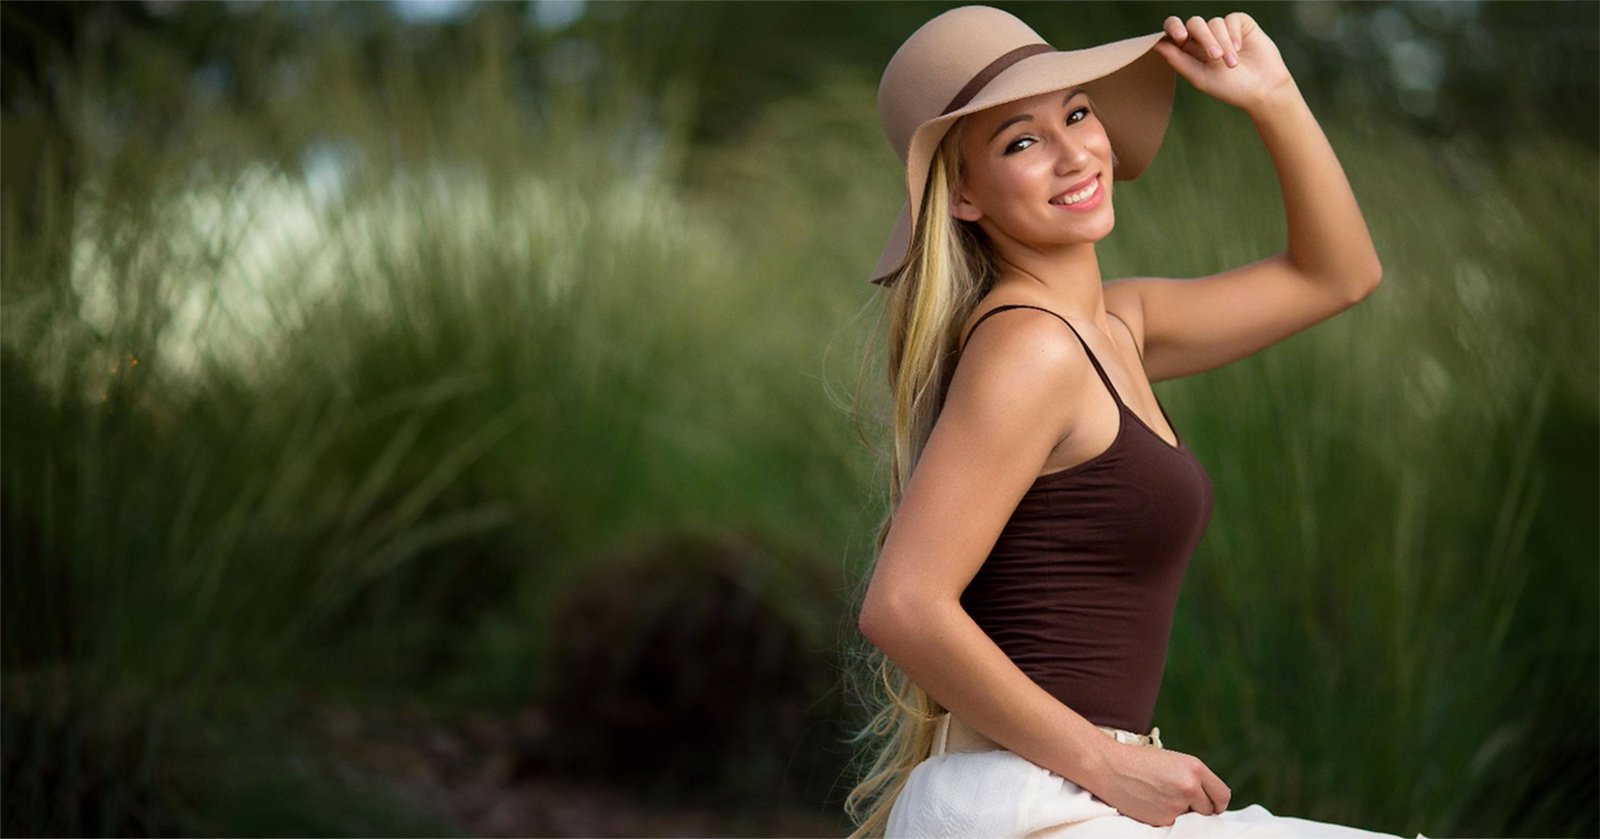
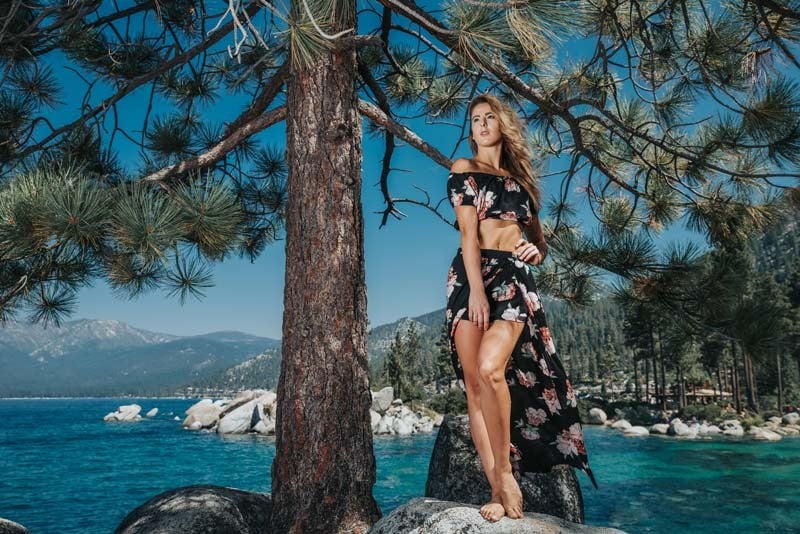
You can see in the first set of photos below that the images look really quite beautiful. I used the tree to give some subtle depth to the shadows. After we did this first shoot I really wanted to show you the power of using a fill flash so we completely overpowered the Sun.
Check out the photos below in which we have the sun in the shot and behind the subject yet the model Rosie White is still perfect lit with the fill flash.

Fill Flash Tips
1. Remember what your flash sync speed is. Most studio mono flashed sun at either 200th or 250th of a sec. Speed flashed sun a lot faster. Just make sure you have the correct shutter speed for your flash when exposing for the background.
2. If your flash isn’t powerful enough just move it closer to the subject
3. Play around and have fun. It sometimes takes a while to get the hang of this technique, but the results are awesome.
About the author: Ed Gregory is a photographer and the founder of Photos in Color. The opinions expressed in this article are solely those of the author. Gregory teaches tutorials on Photoshop, Lightroom, and photography, and you can find more of his videos on his YouTube channel. This article was also published here.