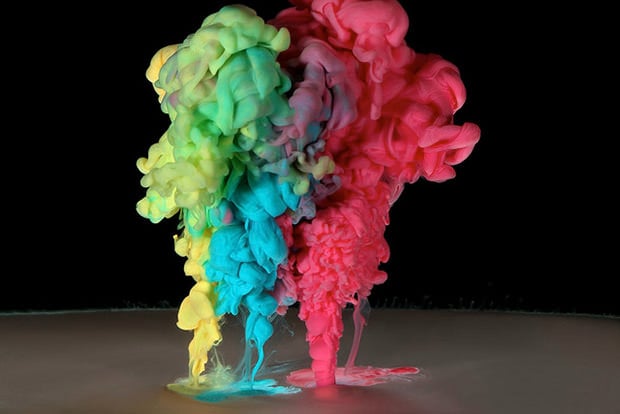
How to Shoot Water Drop Photos, from Start to Print
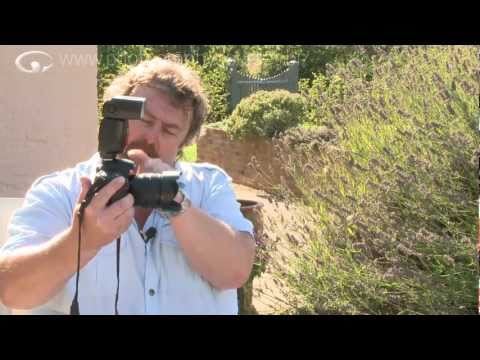
Want to try your hand at water drop photography but don’t know where to begin? Here’s an 11-minute video from First Man Photography that runs through the entire process, from starting out to making a print.
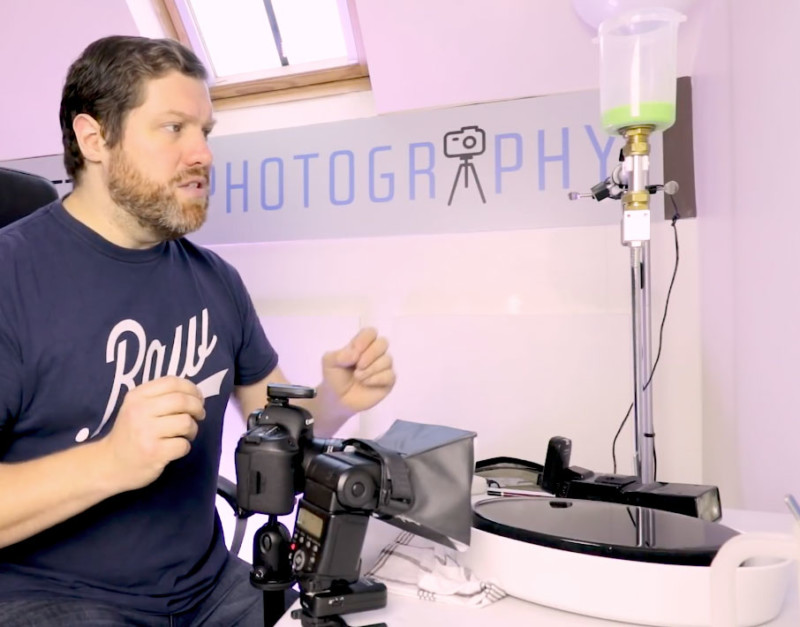
The tutorial has one flash being used as a main light pointing at the water bath and another being used to light the backdrop — a common lighting setup for this genre.
A special piece of equipment featured in the video is a device called SplashArt. It allows you to automatically release a droplet from a special dropper system and have control over the drop size and intervals.
The device also triggers the camera, although there is “a lot of fine-tuning” required to get it right.

An aperture of between f/8 and f/16 allows for proper focus of the droplet, but it’s important to continually adjust as many factors will change depending on the thickness of the water droplets.
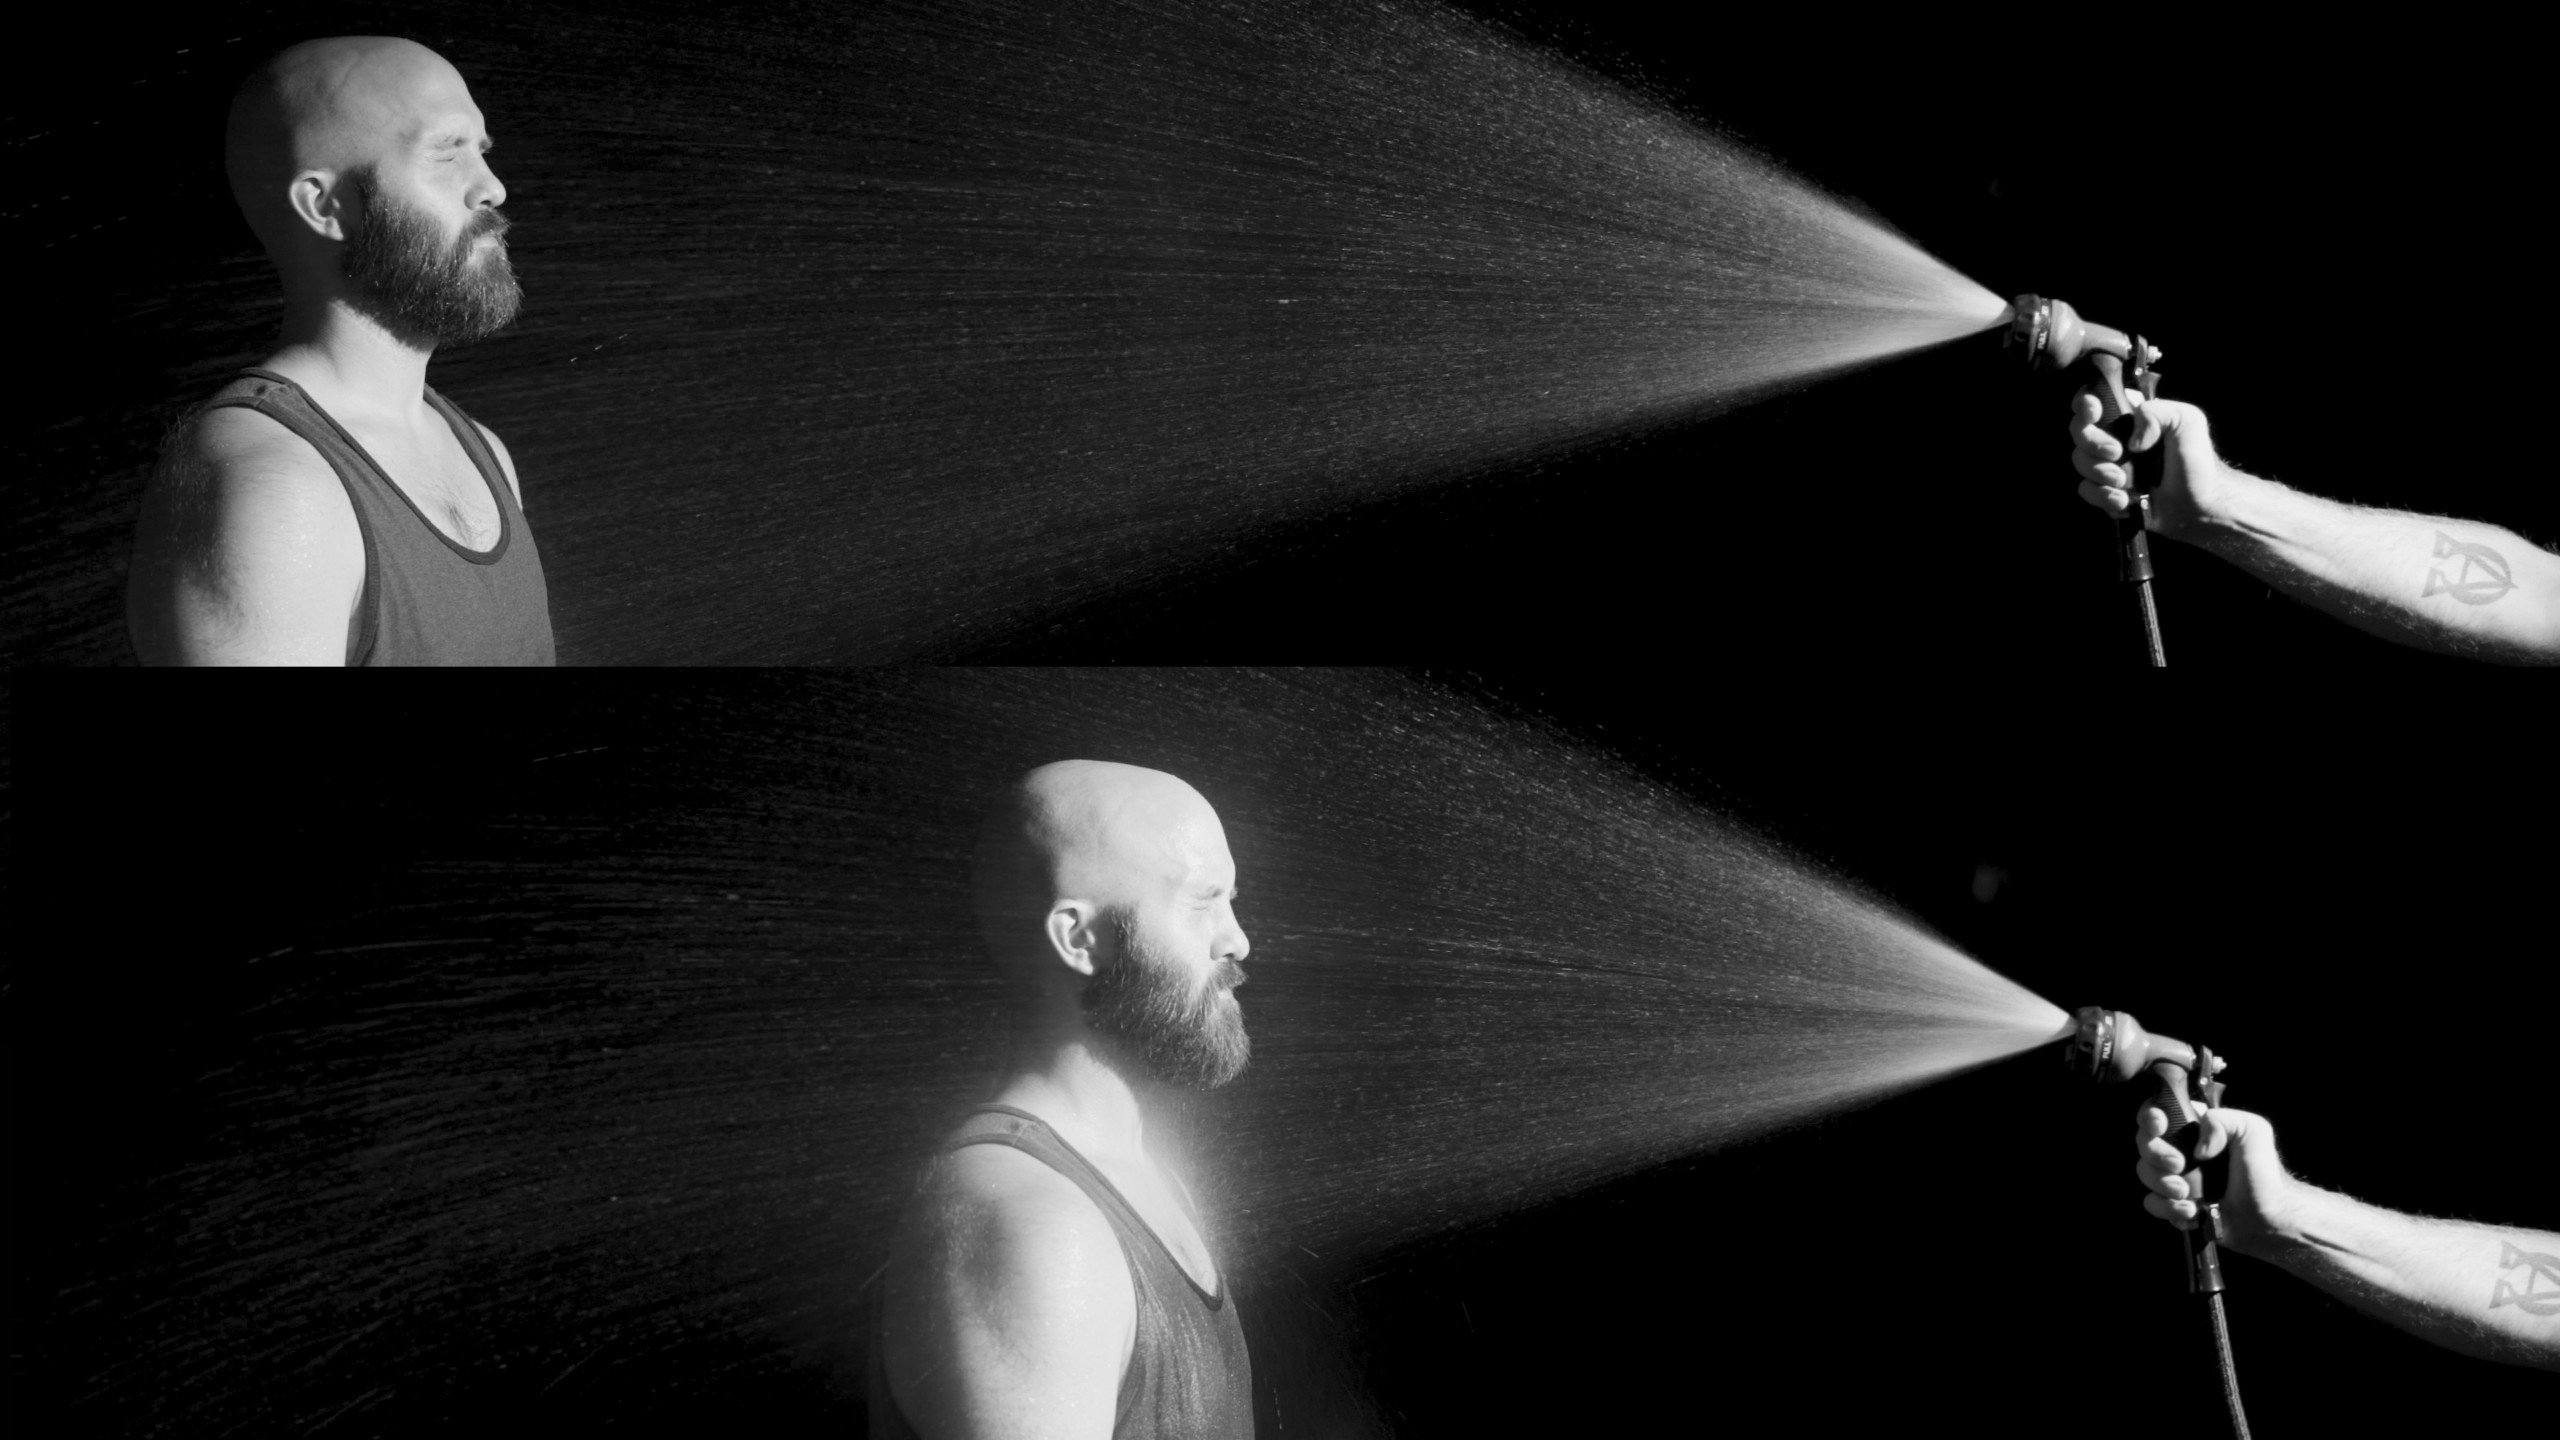
“Slight movements of the flashes is absolutely key,” Adam of First Man says, especially because of the small scale you’ll be working with. This means that any slight adjustments make a big difference.
Finally, before printing, the photo is put through Photoshop to remove any unwanted highlights by using the Clone and Patch tools.
Check out the full video above to see the step-by-step walkthrough. You can also find more of Adam’s videos on his YouTube channel.