How to Customize the Bokeh in Photos Using a Laser Printer
If you’re into photography, chances are that you’ve seen the tutorials where you are supposed to cut hearts out of paper to get heart-shaped bokeh. I recently decided to try to do this myself. But I soon realized that my scissor skills aren’t anywhere near good enough to make nice looking heart shapes… let alone anything more advanced.
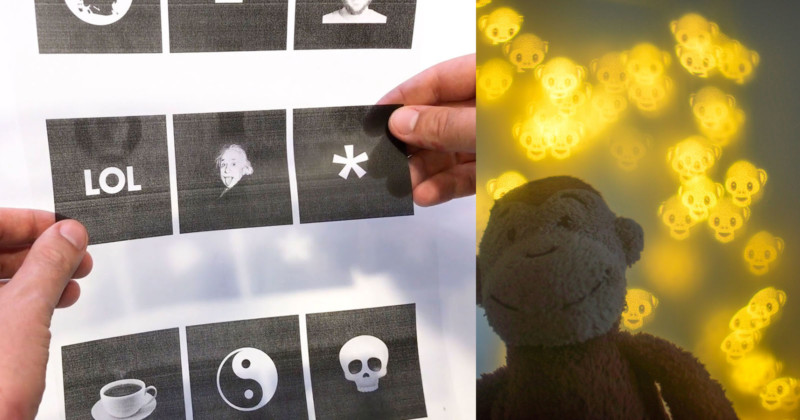
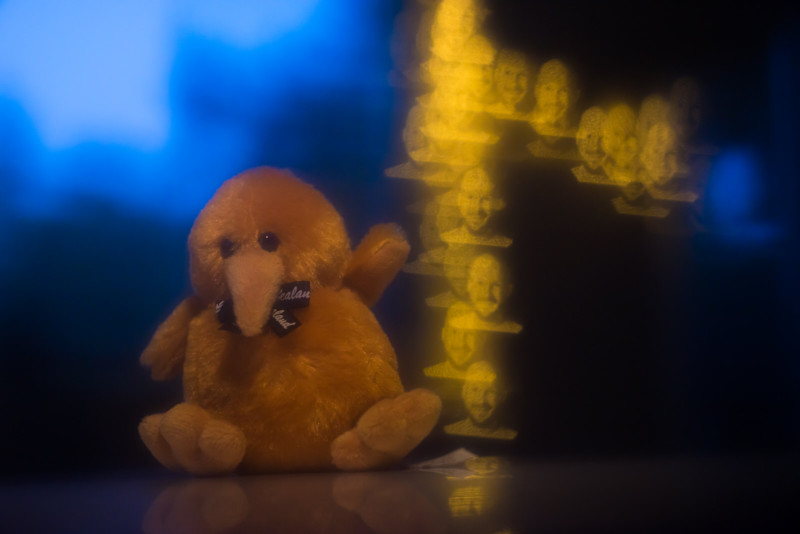
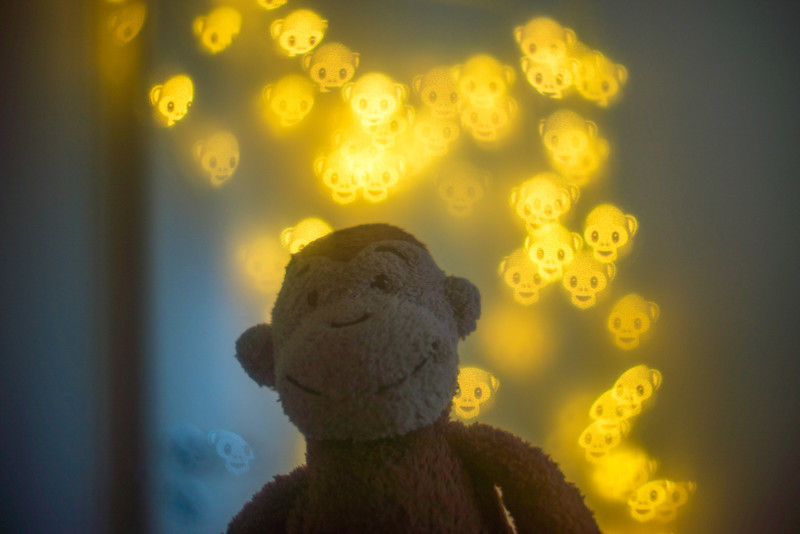
This got me thinking of other ways to get custom shaped bokeh. I was standing in the shower a few hours later when it finally hit me: I have a pack of overhead film transparencies lying around in my wardrobe. What if I just print transparent shapes onto a black background? Then I could even make grayscale images, such as emojis, into bokeh! I tried it, and it worked beautifully.

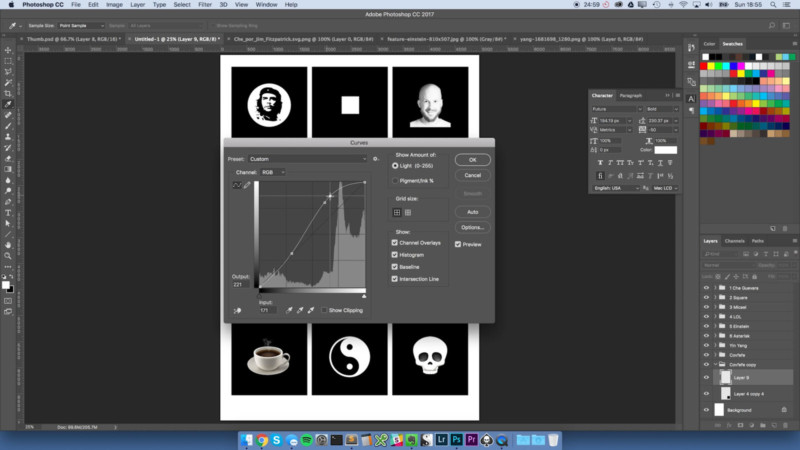
Before you create and print a sheet like this yourself, you need to ensure a few things. First of all, the bokeh shape must be in white or light gray, and the background must be absolutely black. You can use the curves tool in Photoshop to make sure that the brightest point in the picture is absolutely white.
Second, make sure that the bokeh shape is smaller than the front lens of your camera.
Third, make sure that the overhead film you use is made for the kind of printer you have, otherwise, you might damage your printer! There is special overhead film for laser printers, and there is another type of film made for inkjet printers. Get the right one! If possible, also pick an overhead film that is as clear as possible, so that things don’t look blurred when you see through the film. Now you are ready to print.
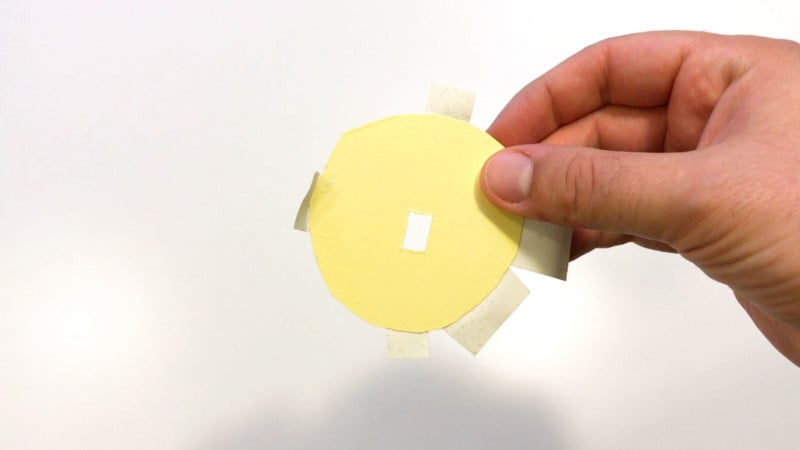
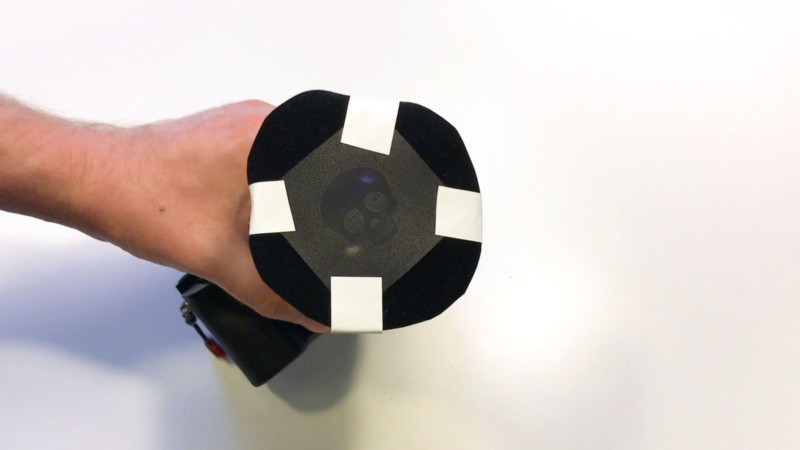
After printing, just cut out your black box and find a way to attach it to the front of your lens. Make sure that the black background covers all the edges of your lens. If it doesn’t, cover up the rest with something that doesn’t let light through. I used adhesive black velvet, which is nice because it is easy to attach, but also easy to remove later.
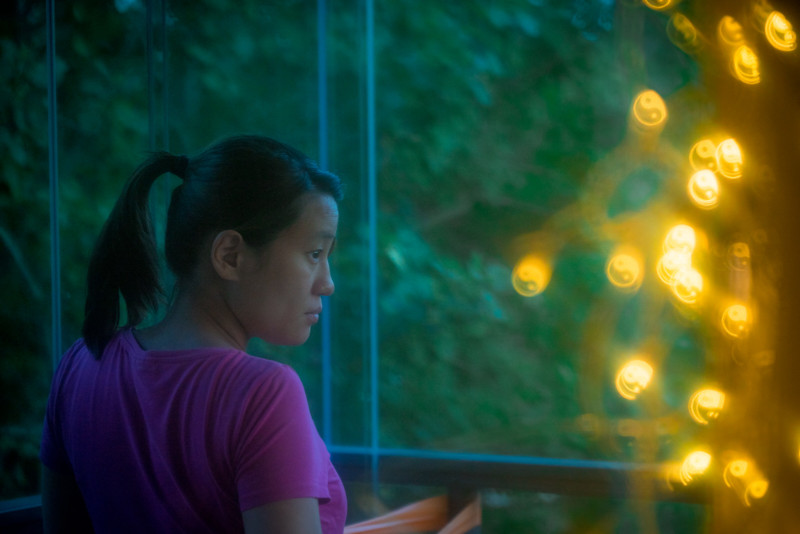
The best lenses to get cool bokeh effects are ones with as low f-numbers as possible. If your lens has an f-number of f/2.8 or below, that is probably enough. I used a Samyang 135mm f2 and a Minolta MD 55mm f/1.8 lens in my sample shots. When taking photos, make sure to set the aperture to a low number such as f/1.4 or f/2.0.
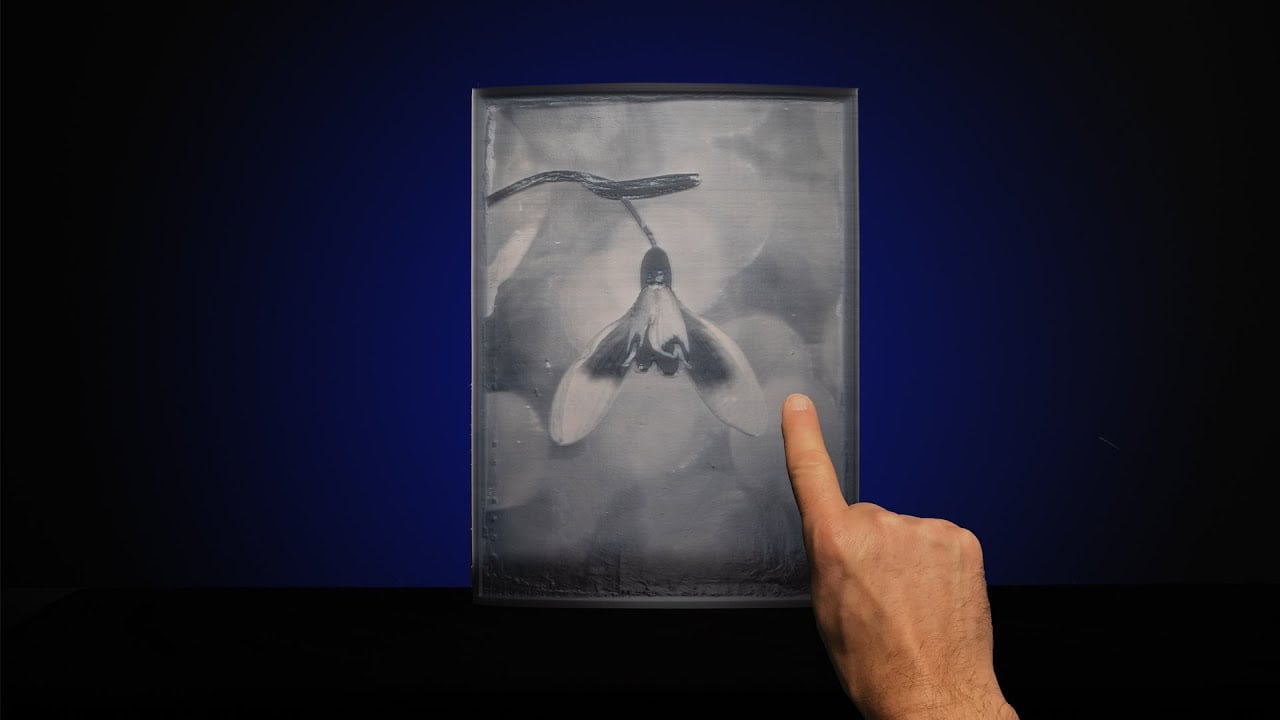
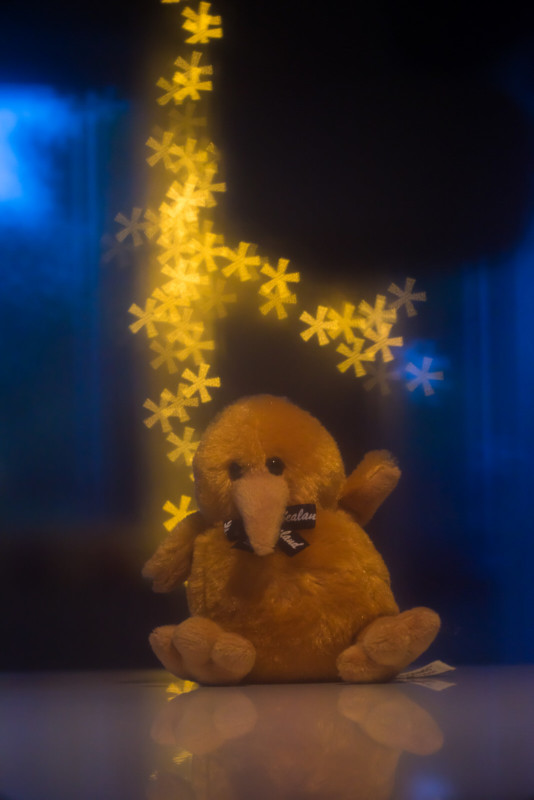
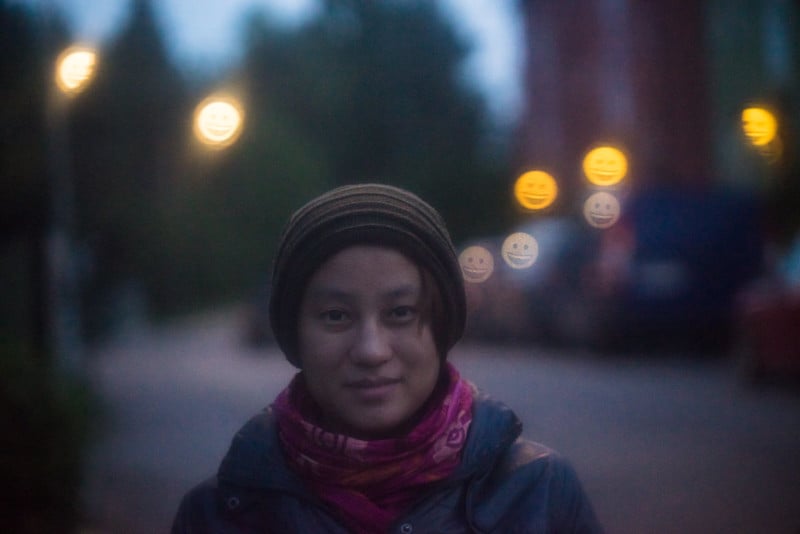
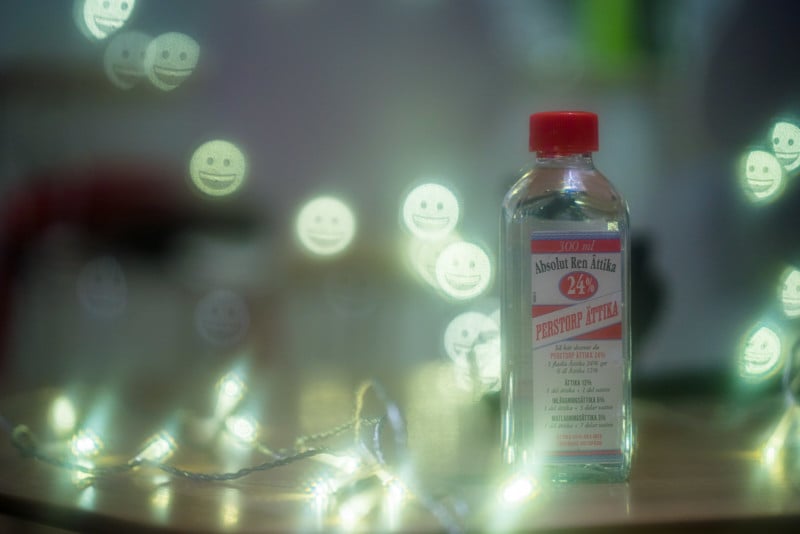
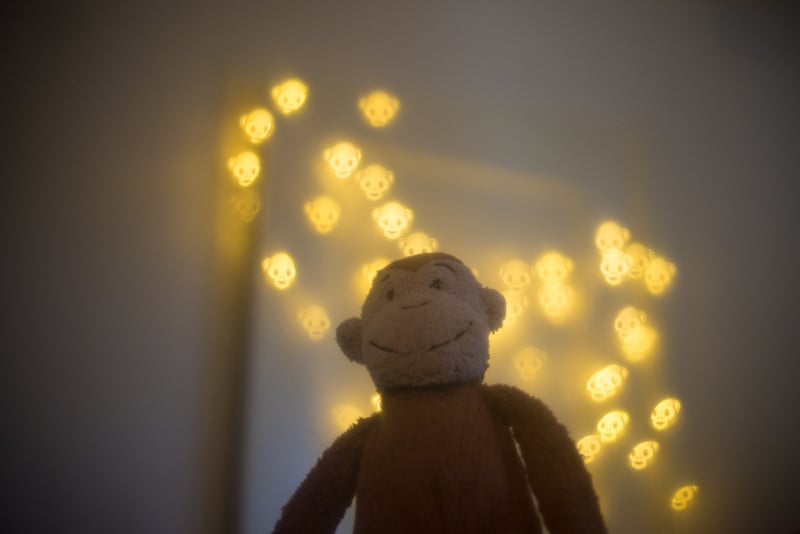
Now you are ready to go out shooting! The best bokeh effect is achieved when focusing closely on your subject. To get the cool looking bokeh balls seen in my sample shots, you can try shooting against a background of small distant light sources, such as Christmas lights, or a road with a lot of passing cars.
Here’s a 6-minute video tutorial showing how this project is done:
About the author: Micael Widell is a photography enthusiast based in Stockholm, Sweden. He loves photography, and runs a YouTube channel with tutorials, lens reviews and photography inspiration. You can also find him on Instagram and 500px where his username is @mwroll.