Going Open Source to Make Your Own Loupedeck Alternative
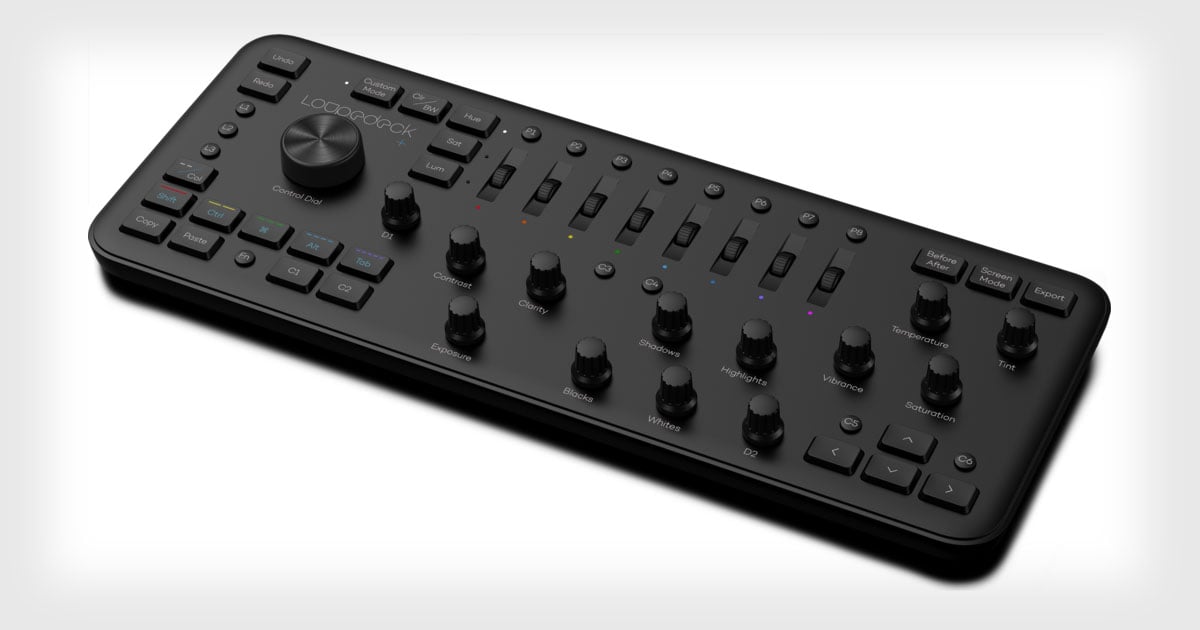
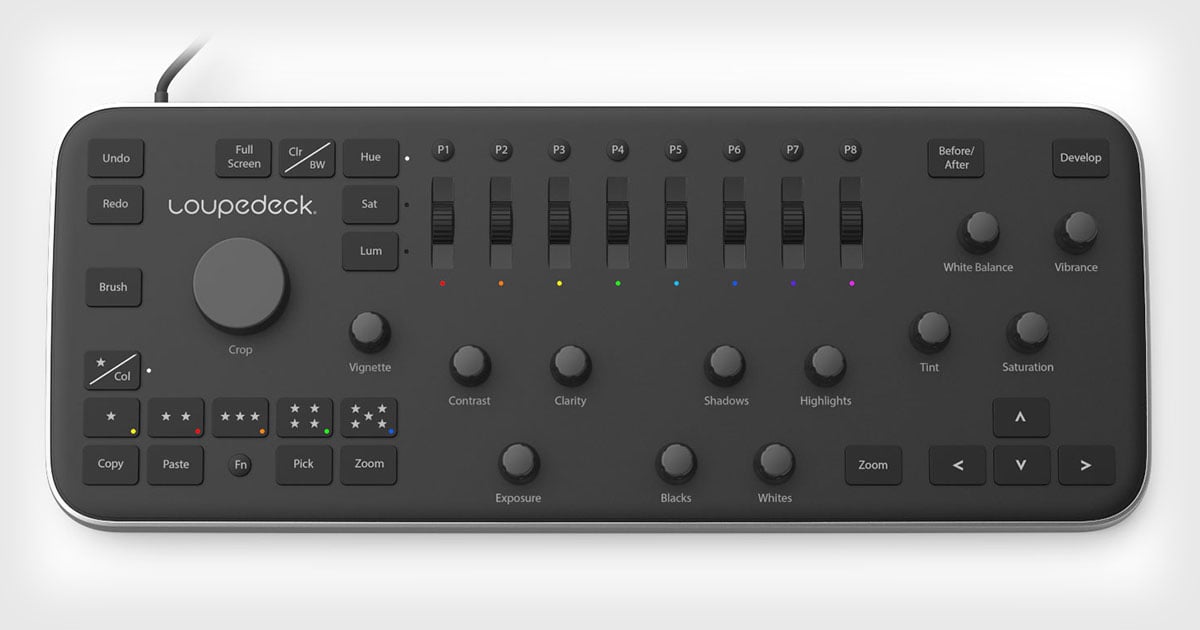
There is an extremely talented landscape photographer called Thomas Heaton whose YouTube videos I find very instructive and entertaining. Recently he featured a new product he was sent to try out: the Loupedeck, a physical console that lets you control Lightroom (the main software I use to sort, catalog and edit my photographs).
Loupedeck gives you knobs and buttons to press and twiddle rather than pointing and clicking with a mouse, which makes editing much more natural and allows you to be looking at the picture you’re editing rather than the controls as you make your changes.
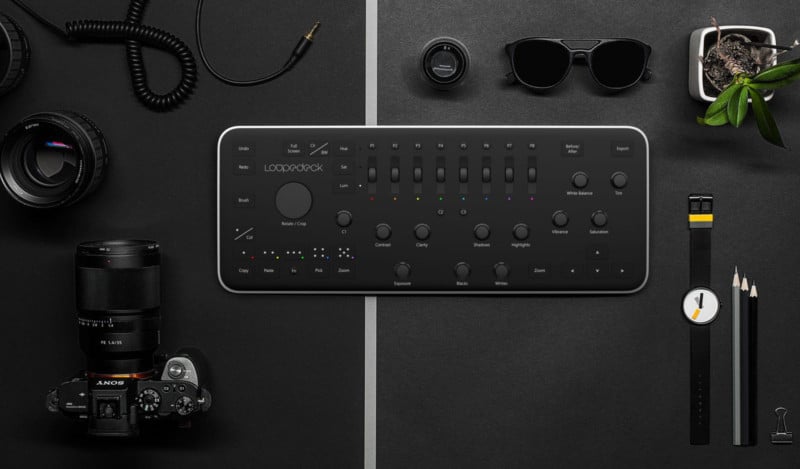
Anyhow, I looked at it and was extremely interested! It is being released for sale in the middle of July and so I floated the idea that my nearest and dearest might like to chip in towards it as a Father’s Day gift (it ain’t cheap, though… it’s $415!) and they seemed amenable so I pre-ordered it.
But then however I started doing some further research, and found out that the same functionality can be obtained using open source software and a much more affordable MIDI controller (a controller made to control electronic musical instruments and digital audio). And as well as being much cheaper, it’s much more configurable in that you get to choose exactly what each knob and button controls, so you get control of the Lightroom features you use most and get to put them where it makes most sense to you.
And even better, it’s a project I have to research and put together myself rather than just buy and plug in — that’s much more fun and satisfying.
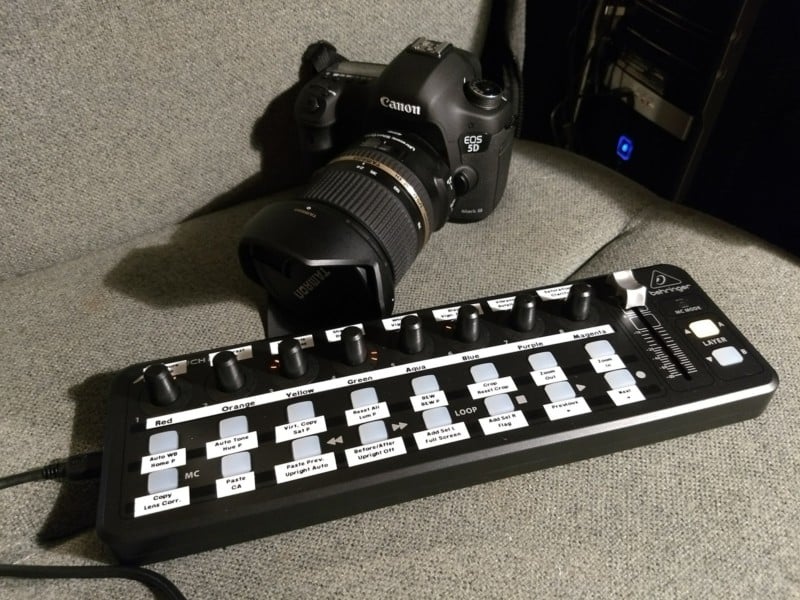
So, I cancelled my Loupedeck order and found a very reasonable MIDI controller for $65 from Adorama and ordered it instead (my lovely daughter is going to pay for it for Father’s Day — it’s so nice she’s earning her own money), and downloaded the open source midi2lr software (midi to Lightroom, get it?).
The X-Touch Mini controller arrived yesterday, much quicker than I was expecting, and I was very naughty and couldn’t wait, so I started playing with it.

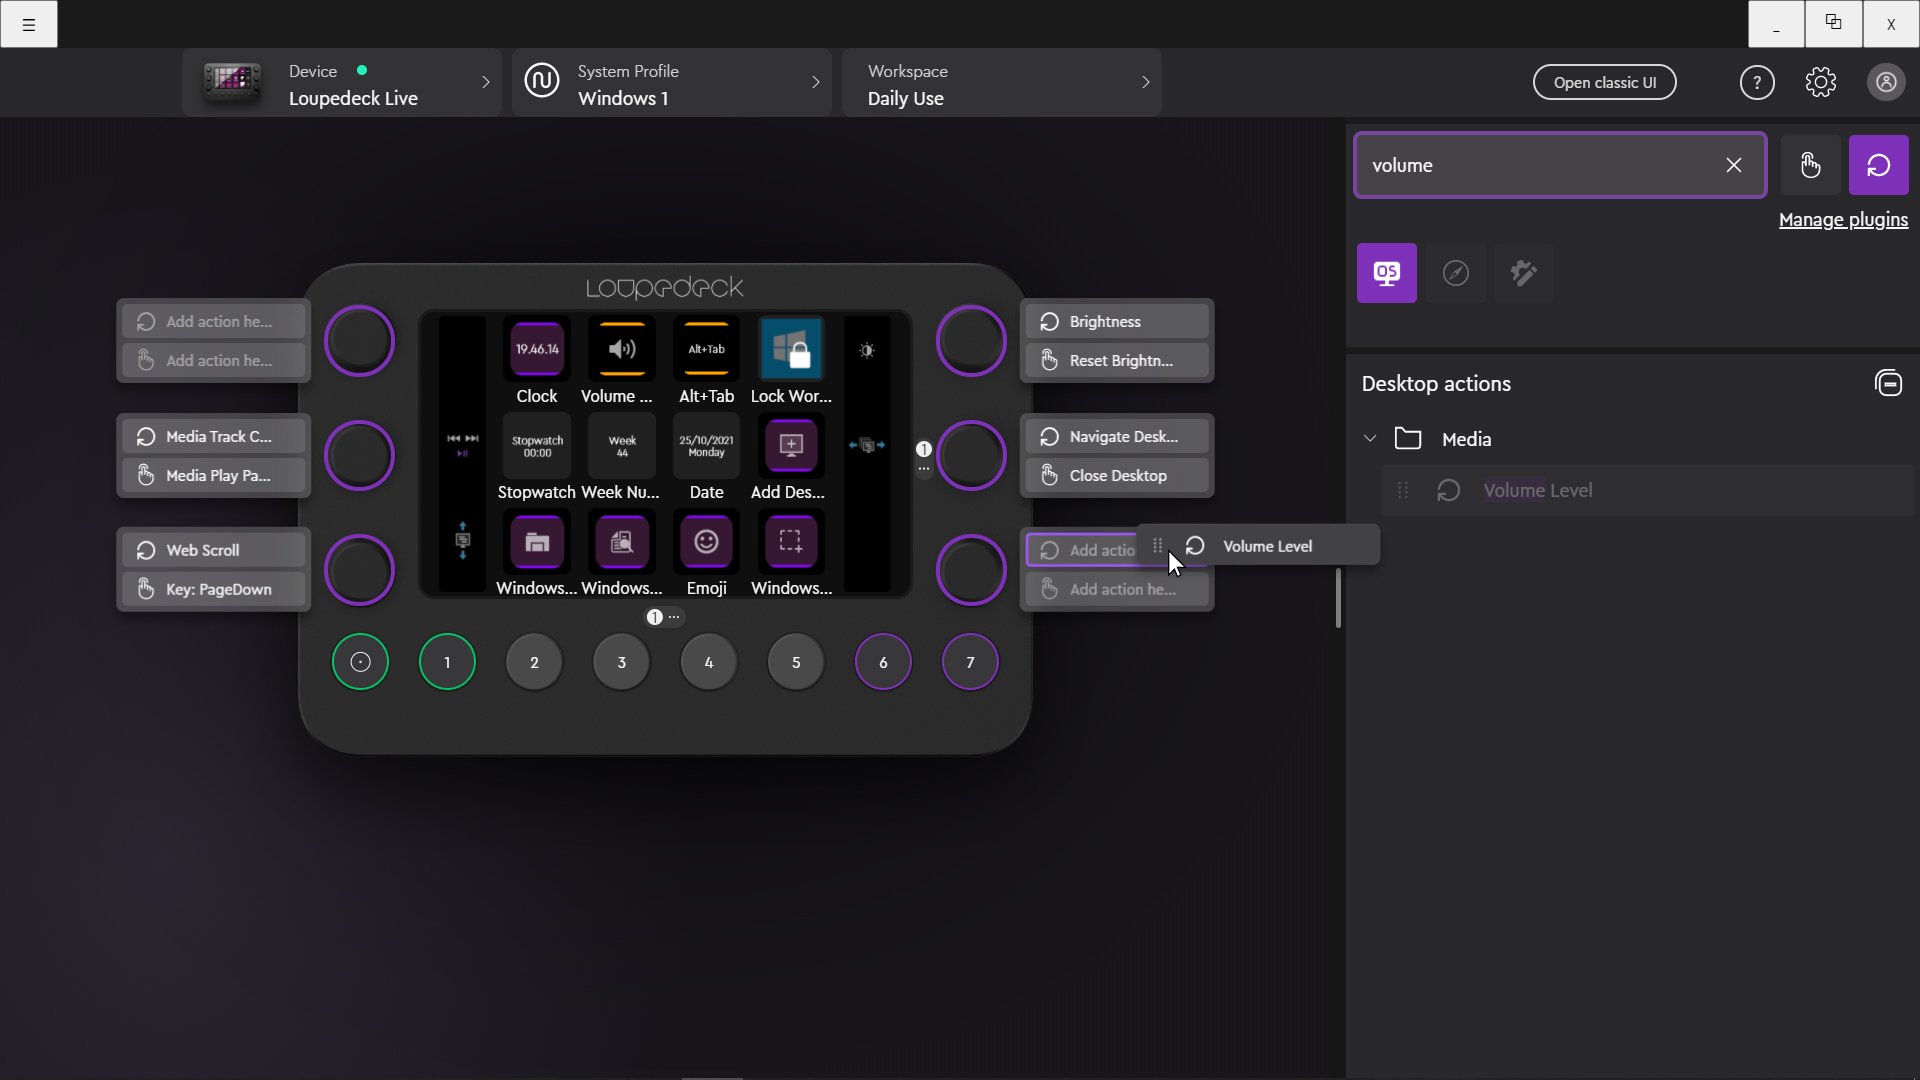
With the help of some very helpful websites (especially this post on a Google Group), a few hours, some trial and error, and lots of P-Touch labels, I think I have it configured the way I want it, but the best thing is that if I don’t like the way it is set up I can just move things around and print new labels.
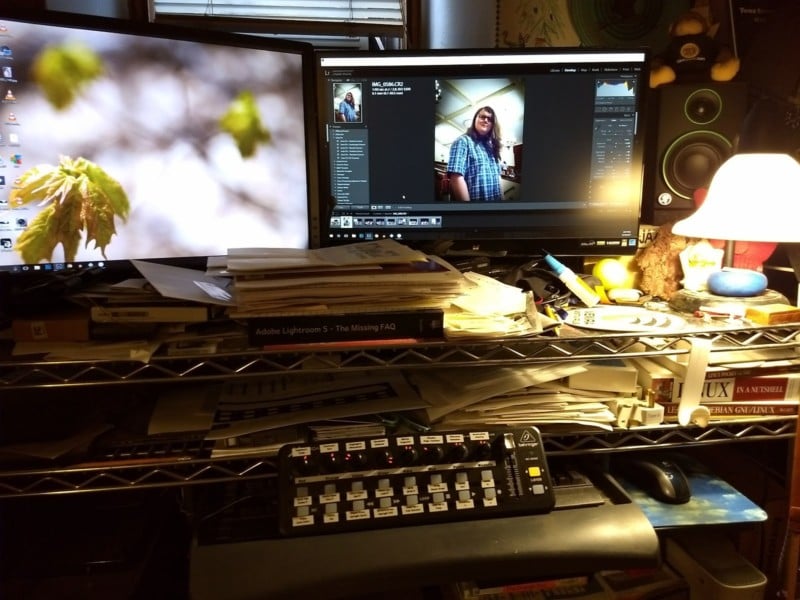
This is going to make it so much easier and more “organic” to edit pictures in future — to be able to make adjustments without having to navigate to the tiny toolbars with the mouse, but to do it with physical knobs while keeping your eyes on the changes as you make them will be great. While it only has 8 knobs and 16 buttons, it is a “dual layer” setup, so each knob and button can be configured to do at least 2 things (and even more with “profiles” enabled… but that’s way more detail than you need).
These couple of videos helped me while I was setting this up, they’re a bit long if you’re not a photo nerd, but they give you a better idea of why I did this and why I’m so excited.
This guy sets it up with two, which I think is a little overkill…
So, happy early Father’s Day to me (thanks, Monkey!), I can’t wait to use this new set up to edit the church picnic photos I take tomorrow.
About the author: Crispian Thorne is a photography enthusiast who attempts to post one photo per day to his photoblog. You can find his website here. This article was also published here.