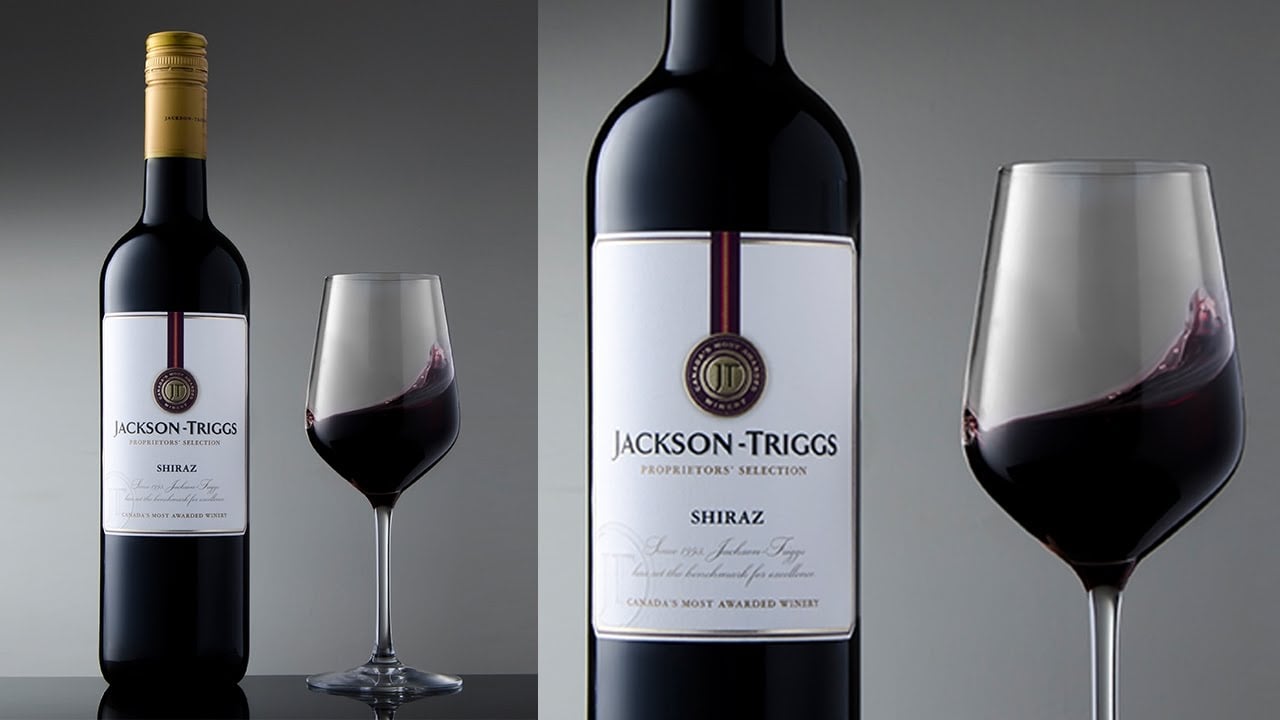
How to Capture a Bold Wine Bottle Photo with a Single Speedlight
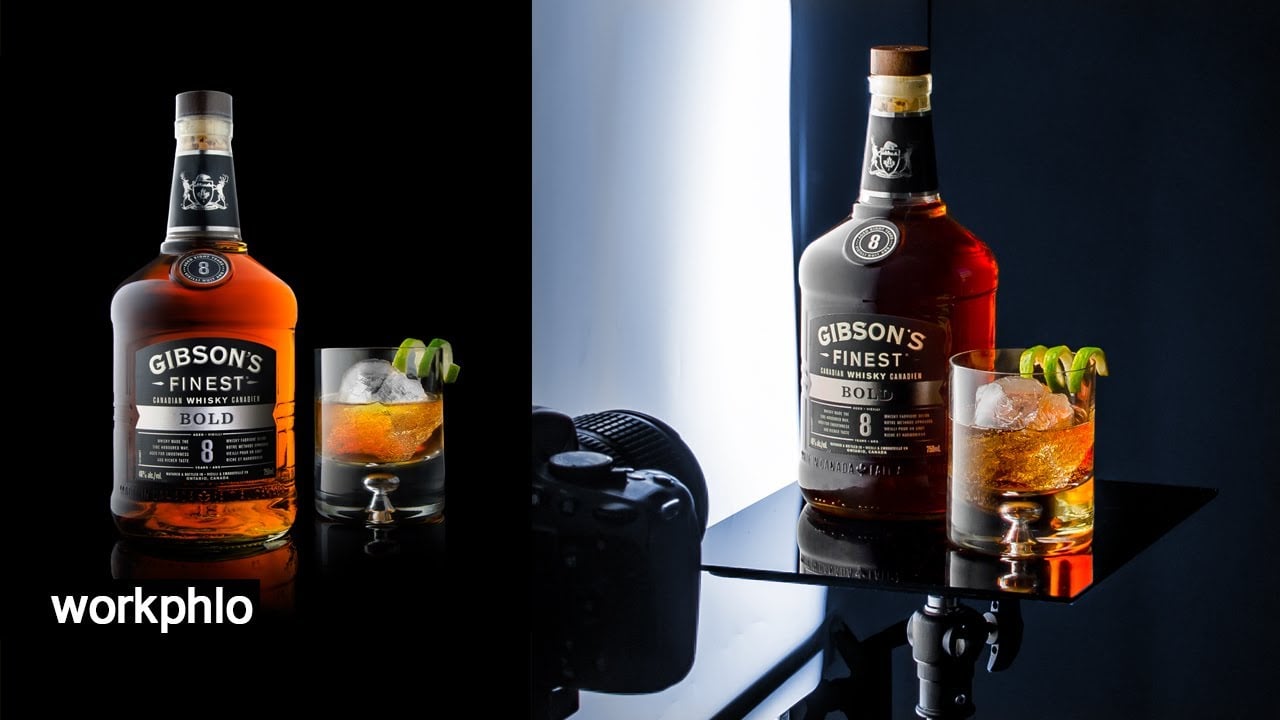
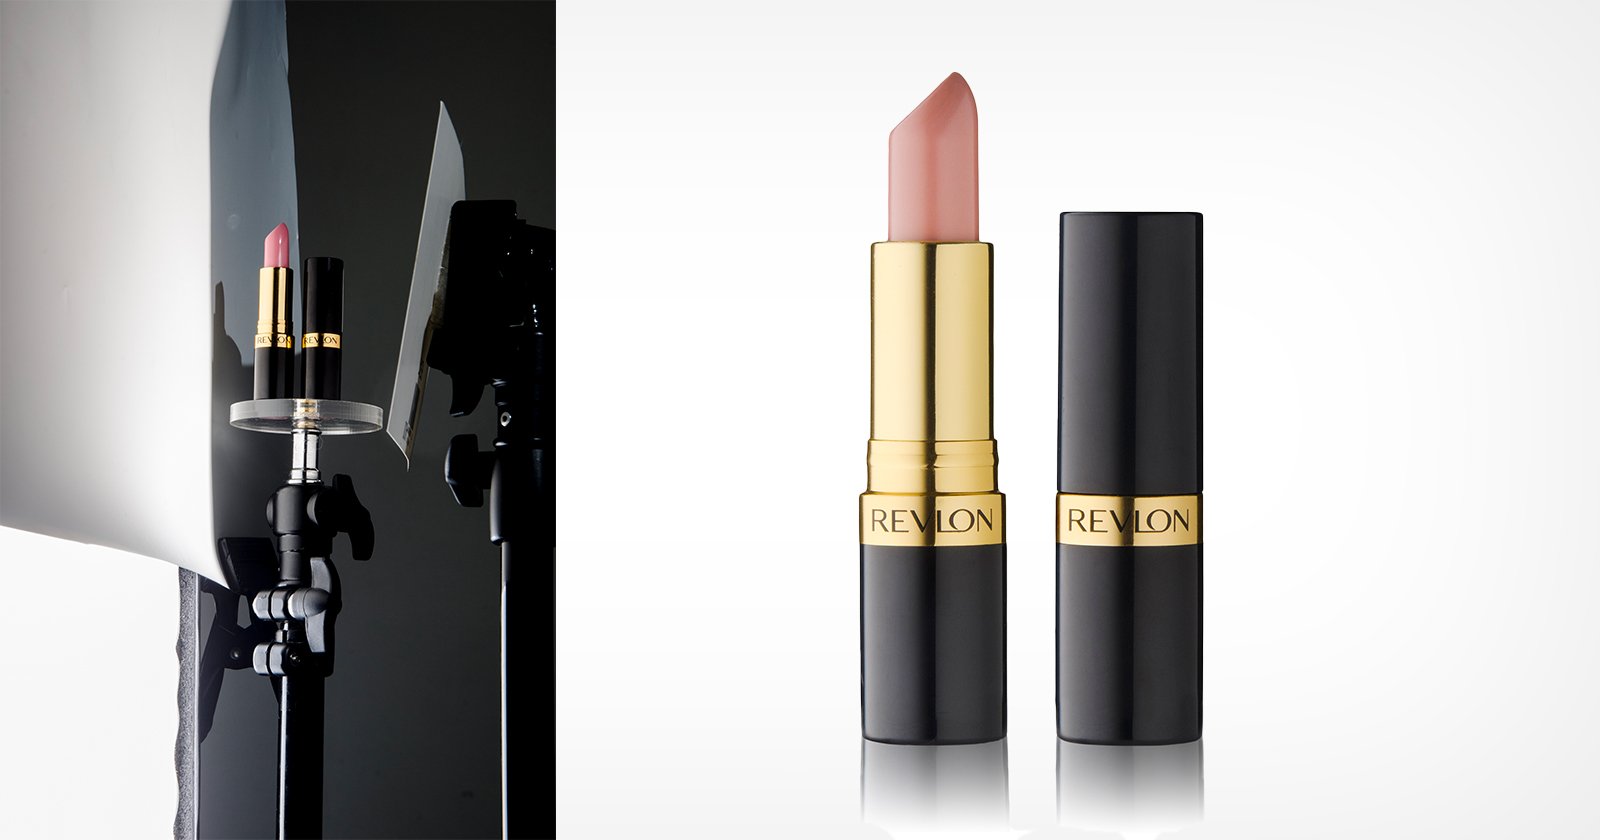
If you’re interested in product photography, Dustin Dolby‘s channel workphlo is definitely worth a bookmark. Using minimal equipment, he’s able to capture distinct looks like this makeup shot, and in this tutorial he’ll show you how a single speedlight can produce a bold beautiful wine bottle photo that looks 100% pro.
First, he started by capturing his edge lights. Using a speedlight inside his stripbox, he shot the bottle with the light first on the left
![]()
Then on the right:
![]()
He placed a black card behind the bottle to help keep the edges distinct, and did his best to make the two edges look even by moving the striplight until the specular highlights looked even (you can always clean up minor difference in Photoshop).
Then, he placed his striplight directly behind the bottle to capture a perfect “mask” for Photoshop use:
![]()
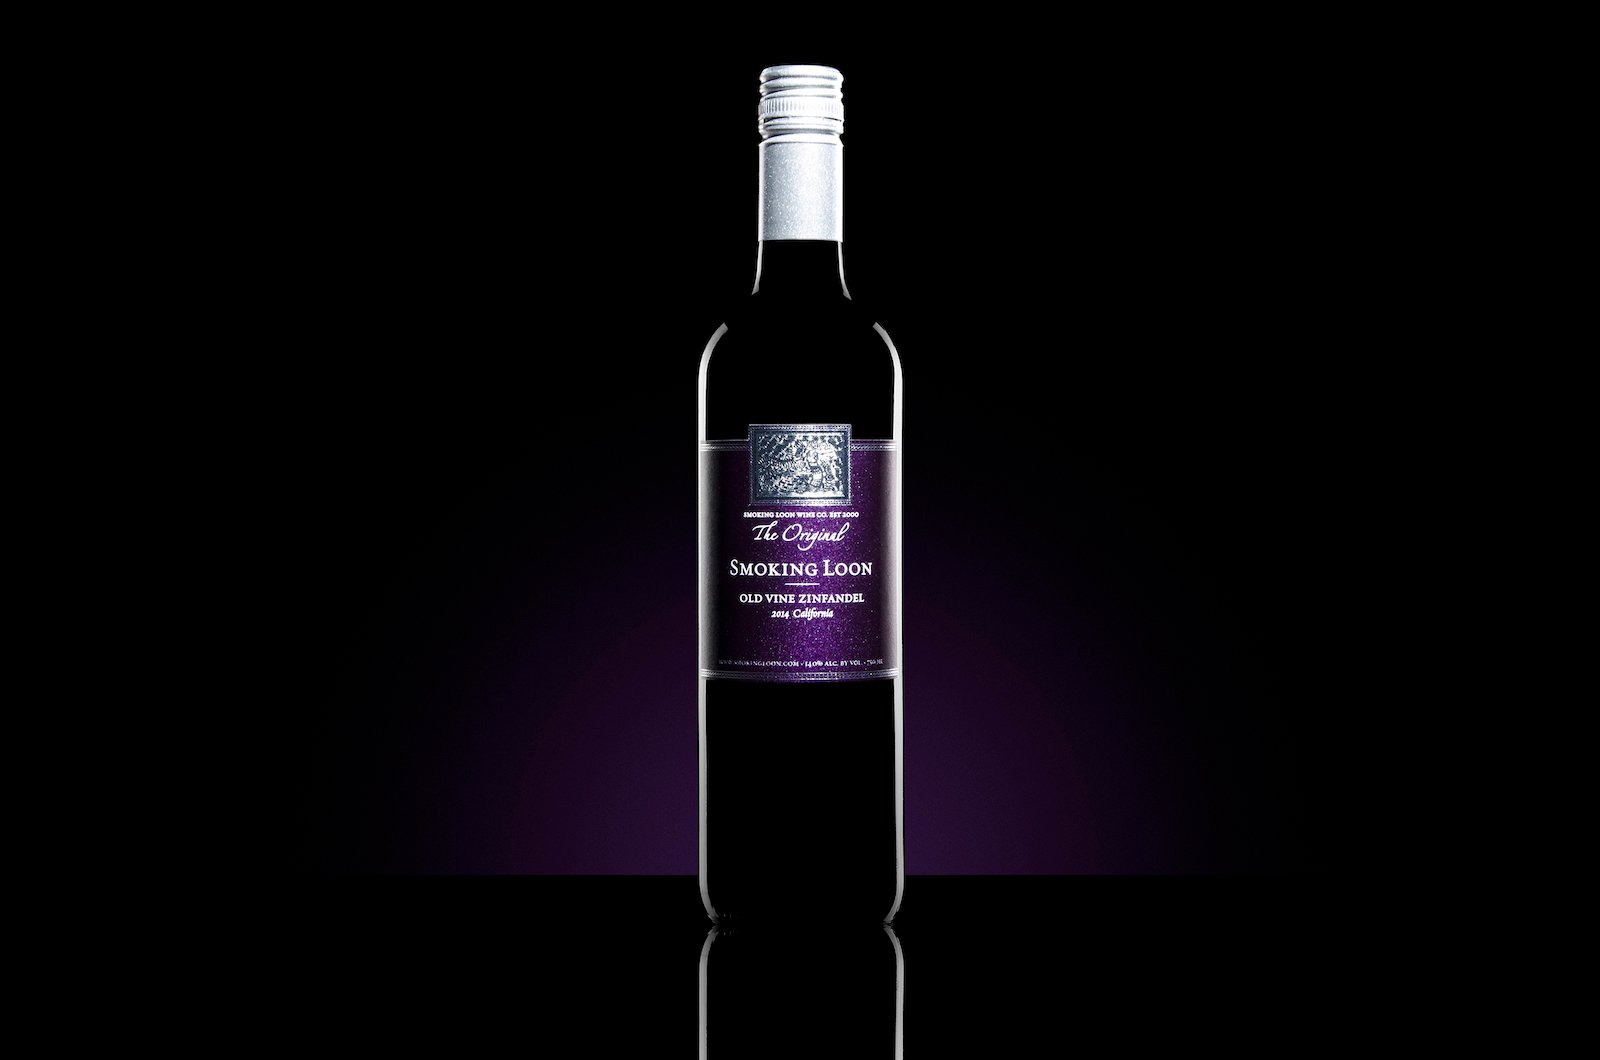
And finally, he used just the bare bulb speedlight to get a really bright and glittery shot of the bottle cap and label:
![]()
Taking it into Photoshop, he’s able to use that light ‘mask’ to create a perfect selection without using the Pen tool, and then he simply blends all of the layers together into a final shot that includes both edges, the bright label, and the bright cap.
The final touch involves copying and inverting the layer to create a reflection, and then creating a fake background “color splash” of sorts using a circular gradient and a mask. You’d never know this final shot was taken in a bare-bones home studio, on a tiny stand, using a single speedlight:
You can see Dustin work through the entire process, step by step, as well as the post-processing workflow in the video at the top. This really is as simple a setup as it gets, and the results are incredibly professional looking.
And if you like this, check out Dustin’s other wine bottle tutorial for a totally different wine photography look.
Image credits: All photographs by Dustin Dolby, and used with permission.