How I Chase and Photograph Storms and Lightning Strikes
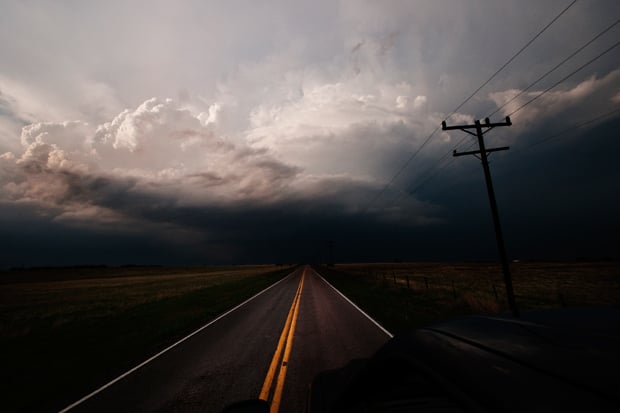
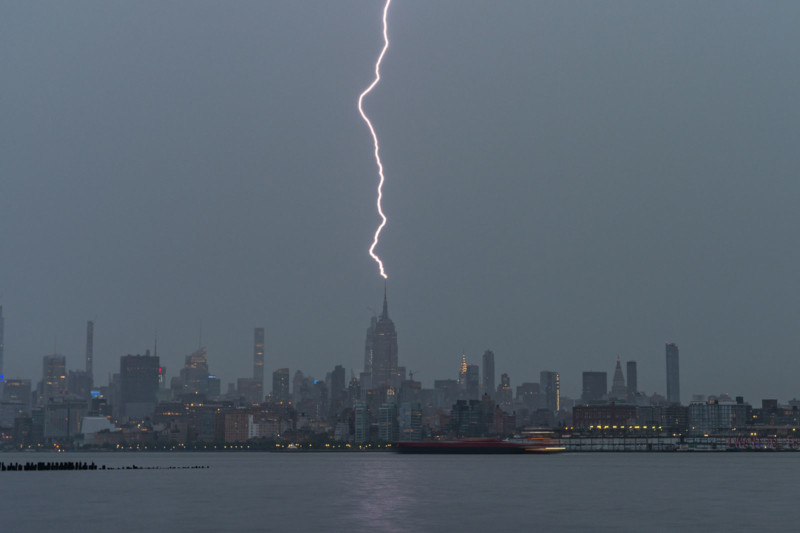
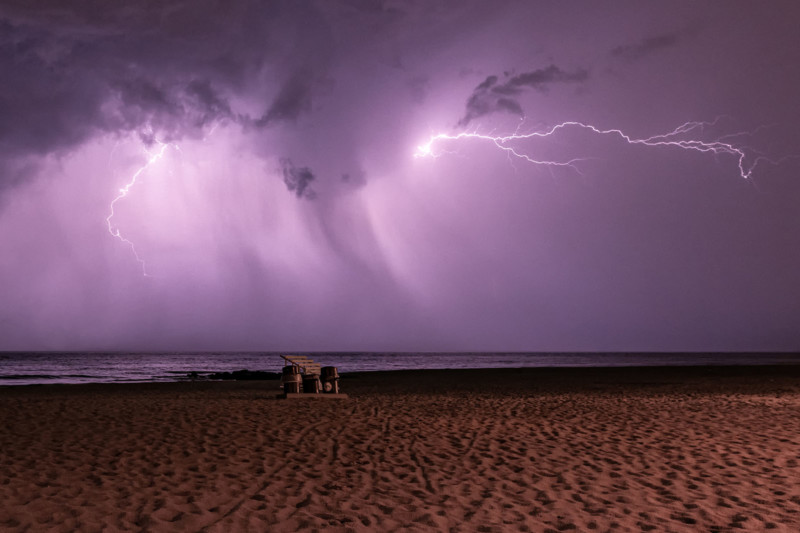
As someone who loves to seek out and photograph unique weather events, I’m always excited to see a thunderstorm brewing over New York City, and of course my home, the Jersey Shore! There’s always something exciting to look forward to while you’re out storm chasing, including rainbows, storm clouds, fog, and of course, lightning!
Planning
Probably the most crucial and trickiest part of shooting storms is planning. I usually look 24 hours in advance to see if there’s anything brewing in the forecast, but things can change quickly. In the past, I’ve seen a 100% chance of thunderstorms turn into a 40% chance by the following day. So, I get up-to-the-minute information with the weather apps I mentioned earlier.
If I see a huge cell coming towards my desired location, I’ll head out early in hopes that the storm will land right where I want it to be. It’s always best to arrive early to secure parking and a shooting location, and to have sufficient time to set up.
Shelter and Safety First
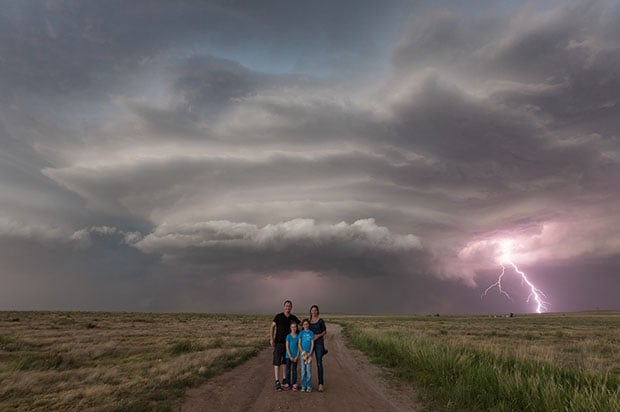
It’s vital to choose a proper location of where you’re going to capture your images. I always make sure that I place myself in the doorway of a building, an open window, in a car, under a wooden gazebo, or somewhere similar to keep myself from getting struck by lightning. Yes, we all want that once-in-a-lifetime image, but we need to take proper precautions while on storm chasing adventures.
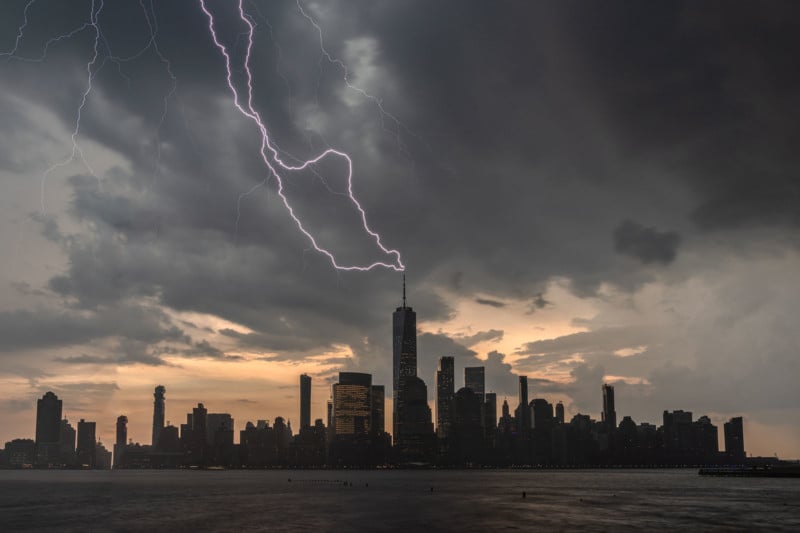
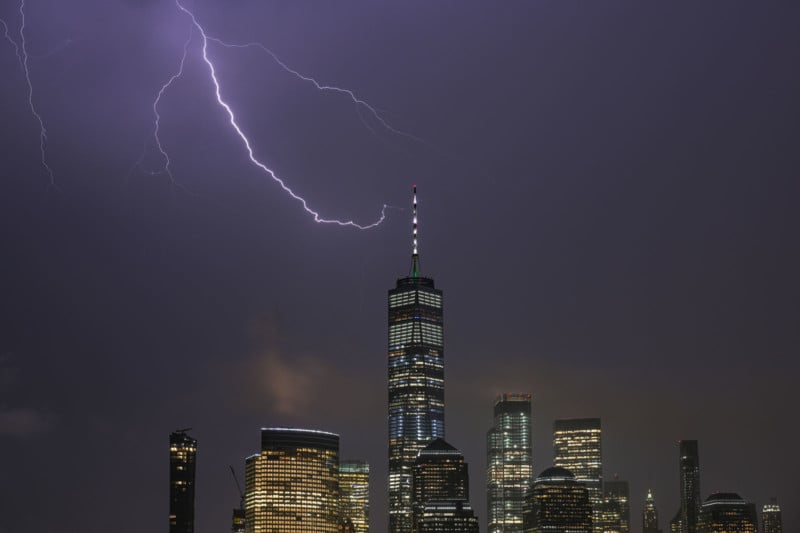
On July 22, I was able to witness an incredible storm over New York City. I was very sad to read that two individuals were struck by lightning and admitted to the hospital in critical condition. Remember, no place outdoors is 100% safe from lightning, so when in doubt, stay indoors, and never set up under trees or metal-framed structures like tents and canopies in an open area.
Gear
Camera: Any interchangeable lens camera will do, but one with a weather-sealed body and a high megapixel count (I usually shoot with a Nikon D850) will help in the inclement weather and give you extra detail to work with in low light.
Lenses: I usually pack my “Holy Trinity” of Sigma lenses: the 14-24mm f/2.8 DG HSM ART, 24-70mm f/2.8 DG OS HSM IF ART, and 70-200mm f/2.8 DG OS HSM Sports. These are my go-to lenses for capturing lightning. They are all weather-sealed, and the image quality is excellent.
Sturdy Tripod and Ball Head: It’s very important for every photographer to have a sturdy tripod, especially while shooting storms since long exposures are necessary. I use the Robus RC-5558 tripod and an RRS BH-55 ball head.
Microfiber Cloths: These are essential for wiping down your gear! In most cases, there will be windy conditions, and rain will certainly wet the front element of your lens and your camera body, so you will need to wipe it down in between shots. I love my Sigma lenses for this type of weather because of the excellent weather sealing.
Emergency Rain Cover: I use a rain cover on my camera body and my lens when it’s very windy, but if you don’t have one, don’t panic! A lot of cameras these days are weather-sealed, as well as Sigma Art and Sports lenses. Iʼve had all of my Art and Sports lenses in inclement weather and everything turned out fine.
Extra Batteries: I always pack extra batteries while shooting storms. I spend all of my time in live view mode and it can quickly drain your battery! Temperature can also play a role on your battery life, so it’s always a good idea to bring extras.
Weather Apps
My choice of apps includes The Weather Channel, Radar Scope, Accuweather, and Weather Underground. There will be times when there’s no lightning at all, however, you might see some interesting fog and clouds that make it worth your trip! Don’t forget to charge your phone as you will need it for weather updates and possibly for activating your lightning trigger.
Settings
I always keep a close eye on the storm to get an idea of what settings I will need. You will need to change your settings as the sky gets darker. I usually use an Aurora Aperture ND Filter or NISI Filters so I’m able to control the lighting during the morning or afternoon hours. My shutter speed can range anywhere from 2 seconds – 15 seconds. I like to shoot shorter exposures because it can get windy and those 60mph winds will cause motion blur if your shutter speed is too long! If you’re going to shoot longer exposures of up to 30 seconds, I highly recommend that you have a very sturdy tripod and ball head.
Here are some quick settings tips:
- Turn off optical stabilization / image stabilization on both your lens and camera body (if applicable).
- Focus on your target using autofocus or manual focus. If you choose autofocus, just use AF once to acquire focus, and switch to MF to keep it from changing. It’s very important to check your focus every few minutes. It can get windy or you might accidentally move your focus ring and not even realize it.
- Keep your ISO as low as possible so you can recover more shadows of your final image.
- Shoot in manual exposure mode so you have complete control of all your settings.
- Shoot in both RAW and JPEG (RAW file for editing, JPEG for a backup or quick social posts from your location).
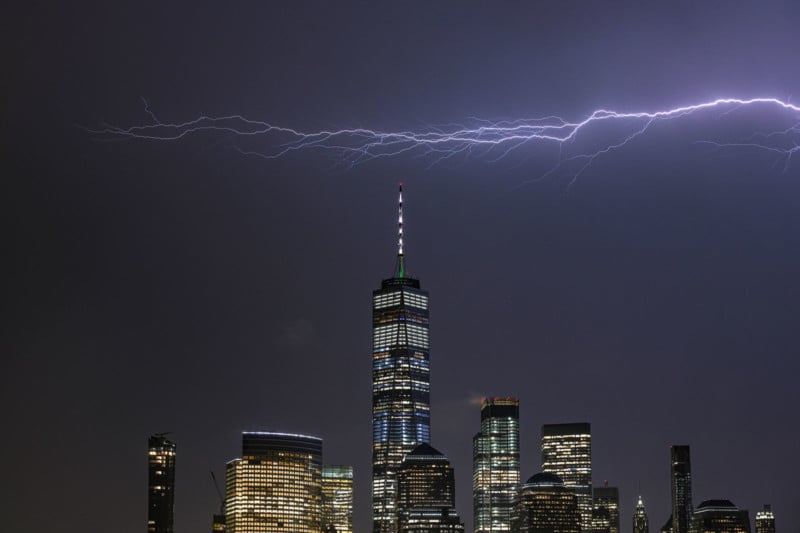
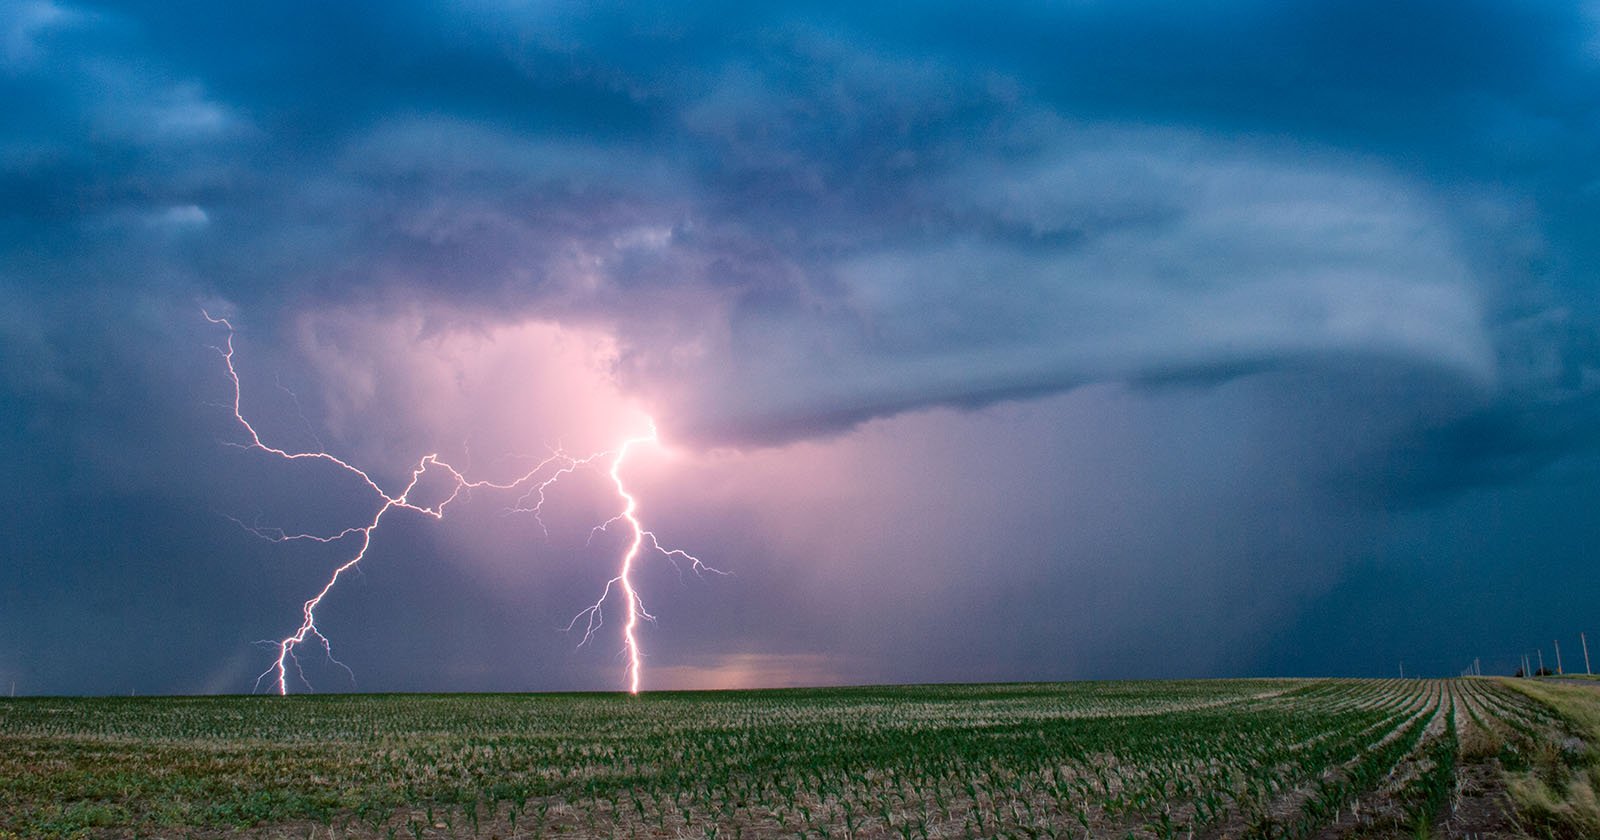
Capturing Lightning
If you really want a dramatic lightning shot, you need to increase your odds as much as possible. The first thing I do is set up two camera bodies to shoot in two different directions. I’ll start out with the Sigma 24-70mm f/2.8 DG OS HSM Art on one camera body, and the Sigma 70-200mm DG OS HSM Sports on the other. Both of these lenses give me the peace of mind that I rely on for shooting storms due to the high quality of materials that are used for weather sealing.
Another way of boosting your chances is by using a lightning trigger. I’ve been using a Pluto Trigger — which can be controlled with your smartphone — for capturing lightning during the daytime hours.
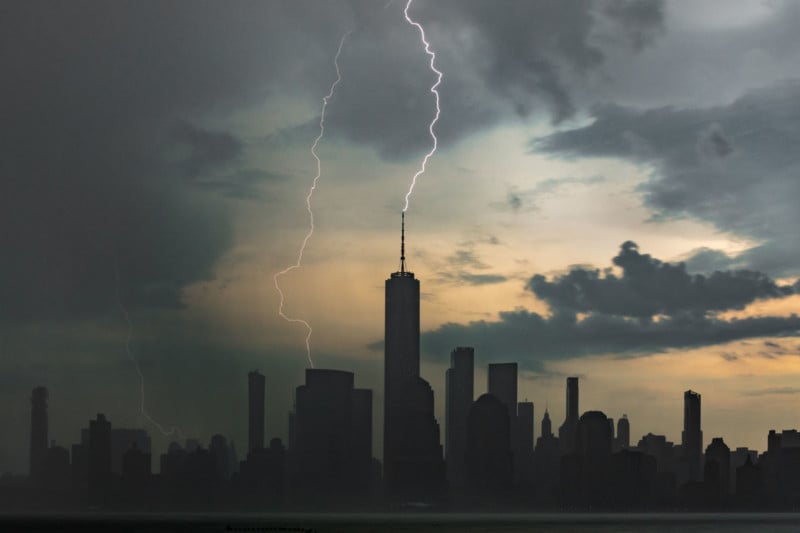
While you might not capture any spectacular shots of lightning your first time out, keep trying and eventually you’ll start having more and more success. With quality gear, careful planning, a safe location, and plenty of patience, you’ll find that storm photography is a fun, challenging, and rewarding hobby that can really get you noticed!
Full disclosure: I also write blog posts for the official Sigma blog.
About the author: Mike Carroll is a landscape photographer who has a passion for moon photography, astrophotography, concert photography, long exposures and cityscapes. The opinions expressed in this article are solely those of the author. You can find more of his work on his website and Instagram. An extended version of his article was also published here.