Making Gobos Out of Unusual Things for Creative Portrait Lighting
Typically, the term “gobo” is reserved for the lens filters and patterns that are affixed to theater lights. The terms “flag” or “cucloris/cookie” are actually more accurate for what we’re going to be using in this post, which is an object placed between the light and the subject, but not attached to it.
As I said, gobos can be quite literally anything that stands between your light and your subject. To block or shape light or create stylized shadows, you use an opaque gobo. Although you can use pretty much any non-transparent material, such as cardboard, foam core or poster board, cinefoil is the easiest to mold.
If you aren’t familiar with it, cinefoil is essentially a slightly thicker, black aluminum foil. It’s lightweight and easy to cut and shape, which is both a blessing and a curse. You can quickly mold it into any shape you need, and because it’s super lightweight to work with, you can easily hang it with nothing more than gaff tape. The down side of working with a super thin, lightweight material like cinefoil is that your gobos will be fairly temporary. Any shapes that you cut it into can easily spread or tear, so you pretty much need to make a new one each time you use one.
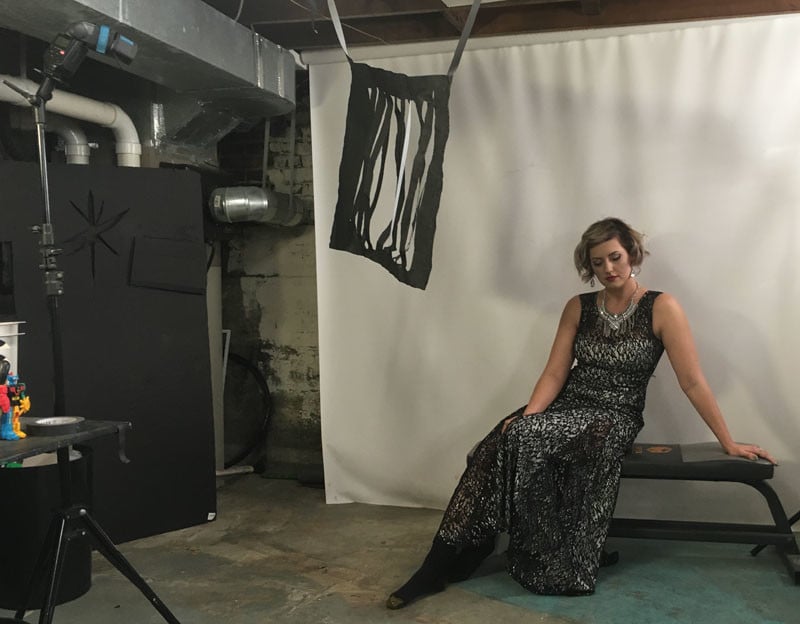
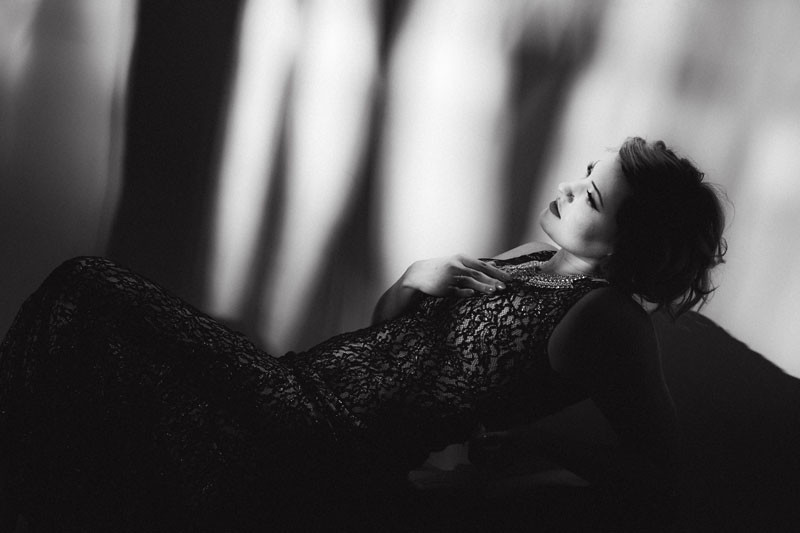
As you can see in the photo above, my gobo is hanging by strips of gaff tape from the low ceiling while Sydney is reclining on my weight bench (which never gets used) in a beautiful gown and black socks. You will learn just how invaluable mobility is when you start working with gobos and realize how precise the placement needs to be. I’m often moving the gobo two inches forward, back, to the right, or to the left in order to get it proper position, so a lightweight modifier that’s held in place with tape makes the adjusting process an easy one.

When working with gobos, you will need to call on your knowledge of light spread and shadow quality. Remember that the closer an object or person is to a background, the more crisp of a shadow is created. This info is doubly important when using a gobo because not only are you factoring in the shadows being cast on the background but now you’re also factoring in shadows being cast on the subject.
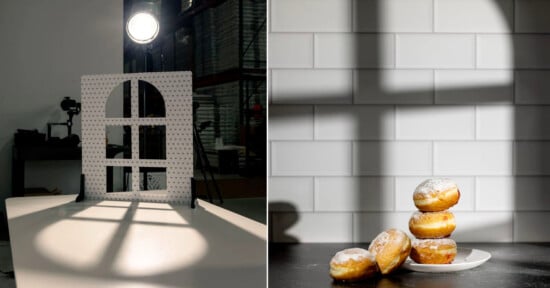
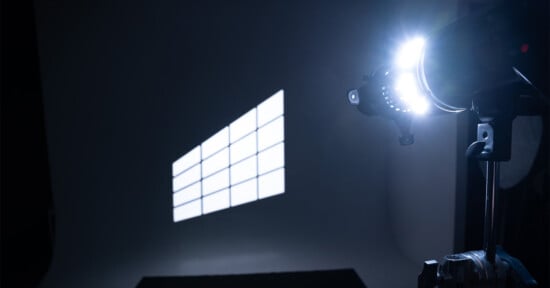
As you can see in the lighting diagram above, the light is about 3 feet from the gobo, which is about 3 feet from the subject, who is right in front of the background. Still with me? This distance, which is rather close, allows for more defined shadows (less feathering). Also note that my light is not only zoomed in to 105mm, to create a narrow light stream, I even added a snoot to further contain the light. If I had failed to properly constrain my light, it would spill to the left or right of the gobo, resulting in harsh light directly hitting the model and the background.
To further complicate things, you can dramatically change the quality of a gobo just by positioning it at an angle to your light, rather than placing it straight on. For example, look at the gobo shape I was using.
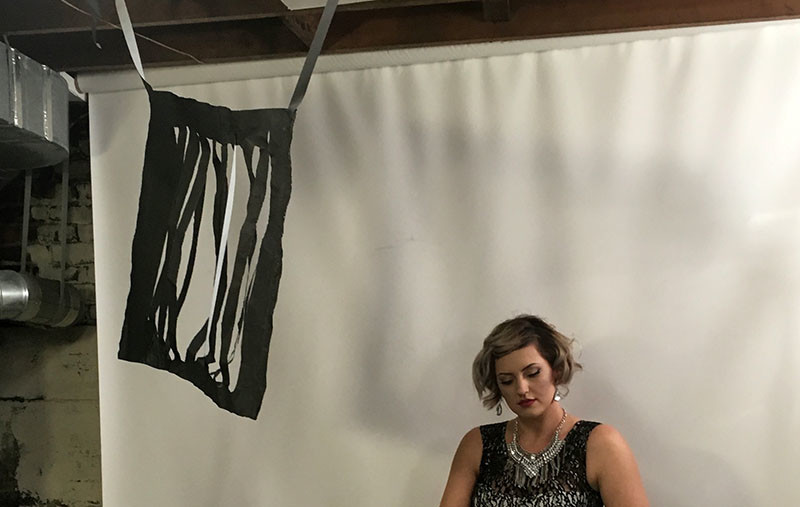
There are a number of similarly sized vertical strips removed from the cinefoil. If I shift the angle of the gobo so one side is closer to the light and one further away, the gaps closest to the light will let more light through than the strips that are now positioned further away and at an angle. To boot, now the thinner gaps that are further from the light will be more defined, while the closer gaps, which are now appearing larger, will be more feathered by the time they reach the subject. If your mind isn’t twisted by now, I’m thoroughly impressed. Don’t get frustrated if you don’t understand gobos right away. The learning curve is much steeper. You really just need to experiment with them to fully grasp all the variances.
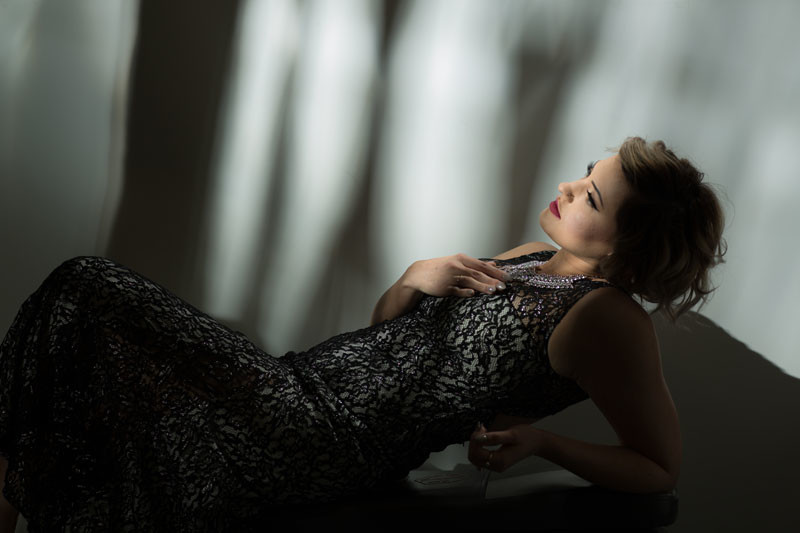
Moving on to the raw file, take a look at the shadows on the left side of the frame in the photo above. Notice that they appear more defined than the shadows on the right. This is because the gobo was closer to the background on the left than on the right. Meanwhile, her shadow on the background, seen on the far right, is very crisp, because she’s only a foot away from the sweep.
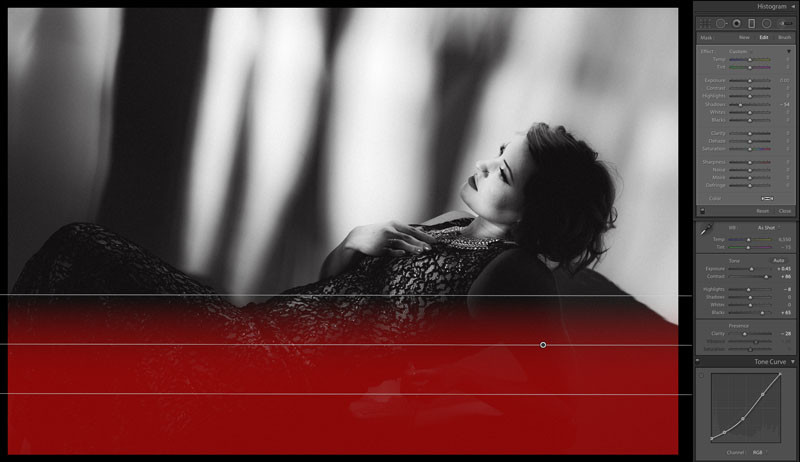
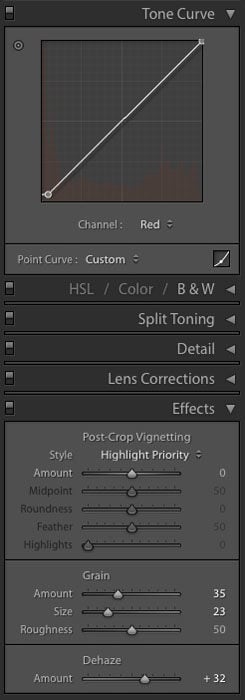
Because this was a film noir-inspired shoot, I converted the file to black and white in Lightroom and added some grain. Aside from my normal adjustments to the tone curves I also used the Dehaze feature a bit, to pull down some of the extra light glow, bringing more detail back to the highlights. Finally, I made a gradient adjustment to the bottom portion of the frame, pulling the bench she was reclining on into shadow. No more weight bench or black socks to be seen. Shadow can hide a multitude of sins.
Finding a Gobo
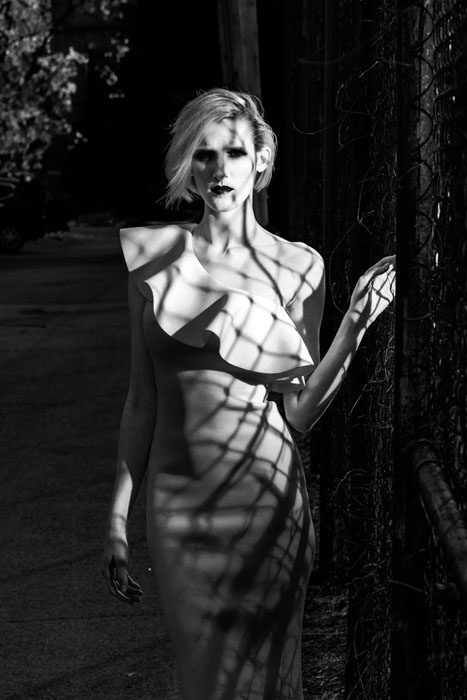
As I already mentioned, because anything that is placed between a light source and a subject is technically a gobo, you can be creative, using found objects to shape the quality of light. A chain-link fence, for example, is an easy gobo to set up.
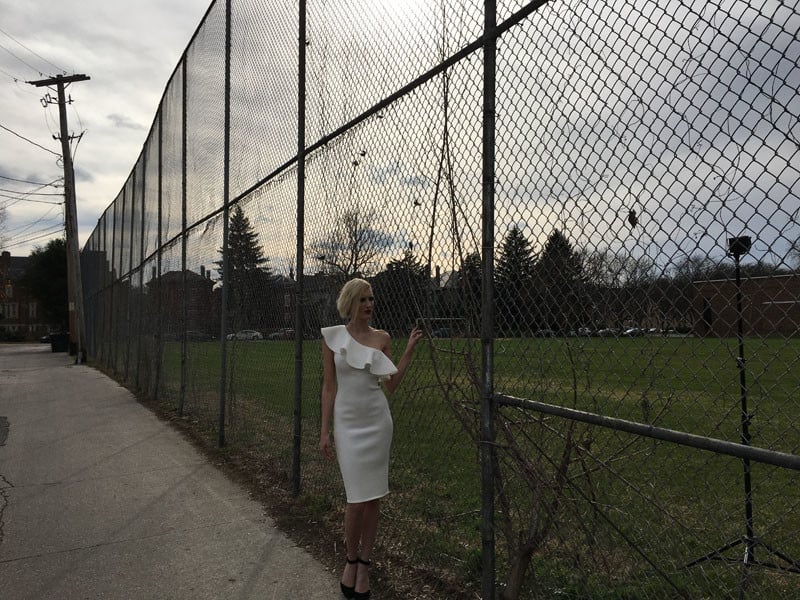
Just make sure to place your light several feet away from the fence with a wide light spread, and place your subject as close as you can to the fence to get crisp shadows.
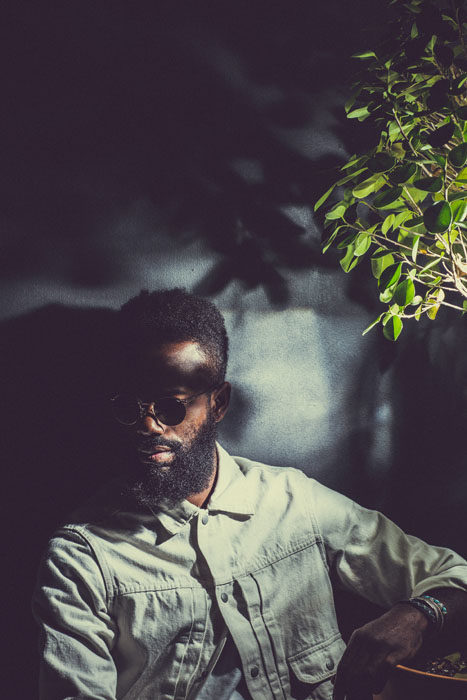
I’ve also used a potted plant for a gobo. Where do you think I placed the light? If you guessed several feet away from the plant, you’d be correct. This time, I zoomed in the flash to 105mm to make sure that the direct light didn’t hit the subject. I wanted only the light coming through the leaves to reach him.
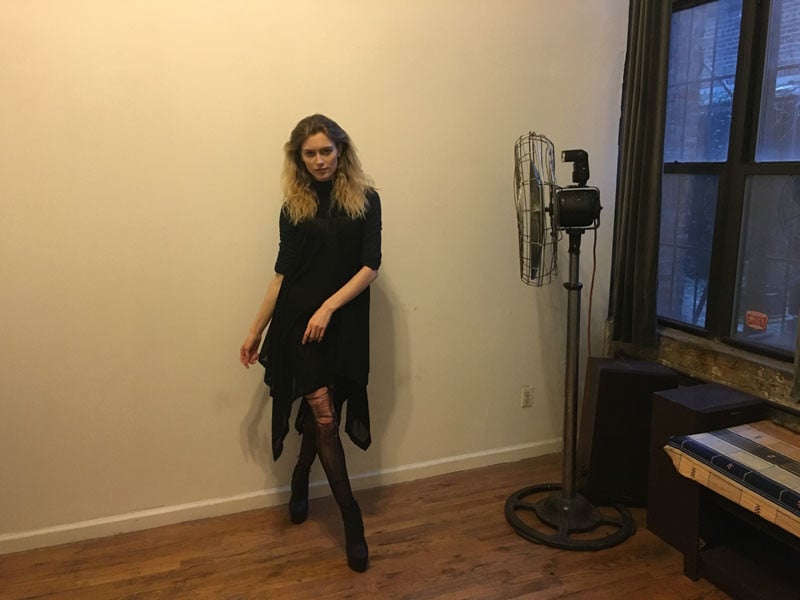
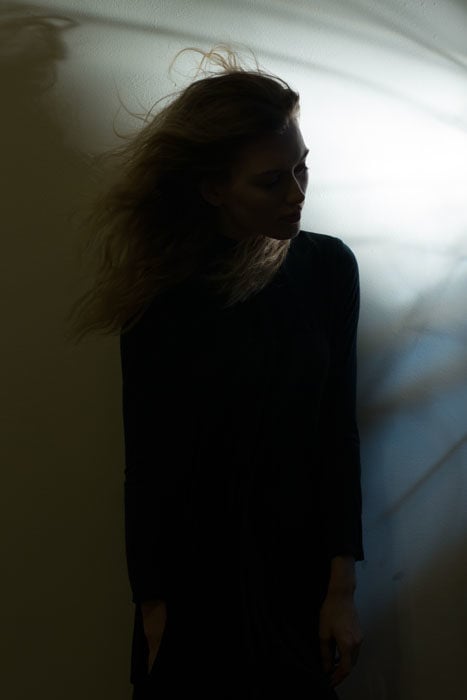
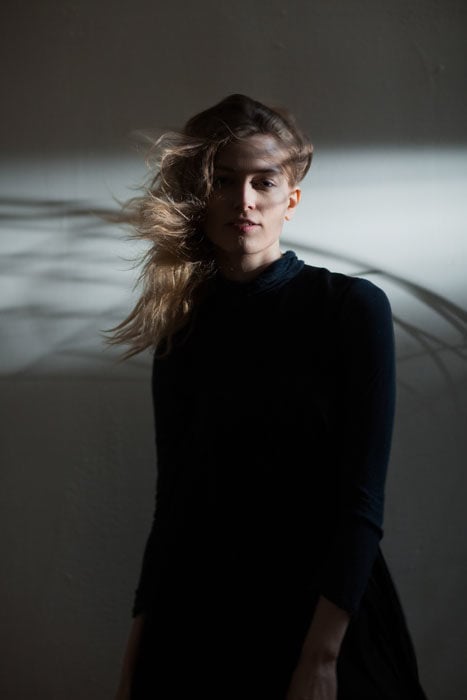
As I began experimenting with gobos, I started looking at the world around me a bit differently. Everything was a potential gobo. When I met with (amazing) model Clara Buchanan at her Williamsburg apartment, which was serendipitously a block away from my hostel, I immediately spotted the fan and knew I had to try it out as a gobo.
When I began dragging it across her floor, she apologized for the large machine, explaining that she didn’t have air conditioning. I assured her that I wasn’t trying to get it out of the way but rather wanted to use it to shape my light.
I needed to shoot in bursts because every few shots were drastically underexposed if a fan blade happened to be passing in front of the light.
There were two things that I learned from working with the fan. The first was that the light hitting the model fluctuated about five stops, depending on how much of a fan blade happened to be blocking the light. This meant that I needed to shoot relatively rapid fire because every third or fourth shot was drastically underexposed.
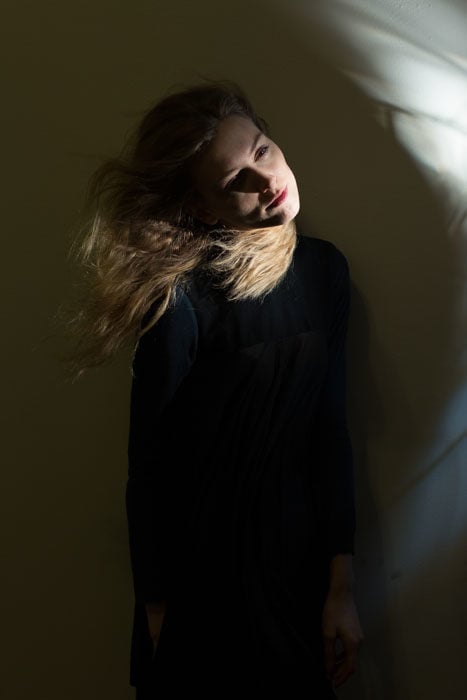
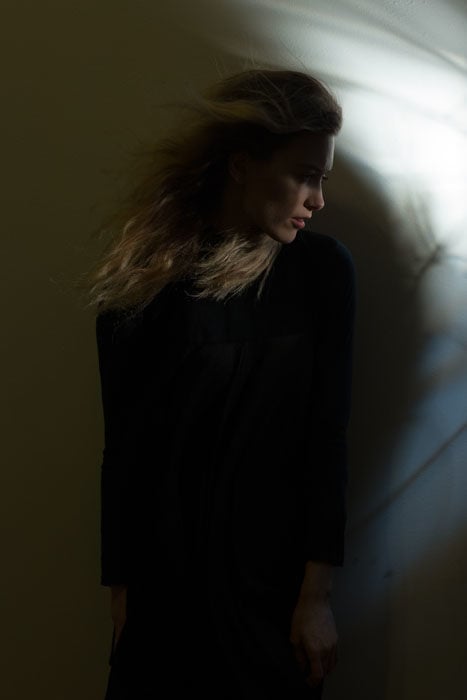
The super cool, unplanned thing that came from working with a high-powered-fan-as-light-modifier was that it also acted as a hair fan. This meant epic hair and fabric movement in every shot.
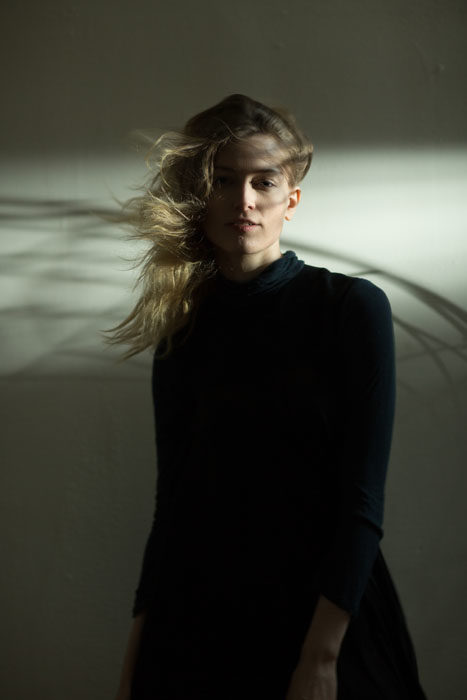
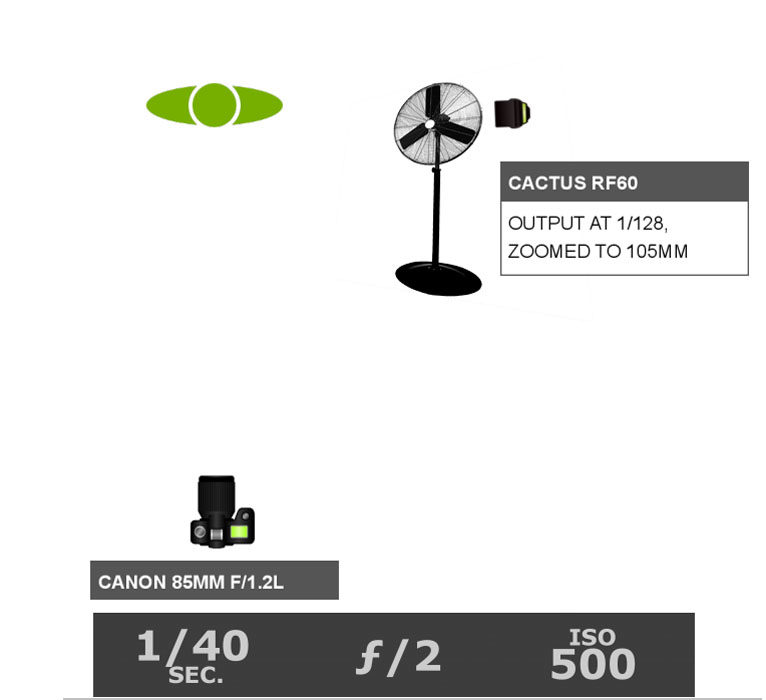
Because my light was sitting on the fan’s motor, meaning it was right up next to the gobo, the shadows were a bit softer. I also zoomed in the flash to 105mm to ensure that the only light reaching the model had to go through the fan to get there.
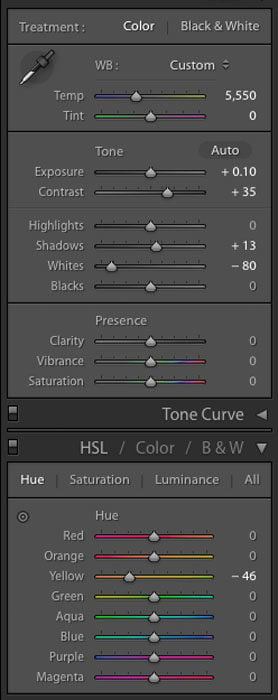
Basically, I didn’t want a broad spread lighting the whole wall around her. In Lightroom, I hardly did a thing. Because the light was already so dramatic, if I did anything more than just bump the Contrast setting, the shadows got muddy and the highlights blew out. But as it’s often said, less is more, more or less.
I definitely want to experiment some more with fan gobos. I feel like there is a lot more that could be done with them. And having dramatic hair and fabric movement built in is an amazing feature. I guess you could say that I’m a big fan of what this gobo can do.
Previous posts in this series cover simple lighting, traveling light, and DIY barn doors. If you enjoy this series, check out Studio Anywhere 2, a new book that guides photographers in the art of shaping light using minimal gear.