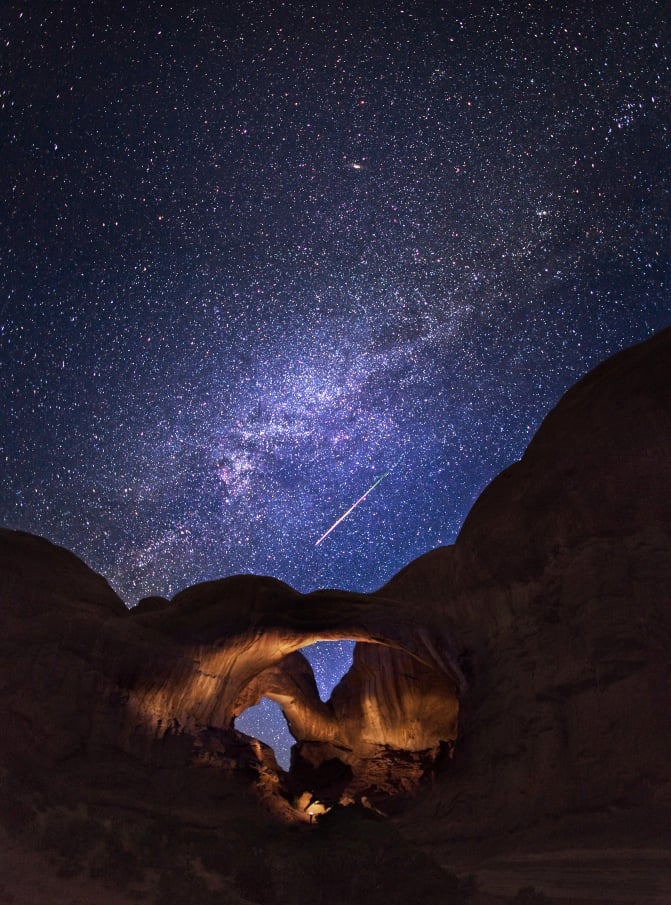
Everything You Need to Know (and Bring) to Photograph a Meteor Shower
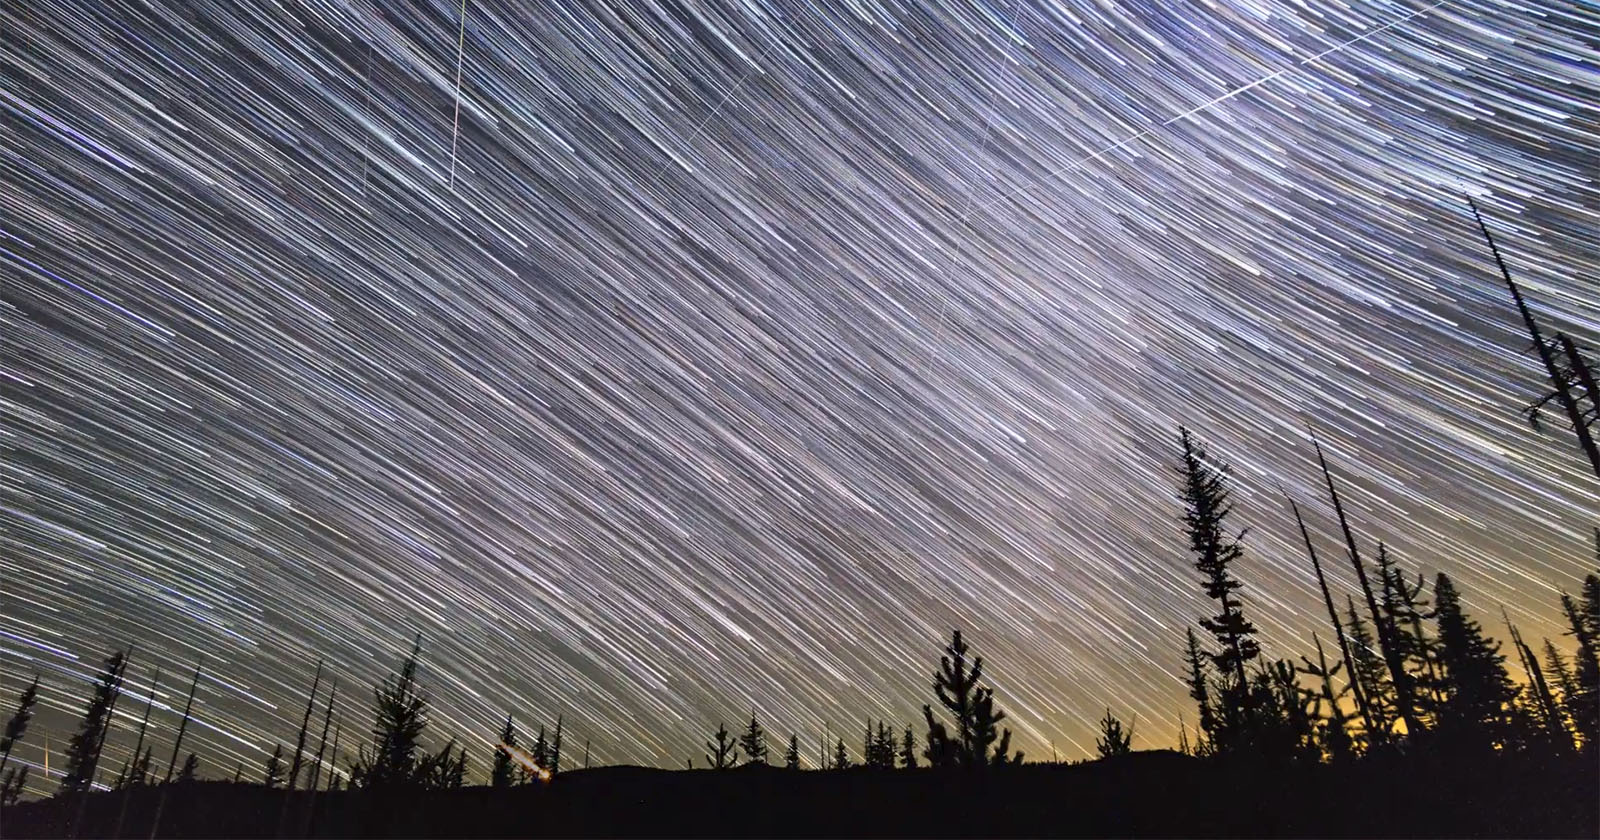
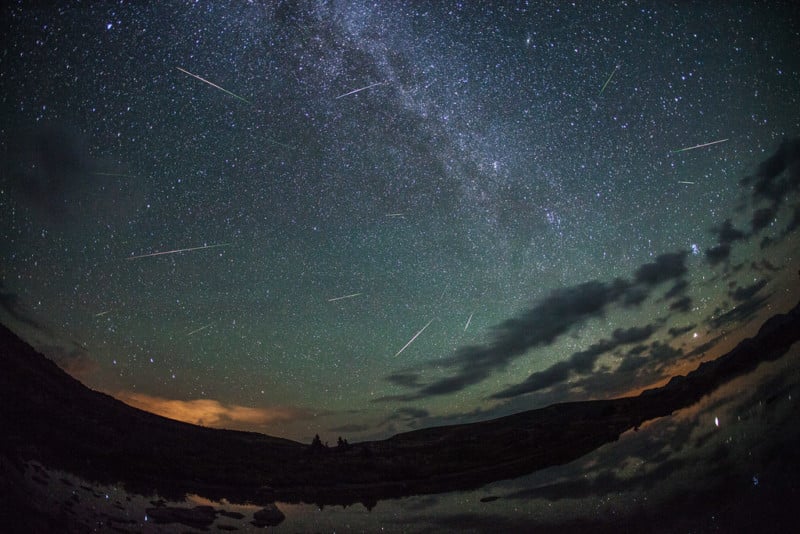
Photographing a meteor shower is more like photographing a time-lapse than traditional still photos. You can never anticipate where or when a meteor is going to streak across the sky.
In order to catch them, you have to set up and take as many photos as you can throughout the night with a wide angle lens on the camera. If you leave the camera in the same position, you can use the resulting images for a short time-lapse clip in addition to the still images you can capture.
10 Tips for Photographing Meteor Showers
1. Find a location that is far away from the light pollution of major cities and towns. You can use this handy website to see at a glance where the dark skies are. Use this site as a general guide, and keep in mind that there are things like oil rigs and mining operations that don’t show up on these maps.
2. Get set up as fast as you can, the more time your shutter is open and taking photos the more chances you have of capturing a meteor.
3. Use a good sturdy tripod in order to get a sharp photo of a meteors. Refer to my gear list above for my recommended tripod.
4. Focus to infinity. This can be somewhat tricky in the dark, so a good way is to pre-focus the lens when the sun is up. Then tape the focus ring with gaffer’s or duct tape, so it won’t move while you are moving around and setting up shots. You can also focus on the moon (if present) or a bright star, or use your camera’s live-view function. Obtaining accurate infinity focus is critical.
5. You will need a wired cable release. Just a simple cord with a locking shutter release button. Set your camera to the widest aperture the lens will allow, and the highest ISO that you are comfortable shooting with and an exposure that gives the best results for the location, light, and phase of the moon. A good starting point is f/2.8, ISO 2000 and 15-25 seconds. If you have an f/1.4 lens, that’s even better as it will allow you to shoot with a lower ISO and have a less noisy photo. As soon as you have a good exposure, you can put your camera on continuous drive mode, where you press the button down and it takes photos until you release. Then lock the button down on the cable release.
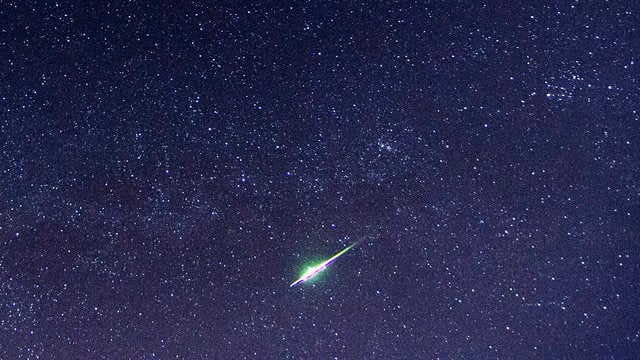
6. Use your fastest f-stop. The lower the f-stop number, the better. And use the widest angle lens you have. You are looking for a lens that is at least f/2.8 and preferably an f/1.4 lens. The lower the aperture the more light will get let into the camera. You will capture about double the meteors with a lens that opens to f/1.4 when compared a f/2.8 lens.
7. Have an adequate power supply (a battery grip on your camera with dual batteries) or direct DC power connector to an external battery pack. You are aiming for shooting all night long with very few or no breaks in shooting. Remember, the goal here is to keep the shutter open and taking pictures as much as possible while you are out there. The best meteors are generally just before sunrise so try to make sure your camera is taking images all night. In a pinch, it’s fine to use a single battery with a replacement that you can quickly swap.
8. Positioning the camera facing anywhere from the Northwest to the Northeast will give you the best results. I have found that positioning the camera slightly away from the radiant point of the meteor shower results in longer meteors since they are not coming straight at the camera. The position of this radiant will make for some incredible time-lapse footage spinning around the north star.
9. Have a large capacity and relatively fast memory card for your camera. You want to try to get a card that will hold an entire night’s shooting, and also has a fast enough write speed. That way, your camera can empty the cache and continue to take images without having to pause. If you have to stop to change cards, you may miss a giant fireball meteor. I usually shoot with 64GB compact flash cards, and have found that you can generally get through most of a night even in the winter with one of these cards. Again, please refer to my gear guide above this list.
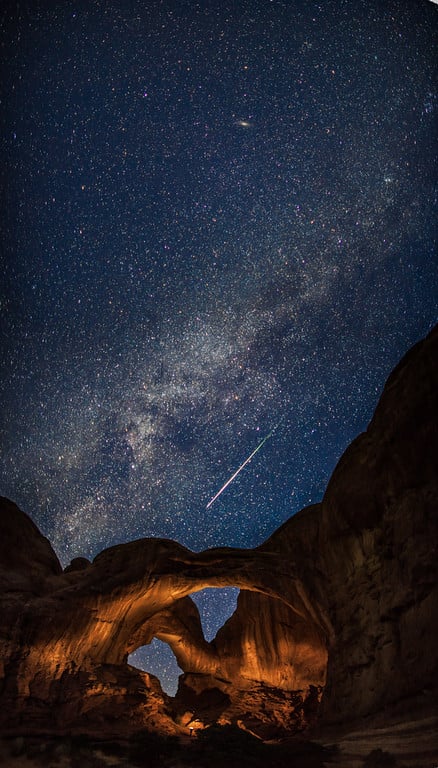
10. Think about composition. After all the techie stuff, you still want a compelling image. Choose a foreground element, such as as stand of trees, a rock formation, or mountains. Find something to anchor the photo, and give it a great look rather than just a shot of the stars and meteors alone in sky. At the same time, you want to include as much sky as possible. This is why we recommend the widest possible lens.

My Go-To Gear List for Photographing Meteor Showers
- 24mm 1.4 Canon lens: These are my go-to night lenses.
- 24mm 1.4 Rokinon lens: The f/1.4 aperture will pick up even the faintest meteors, and you will end up with about 2-3x as many in your photos compared to an f/2.8 lens with all the same camera settings.
- 14mm Rokinon lens: I use this on my EOS M and a 7D that I sometimes take with me. It’s a nice, inexpensive super wide angle lens that rivals the big name lenses in image quality.
- 50mm 1.2 Canon lens: I rarely use this one for night shots, but sometimes I will frame up a peak or something far away with this lens. The 1.2 aperture is almost too bright for Milky Way shots at 2500 ISO.
- 70-200 2.8 IS Canon: Great for taking sunrise photos the next morning.
- Canon 1.4x and 2x Teleconverters: Also great for sunrise photos the morning after.
- Canon 5D Mark III
- Canon 6D
- Canon EOSM 18-55 & 22mm lenses: I’ve been shooting with Canon gear my entire life, since I was about 15 years old. Any modern camera will work for night images with a decent lens on it. I recommend that you spend the majority of your budget on great lenses, and get a used camera body or a camera body that is few notches down from the top of the line. Lenses nearly last forever, while I find that I change my camera body every few years. I have 2 5Dm2’s that have had the shutters replaced 3 times each from shooting time-lapses.
- 6 LP-E6 batteries: 2 for each camera and 2 extra ones for the next morning of shooting. I keep them in an inside jacket pocket to keep them warm.
- 2 64GB 800x Lexar CF cards: A few extra 32GB cards, just in case I need them.
- 1 64GB SD card with Magic Lantern loaded on it: Critical for shooting time-lapses with the EOS M. It has no cable release and needs Magic Lantern for a lot of functions.
- DC power adaptors for all cameras with dummy batteries.
- Goal Zero Sherpa 100 Battery packs for connecting all the time-lapse gear and powering the cameras for a LONG time. I also have a Goal Zero solar panel to recharge when I’m away from power sources.
- Joby Gorillapod Focus: I use this for lights.
- Green MeFoto Backpacker tripod: I put my EOS M on this tripod generally.
- 2 Benro Travel-Flat II carbon tripods: Super light! It packs down to 1/2 the size of a normal tripod, and looks like a flute case when traveling. People won’t think you have a camera bag or tripod.
- 2 Canon TC-80n3 cable releases: Cable releases for DSLR cameras.
- 2 Really Right Stuff L brackets for the DSLR’s standard plate for the EOS M.
- Nodal Ninja M1/RD16 Panoramic head: For shooting panorama images, the click stops on this are incredibly useful. There is no need to visually check the overlap when shooting panorama. This feature is handy when it’s dark and I need to capture giga-pixel night images.
- Rocket Blaster: For cleaning lenses and sensor.
- Neewer 160 LED light panel: This is a very cheap LED light panel. Great lighting for photos, light for your campsite, and just a nice flood light to have in the bag.
- Petzl TacTikka headlamp with green lens: I’ve switched from red to green headlights recently. They seem to preserve night vision better.
- Leatherman wave: Always carry a multi-tool.
- F-Stop Tilopa backpack: This is the most incredible camera bag system up on the mountain. I can strap skis or snowboard to the outside of the pack. It holds an incredible amount of gear and the internal camera compartments make it really easy to organize the bag for any set of gear that you need to carry on a particular job or trip. Though I think I need to upgrade this bag to a larger F-Stop Satori soon. I always seem to stuff the maximum amount of gear into a bag no matter what size it is.
About the author: Thomas O’Brien Aspen, Colorado-based freelance photographer, consultant, and photo instructor who has been published by ESPN, The Daily Telegraph, and Discover Magazine, among others. You can find more of his work on his website or by following him on 500px, and check out his workshops at Muench Workshops. This article was originally published here.