How to Renovate, Clean, and Paint a Kodak Brownie Hawkeye
![]()
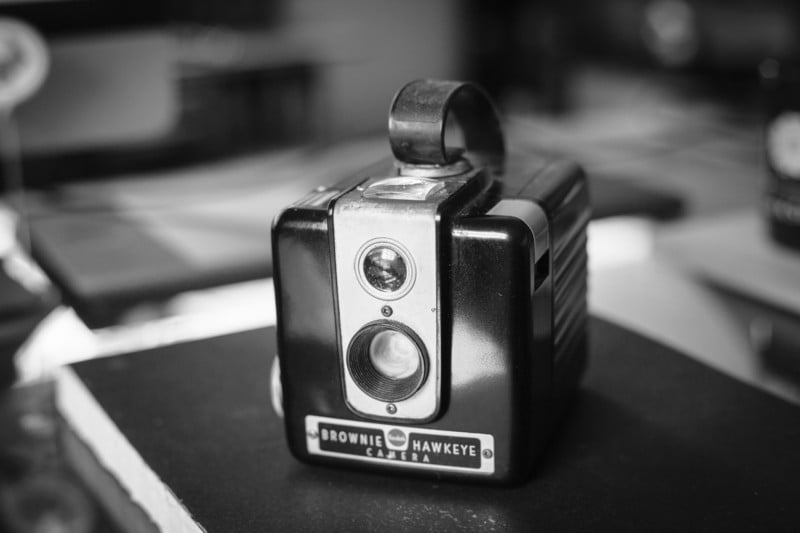
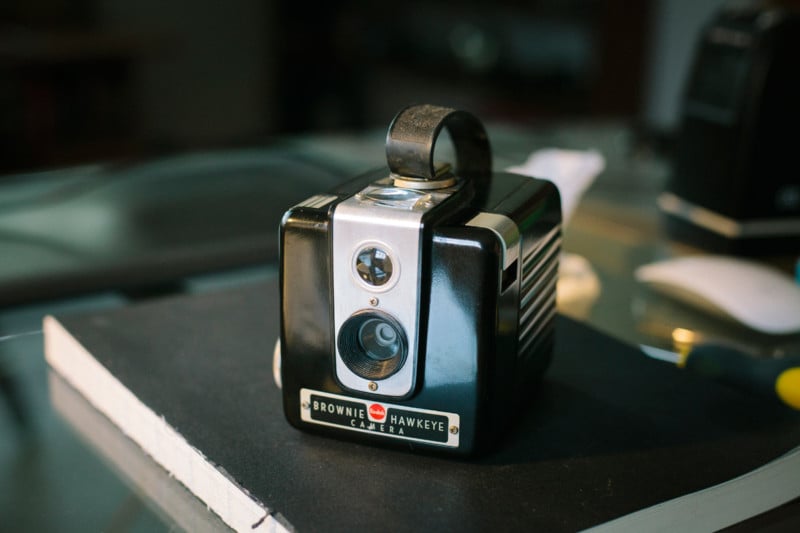
The Kodak Brownie Hawkeye was introduced in 1949 in USA and France. It’s a bakelite camera which produces 6cm x 6cm images on 620 film. It came in two different models: Standard and Flash. You can differentiate between the two by the nameplate on the front.
Although the Kodak Brownie Hawkeye was made to use 620 film, you can still use these cameras with 120 film. All you need is an old 620 reel (which might be still in the camera) and a roll of 120 film. There are tutorials on the internet about respooling 120 film to 620 film reels so I’m not going to cover that here.

Preparing to renovate a Kodak Brownie Hawkeye
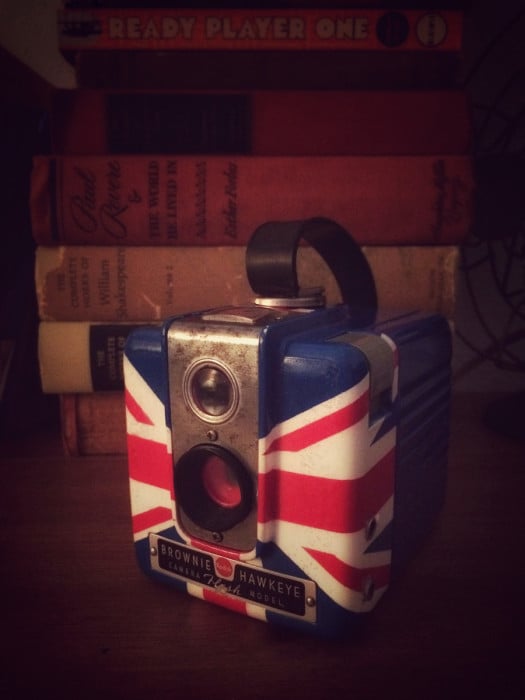
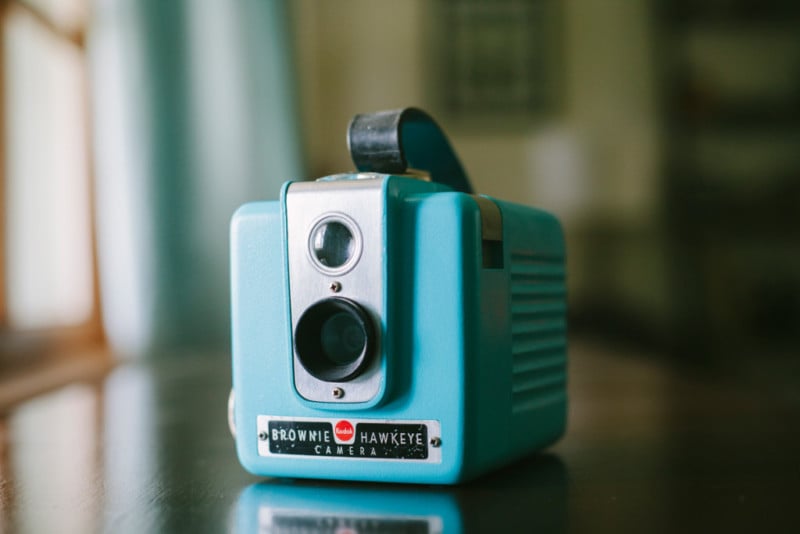
Kodak Brownie Hawkeyes are pretty simple cameras to deal with and you can pick them up pretty cheap from rummage sales, car-boot sales or thrift/charity shops. Their bakelite finish and iconic styling make them prime candidates for upscaling and repainting.
What this tutorial will teach you
The goal of this tutorial is make sure that the resulting camera not only looks good, but still works too. So I’ll go over the technical bits at the end to ensure we have a functioning camera.
What you will need
- A set of precision screwdrivers. (you can get these for less than $3 from most dollar stores)
- A crosshead screwdriver
- An old toothbrush
- Some steel wool
- Sewing machine oil
- Ronsonol Lighter Fluid
- A cup or bowl to place small parts so you don’t lose them
- A tool fashioned from an old bulldog clip
- Krylon Indoor/Outdoor White Primer Spray Paint
- Krylon Super Maxx Gloss Spray Paint in your color(s)
- Krylon Triple Thick Crystal Clear Glaze (Optional)
- 1000 grit sandpaper or ladies nail manicure buffing pad
![]()
Taking apart a Kodak Brownie Hawkeye
Opening the Kodak Brownie Hawkeye
1. Before opening the camera, check to make sure that there is no film still inside by looking through the red window at the back of the camera. If you see a number, chances are there is film still in it. In this case, turn the wheel (winder knob) on the side of the camera counter-clockwise to wind the film on. When you feel a loss of tension, you can open the camera up and take out the film.
2. To open the camera, find the lever on the top of the camera where the strap attaches, slide the handle forward and then slide the front of the camera away from the back.
![]()
![]()
![]()
Removing the strap from the Kodak Brownie Hawkeye
1. The strap is secured in two places as you can see. The front part of the strap is secured in place by a peg which goes through the metal plate, the strap, the lock and finally the camera body and is then secured in place by a small metal “C” shaped disc.
2. Removing the strap from the front of the camera. Push on top of the metal plate to loosen up the pressure on the metal “C” shaped disc. Then with the smallest flat-head screwdriver from your precision screwdriver set slide the metal disc off the peg. Be careful not to break the metal disc or bend it in any way. The front of the strap is now detached.
3. Removing the strap from the back. The metal fastener at the back of the camera which holds the strap in place is not easily removed. I have found the best way is to pull the strap over and down and off the fastener. This is optional. If you are looking to paint it later on you could leave the strap on and simply mask around it.
![]()
![]()
![]()
![]()
![]()
![]()
Removing the insides of a Kodak Brownie Hawkeye
1. Take a look inside of the camera and in the chamber at the back of the lens. You will see two screws either side of the lens. Remove these with your large crosshead screwdriver.
2. The chamber can then be lifted up, the lens may still be stuck inside or it may still be sitting in place. Either way, take the lens and place it back in the hole at the end of the chamber. The glass lens has a plastic frame, one side of the frame is tapered and the other side is flat. Make sure the flat edge of the lens frame faces out. (Place the lens tapered-edge-first into the socket of the chamber)
3. Removing the shutter mechanism. Firstly, detach the shutter spring by placing a finger over the spring and then using your small precision flathead screwdriver to pry the loop of the spring away from the peg inside the camera. Leave the spring attached to the mechanism to make sure you don’t lose it. After that, remove the screw from the bottom center part of the shutter mechanism and then pull the whole mechanism upward. Set this aside safely, you don’t want to lose anything.
4. FLASH MODEL: If you are using a flash model you will see two wires which connect to a socket on the bottom left of the inside of the camera. Snip these two wires, we can solder these together later if needed.
5. You should now be left with two grey buttons. The shutter button is on the right and has a metal peg stuck into the side of it. Using tweezers, slide this peg out through the gap in the camera body and then slide the shutter button upwards out of the camera.
6. The other button is the shutter speed button, this can be pulled upwards, a gold colored metal plate will come with it. Place all of these pieces in a safe place for later.
![]()
![]()
![]()
![]()
![]()
![]()
![]()
![]()
![]()
![]()
Removing the winder of a Kodak Brownie Hawkeye
1. Depending on your model, you may be able to remove this easily or you may want to leave this on and mask over it when painting. On this model, a simple screw holds the winder in place. Remove this screw and the handle and set aside.
![]()
Removing the nameplate of a Kodak Brownie Hawkeye
1. Depending on your model, the nameplate may be secured by two small crosshead screws, or by two pins.
2. If the nameplate is secured by screws, simply unscrew the two screws and the nameplate will slide off.
3. If the nameplate is secured by two pins, turn the front of the camera over and push the pins out from the back of the camera using a small precision screwdriver.
![]()
![]()
Removing the metal facia and lens of a Kodak Brownie Hawkeye
1. The metal facia is secured by four screws; two small screws on the front above and below the lens and two long screws on the top either side of the viewfinder.
2. Firstly, remove the screws above and below the lens using a precision screwdriver. These screws may be stuck with years of grime so, to help remove them, flip the camera over and use a precision screwdriver to push the screws from the back whilst turning the screws on the front of the camera with another screwdriver. It’s a tricky job but eventually you will get them out.
3. Secondly, remove the screws either side of the viewfinder with a crosshead precision screwdriver. These will also be stuck so use the same method for these screws. This is where the “tool made from a bulldog clip” comes in handy. Use it to push the back of the screw out while turning the head of the screw with a precision screwdriver.
4. Now everything will be loose so carefully remove everything in the following sequence and set aside:
- Remove the metal facia, this may be stuck so wiggle it a bit to free it.
- The thick glass viewfinder will fall out, set this aside.
- Next, remove the thin circular lens and set aside.
- Remove the lens frame and the glass square underneath.
- Finally, slide out the mirror and metal frame and set aside.
- Now you are left with only the chassis of the Kodak Brownie Hawkeye.
![]()
![]()
![]()
![]()
![]()
![]()
![]()
![]()
![]()
![]()
Cleaning a Kodak Brownie Hawkeye
I find the best method to clean any camera is to use Ronsonol Lighter Fluid. Ronsonol is a brilliant grease fighter and evaporates quickly.
1. Squirt some Ronsonol onto the camera and rub away the grime with a piece of kitchen towel.
2. For the hard to reach places you may need to use a toothbrush.
3. Finally, give the whole thing a good clean in a bowl of hot soapy water. Use dish washing liquid (Dawn dish soap) and give both parts of the camera a thorough cleaning.
4. Leave the camera to air-dry overnight.
![]()
![]()
Preparing the Kodak Brownie Hawkeye for painting
1. First, prepare a space where you can spray paint. Make sure it is well ventilated and wont be disturbed for a few days.
2. Use old paper to cover up surfaces to ensure nothing get’s paint on that shouldn’t get paint on.
3.You may also want to build a quick holder to make it easy to spray all parts of your camera at once.
4. Using masking tape, mask off all parts of your camera that you don’t want to paint (Handle, handle fastener, red film window, film winder etc…)
Painting a Kodak Brownie Hawkeye
1. PRIMER: Using Krylon Indoor/Outdoor White Primer Spray Paint (or equivalent) spray a thin layer over the entire camera. Leave it for 10mins and then come back and spray another thin layer. Repeat this until you have a good covering of primer, usually 5-6 coats will do. Leave the primer to dry overnight.
2. PAINT: Using Krylon Super Maxx Gloss Spray Paint in your ideal color, spray a thin layer over the entire camera. Leave the camera for 10-15mins and then come back and spray another thing layer. Repeat this process until you have a good covering, usually 5-6 coats will do. Leave everything to dry overnight, or longer if you can.
3. GLOSS (Optional): Glossing your Kodak Brownie Hawkeye is optional and depends on the spray paint you have used. You may not need to use gloss but if you do, follow the manufacturers guidelines.
4. BAKE (Optional): Baking the paint may also not be necessary depending on the type of spray paint you have used. Follow the manufacturers guidelines. For me, I baked mine in the over for 30mins at 170•F.
Buffing a Kodak Brownie Hawkeye
Buffing the Kodak Brownie Hawkeye to a glossy shine is a slow process but can yield great results when done right. This is not something you will nail on your first attempt so it’s better to practice first on other things but the process is like so:
1. Take the 1000 grit sandpaper and slowly and gently sand down the rough paint on your Kodak Brownie Hawkeye. Make sure to get all angles and in all of the hard to reach areas.
2. Then take the nail buffer, you can find these in most nail and beauty departments in places like Walmart. Usually they have varying grades that start with corse and then move to light. Use the smoothest sides to continue to buff the paint.
Note: DON’T buff too hard. You may buff through the paint to the white primer below.
4. Continue to slowly buff the paint until you reach a shine that you are happy with.
5. Wipe the camera with a wet cloth and polish with beeswax or other furniture polish.
Cleaning the insides of a Kodak Brownie Hawkeye
To clean the metal pieces I use steel wool. It does a great job of stripping the off the oxidation and grime. Be careful when using it as it can stab you in the fingertips and even splinter, so wear gloves if needed.
To clean the glass and the mirror pieces, use Ronsonol Lighter Fluid to clean the grim off and use a microfiber cloth to wipe them to ensure you don’t scratch the glass.
Another other pieces can be rubbed down with some lighter fluid and a kitchen towel.
![]()
![]()
![]()
![]()
Putting the Kodak Brownie Hawkeye back together
Putting the handle back on the Kodak Brownie Hawkeye
The first thing I like to do is get the handle back on.
1. If you have removed the handle completely you will need to start by attaching the handle at the rear of the camera first. To do this you will need to squeeze the fastener back through the hole in the handle. This is difficult but using a small precision flathead screwdriver will help.
2. Once the back is connected you can connect the front of the handle. Place the end of the handle in between the rectangular piece of metal and circular piece of metal (the lock)
3. Then thread the metal pin through the hole in the metal and lock, ensuring the handle is on the right hand side of the camera.
4. Then thread the pin through the gap in the camera and lock it in place with the black “C” shaped disc.
The back of the camera is complete!
![]()
![]()
![]()
![]()
![]()
Putting the nameplate back on the Kodak Brownie Hawkeye
Fasten the nameplate back with the screws or pins. If your camera has pins, just push them through the hole until they click in place.
![]()
Putting the winder knob back on the Kodak Brownie Hawkeye
Screw the winder knob back in place if you removed it.
Putting the lens, viewfinder and facia back on the Kodak Brownie Hawkeye
1. Firstly, place the glass square and glass circle (viewfinder) in place.
2. Then place the lens frame on top of the glass square, lining up the holes for the screws.
3. Then put the mirror in place and the metal viewfinder frame on top.
4. Holding the chunky glass viewfinder and metal facia together, place them over everything, back into it’s original position. This may be tricky.
5. Secure everything in place with the two long screws in the top, either side of the viewfinder and then two smaller screws in the front, above and below the lens.
![]()
![]()
Putting the shutter mechanism back on the Kodak Brownie Hawkeye
1. Firstly, place the grey button (marked with a “B”) in to the left hand slot on the camera, make sure to include the gold/brass piece of metal behind it.
2.Then place the other grey button into position. Once the button is in position, slide the metal peg through the gap and into the side of the grey button. Then slide the grey button up to the top.
3. Gently place the shutter mechanism into the camera lining up the peg on the left with the hole in the side of the grey “B” button whilst also making sure the brass shutter arm on the right drops under the metal peg which you placed into the grey button on the right.
4. Screw the mechanism in place with the black screw
5. Gently hook the end of the spring with a small precision screwdriver and attach it back on to the peg.
6. Test the shutter by pressing the shutter button (Grey button on the right)
6.1 If the shutter is working, great! You’re done.
6.2 If the shutter is faulty:
- The shutter may need some lubrication with a drop of sewing machine oil.
- It may need cleaning with some lighter fluid.
- It may also be missing a spring or another part.
Take a look at the pictures to help problem solve the issue:
![]()
![]()
![]()
![]()
![]()
![]()
Putting the lens back in place
1. Ensure that the lens is facing the correct way. If you’re interested in getting some unique looks with the camera, you could reverse the lens and there are many places on the web where reversed lens images are posted for you to check out.
2. Put the metal bracket in place along with the black washer.
3. Line up the lens and chamber with the screw holes and put it back in place with the film directions facing to the bottom of the camera.
4. Secure the whole thing in place with the remaining two black screws.
5. Finally, slide the back of the camera onto the front of the camera and secure in place with the lock.
![]()
![]()
![]()
![]()
Sit back and marvel at your newly revamped Kodak Brownie Hawkeye!


About the author: Dan Howard is a British-born artist and photographer with a fetish for vintage cameras. You can find his photography and other renovated cameras on his website, Facebook, and Instagram. This post was also published here.