I Used a Drone to Make a 3D Printed Model of a Giant Jesus Statue
I recently spent some time using a DJI Phantom 3 Pro camera drone to make a 3D printed model of a statue of Jesus that’s by my house in Lima, Peru. The technology used to do this is called photogrammetry.
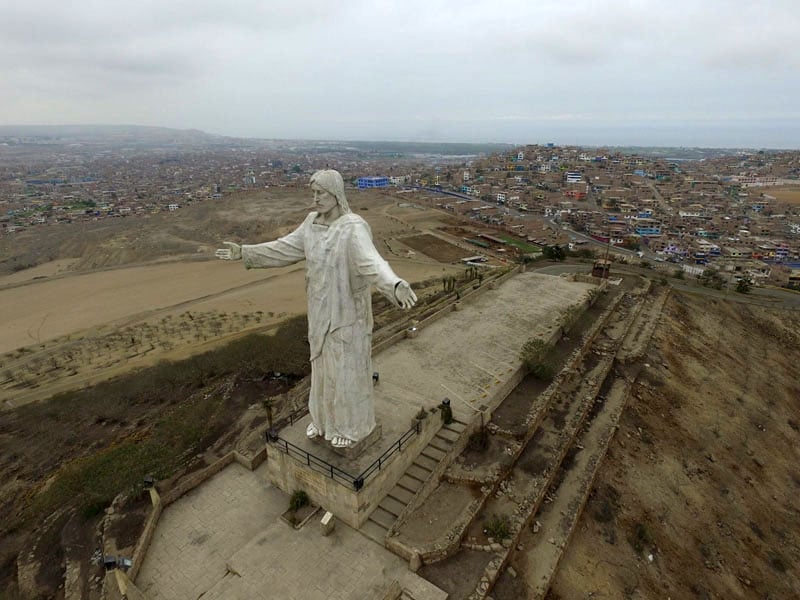
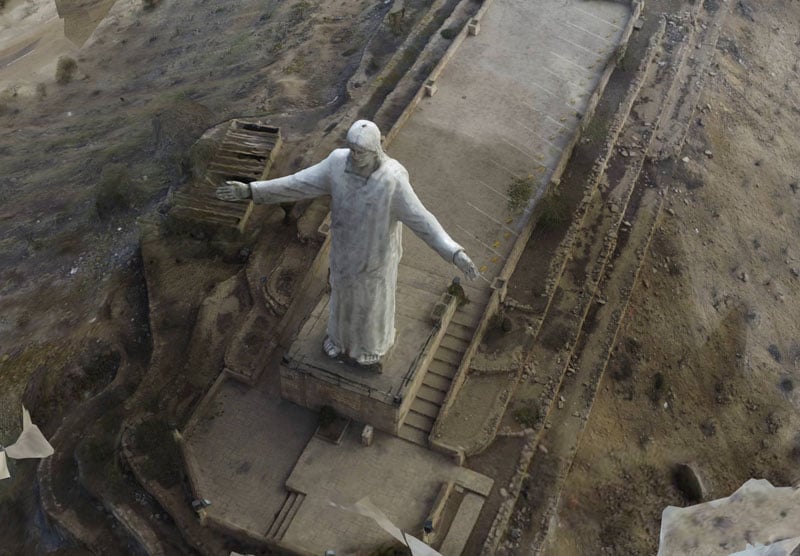
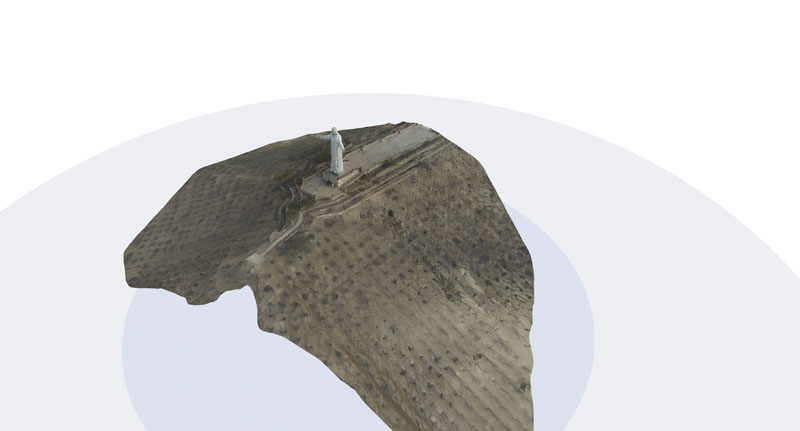
I used a Phantom 3 Pro and took around 110 photos from three different elevations while the drone was automatically flying in a circle around the statue. Here is one of the original images of the Jesus statue. Note the green horse pasture in the background.
The Flight Path
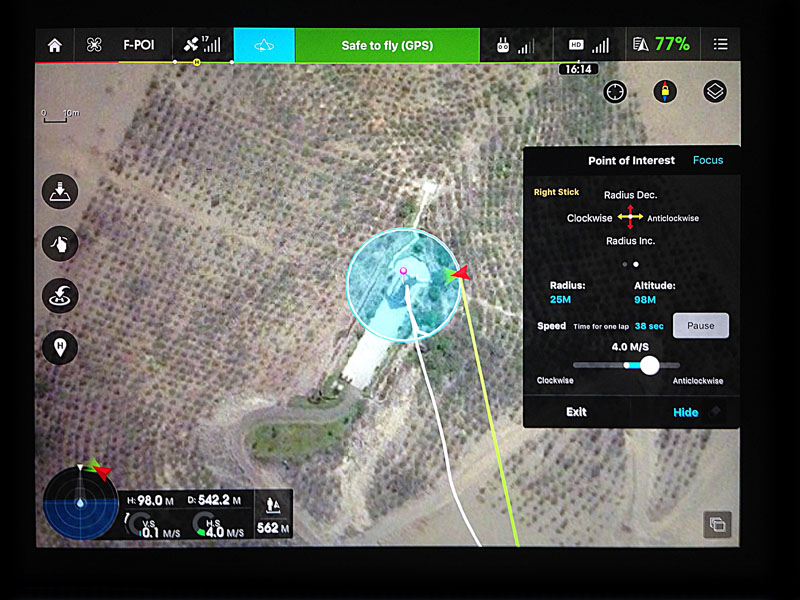
The statue is about 550m from my house. I flew out there using the GPS flight mode and positioned the drone directly over the head of the statue. Once in position I switched to intelligent flight mode and used the “Point of interest” flight mode to automatically circle the statue while taking pictures of it.
To do this, I set the top of the statues head as the center point then moved back about 25 meters to set the radius and hit go. While the drone was circling I took pictures every couple of seconds. Once I felt that I had enough photos from one altitude I lowered the drone and took another series of photos.
(I had to fly all the way out there because surrounding the statue is a huge wasteland used to dump all sorts of concrete and construction debris. The land is owned by the police and there is a huge wall that surrounds the entire property.)
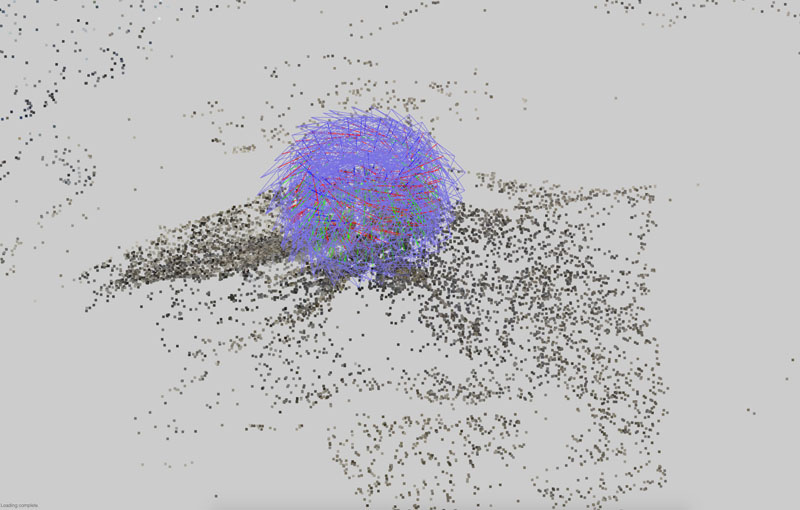
This image shows where the drone took the photos from:
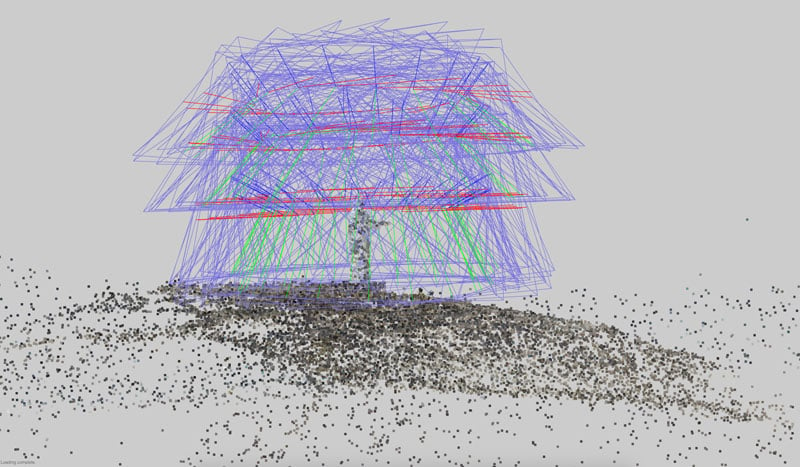
Each blue square corresponds to a photo. You can see the three levels that I took photos from and even make out a little bit of the statue in the point cloud.
First Rendering

I used a program called Altizure to make a 3D rendering of the statue. Although you can’t currently export the files for 3D printing it still makes neat looking models that you can rotate and explore on the computer.
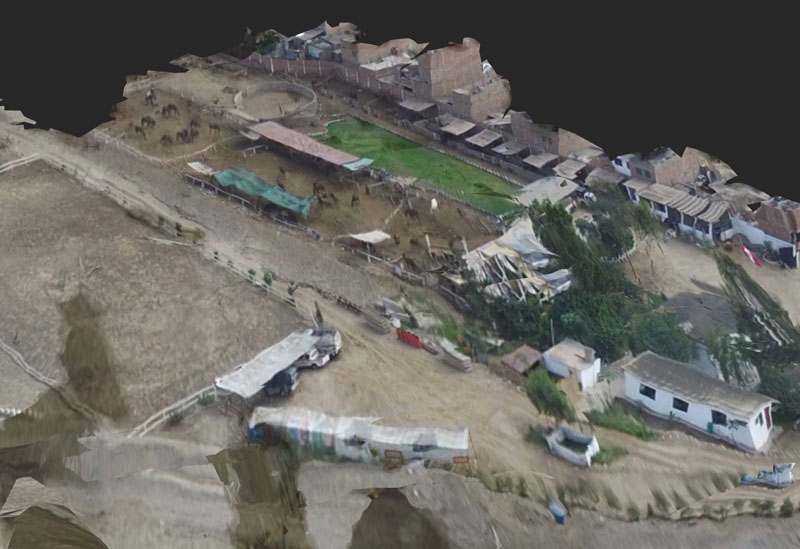
I also used the program to get the previous screenshots showing where the pictures were taken from. You can see the safety beacon on top of the statues head and even make out the little yellow bump stops in the parking lot. You can also see that the program rendered the background where the horses are.
Here is a close up of the horses that were in the background. It’s amazing that the camera was able to resolve that detail and that the software was able to render it:
Upload to the Cloud
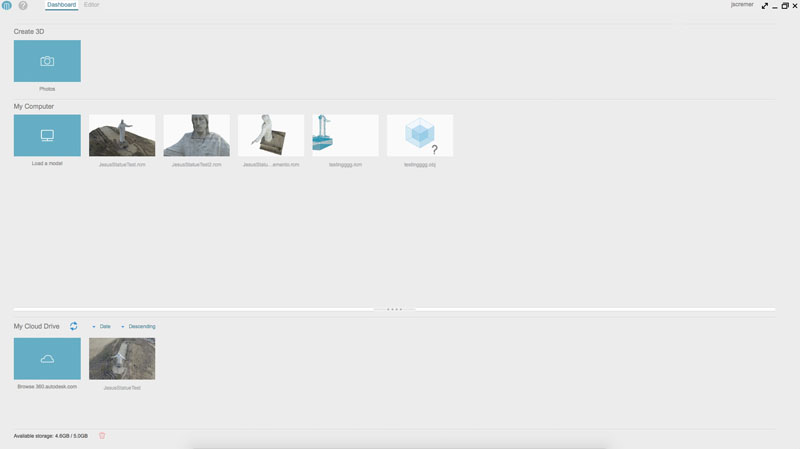
I used Autodesk Memento and uploaded the images to their cloud computing system to generate the point cloud. From their website: Autodesk Memento is an end-to-end solution for converting any captured reality input (photos or scans) into high definition 3D meshes that can be cleaned up, fixed, and optimized for the Web, mobile or 3D printing / jabbing.
I have a slow internet connection so I let the images upload overnight. When I woke up everything was uploaded and the stitching was complete.
Making the Model
Now time to make my 3D model. Once the stitching was completed i opened the file on my laptop and started editing. You can see the hill and trees below the statue. I cut all that out with the program and just left the statue and steps.
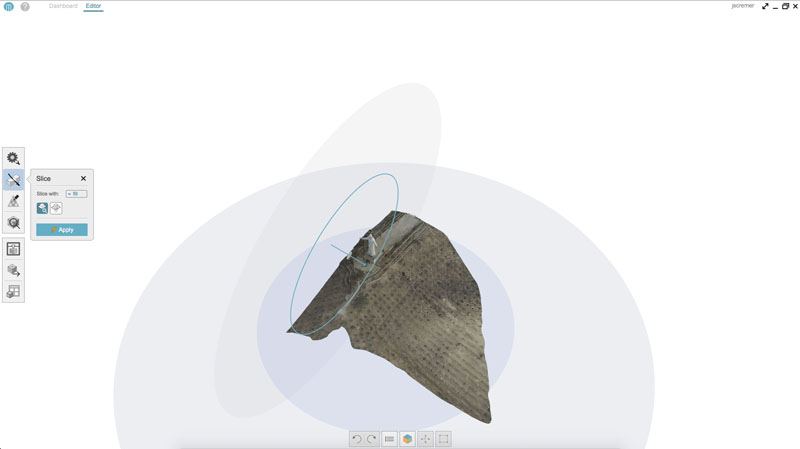
Slicing Away the Mountain
Here you can see the slice tool used to cut away the pieces of the mountain that I didn’t want to print:
Wireframe
This shows the wireframe of the statue after I sliced off the hill and the parking lot:
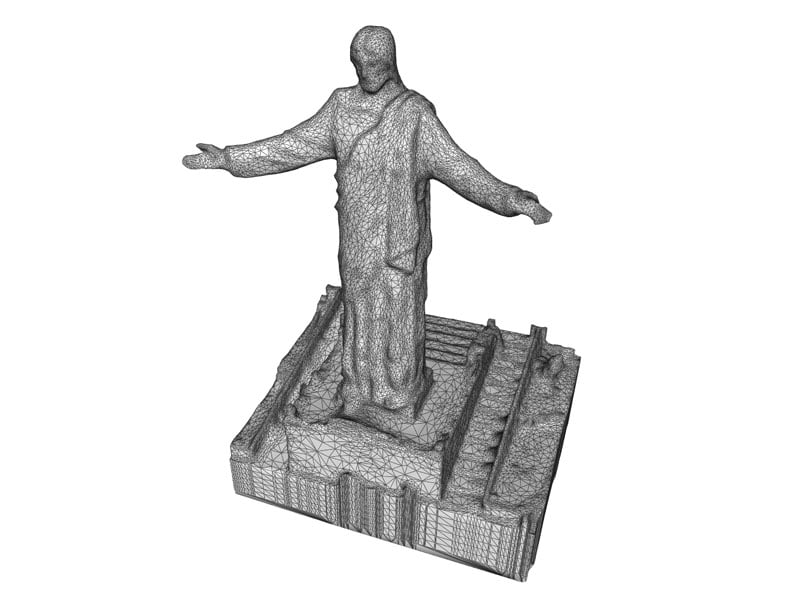
I also added a small base so it can sit on my desk. I did this by extruding and filling the perimeter.
Once all the editing was done I analysed the model to look for defects like holes, particles or bad intersections that could mess up the 3D printing. The software is able to automatically fix most of the problems and I only had to manually touch up one little area.
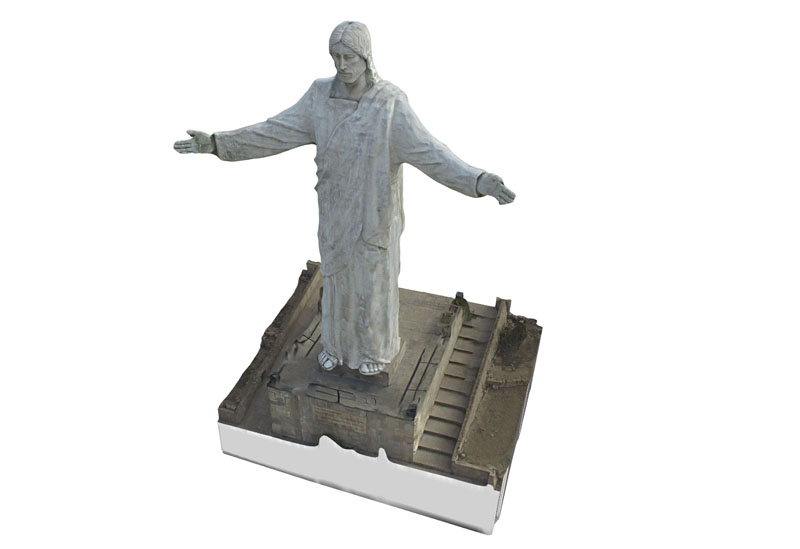
Wire Frame with Photo Texturing
This is the statue with the photo texturing that was taken from the drone photos:
Ordering the Model
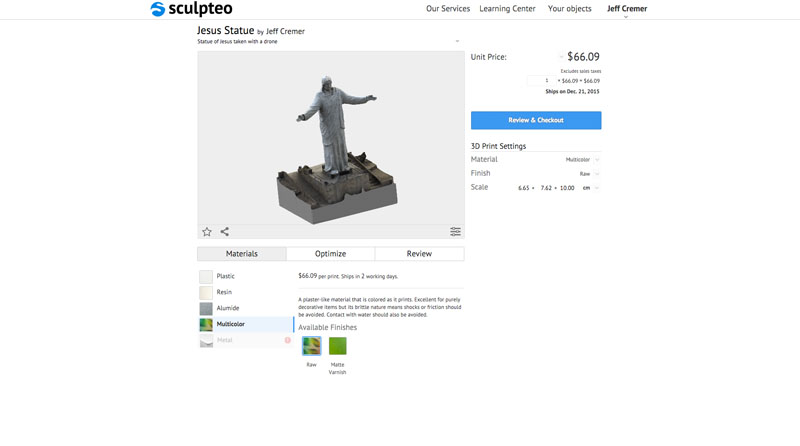
I exported the file from Memento as a .obj and .zip’d it together with the texture maps and uploaded it to Sculpteo.
I choose Sculpteo because I saw that they had full colour printing available. I also liked that their website does automatic analysis and repair of the uploaded files to make sure that the model prints ok. Shapeways or other services may have these options but Sculpteo looked the easiest.
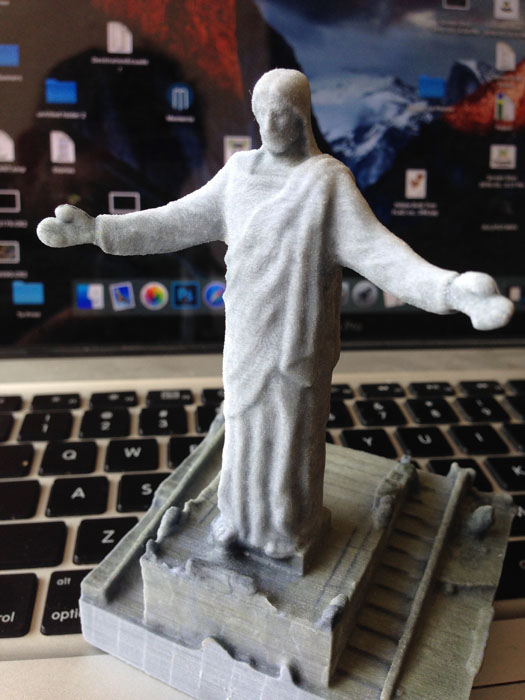
The Printed Statue

The hands came out a little weird and the printing was pretty thin near the wrists but other than that I think that it looks pretty cool.
You can check out a 3D version of this in Sketchfab.
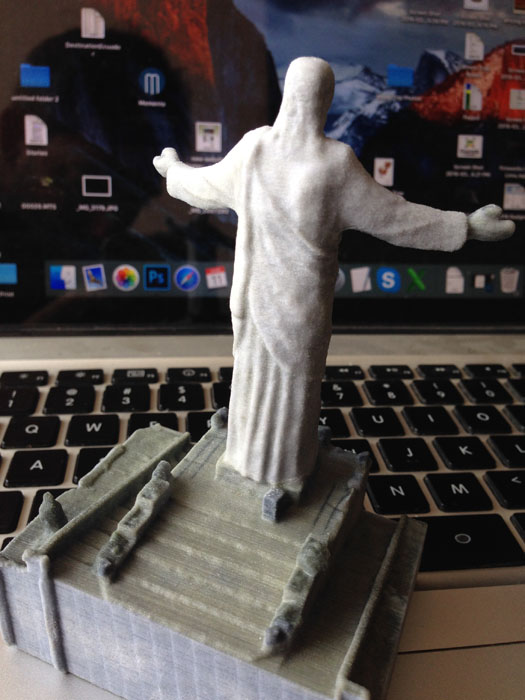
That little square near his right foot is a trash can. Interesting how the software was able to image and print it.
The facial detail got lost in the model because basically the most detail you can get would be equal to the smallest line the 3D printer can print. The detail is lost because of the resolution of the 3D printer.
In the end, it took around 10 min to fly out and take the photos. It took a couple of hours to do the point cloud render although most of that was just waiting for the cloud computer processor to become available. I edited the render in another 10 or 15 min. It took about a week to get the final product in the mail.
About the author: Jeff Cremer is a Lima, Peru-based photographer who works in the Amazon. You can find more of his work on Rainforest Expeditions and on Twitter and Instagram.