How to Create a Time Slice Photograph That Captures the Passage of Time
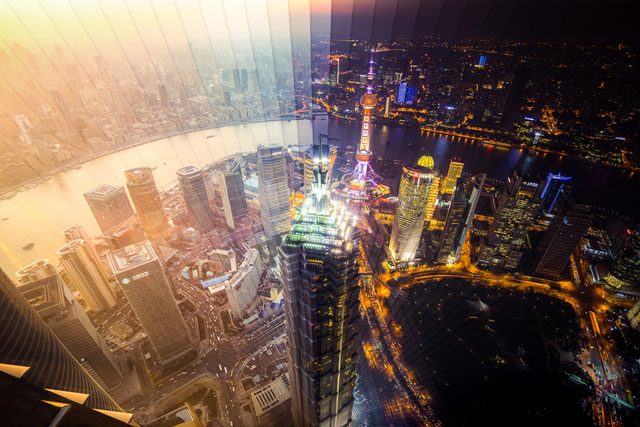
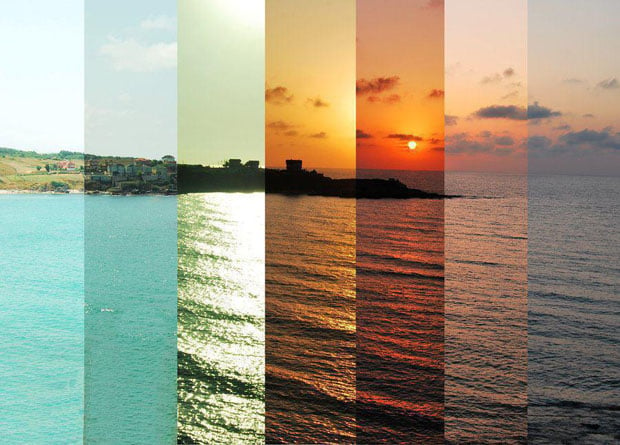
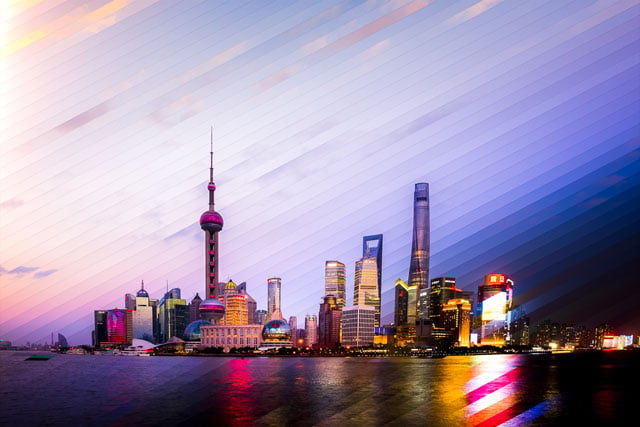
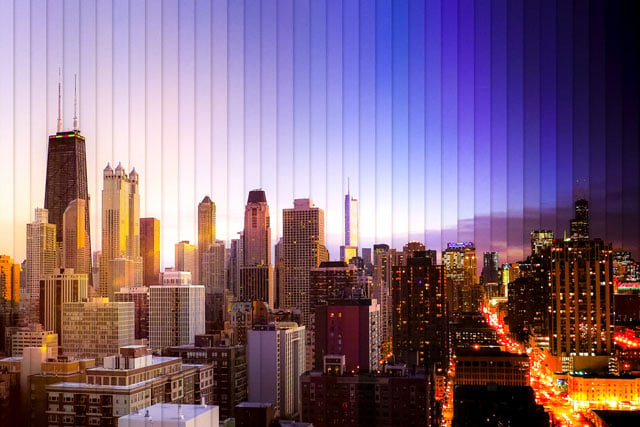
This “time slice” image by photographer Dan Marker-Moore is a photograph of Shanghai created with 65 separate images captured over 1 hour and 53 minutes. By arranging the slices side-by-side, we see the passage of time in an image that shows the sun setting on a bustling city.
His basic technique involves scouting good locations, shooting tens of thousands of photos, choosing 50-100 images for the time slice, doing color correction in Lightroom, exporting the images to After Effects, and setting the images as layers in time and choosing the width of the slices.
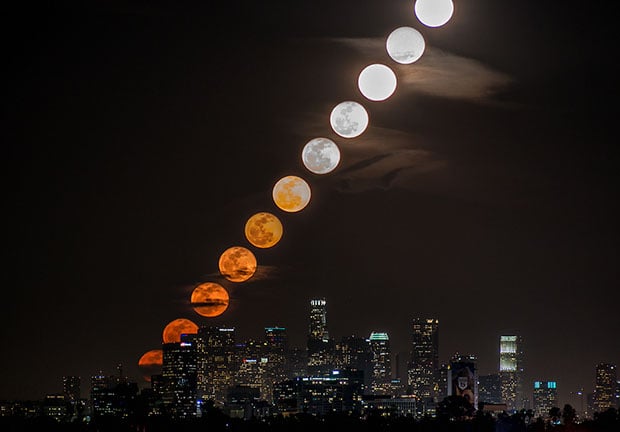
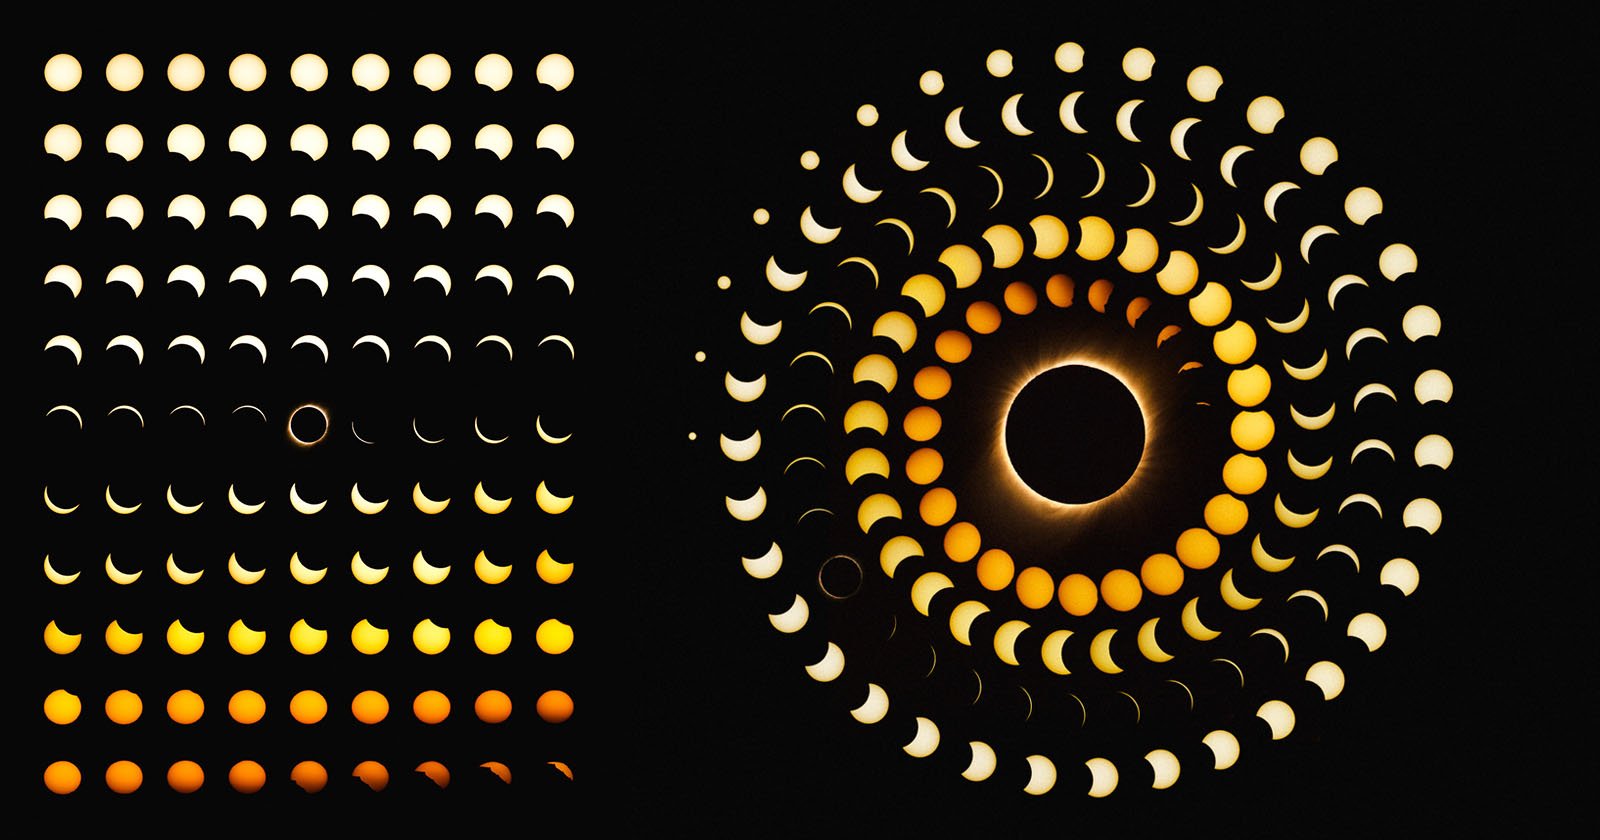
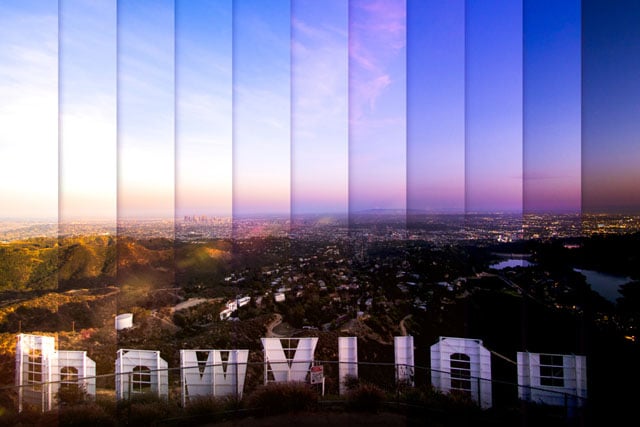
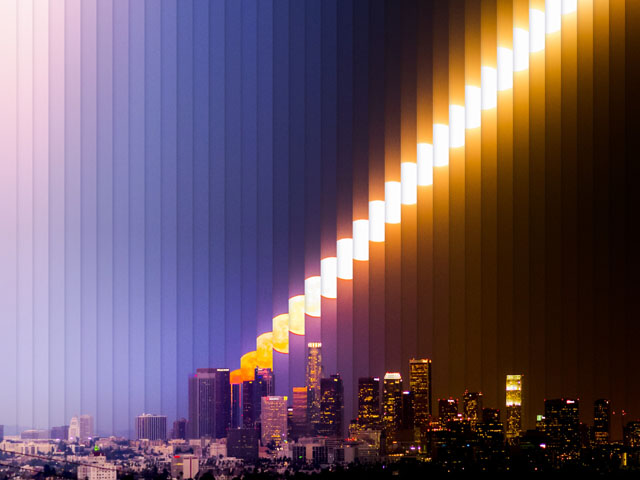
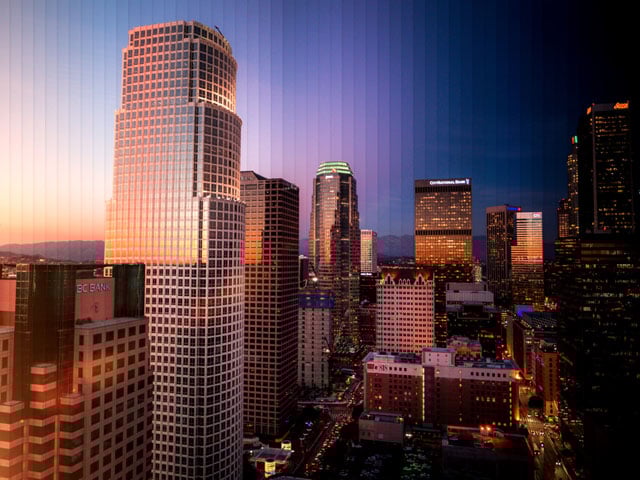
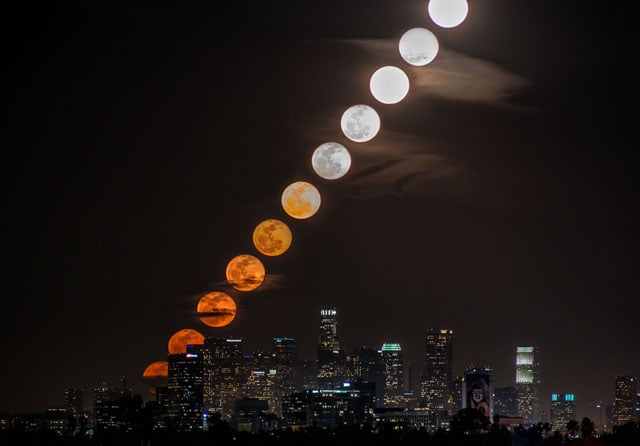
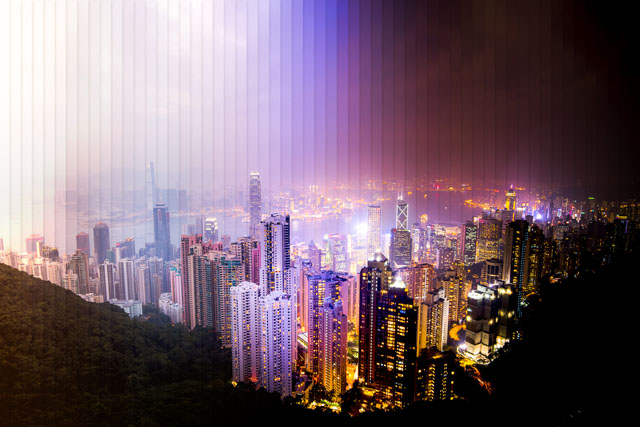
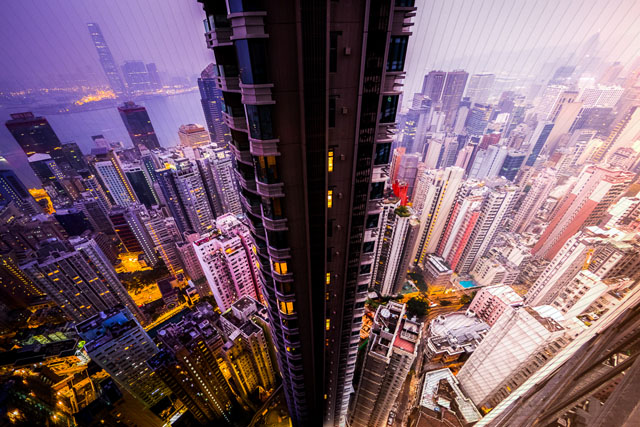
Here are some more of his time slice images for your inspiration:

You can find more of Marker-Moore’s work over on his website. Prints of his time slice images are also available through his online store.
Update: Marker-Moore tells us a little more about his technical process:
The first step is color correction in Lightroom where I define the look and feel of the photos. I export that sequence of photos to After Effects where I separate the series of photos into offset layers in time. This is done by duplicating the time-lapse and moving the duplicate forward in time and repeating. I use masking to reveal a select slices of each image. I usually make a few versions before I find the right combination of slices and time offset. the final render is sent back to Lightroom for further CC.
Image credits: Photographs and video by Dan Marker-Moore and used with permission