6 Flash Alternatives Beginners Should Always Keep in Mind
That pop-up flash on top of your camera can come in very handy, but if you’re a beginner, try giving these alternatives a shot to produce more creative, atmospheric images.
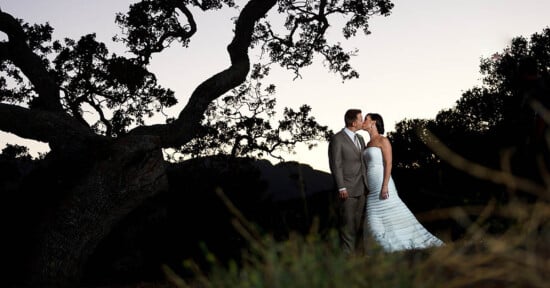
1. Natural light
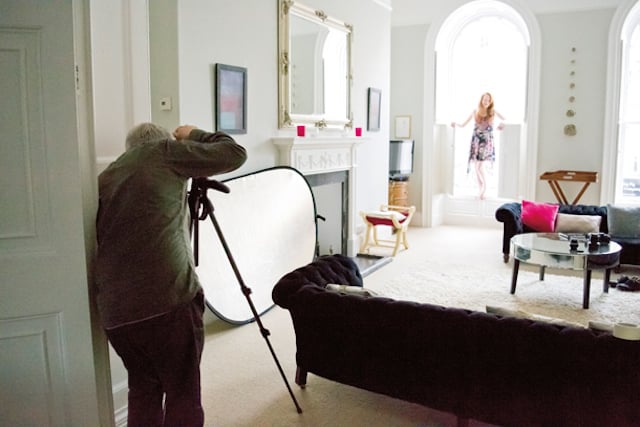
Natural light can seem in short supply when you’re shooting indoors, but if you head towards the window you’ll find that things improve dramatically. What’s more, you can use a window like a large studio softbox.
On a sunny day in the northern hemisphere the best bet is to find a north-facing window (a south-facing one in the Southern hemisphere) as this will give you nice, soft light without any hard highlights or dense shadows.
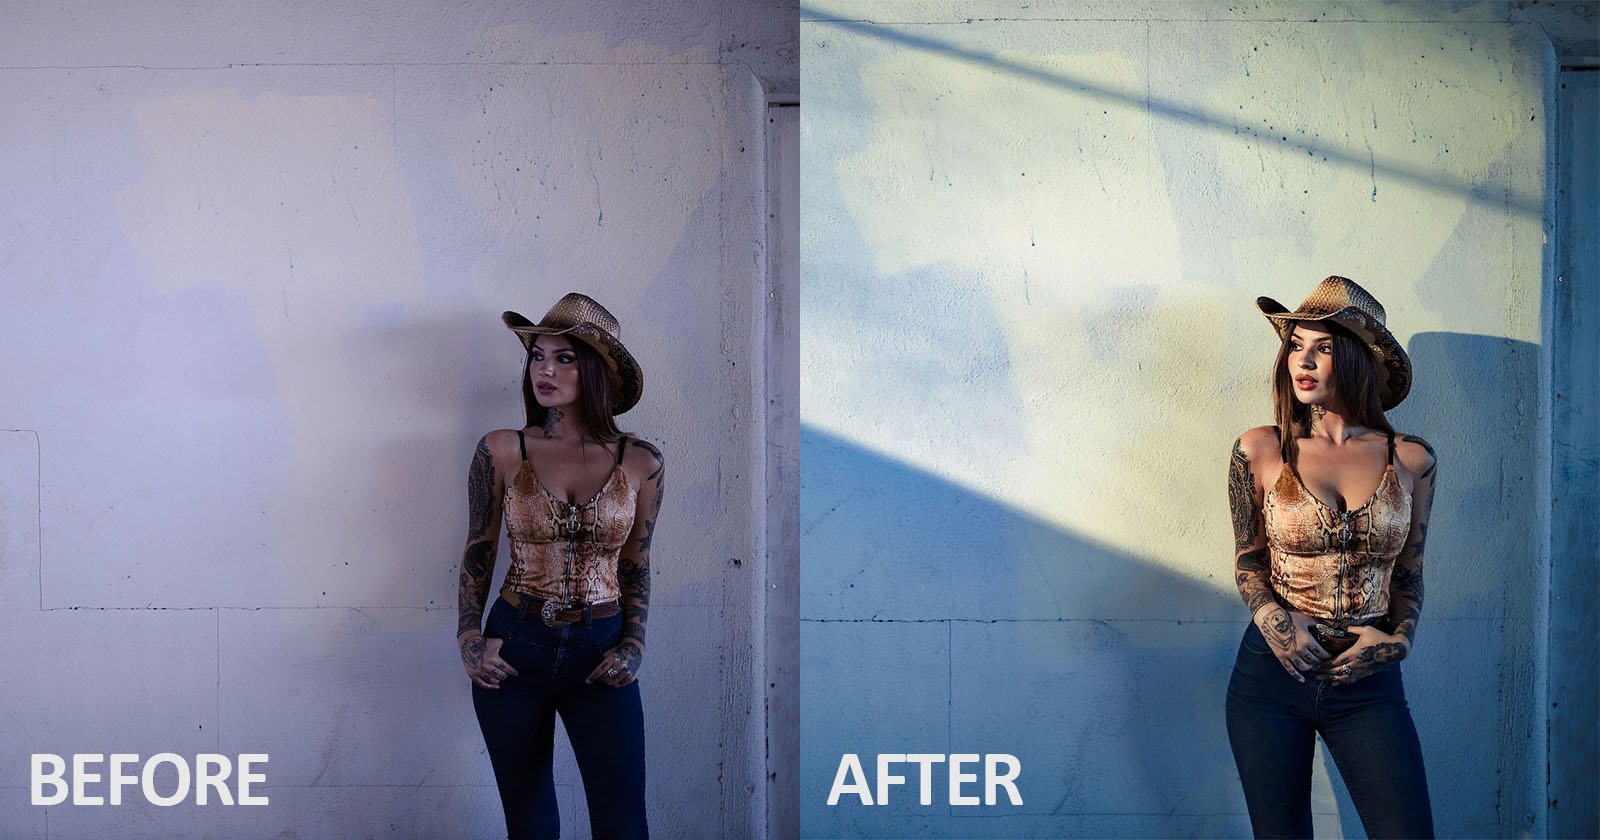
If you’re shooting a portrait you can ask your subject to stand right in the window (or doorway) and get them to turn until the light works for you. And if you position a reflector opposite the window you can bounce light back onto the darker side of your subject.
Alternatively, try shooting from within the room looking towards your subject in the window and increase the exposure to blow-out the window light, but correctly exposure your subject for a nice high-key look.
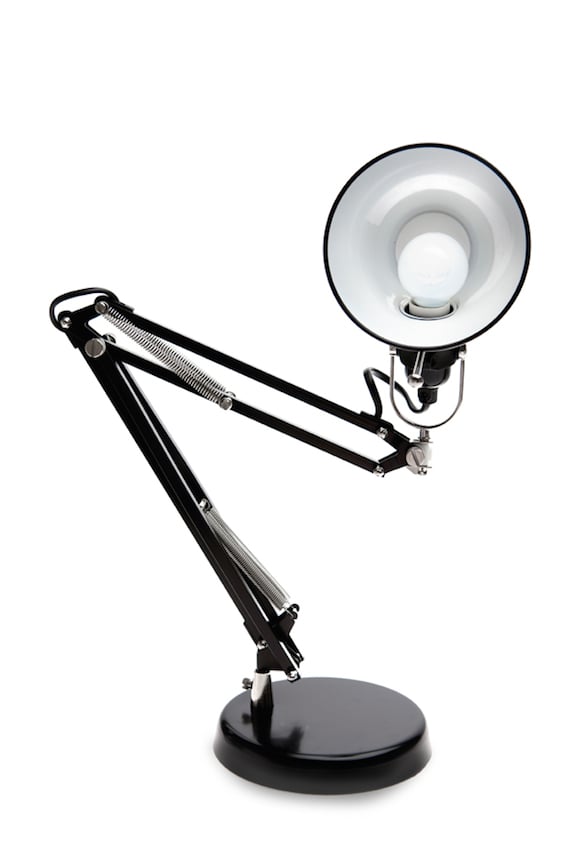
2. Household Lamps
You don’t need expensive studio lights to illuminate still-life or portrait images indoors, you can use household lamps.
Anglepoise lamps work very well because you can usually manipulate them to shine light just where you want it. You can also use tin foil or card around the lampshade to shape the light so that it falls exactly where you need it.
As with window light, you can use reflectors to bounce light back into the shadows.
One thing to bear in mind when using artificial light is that your camera’s automatic white balance system may struggle to get the shot neutral. You may find one of the lighting-specific white balance settings works well, but it’s usually better to set a custom white balance value.
Your camera’s manual will explain exactly how to do this, but it usually involves photographing a white or grey target (a sheet or card is fine) in the same light as your subject and then telling your camera to use this image to set the white balance.
In some cases, the white balance is set as you take the photograph provided you are in the correct mode.
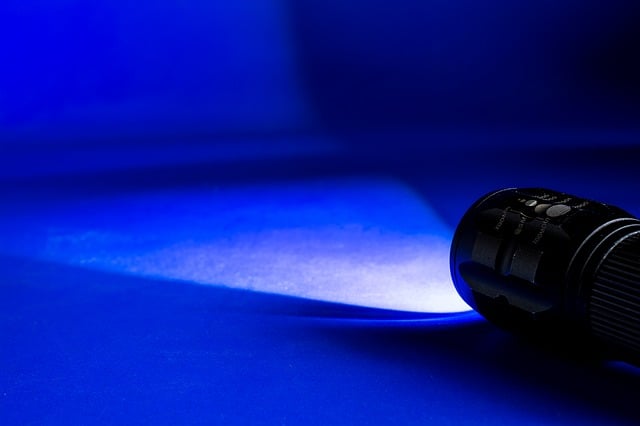
3. Flashlight
You can use a flashlight in the same way as you would a household lamp, but because it’s small and portable you can move it around your subject for all-round illumination.
You’ll need a long exposure to allow yourself enough time to pass the light over the whole subject, so a low sensitivity setting is essential and the camera needs to be mounted on a tripod to keep it steady.
This technique is usually referred to as ‘painting with light’ and it’s great fun as each attempt produces something different.
As with a household light, a custom white balance setting is the best option, but if you shoot in raw format you’ll have the maximum level of control over the final colour of your images.
You don’t have to limit yourself to shooting still life when you’re painting with light, you can head outside at night and give a bigger subject a go. You could even try using your car lights to add some light.
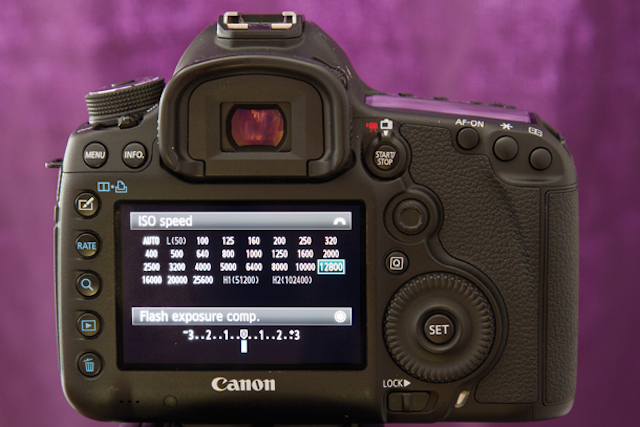
4. High ISO
Sometimes, rather than popping up that flash, it’s better to crank-up the sensitivity value.
Unlike flash light, which falls off very quickly, this has the benefit of working as effectively on distant objects as it does on nearby objects,
Modern cameras control noise much more effectively than they used to, but this also means that maximum sensitivity values have been pushed ever upwards.
As a rule, avoid the upper expansion settings as they tend to be very noisy and use as low a setting as you can while still getting a movement-freezing shutter speed.
Bear in mind that brightening a dark image enhances noise, so don’t look to underexpose dramatically and brighten post-capture.
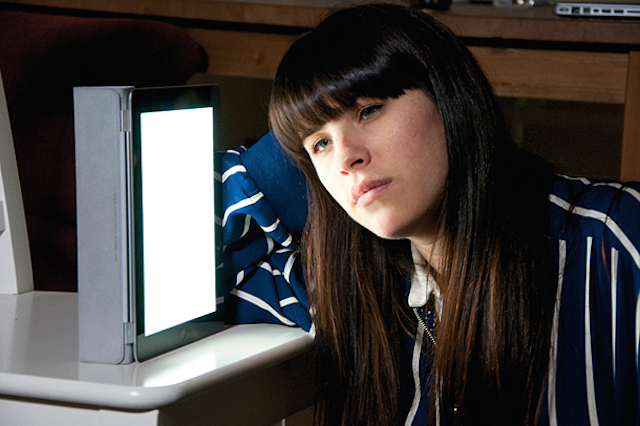
5. Phone, Tablet or Computer Screen
They’re not usually as bright as a purpose-made flashlight, but the average smartphone or tablet can be turned into a pretty useful light source. You may even have an app that turn the phone’s flash into a flashlight.
The light from a phone or table screen is usually soft and you can give it different colors by displaying different images. If you want a neutral image, however, try to find a white light and set a custom white balance value on your camera.
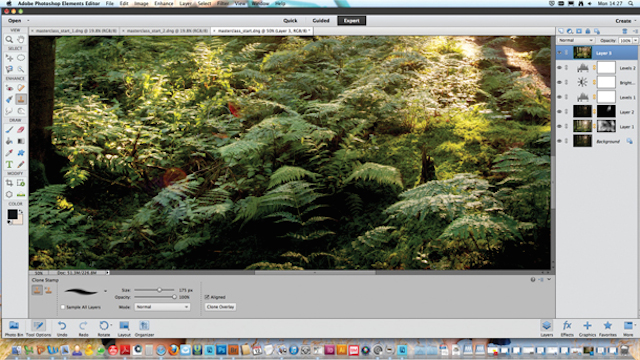
6. Multiple Exposures (HDR)
An alternative to taking a long exposure or using a flash is to take a series of images that are combined into one.
You can do this in-camera if your camera has a multiple exposure option, and this will automatically calculate the exposure and merge the images for you. Essentially, this allows you to take a series of short exposures which add up to create an exposure long enough to allow you to use a low sensitivity value.
If your camera doesn’t have a multiple exposure facility you can combine the images using editing software such as Adobe Photoshop. Whichever way you choose, it’s best to put your camera on a tripod so that it can’t move between exposures.
However, if you don’t have a tripod at hand and you’re using a ‘safe’ shutter speed, it’s possible to get the shots in a single burst in continuous shooting mode, although you may need to align the images post-capture.
Remember that if you’re underexposing by a stop, you’ll need two images to create one correct exposure, and if you underexpose by two stops you’ll need four images. If you’re unsure, take lots of images so you have plenty of scope at the combining stage.
To combine the images in Photoshop, open Bridge and select the shots before clicking Tools>Photoshop>Load files to Photoshop Layers. If necessary, select all the layers in the palette and click Edit>Auto Align Layers and pick the Auto option in the panel that appears.
Next, change the Blending Mode of the upper layers to Screen and see the exposure brighten with each change, then tweak the as necessary using adjustment layers to get it just right.
About the author: Jeff Meyer is the editor of PhotoVenture, a photography blog for everything post-capture — improving photos, image management, sharing and more. This article originally appeared here.