4 Top Tips for Taking Better Photos of Your Kids Indoors
We’re forever taking photos of our children. We want to remember those first experiences, milestones, and adventures. But how many of those photos come out the way you intended, and how many make it onto your walls and into photo books?
“But I don’t have a fancy camera” I hear you say. That doesn’t matter.
The best camera is the one that’s with you! A little bit of expertise will help you make the most of whatever you have to hand. These tips apply to any DSLR or phone.
Tip #1. Find the Light
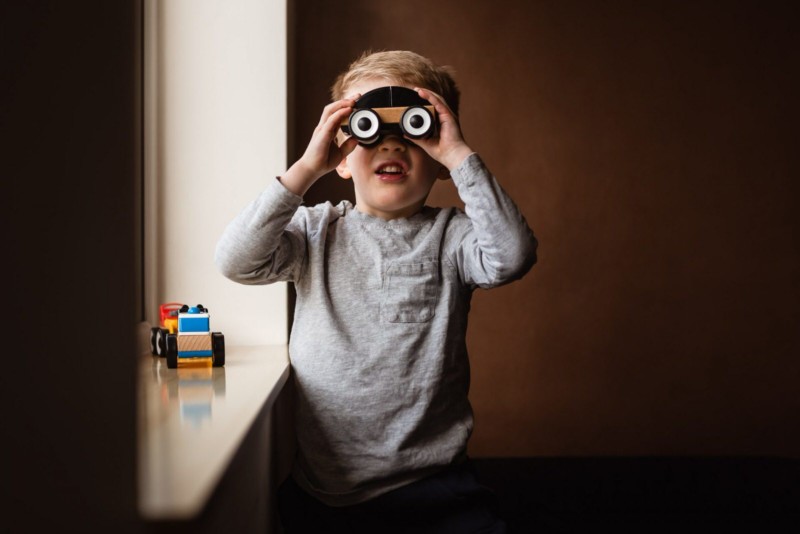
It’s no secret that light is everything in photography. I’m a natural light photographer. I don’t use flash or reflectors in any of my work, I don’t even carry those things in my kit bag. All you need is a window and you’re good to go.
Before you begin, turn off any artificial light in the room (lamps, overhead lights, and even the TV). Artificial light can create color casts which mess with skin tones – they’ll often make your images appear yellow.
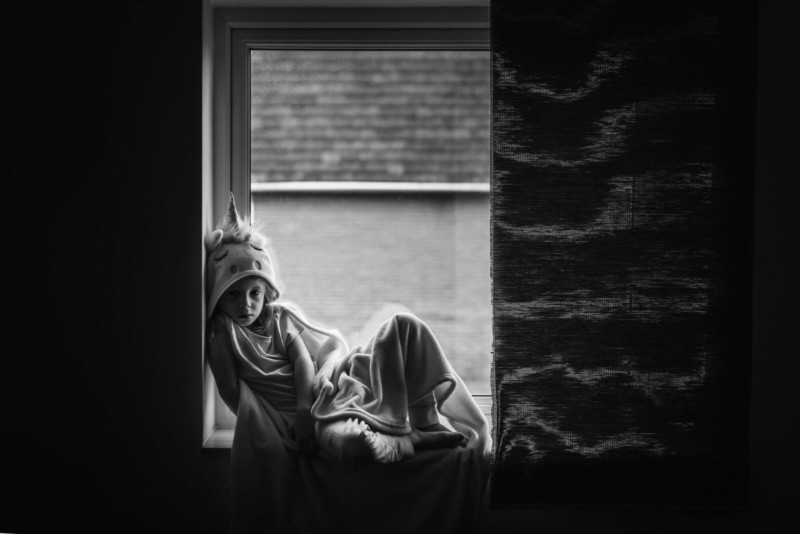
Position your subject so that they’re facing the window. You want lovely light on their face and catchlight in their eyes.
You (the photographer) should have the light behind or to the side of you but be careful not to block the light. Where you position your subject will have the biggest impact on the image. Placing your subject closer to the window will create more contrast while having them several feet away will provide a more even look.


Play around with window light at different times of the day. Full sun coming directly through your window is tricky but it can give you some beautiful shadows and strong highlights (the brightest bits in the photo). I get full sun during the afternoon in our living room and I like to play around with this.
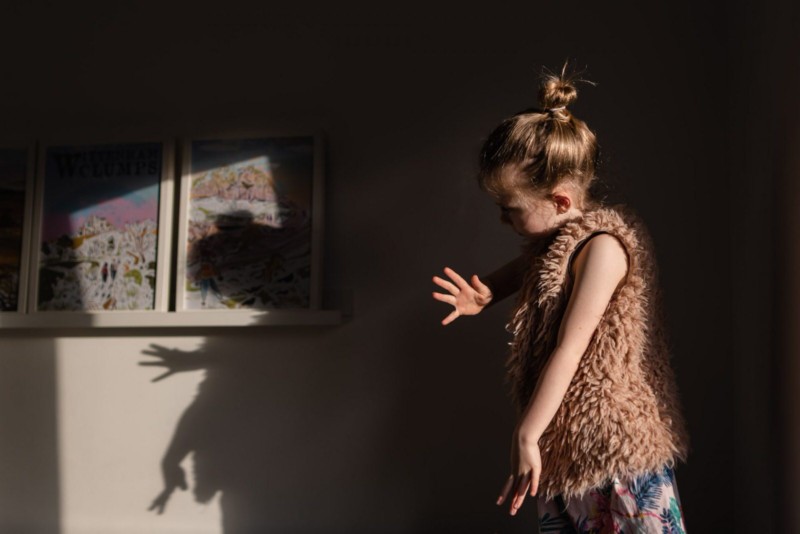
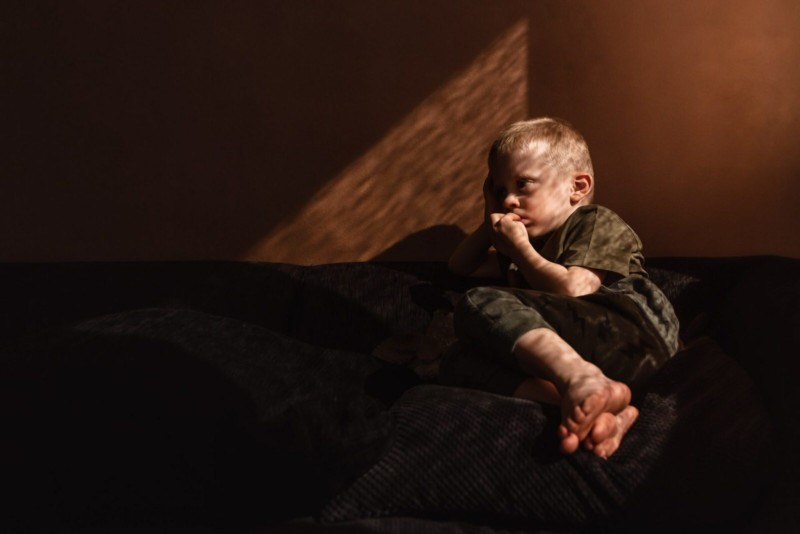
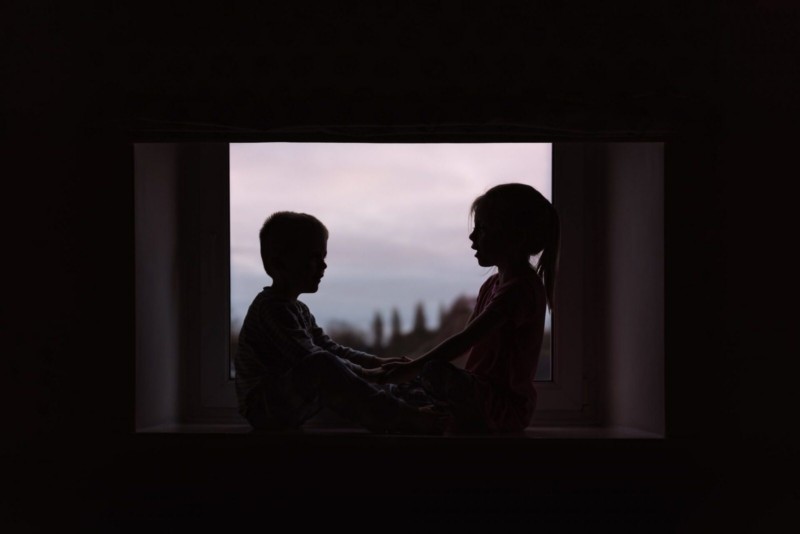
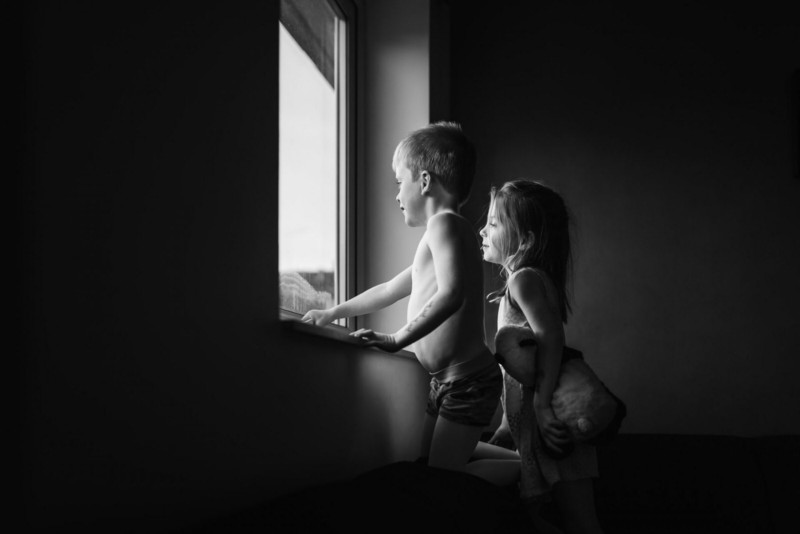
If you’re feeling creative, try backlighting your subject. Instead of having the light in front of your subject, you want it behind them. Backlight is used to create silhouettes when there is little or no light in front of them.
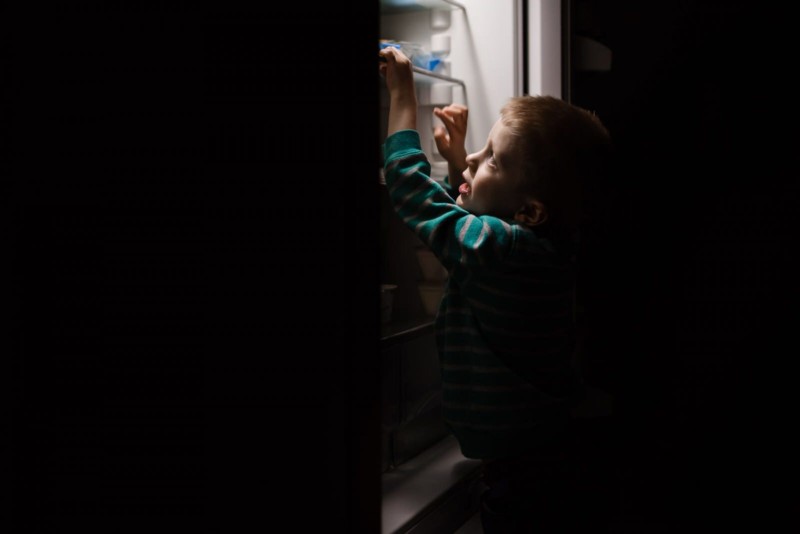
Once you’re comfortable with the natural light in your home, artificial light can also be fun to play with.
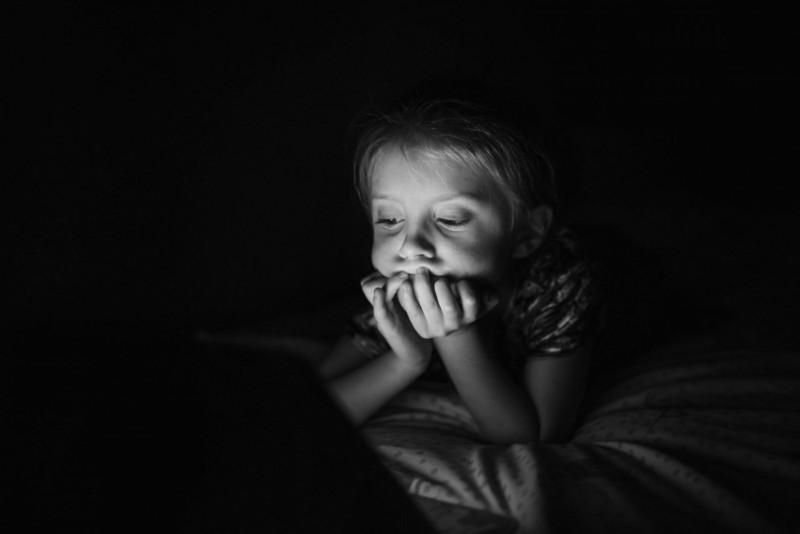
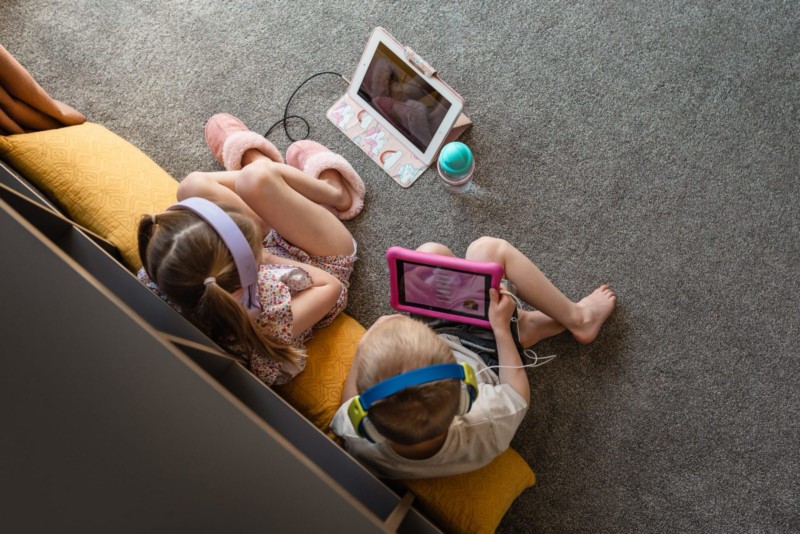
I find light from a tablet or computer makes for a great photo. We all know our kids love their tablets – it’s a guaranteed way to keep them happy while you practice your photography skills. This works best if you stick with one source, don’t be tempted to switch on other lights.
Tip #2. Be Creative With Your Composition
When taking portraits, get in nice and close and make sure your camera/phone is eye level with your child. Or try pulling back to take a more documentary-style photo.
By taking a step back and including more elements in your frame, you’ll share more of the story.


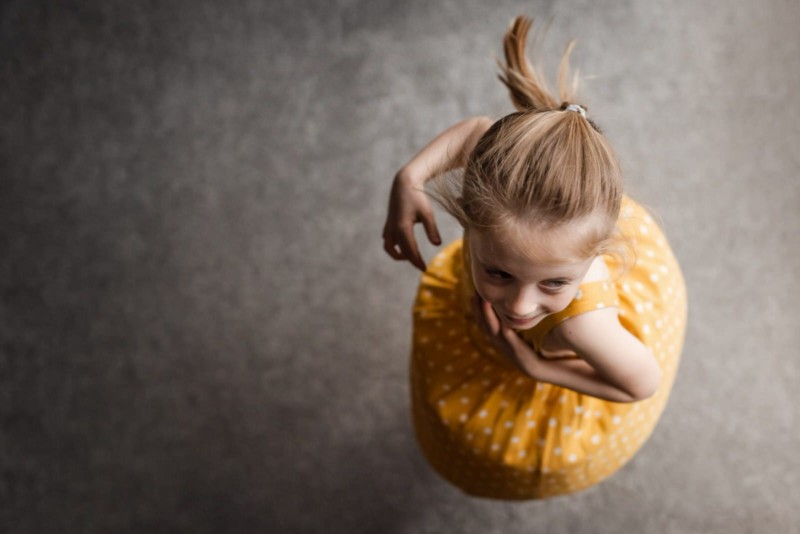
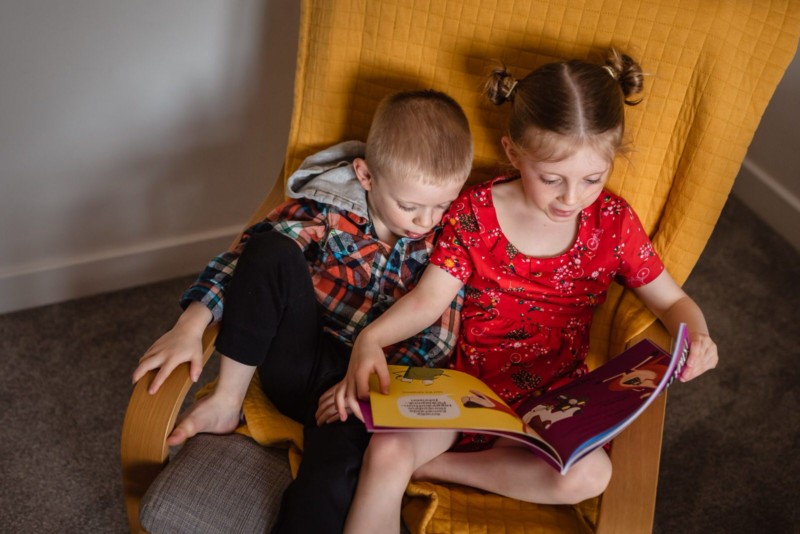
I like to shoot from above while my children play. This also works great for photographing babies on the bed. Stand above them and make funny faces to get lots of lovely smiles and laughter.

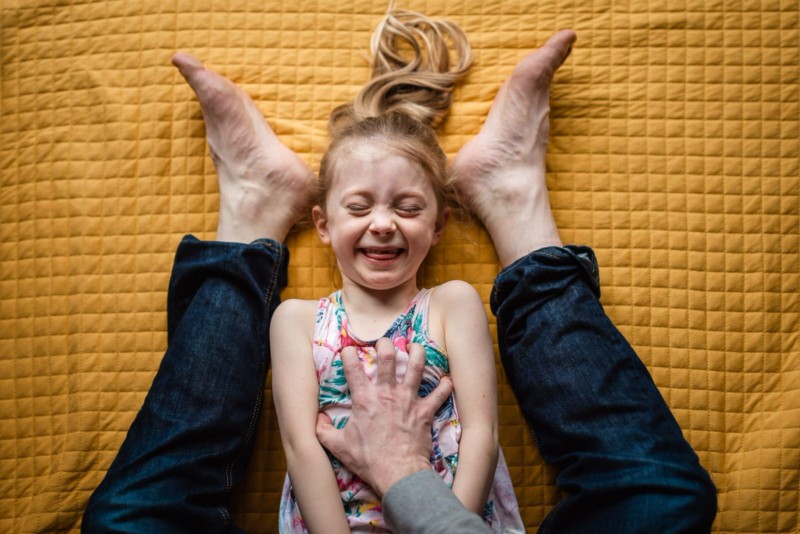
Shooting from above also works well in small spaces and allows you to eliminate anything that may be distracting, like a room full of toys and snacks after a day of homeschooling.
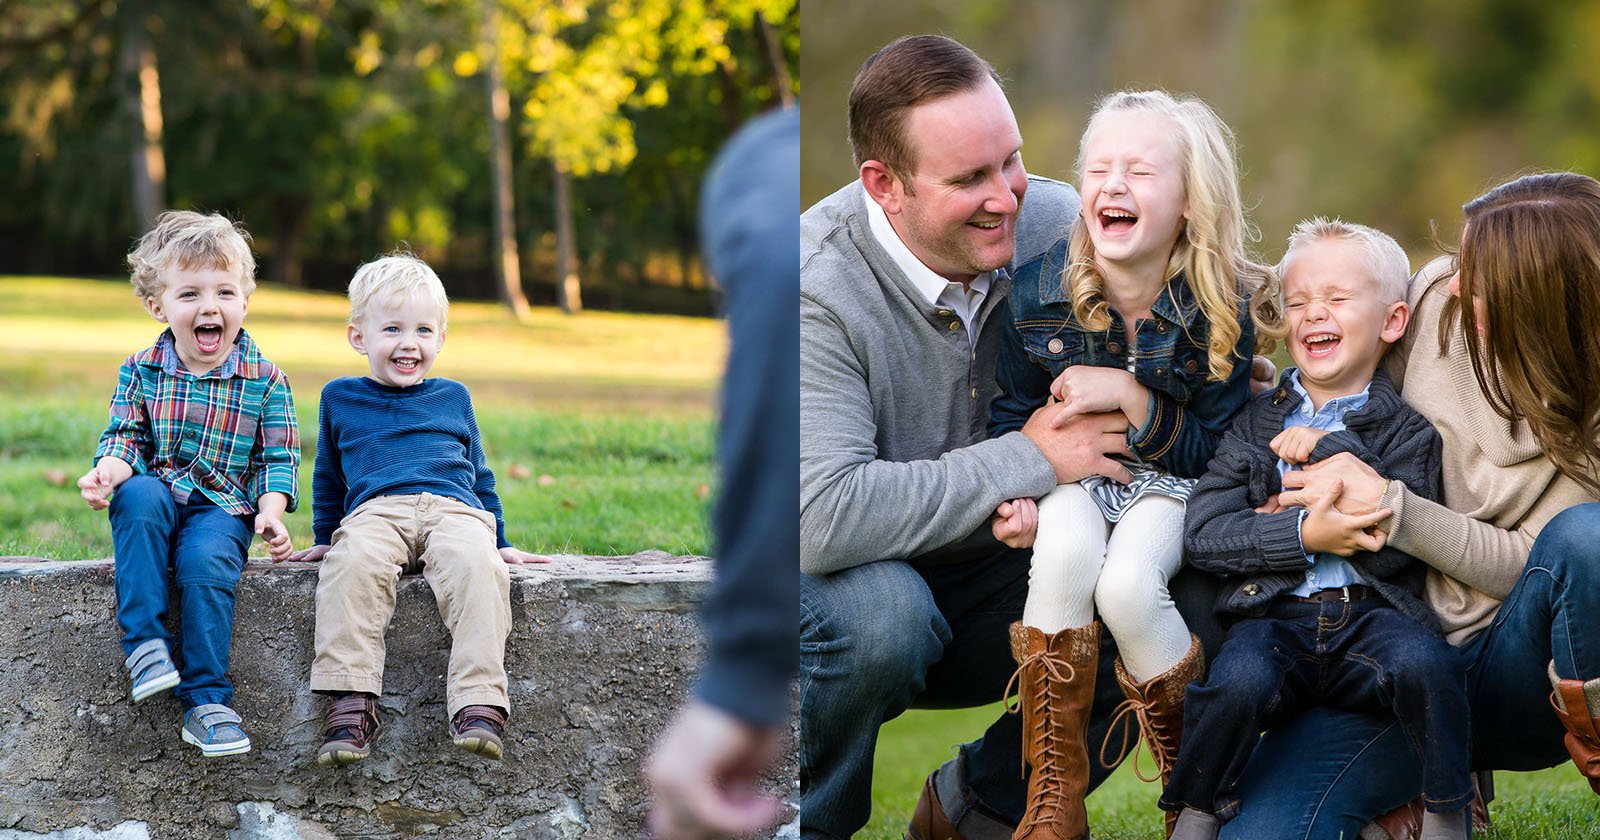
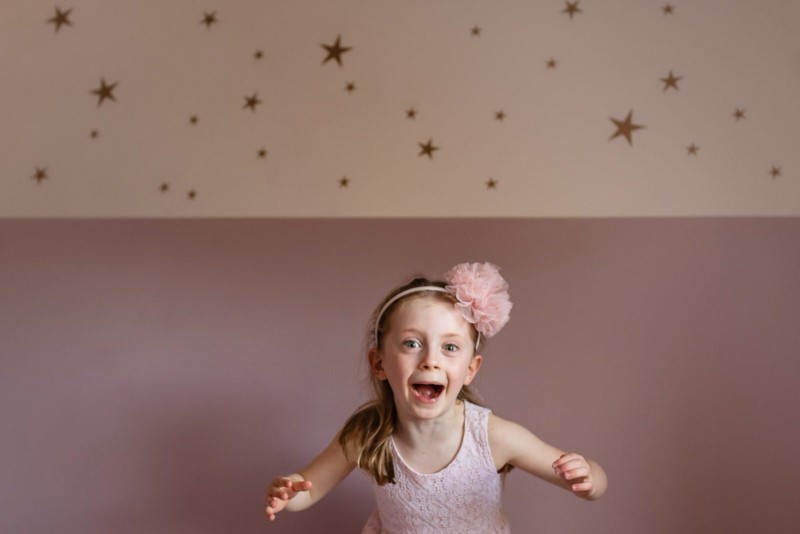
Tip #3. No Poses
Don’t ask your kids to say ‘cheese’ unless you want fake smiles. The photos you’ll treasure in years to come are the ones that capture genuine emotion.
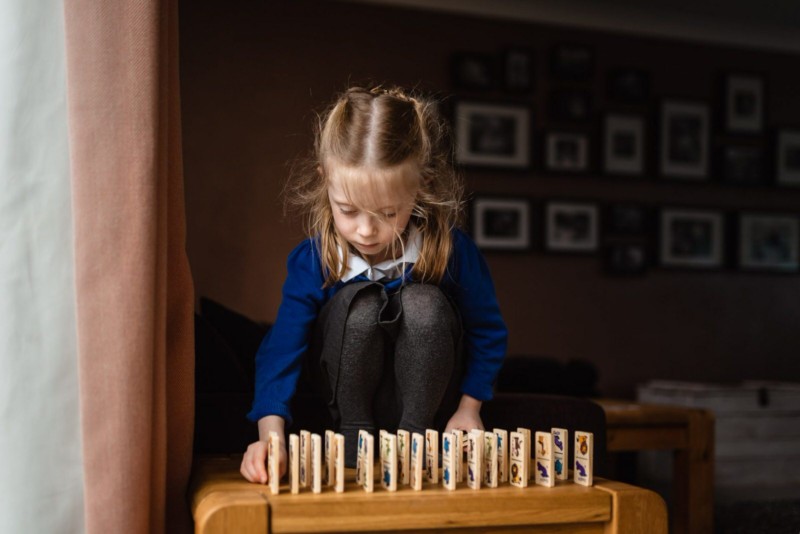
I like taking photos of my children as they play and try to resist stopping what they’re doing to pose for a photo. What I will do is set up an activity or game in good light and then wait for the right moment to present itself.
This also works well for photographing siblings together. I set mine a task or activity like storytime and snuggle them together in the same chair. Only when they’re content and comfortable will I take out my camera. Don’t force it, it should be fun not stressful.
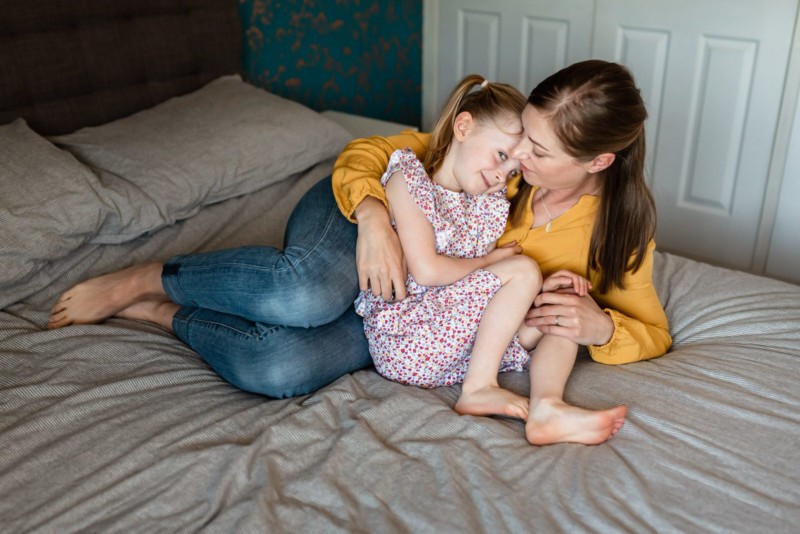
Tip #4. Get in the Frame
I’m terrible at this too.
I have thousands of photographs of my children and I’m only in a handful.
Our children don’t care that we have no makeup on and they don’t see the multiple chins. So let’s stop making excuses and start making beautiful memories with them.
Perfection goes out of the window when I take photos of me and the kids, but that’s what I love about it. We’re rarely facing the light or in focus, and I’m okay with that.
Ask your partner to grab a quick photo while you play with the children. Honestly, this is much easier than doing it yourself. But if you like a challenge, position your phone and set the self-timer. You can also use the timer on your DSLR if you have one. I rarely have time to set up a tripod, I place my camera on a chair or the bedside table and adjust the height with books.

And that’s it. Give some of these tips a try and you should start to see a difference in the way your photos look. Maybe some will make it into framed prints.