A Tour of the Hardware Found in Modern Smartphone Cameras
Want to take better photographs using your mobile phone camera? It helps to know what you are working with. I’ll assume you already know the basics for all kinds of photography (composition, exposure, focus and DOF, shutter speed, aperture, et cetera).
Once these are set, its time to get to know your equipment, and using that knowledge to your advantage.
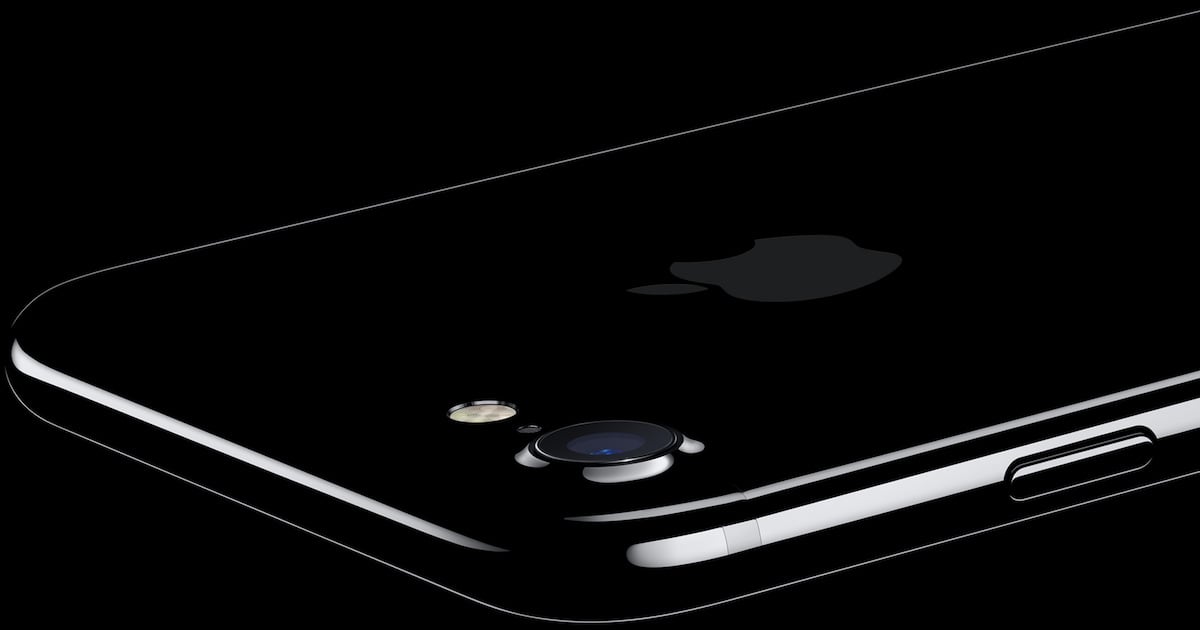
The Sensor
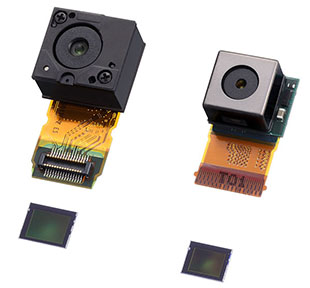 Most smartphones will feature a tiny 1/3.2″ sensor, which isn’t all that bad considering that many professional video cameras have sensors that size (and smaller). However, sensor size does play an important role in how your final image will look like, and when you’re working with 8 MP on still photography as opposed to 2MP on moving video, the consequences of having a smaller sensor will be much more obvious.
The larger the sensor, the more light it receives. The more light your sensor receives, the better low light performance you’ll have, along with less noise, and a higher dynamic range.
Taking this into account, you now know better than to take pictures under low light conditions, and to take care when photographing images with high or low key lighting. In the first situation, all you’ll get is a marvelous mass of electronic noise that barely resembles a face. On the latter situations, you’ll get crushed shadows, and/or overblown highlights.
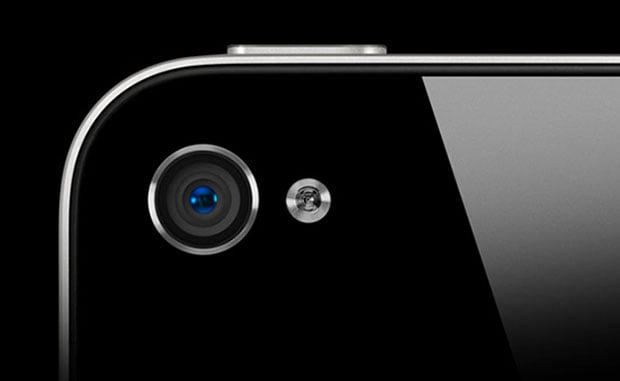
The Lens
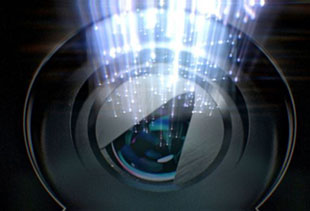 Most smartphone cameras will have a fixed focal length wide angle lens of between 20 and 40mm (calculated for crop factor). Wide angle lenses allow people to shoot images with high angle of views (AOV), meaning more of a scene will be fit into the final image. This, in theory, is a good thing. Having a telephoto lens on a camera phone will quickly get extremely annoying.
However, there’s a downside to having such a large AOV: Distortion. Portraits with wide angle lenses at close range, although possible, result in the subject’s face being slightly distorted, making him/her appear, how can i put this? “Rounder” than they actually are. We call this “compression distortion”.
Knowing this, remember to take pictures of human subjects from an acceptable distance (1.5 meters would be the minimum acceptable distance, IMHO, and you’d still be making Slim Sarah look chubbier).
Fortunately, manufacturers quickly got hold of this issue, and there’s a wide array of third party smartphone lens attachments for sale. If you’re truly serious about capturing marvelous snapshots with your phone (That sentence, 5 years ago, would’ve earned me a good kick in the rear, and stripped me of all respect from my peers), I’d suggest investing in a Lens Attachment Kit, to give your phonography a nice boost in terms of quality. Bear in mind that adding a lens attachment will probably add minor artifacting and prevent some incident light to reach your phone, due to the added optical elements.
Shutter Response Time (AKA Shutter Lag)
 Jimmy’s about to get a speeding soccer ball to the face. You action your phone’s trigger. Nothing happens for a half second. It takes the picture. All you got was horizon, since by the time the picture was actually taken, Jimmy was already rolling on the floor in pain and humiliation.
Welcome to shutter lag, that extremely frustrating “feature” of phone cameras, caused by your sensor requiring time to charge up before actually taking the picture. Additional causes for that are the camera correcting for correct exposure, and refocusing the image.
This is something you’ll just have to get used to, and incorporate into your phonography. Don’t worry, though. In a few years time, it’ll be a thing of the past. However, until we get there, consider pressing the trigger in advance to compensate for the lag.
Post-Processing
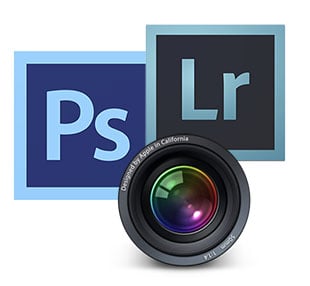 Now, there’s some people out there, who believe that photography must be done with a camera. And they are mostly right. Processing should only be used to make a picture better, not to make a picture. If a picture is bad, it’ll always be bad, no matter how much time you spend in the darkroom (or Photoshop, Lightroom, Aperture, et cetera).
However, don’t be shy about using digital tools to enhance what you captured through your camera. The oft-misquoted Ansel Adams worked a big deal of time in his darkroom, and his developing and printing techniques became an integral part of his overall workflow as much as setting and compositing his shots. Tale the time to learn about how to best use digital tools to enhance and correct your shots, and invest in software (if you’re short on money, GIMP is a good alternative to Photoshop, although not nearly as user friendly and feature oriented as the real thing. Gimpshop is structured to be as similar to Photoshop as possible).
Knowing the limitations of your camera phone, you should strive to make your pictures with it as perfect as technically possible. The other half, the one limited by the tool you’re working with, can be taken care of with software.
I’ll say it one more time: don’t compensate with Photoshop for your lack of skills and patience.
In the end, it all boils down to knowing your equipment, and making the best of it. To actually get to know your equipment, go out there, and photograph away.
About the author: Diego Noriega Mendoza is an amateur photographer and aspiring filmmaker based in Mexico City, Mexico. You can find him on Twitter and Facebook. This article originally appeared here.