Post-Processing a Band Photograph

Some friends of mine asked me to shoot a quick band photograph of them recently without any preparation or planning. Luckily, the location was pretty nice (we were at a hostel) and the weather was a bit cloudy so there wasn’t harsh sunlight.
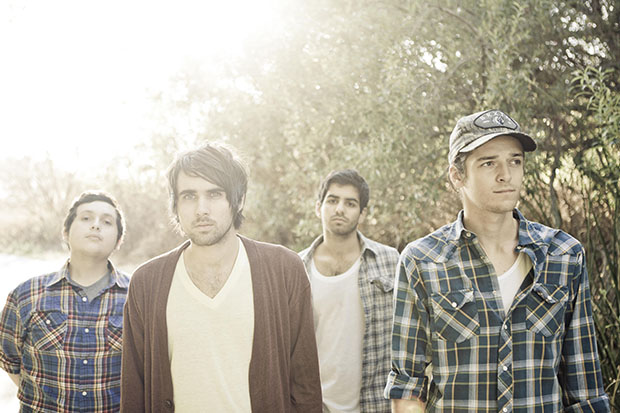
Here’s what the original untouched photo looked like straight out of the camera:

What I wanted to do was have the photo “pop” (something you hear a lot, right?), with the slightly surreal look that you see sometimes in band or TV show cast photographs.
A lot of the “popping” is achieved through basic edits: warm up the photo a bit by boosting the temperature. After dealing with highlight and shadow clipping with the Recovery, Fill Light, and Blacks sliders, I dragged both the Contrast and Clarity sliders to max (+100). The Contrast slider will make it “pop” while the Clarity slider will provide a surreal, HDR-esque look.

Here’s what the photograph looks like after these edits (hover your mouse over it to compare it with the original):

Next I tweaked the color a tiny bit using split toning to give it a slight sepia tone feel, and added some strong vignetting to finish the look:

Here’s the final product (hover to compare):
You can also hover over this link to compare the photo to the original, unprocessed version.