How to Make a Pinhole Camera Out of a Chocolate Easter Egg
For Easter, I made a pinhole camera out of a chocolate Easter egg. In this 5-minute video and article, I’ll show you how it’s done.
What You Will Need
- Chocolate Easter Egg (the 120g sizes are a good size)
- Darkroom Paper (I used Ilford MGIV RC Pearl B+W)
- Chemicals (I used Fotospeed DV10 Varigrade Developer & Fotospeed FX20 Fixer)
- Developing Dishes & Tongs
- Darkroom (cupboard, attic any room you can make dark)
- Red Light (bike lights works great for a small dark room light)
- Elastic bands, black tap
- Lightmeter app for smartphone, or use the light meter on your digital camera
How to Make It
The main challenges were it melting, cracking and light leaks around the seal.
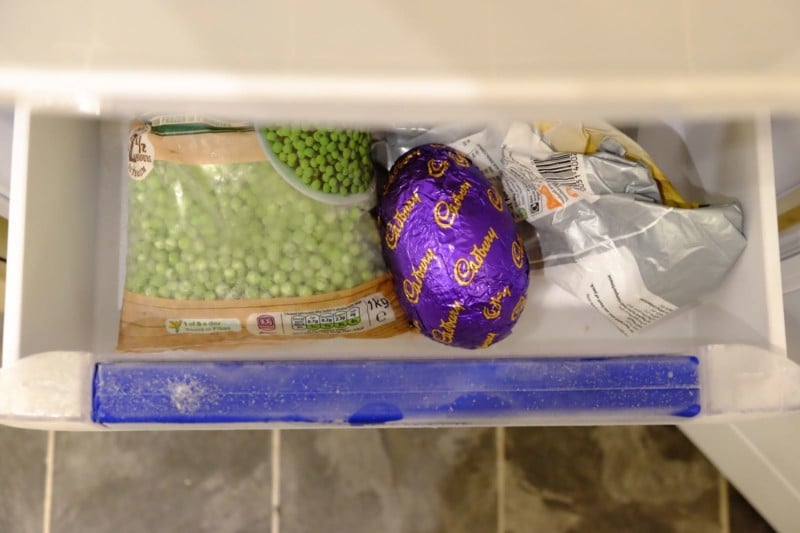
After purchasing the chocolate egg and eating the contents, I kept it in the freezer until it was nice and hard.
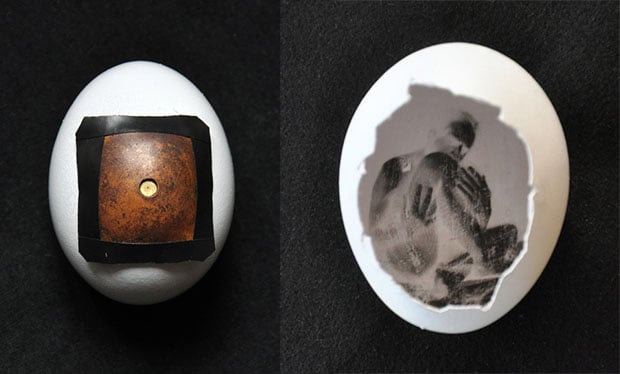
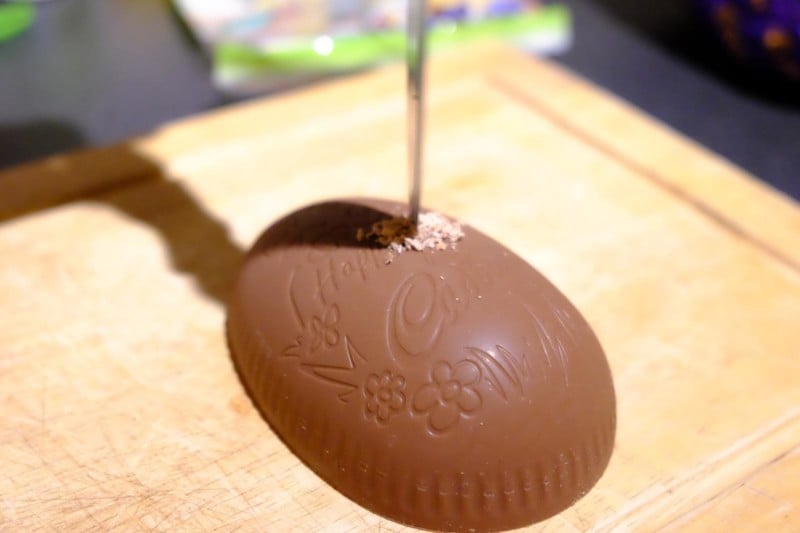
When I was happy it wasn’t going to melt too quickly, I cut a small hole in one half.
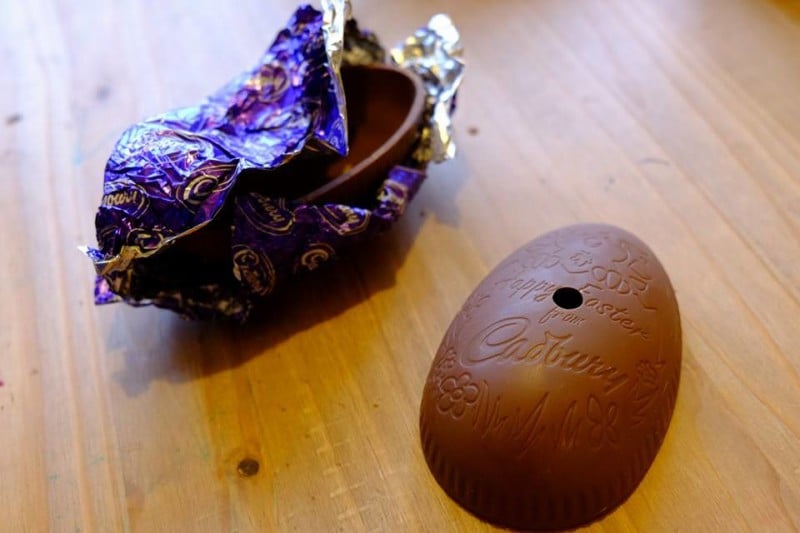
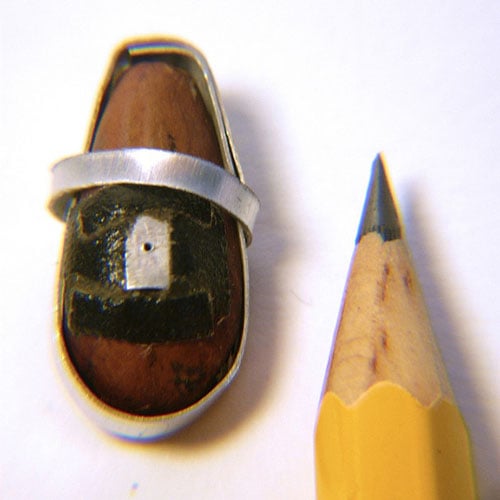
Over this hole, I placed a thin strip of aluminum with a pinhole in it. I kept the egg in the freezer again until I was ready to put it together.
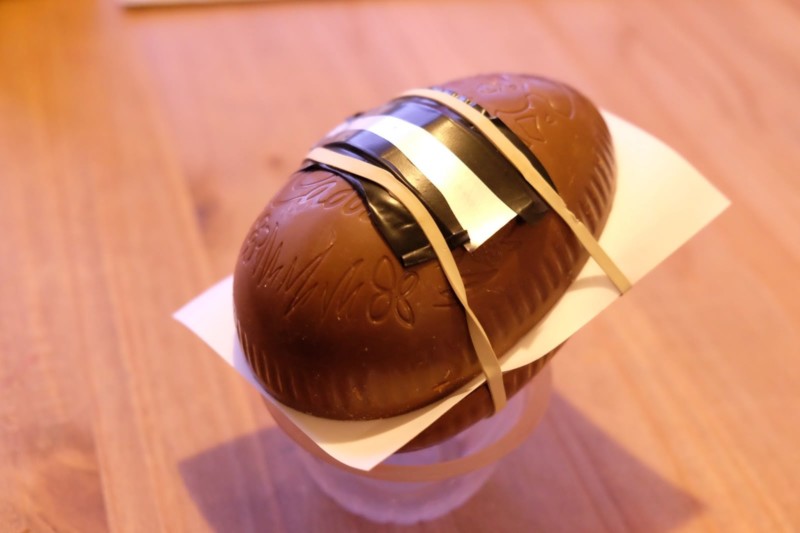
In a darkroom, I quickly and gently lined the two egg halves together with some B&W Ilford MGIV Photographic paper between them both. The pinhole was held in place with some black tape and 2 elastic bands held it all together, I then lightly wrapped the egg foil back around to reduce the amount of light getting in between the halves.
When it was ready I place some black insulation tape over the pinhole and was ready to get it out the darkroom for its 1st test shot.
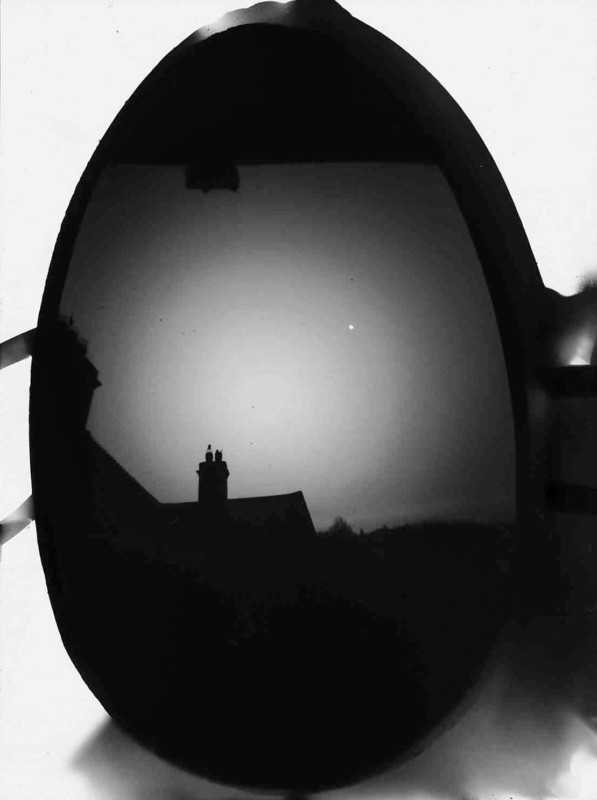
The 1st test shot:
Happy with the 1st test shot, I refroze the egg and reloaded it with another sheet of B&W Ilford MGIV Photographic paper.
Easter is a time that many celebrate differently — for some, it’s all about chocolate eggs, while for others it’s a time to celebrate the resurrection of Jesus Christ.
My aim was to capture both and photograph a crucifix with a chocolate easter egg.
I packed the egg up in a bag, kept the car as cool as possible to avoid the egg getting too soft and the elastic bands cutting into the chocolate and headed out in search of a crucifix.
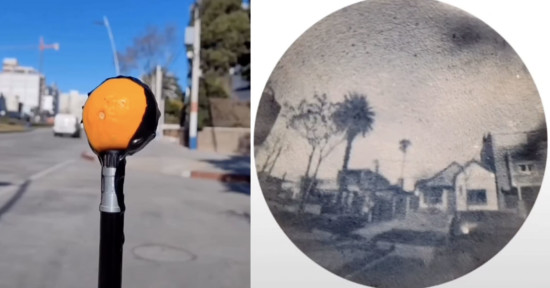
When I found one I got a light meter reading using a free smartphone app to work out the exposure.
I managed to set the egg balanced in a cup to help support it, pointed it in the right direction and exposed it for around 30 seconds.
Headed back home to the darkroom and set about taking it apart and developing the photo.
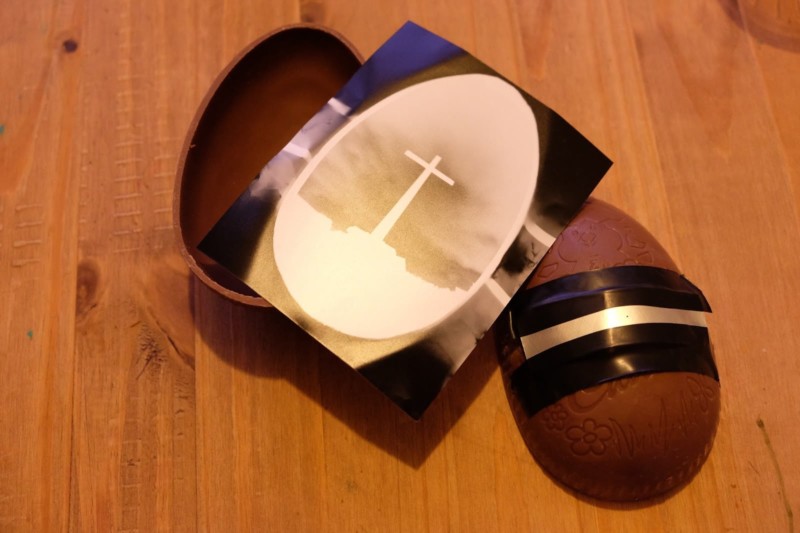
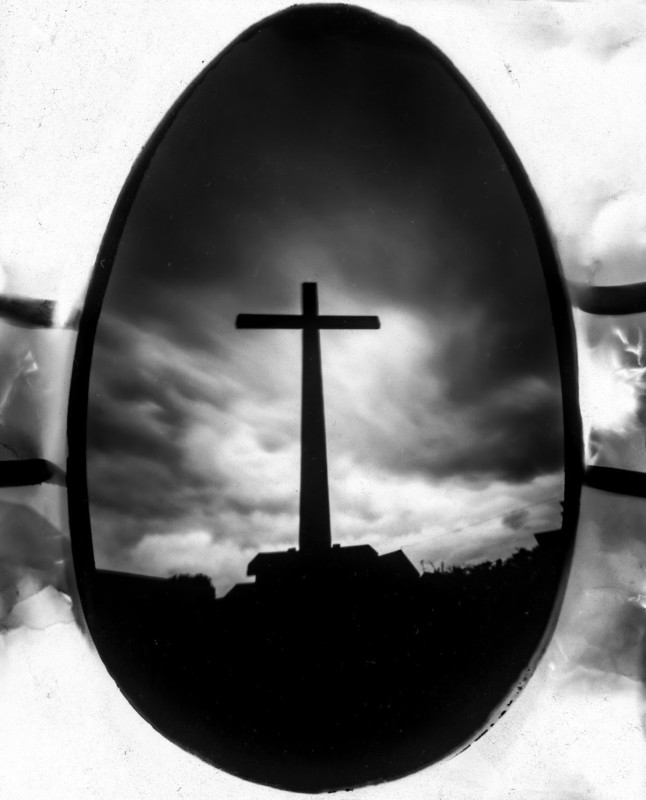
The final result after it was scanned and converted in Lightroom
This photo is available for purchase in different forms here.
About the author: Will Gudgeon is a photographer based in the UK. The opinions expressed in this article are solely those of the author. You can find more of Gudgeon’s work on his website, Facebook, and Twitter. This article was also published here.