Photoshop Tip: How to Crop & Resize a Photo to Exact Dimensions in One Step
Cropping a photo to exact dimensions in Photoshop can be a real pain, but there’s actually an easy one-step solution built right into the program.
This quick tip comes from photographer and educator Phil Steele of Steele Training, a master whose more basic photography tips have been popular on PetaPixel in the past. In this short video, he’ll show you how to change your crop tool settings so you can crop and resize a photo to the exact dimensions you need in one easy step.
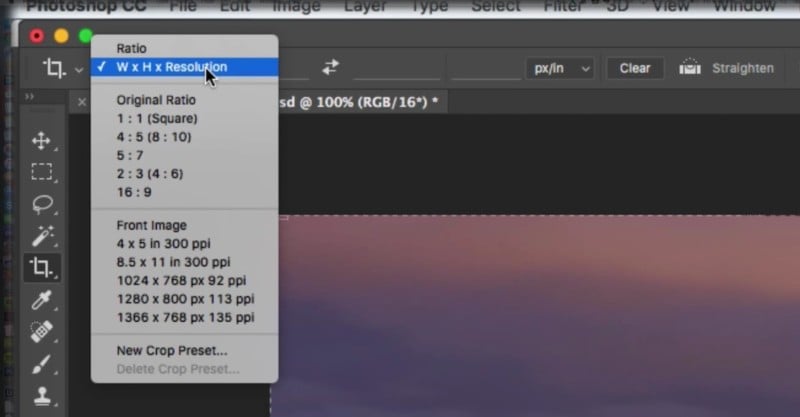
You can watch the video above to actually see how it’s done, but all you have to do is select “W x H x Resolution” in the Crop Tool Dropdown:
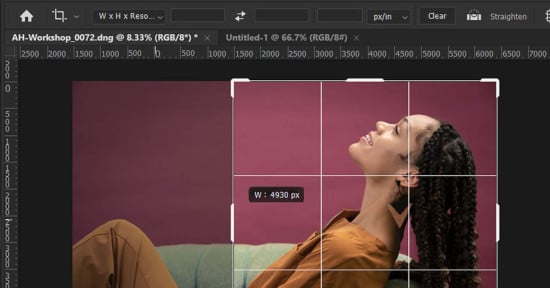
Then, insert the dimensions you need into the first two boxes, making sure to specify that you want “px” or pixels. So if you want to use one of your photos as a Facebook cover photo, for example, you’ll want a photo that’s 828 pixels wide by 315 pixels tall.
Once you’ve inserted those values, the crop tool will keep your ratio consistent, and resize to those values once you actually pick the frame you want and press enter.
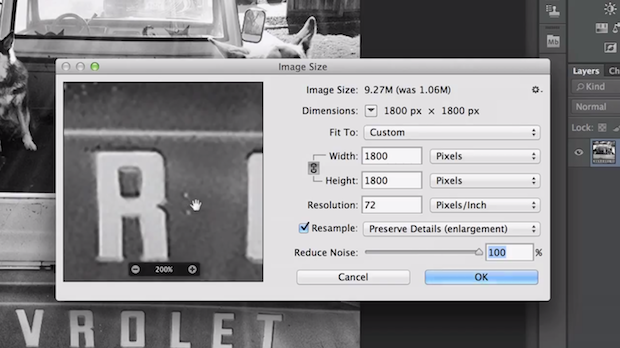
Of course, the downside of this is that, if you start out with too low res of a photo or select too small of an area, Photoshop will have to upsample a lot to get your crop to the specified dimensions. But as long as you’re careful about the resolution you start with and how tightly you crop, this simple tip makes creating exact dimension crops an easy, one-step process.