The Best Image Upscalers in 2024
It used to be that if your digital image was too small for a particular application, you had no real options. You were stuck at the original resolution, or at least something close to it. Upscaling technology has changed the game, but not all apps are made equal.
Update 4/15: This story has been updated with revised prices for Luminar Neo, which is more affordable than originally listed.
With the rise of AI, image upscaling has changed considerably. Some apps go beyond preserving detail as images are enlarged; they can even make the details look better. These tools create opportunities to breathe new life into older images taken with low-resolution cameras and bring out more from low-quality film scans. They can make high-resolution files more epic. They even promise good results for noisy photos that need upscaling.
Most of these programs require a license or subscription fee, so it can be difficult to bite the bullet and invest in one without knowing how it may perform and if it is worth it. We’ve tested five of the most prominent options on multiple files. Keep reading to see how each program performed and which might be best for your use case.
Testing Notes
To test these programs, we ran through three images: low-resolution, high-resolution, and high-noise. We also tested DNG and JPEG files for two of the categories. It’s important to note that all the programs revert any edits the RAW file had when upscaling, so there are minor differences in white balance and lens distortion between the original DNGs and the upscaled versions.
Of course, we are limited in file size when sharing the results, so you won’t see the actual upsized files. To help show the results, however, we have included 100 percent crops.
I captured this low-resolution photo with my Nikon D90 in 2010. Its original dimensions are 2,256 x 1,496 pixels. It was shot at 1/250 sec, f/8, and ISO 800. As a photography novice, I only had a JPEG file for this image, so all low-resolution tests were done on a JPEG file. This is common for many, so it’s a good test for modern upscaling apps.
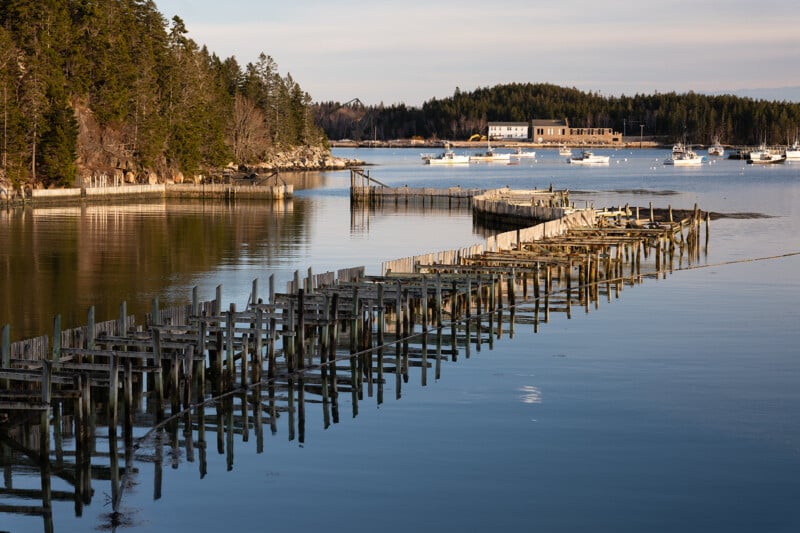
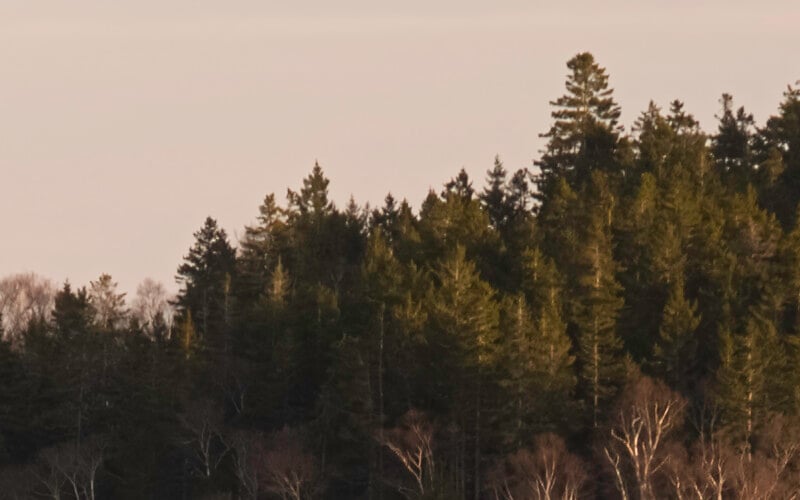
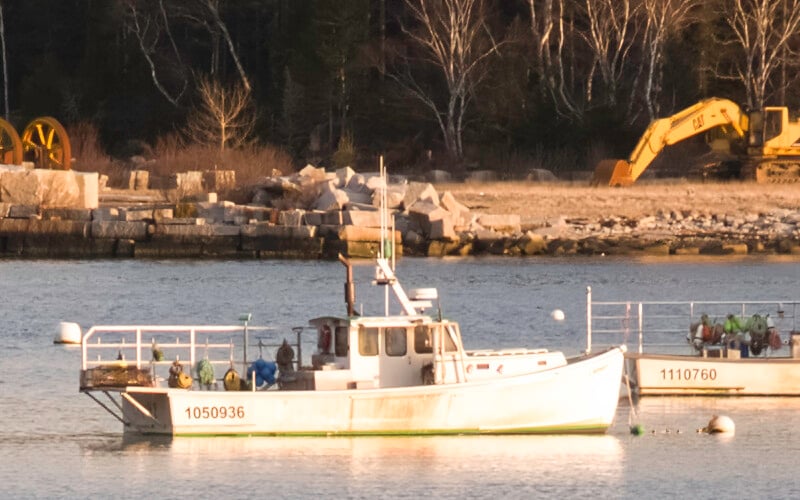
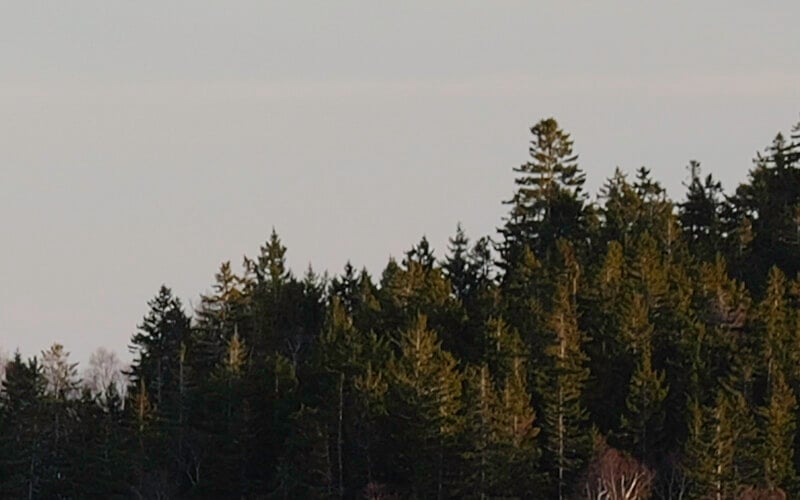
The high-resolution tests used a 60-megapixel image taken with the Leica SL3. Its original dimensions are 9,520 x 6,336 pixels. The camera settings were 1/25 sec, f/8, and ISO 100. We processed both DNG and JPEG files for the high-resolution tests.
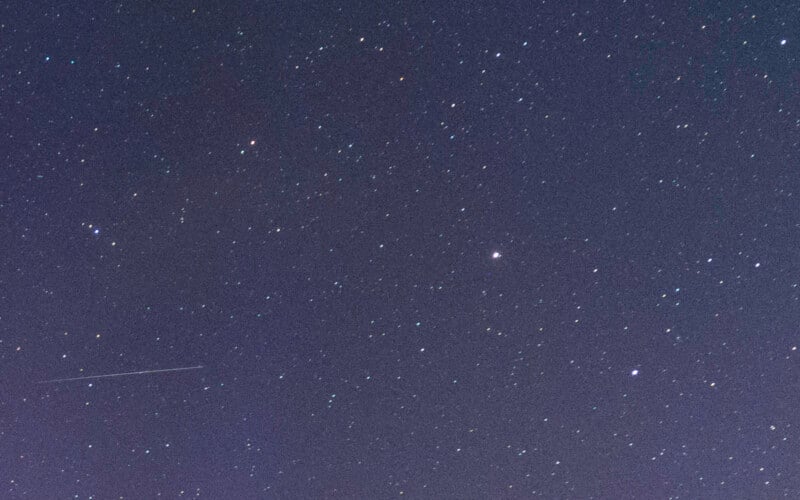
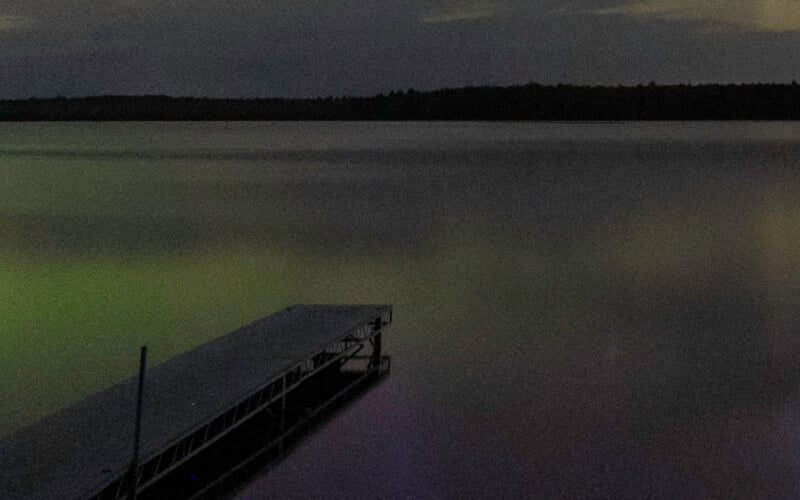
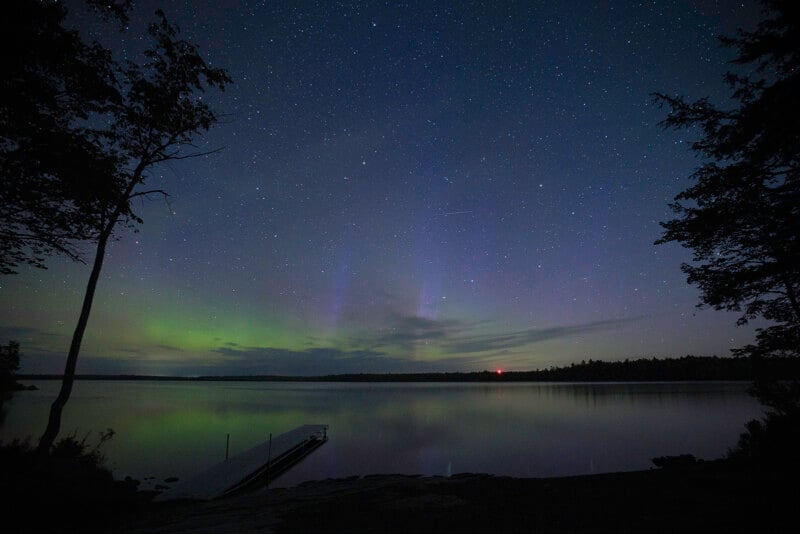
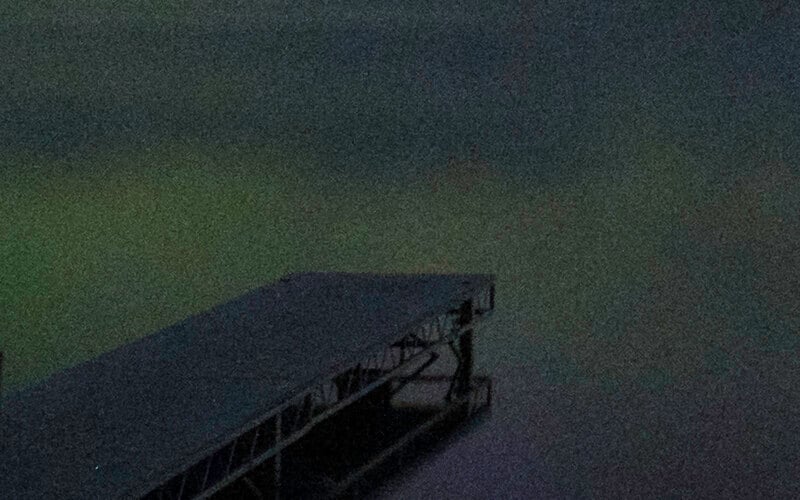
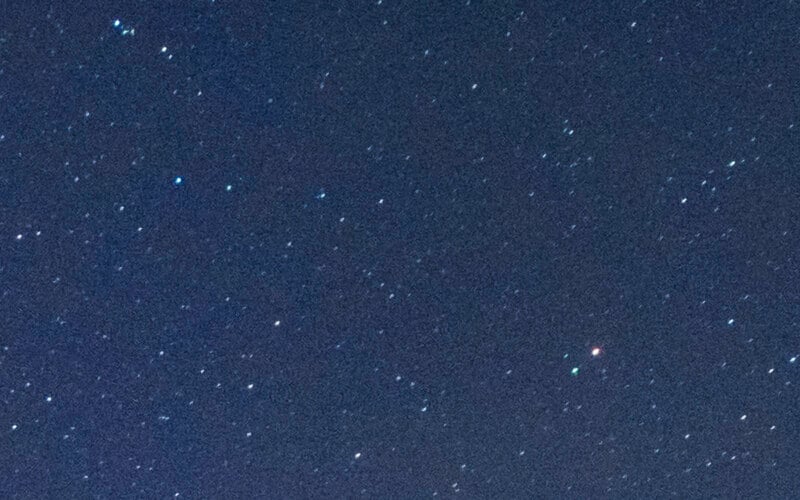
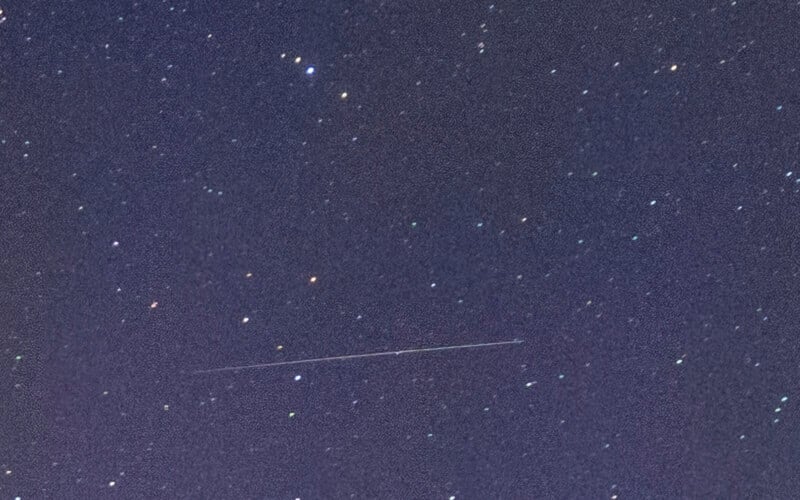
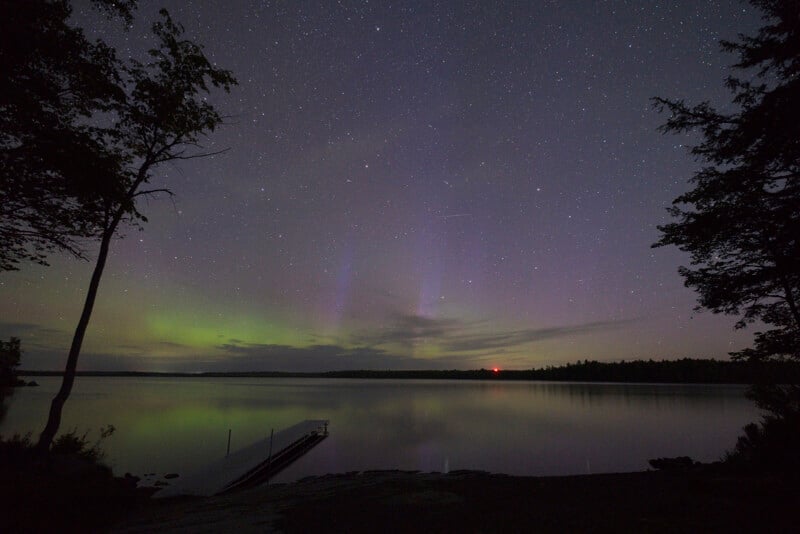
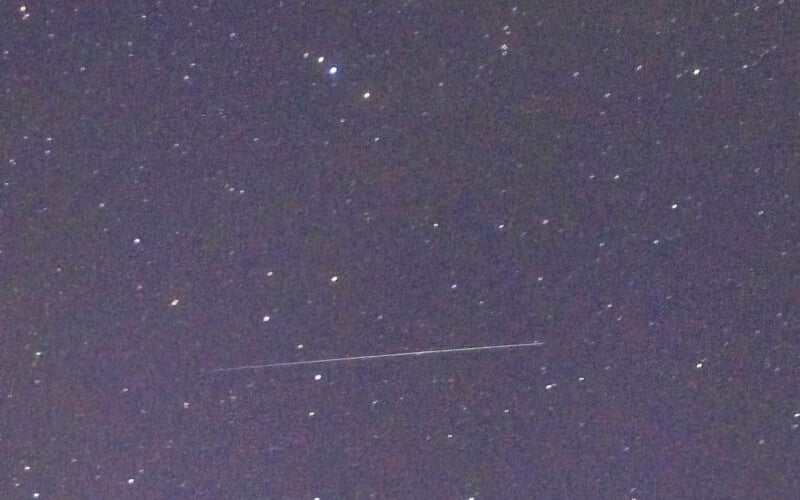
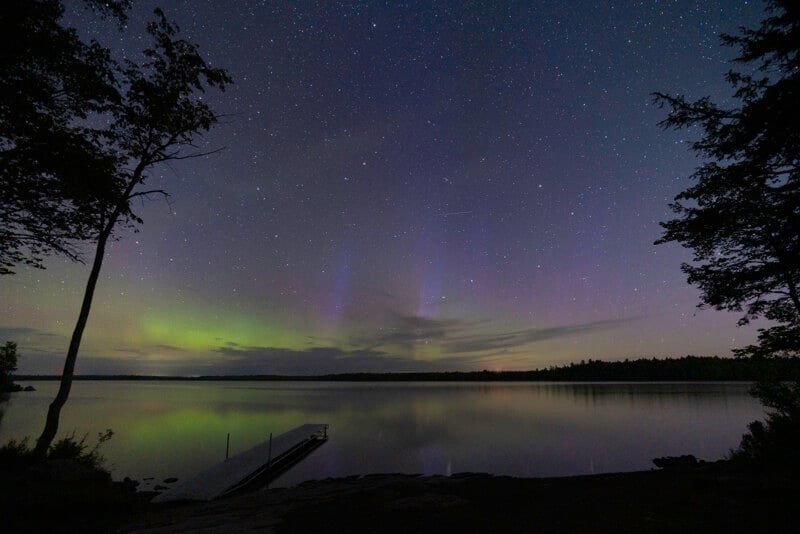
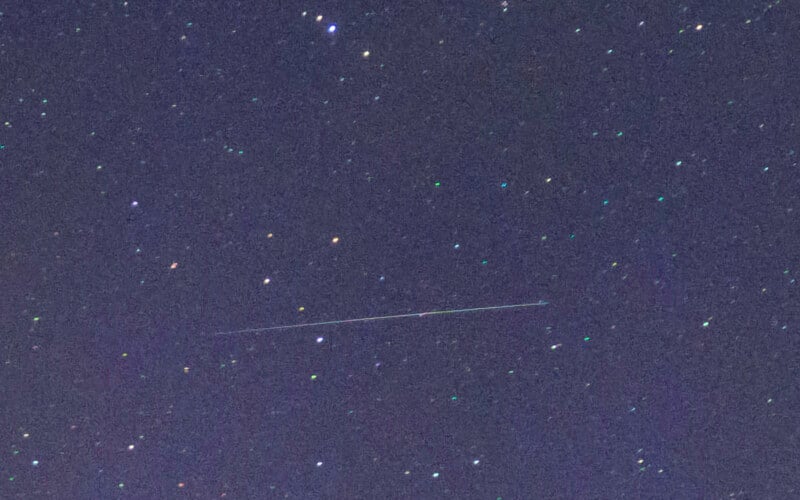
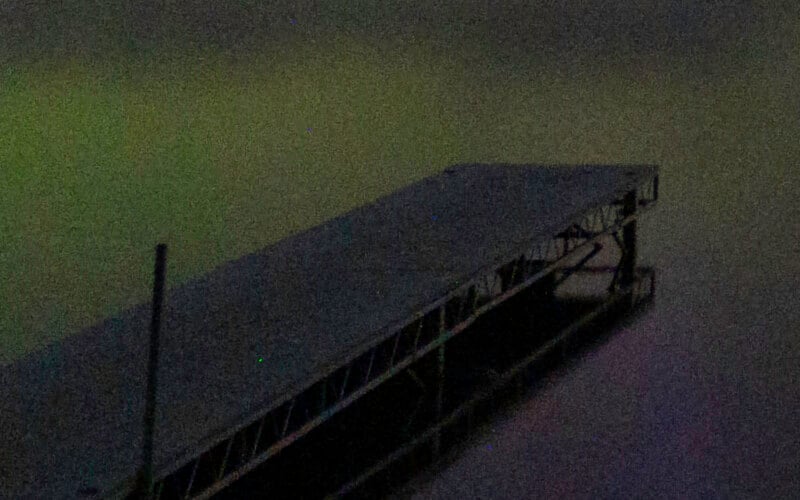
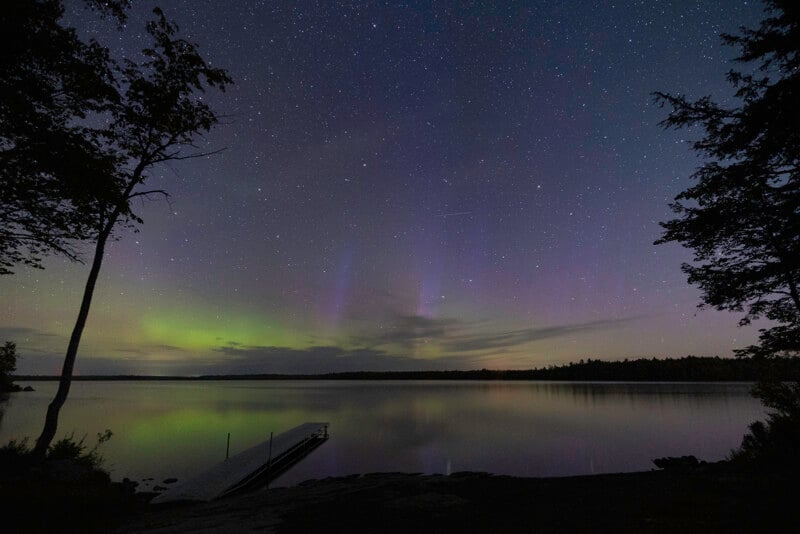
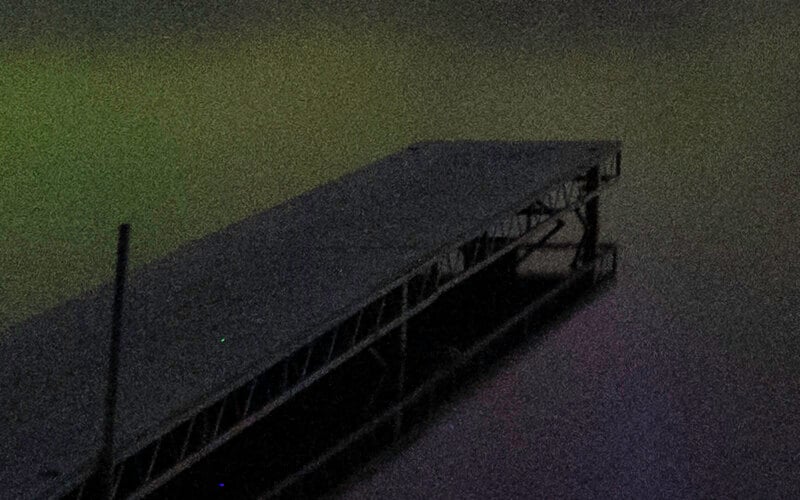
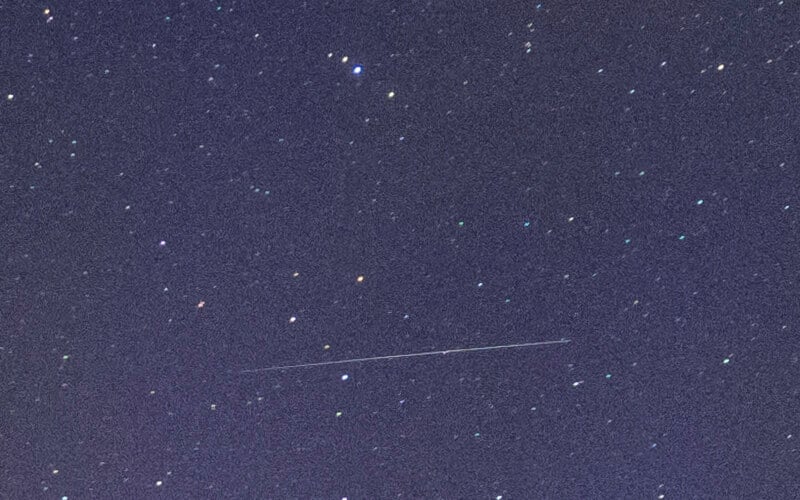
Finally, the high-noise image was taken with the Sony a7 IV. Its original file size is 6,902 x 4,601 pixels. It was shot at 20 sec, f/2.8, and ISO 6400. We processed both DNG and JPEG files for the high-noise tests.
Luminar Neo Upscale AI
Upscaling options: 2x, 4x, 6x,
Output file type options: JPEG, PNG, TIFF, JPEG-2000, Photoshop, or PDF
Pricing: $7.95 per month, $79 for one year, $119 for 24 months, or $199 for a lifetime license
Luminar Neo is well known for its AI features, which include an image upscaler. Dubbed Upscale AI, it is available as a standalone program or as a plugin for Lightroom or Photoshop. The program is straightforward to use. To use in Luminar Neo, you simply drag an image uploaded to the side panel for Upscale AI. Then, select between 2x, 4x, or 6x, and click Upscale. Depending on the original file’s size and what you are upscaling to, it takes anywhere from 30 seconds to a few minutes to produce the larger image.
The minimum size for Upscale AI is 257 by 157 pixels, and you can’t upscale an image larger than 16,000 pixels on the long side. Additionally, the maximum output size is 32,000 pixels on the long side. The program offers two different enlargement algorithms: Universal and Experimental. There’s also a Face Enhancer option. In my testing, I found the Experimental setting to provide clearer details, though occasionally with some added artifacts.
Export options are straightforward. You can apply sharpening and select between sRGB, Adobe RGB, or ProPhoto RGB color spaces. There’s an option between JPEG, PNG, TIFF, JPEG-2000, Photoshop, or PDF file formats and a field for resolution and quality (on a scale of 1-100). Finally, you can adjust the image size if you need something more specific than the preset upscaling options. For some reason, if you export a group of photos instead of just one, you lose access to all the different settings.
High-Noise Photo
At 2x, there is some slight additional noise, but it is very subtle. The Experimental setting adds a little extra noise compared to the Universal setting, but it also saves a bit more detail, so it’s a trade-off. The added noise level would not keep me from upscaling the image if I needed it bigger. Bumping to 4x doesn’t introduce any more noise. Instead, since Upscale AI is filling in the information, splotchy areas look like they have less noise. Zoomed out, though, there isn’t a noticeable difference other than a slight loss of detail if you look carefully.
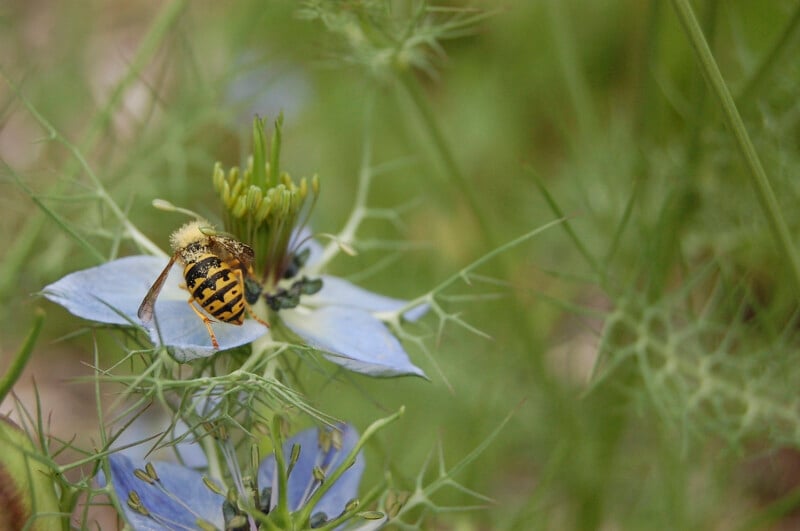
Low-Resolution Photo

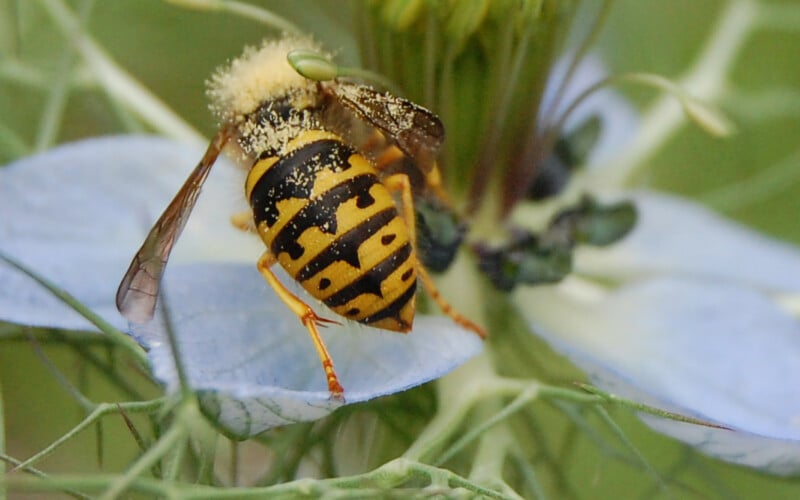
I ran the file through at 2x, using both Universal and Experimental settings. I couldn’t notice a difference between the two. The 2x enlargement kept all of the detail, though it does have a slightly over-sharpened look. But the image is passable, for sure.
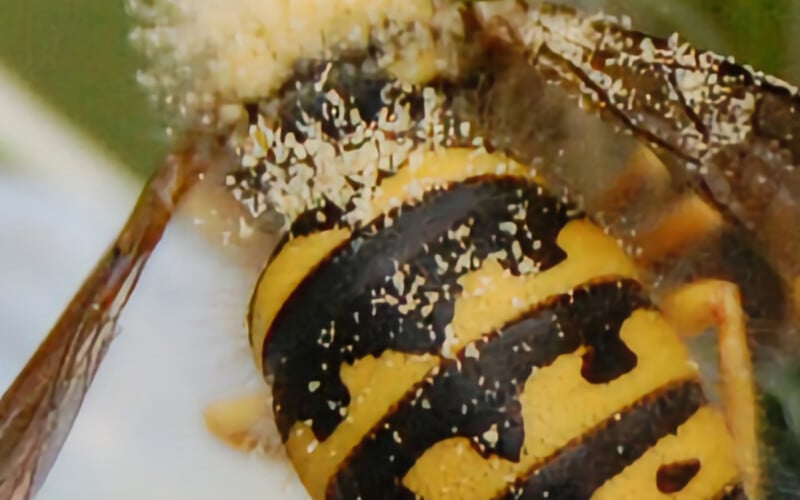
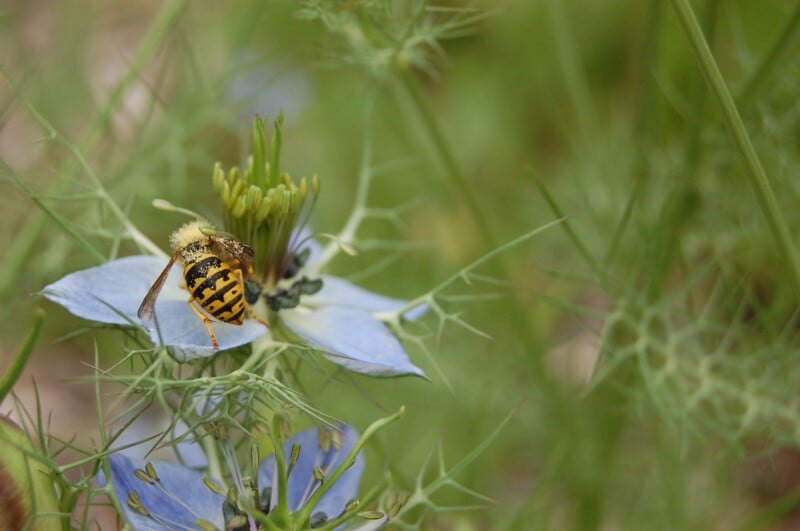
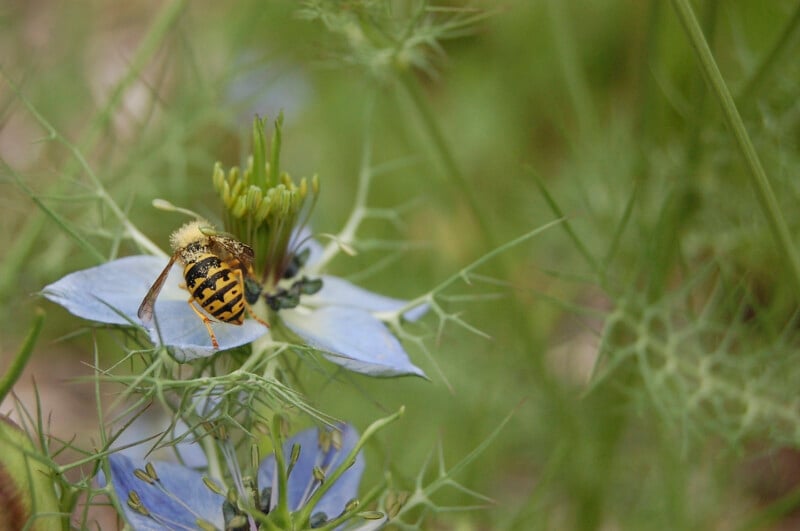
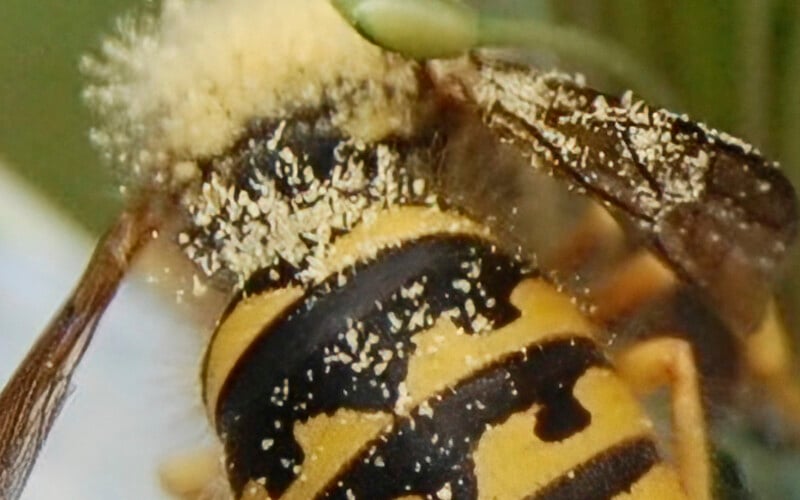
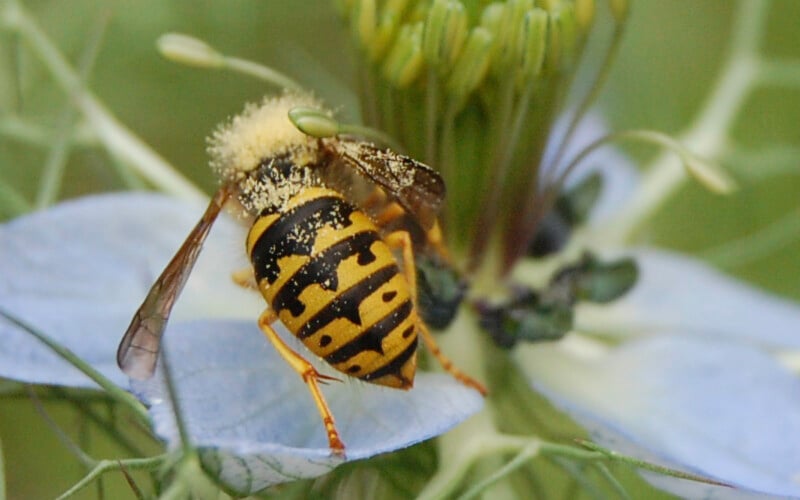
Then, I tried the maximum upscale, 6x, which resulted in a 13,536 x 8,976 file. Zoomed out, it actually looks pretty good. Zooming in shows the loss of detail, however. It’s obvious that the program filled in information that wasn’t there to make it larger, so the pollen became odd, geometric blobs.
High-Resolution Photo

Since the original files were so large, and Upscale AI maxes out at 32,000 pixels on the long side, I could only test 2x upscaling. I ran through the DNG and JPEG versions and was surprised by the results.
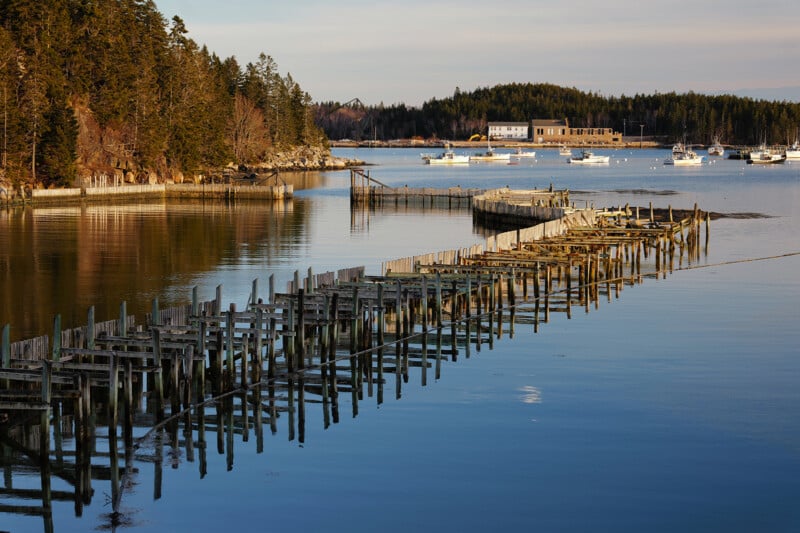
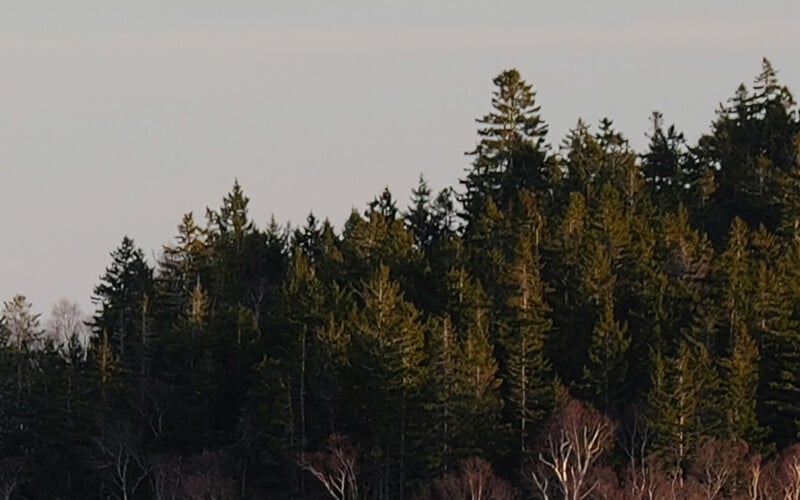
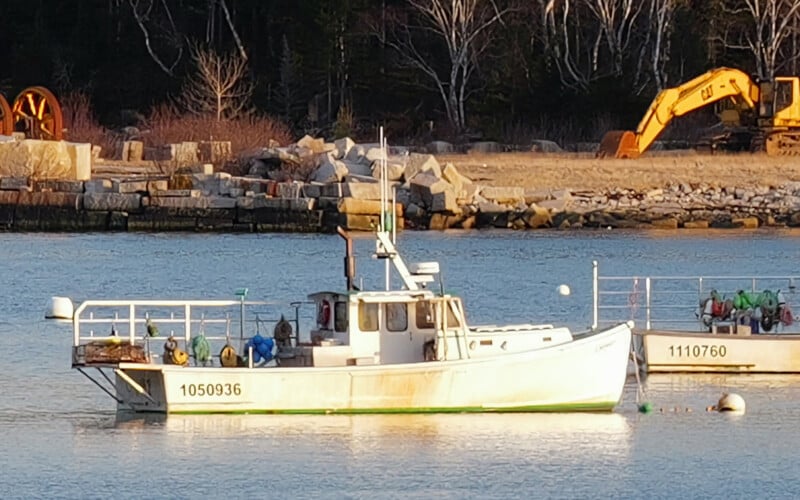
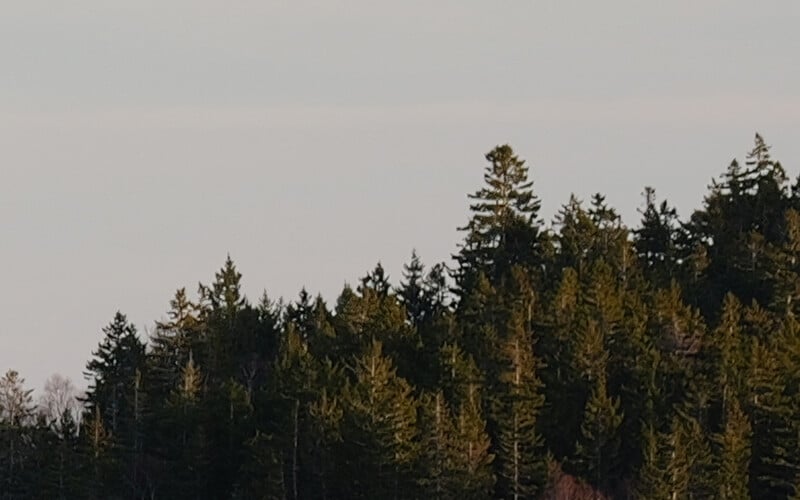
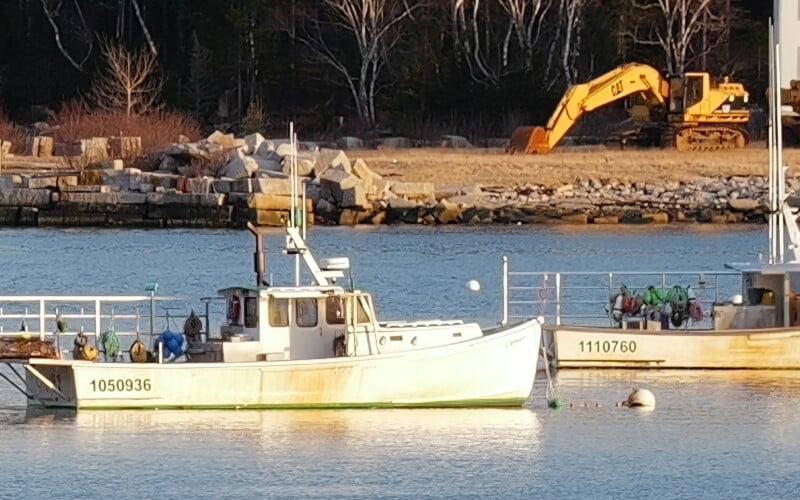
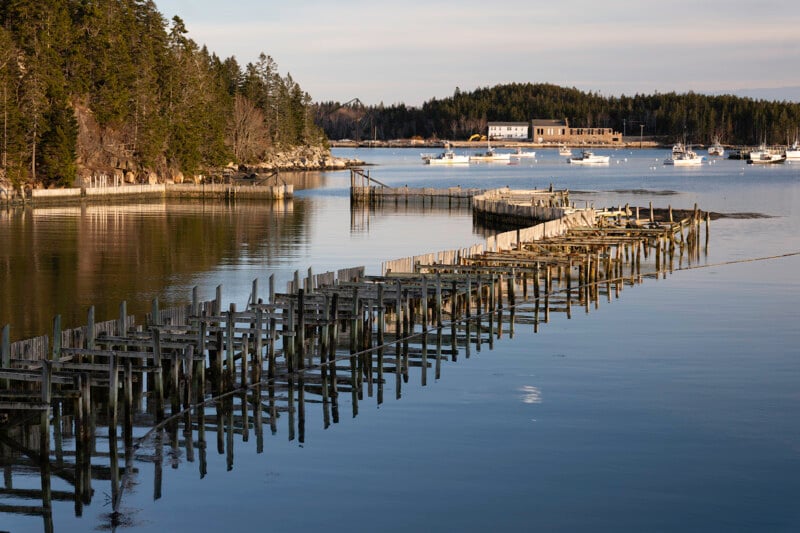
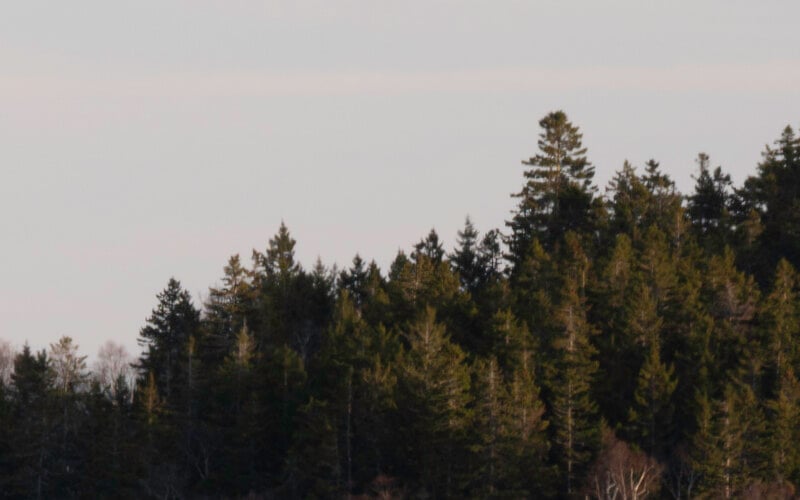
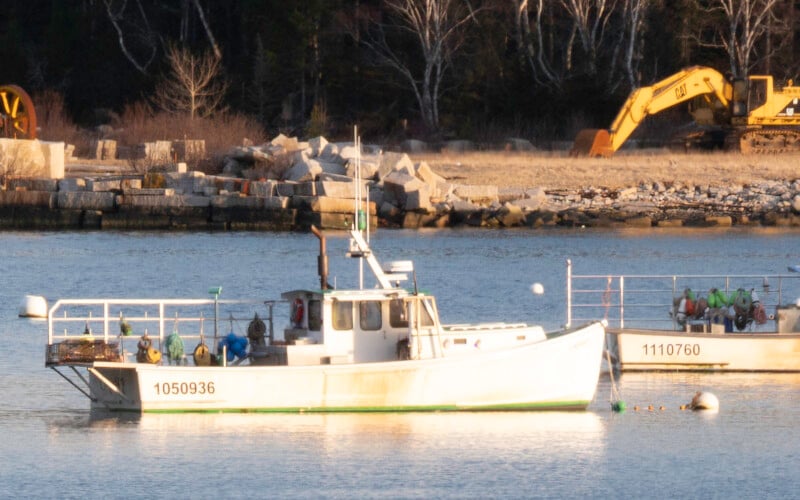
Parts of the upscaled image that started with the JPEG file look better than the DNG. The text on the boat and texture on the rocks, for example, are much clearer and have better details. However, the trees from the DNG file and the buildings in the distance look much more detailed and natural than the JPEG file.
Overall, the quality of the upscale was excellent. Zoomed out, I couldn’t even tell a difference. Zooming to 100 percent reveals some loss of detail, but it is minimal.
Topaz Labs Gigapixel AI
Upscaling options: 2x, 4x, 6x, or specific dimensions up to 6x
Output file type options: JPEG, PNG, TIFF
Pricing: $99
Unlike Luminar Neo, Topaz Labs Gigapxel AI is exclusively for upscaling photos. There are some denoise and deblur options, but it is not a program that can be used to edit photos. It offers many more settings for resizing than editing programs that offer upscaling. But if you don’t need to upscale images on a regular basis, this likely won’t be worth it for you.
The Gigapixel AI interface is very straightforward, aided by the lack of editing tools. As a result, it’s easy to get oriented and learn the program. Depending on how much you are upscaling, images take a few seconds to upscale, and any time you move where you are seeing the preview, it takes a second or two to adjust again.
Gigapixel AI offers eight different AI models for upscaling specific types of images or artwork. The latest version has a beta “Recovery” setting, which is not meant for images larger than 1000 x 1000 pixels and requires a powerful GPU. The program will warn you if you open a larger image and select that.
If you want to let the AI system fully do its thing, an Auto mode detects which is best. If you want control, you can compare up to four different AI models at once (or three with the original), so you can choose what’s best without individually clicking through each one. Unfortunately, you can’t change the upscaling amount when you enter the comparison mode, so you’ll need to decide on that first.
The program allows you to upscale with preset 2x, 4x, or 6x settings or input any specific dimensions you want, giving you plenty of flexibility. While Topaz Labs doesn’t specify any maximum output sizes, larger images can only be upscaled to 2x, so there are limitations in terms of how large you can go.
Once you are happy with the upscale, hit the big Export Image button. There, you can choose a prefix or suffix for the file name, where to save it, the file format (JPEG, PNG, or TIFF), and the quality on a scale of 100. The program defaults to saving the file in the original format but converts RAW files to TIFFs. Exporting is time-consuming, depending on the original file and the upscaling amount. On the high-noise image taken with the Sony a7 IV, exporting a 2x upscale took 10.5 minutes. Of course, your computer will impact that export speed, but it was a long process on my 2019 MacBook Pro.
Low-Resolution Photo
I was blown away by how well Gigapixel AI upscaled the low-resolution photo. That’s especially true when I tried to upscale it 6x. Certain AI models went too far with detail and sharpening, but some preserved just the right amount of detail, and you could hardly tell it had been upscaled. It honestly did a shockingly good job. At 2x, results were pristine, with no added artifacts and no tells that it had been upscaled.
High-Resolution Photo
I was only able to upscale the massive Leica file to 2x. On the DNG file, Standard v2 stayed the most true to the original file. The other models all added too much sharpening, especially around the boat numbers. The result was excellent, with no artifacts added, essentially looking the same as the original, especially when zoomed out. On the JPEG file, the results were essentially the same, with Standard v2 offering the results most true to the original and High fidelity v2 and Low resolution, resulting in a sharpness and level of detail beyond the original. That could be beneficial, depending on what you are going for.
High-Noise Photo
On our high-noise test image, I first tried 2x. When comparing four different models on the DNG file, Low res v2 saved the most detail, while the others removed noise (even though I didn’t have Denoise turned on) and lost detail as a result. It still doesn’t maintain quite the same clear lines in the doc as the original, but zoomed out, it isn’t noticeable that the image has been upscaled. Interestingly, on the JPEG file, High fidelity v2 saved the most detail and produced better results than Low res v2.
ON1 Resize AI
Upscaling options: Any up to 1000%
Output file type options: JPEG, PNG, TIFF, PSD, or DNG
Pricing: $99.99 for new customers, $59.99 for existing ON1 customers
ON1 Resize AI, like Topaz Lab’s Gigapixel AI, is a standalone upscaling program, though it is also available in ON1 Photo RAW. It offers some tools beyond what Gigapixel AI offers, such as sharpening and film grain and the ability to create gallery wrap files with reflected or stretched extensions of the image on the edges.
Regarding upscaling, Resize AI allows you to input any dimensions and adjust the resolution. You can adjust the percentage to upscale if you prefer that method, but unlike the programs above, there is no standard 2x, 4x, or 6x setting.
For exporting, you can choose between JPEG, Photoshop, TIFF, DNG, or PNG. You can also choose the color profile between Adobe RGB, Apple RGB, ColorMatch RGB, Camera Calibration Space, ProPhoto RGB, sRGB, or imported color profiles. That’s far more options than any other program. The program allows you to save a one-off file or batch export.
The ON1 Resize AI’s interface seems a bit more outdated than the other programs, which was disappointing. For the preview, you aren’t given a small version of the image to quickly select where you want to see the zoomed-in preview. Instead, you must pan around on the image to find the spot you want to check. It also defaults to not having a comparison view, so you must select that tiny box for each image you upscale.
ON1 Resize AI is swift at generating previews, which is a bonus. The Sony a7 IV file took roughly three minutes to export, so it isn’t super speedy, but it isn’t as slow as other options.
Low-Resolution Photo

At 2x, the low-resolution photo remained very faithful to the original. There were no added artifacts or noise, and the detail remained excellent without over-sharpening.
Unfortunately, larger upscales did not look quite so good. At 6x, details became rather blob-shaped, much like the results from Topaz Labs. Zoomed out, it looks okay, albeit with a sharper look than the original, but zooming in shows some breakdown in those details where AI filled in the gaps.
High-Resolution Photo

The upscaled Leica image (increased to 2x) is slightly sharper than the original when zoomed in. Zoomed out, it looks nearly identical to the original. The upscale from the JPEG and DNG files look essentially the same, so there seems to be no benefit to one over the other in this instance.
High-Noise Photo

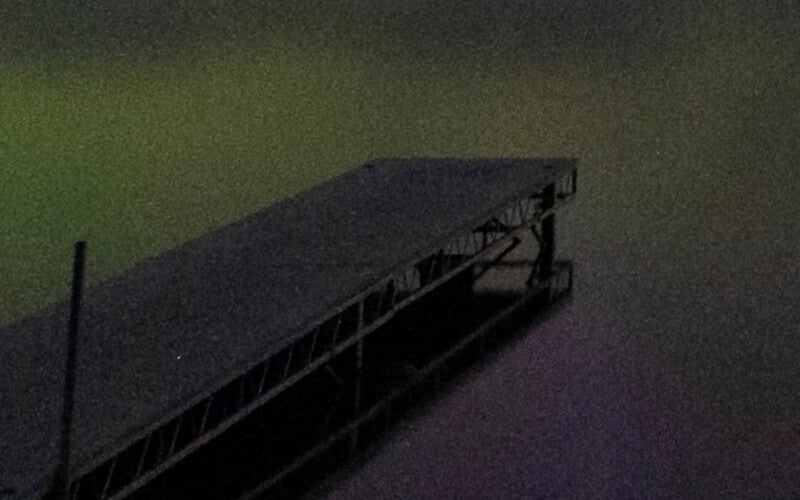

For the high-noise photo, I stuck to a 2x increase in image size and tested both the DNG and JPEG files. The DNG file lost more detail than the JPEG file, with some softness in the areas with lots of detail, such as the dock. The JPEG file did have more noise than the original and introduced some artifacts from the upscale, but it retained more details.
Adobe Super Resolution
Upscaling options: 2x linear resolution
Output file type options: N/A
Pricing: $22.99/month for Photoshop, $9.99/month for Lightroom
Photoshop and Lightroom are programs that most photographers are very familiar with. Access to upscaling in a program you already use is a big plus. Unfortunately, Super Resolution is very limited. It only allows double the linear resolution, which quadruples the total resolution. There are no additional size settings if you want something else. Of course, you can change the image size once you are in Photoshop, but there are no other options in the Super Resolution menu. It is compatible with RAW mosaic files from cameras with Bayer sensors, as well as JPEG and TIFF files.
To use Super Resolution, you must open a file using Camera Raw. RAW files will open there automatically (unless you’ve changed that setting), but you must manually do so for JPEG files. RAW files also automatically receive the Raw Details, which “produces crisp detail and more accurate renditions of edges, improves color rendering, and reduces artifacts,” according to Adobe’s help center. You cannot turn this setting off. If you upload a JPEG file into Camera Raw, Raw Details is automatically unchecked, as it cannot be applied to JPEG files.
Beyond that, there are no additional settings. All file exporting happens within Photoshop or Lightroom, so whatever options you have in those programs remain the same. It does, however, duplicate the original file into a DNG file (no matter what file type is used as a starting point), so you don’t have to worry about overwriting your original. The lack of extra settings makes it very easy to use, but it limits what you can do with it.
Low-Resolution Photo

Since Super Resolution can only double the linear resolution, the max pixel dimensions for my D90 file are 4,512 x 2,992. That isn’t massive, but I could at least print a 15 x 9-inch photo with it. Unfortunately, I wasn’t impressed with the results compared to the programs above. There is some excessive sharpness in the areas with lots of detail, which can even be noticed when zoomed out. It’s passable, sure, but it isn’t overly impressive.
High-Resolution Photo
Since Super Resolution doubles the linear dimensions, the tool produced an image with 19,040 x 12,672 pixels. On the DNG file upscale, it introduced some sharpness, but not with the addition of noise or any other artifacts. It does look like select areas received more sharpening than others, especially around the numbers on the boats. Zooomed out, however, you can’t even tell that the image has been upscaled.

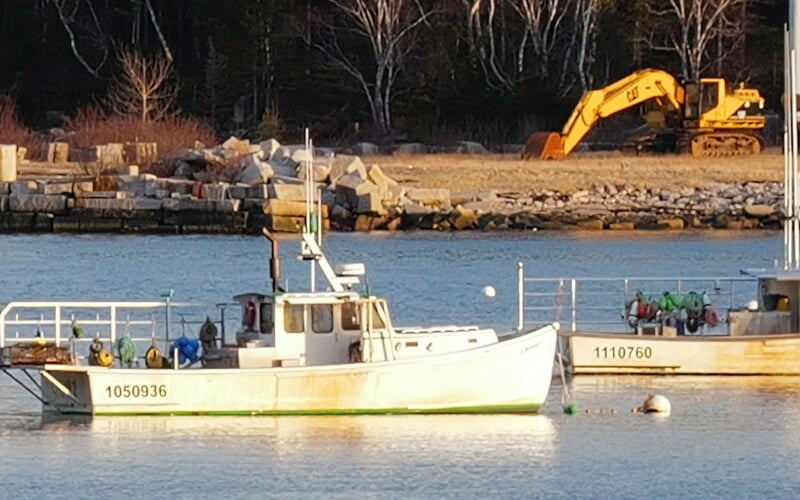
The upscale from the JPEG image is a different story. However, zoomed out, there isn’t a difference. But when you look at the 100 percent crop, you’ll notice some artifacts on fine lines, like the numbers on the boats.
High-Noise Photo
I was impressed by the results with the high-noise DNG image. There was no added noise, and details remained as sharp as the original. The JPEG upscale was not as successful, though not bad, either.
There was noticeably more noise when upscaling the JPEG file. But, despite the noise, details remained sharp and clear. Unfortunately, Denoise can’t be used in combination with Super Resolution, so you wouldn’t be able to remove noise and upscale simultaneously.
Which Image Upscaler Performed the Best?
Overall, I was most impressed with Gigapixel AI. The results for the low-resolution file are especially excellent, far surpassing my expectations. It produces excellent levels of detail with minimal (or no) additional artifacts, even when going beyond 2x. I also enjoyed the UI of Gigapixel AI more than the other programs. It was clean, modern, and simple to use with an ideal way of seeing the preview of the upscaled images.
Of course, a standalone program isn’t worth it for everyone. Luminar Neo’s results were also really good, especially since the software features full editing capabilities beyond upscaling. Adobe’s Super Resolution worked fairly well but is so limited in options that it may not be suitable for those who need to upscale frequently. Finally, while ON1 produced good results, I found the UI to be rather clunky and not very intuitive. However, if you already use ON1 Raw, it would be a good choice for upscaling your images, as you’d get more use out of it than just upscaling.