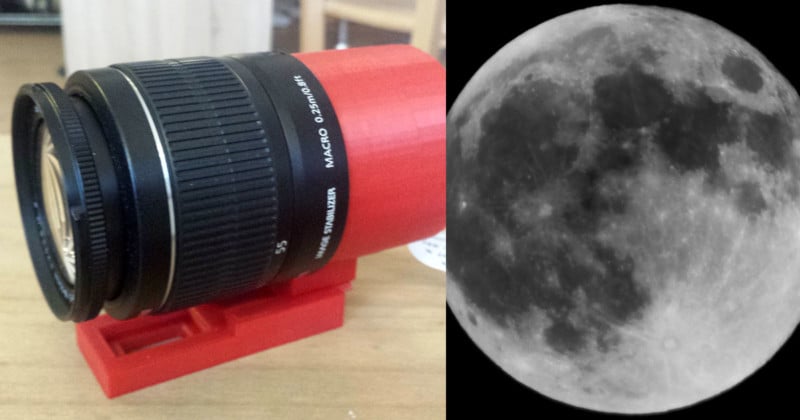
Shooting the Moon with a Raspberry Pi Camera and Canon EF Lens
Shooting the moon has been a little obsession of mine for a very long time (ever since I started photography). I guess it is my love of impossible images, science fiction, and science fact that drove me to want to take photographs of the moon.
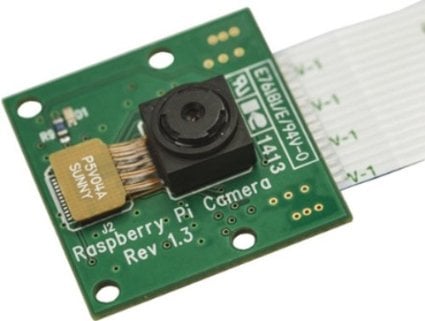
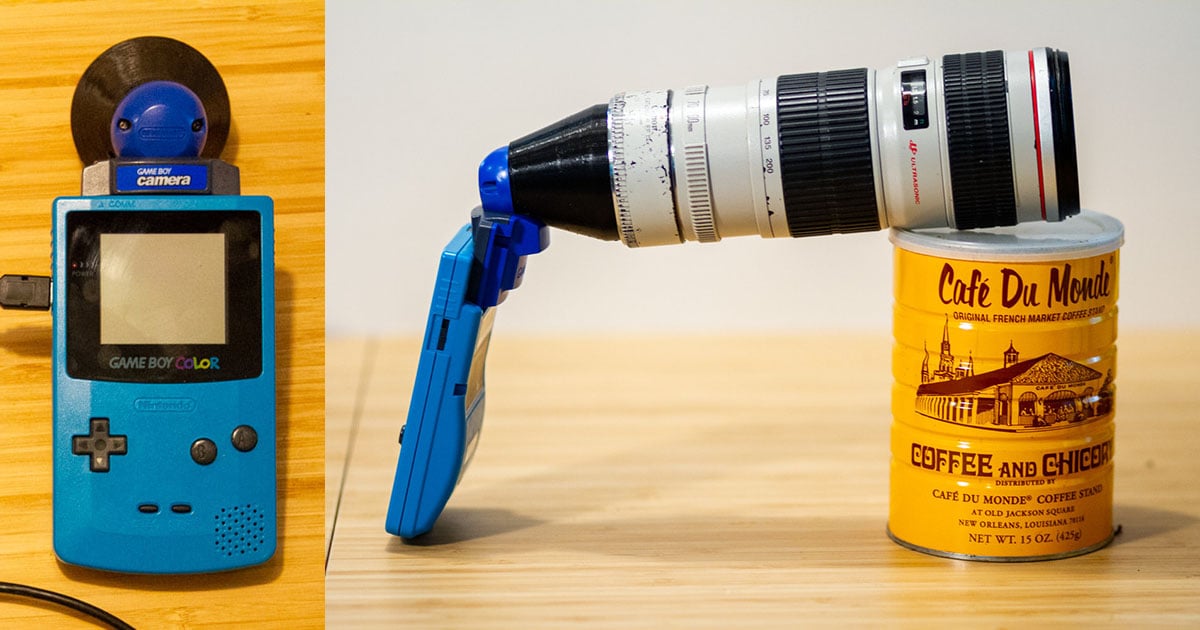
Now don’t laugh, this 5 megapixel wonder has a trick up its sleeve! You can remove the lens and expose light directly to the sensor – and if you happen to have access to a 3D printer, you can make a Canon EOS lens mount for the Picamera!
My good friends at Dimension Alley (a 3D printing café here in Berlin) recently ran a competition on Twitter for a 50 Euro gift voucher to print anything the winner could come up with. I won! Naturally, I had to think up something cool and Raspberry Pi related to print.
Note: This is not my design — I found the 3D print on thingiverse.com and sent it to be printed. The maker of the adapter does not know me, but I tried to contact him to thank him and to ask about writing this post.
The file was made by thingiverse user Charmlee. You can find it here.
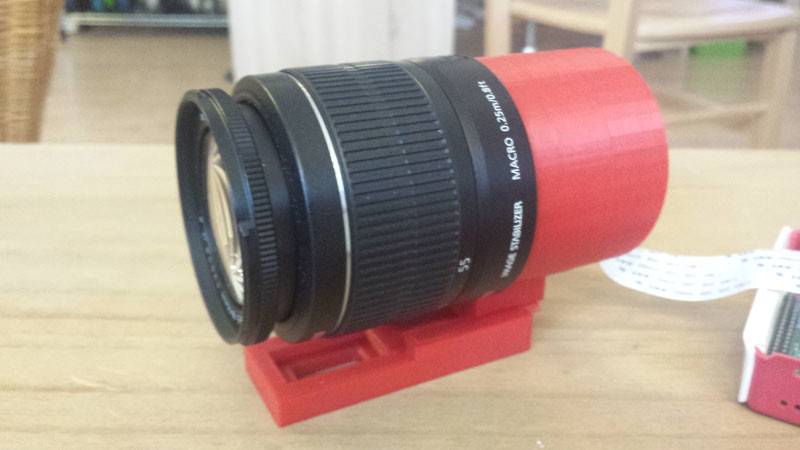
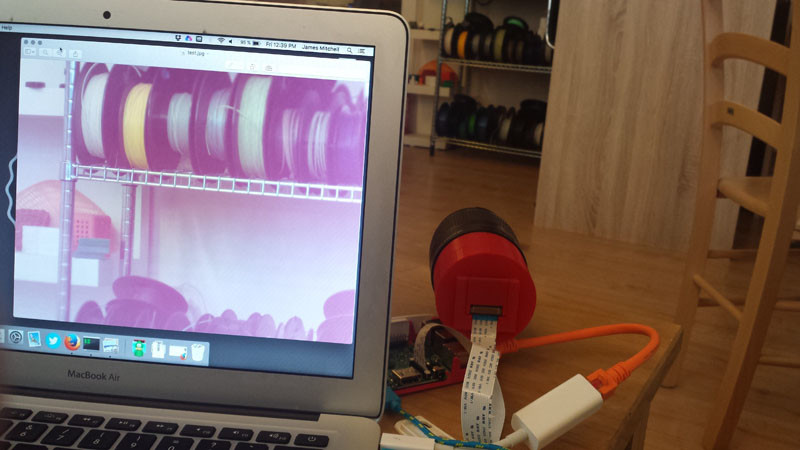
First, I removed the lens from the Picamera and attached it to the adapter. Then I connected my 18-55mm kit lens from my Canon and wow, the picture was awesome! If you know photography and know how the kit lens works, you might have already noticed that it is zoomed in on that shelf (last picture above) quite closely. That’s because the 5 megapixel sensor only captures a tiny section of what the lens can actually see. In fact, you could put your finger on the edge of the glass and it wouldn’t be seen by the Picamera. The advantage: for that tiny section of lens’ image circle, we get the full 5 megapixel worth of data/detail.
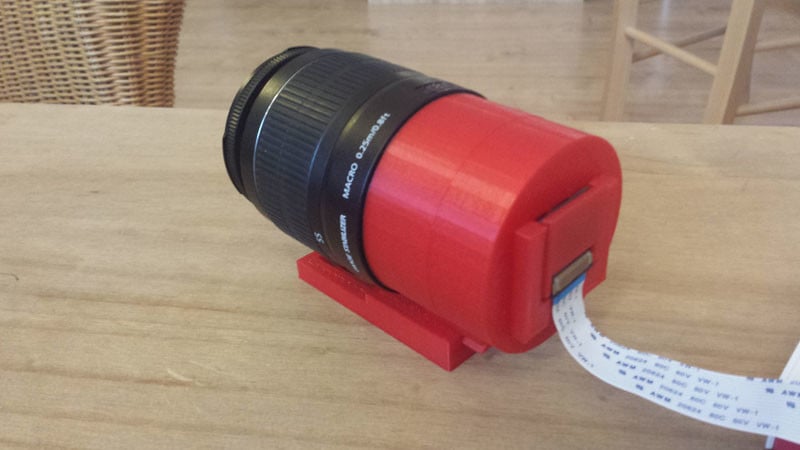
Note: If you want to print one of these bad boys yourself, use black filament and try and block all the light getting to the 3D print. Maybe paint it or cover it in duct tape. My photos have a pink edge to them, because I went with a red filament.
On to the moon!
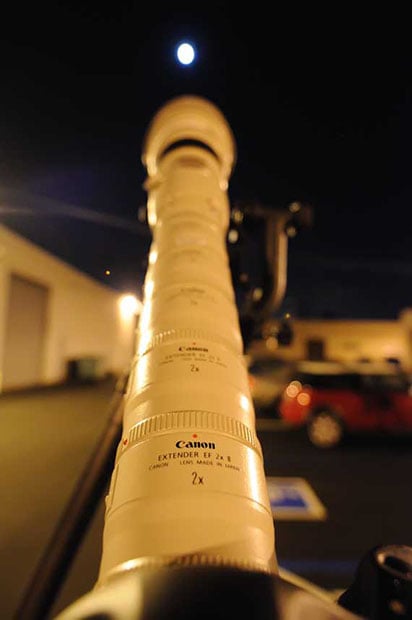
On a whim, I thought I would try this out on my 78-300mm lens, on the moon, from my balcony.
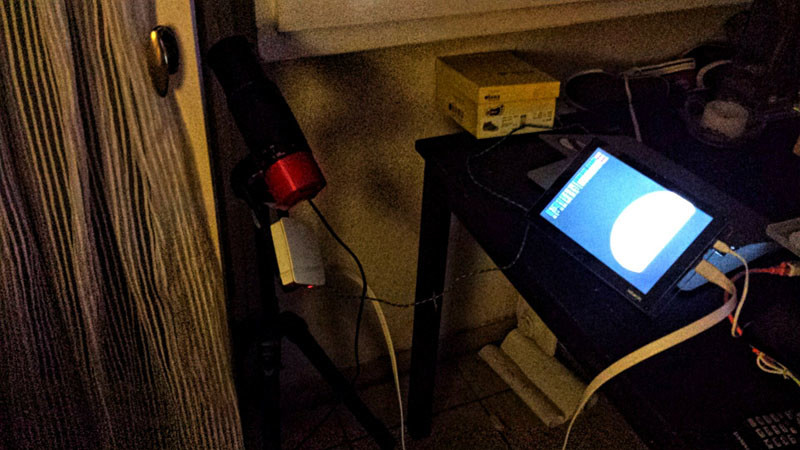
Sorry for the crappy picture, it was dark. Everything is connected to the Pi with a screen and tied to my tripod.
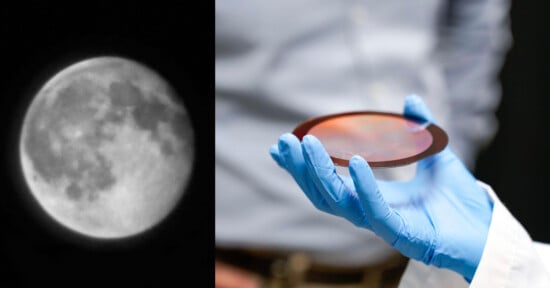
Mind. Blown.
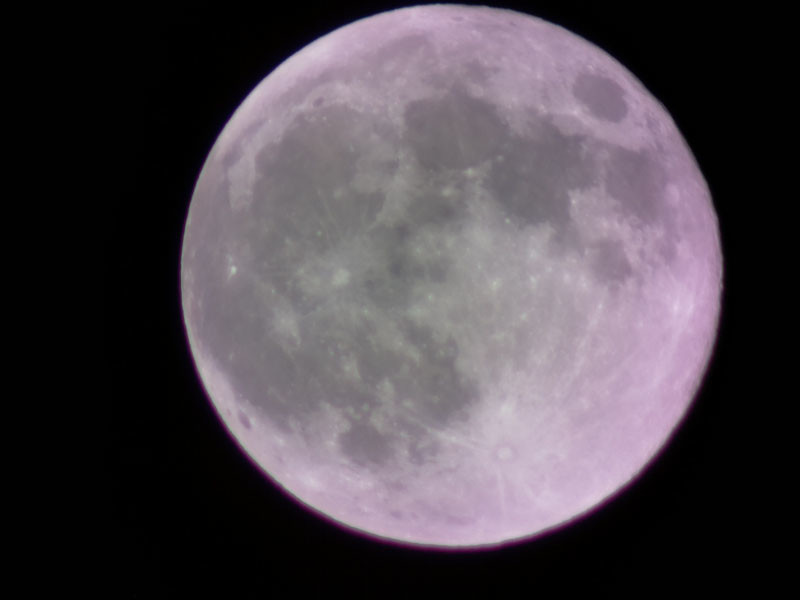
As my colleague from work put it: “Hey, you can see the holes in the cheese!”
Could not have put it better myself. It’s not totally clear and there may be room for improvement, but I am super happy with the results. If you are in Berlin and have a lens longer than 300mm, maybe drop me a message.
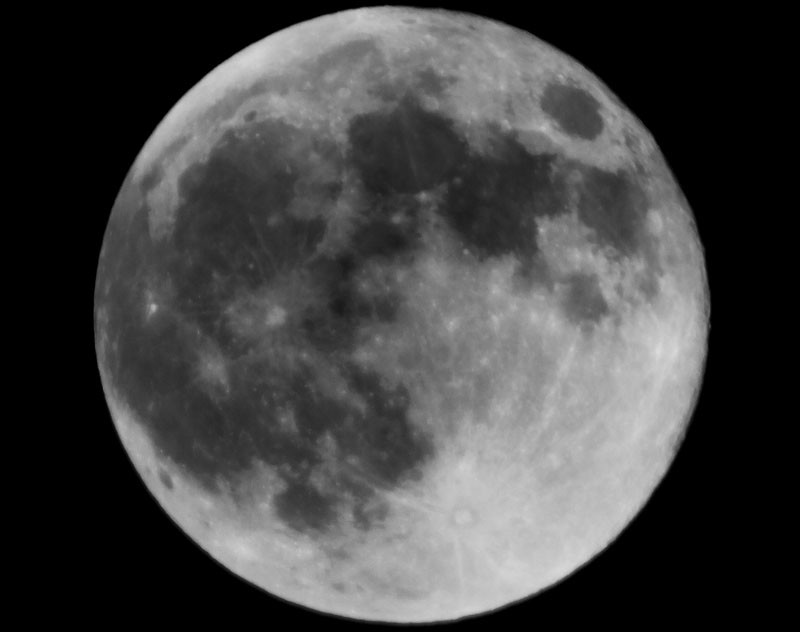
My final image is the same picture, but run through a little Photoshop editing to get rid of the pink and highlight the black shapes on the moon!
About the author: James Mitchell is a photography enthusiast based in Berlin, Germany. You can find more of his work and writing and connect with him on his website, Twitter, Instagram, and Flickr. This article was also published here.