Underdog Rescue: Making a Nasty Old Lens Work Like New Again
What can I say? I’m a sucker for the underdog. My first real underdog came in the form of a 1973 VW Beetle that my Dad bought for me when I turned 15. After we pushed it up the driveway, he gave me a repair manual and told me I had a year to get it going if I wanted wheels.
After I had been driving on my own for a few months, my dad came home from work one day with two magazines he’d bought me. Specifically geared for the VW enthusiast, these magazines opened my eyes to what an old Beetle could be. I spent my remaining 2 years of high school working to buy parts and upgrades to make my Beetle as fast—if not faster—and as nice as my friends’ modern cars for a fraction of the cost.
Through that experience, my Dad taught me a few things: We most appreciate those things that we invest ourselves in (be they relationships or cars), and not all fun requires a high price tag. Underdogs aren’t always what they seem.
With that bit of background now shared, let me show you where I like to go for “new” camera lenses.
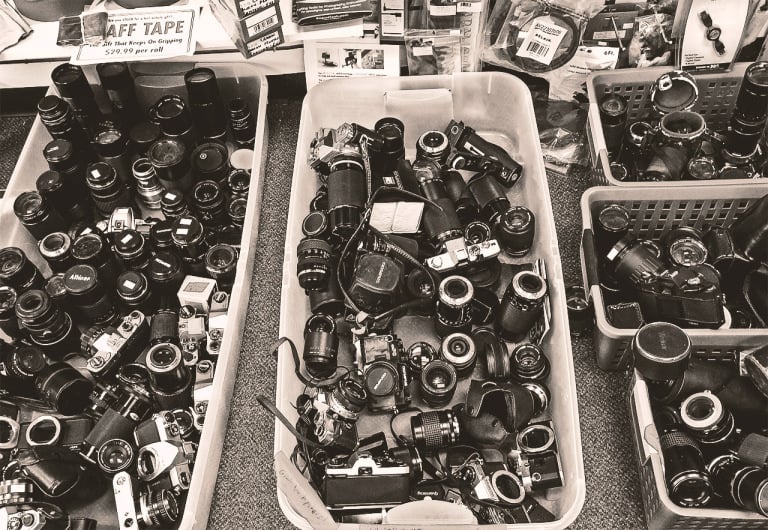
A few days ago I went to my local camera shop to rummage through these buckets of old camera equipment. Sometimes I do this with a specific lens in mind, but most of the time I just go looking for anything of interest. With the availability of so many lens adapters for the Sony A7-series cameras, I’m pretty much open to anything.
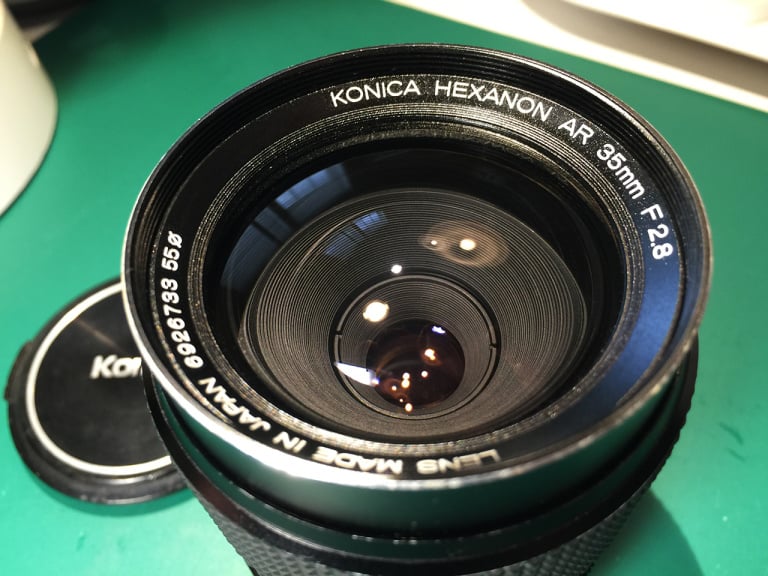
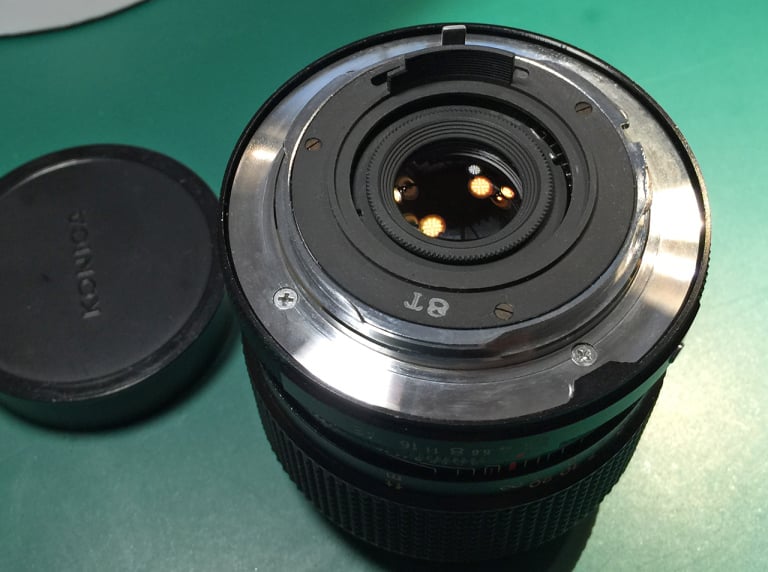
On this particular trip, I came across a late 1970’s AR-mount Konica Hexanon 35mm f/2.8 (Version 4 of 5).
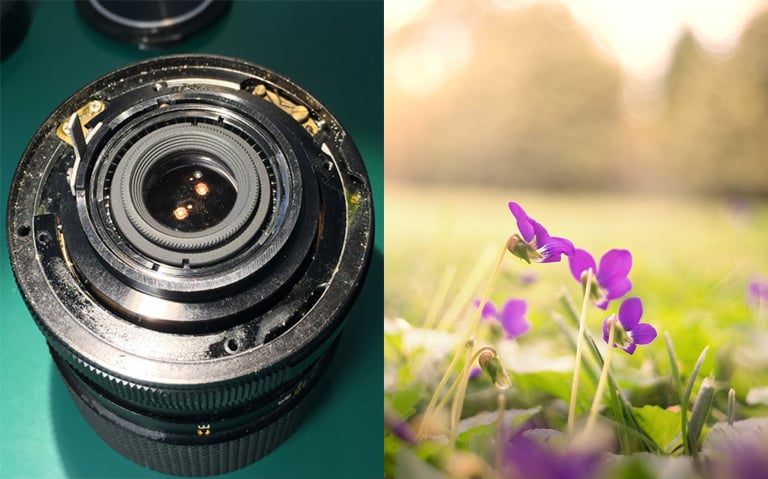
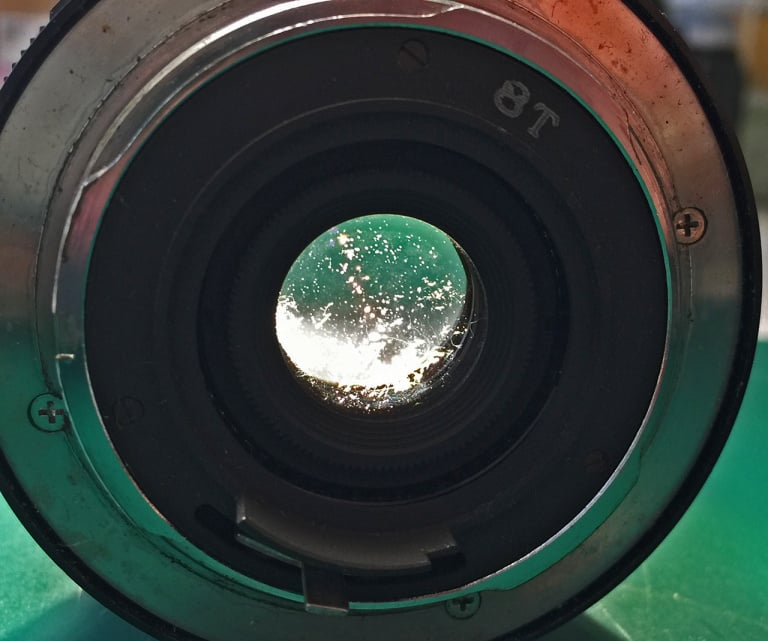
Mechanically, it was in pretty rough shape. Certainly not the worst lens I’ve endeavored to restore, the body of this lens wasn’t in too bad a condition but the glass was filthy inside and out, the aperture ring felt like it had gravel in it, and the focus was so stiff you could barely turn it. This underdog was definitely in need of a rescue operation.
Before committing to buy it, I did a brief search on my phone for any reviews I could find that might give a hint of the kind of performance I might see out of it once restored to working order. I found a few forum entries that generally described it as a good lens, even by modern standards. Good enough for me. For 50 bucks it was a done deal.
The next day, I spent about 4 hours conducting a complete teardown, cleaning, reassembly and adjustment. Could yesterday’s underdog become tomorrow’s champion?
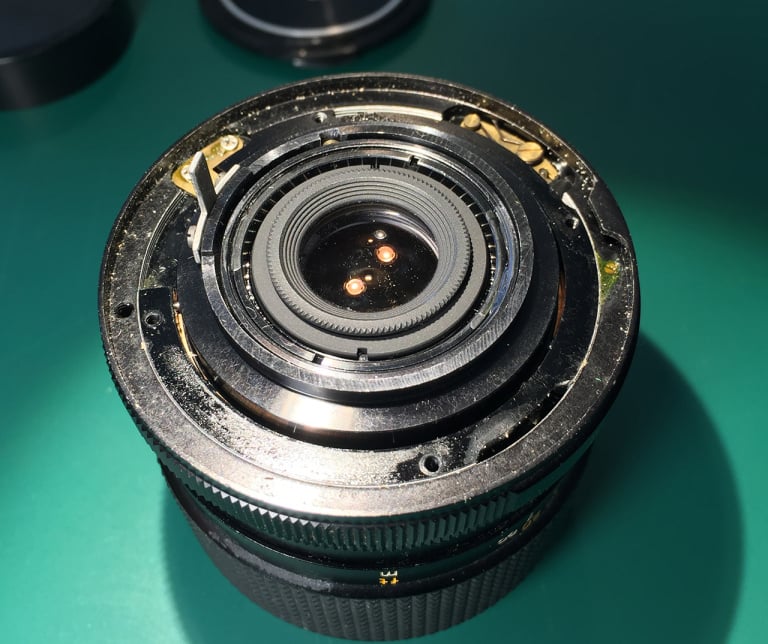
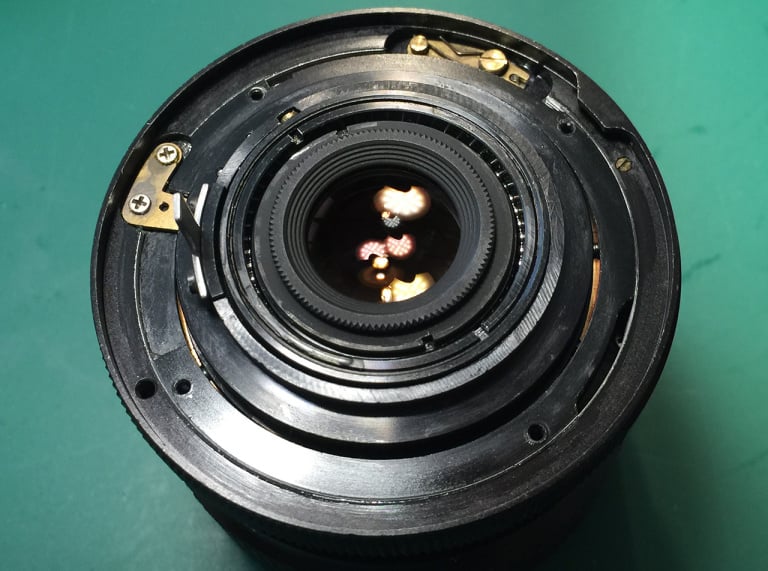
Between the rear element group and front, there was dust, debris, grease, and fungus. The rear mount was dirty but otherwise in good condition. The 4 JIS screws holding the lens mount to the body were already really loose, which usually is an indication of someone having opened it up before; however, as I dug into the lens further, I was convinced otherwise since the notches in the element retainer rings showed no scratches or paint wear and internal screws still had their original lock-coatings on them.
Unopened lenses, in my experience, are best since you know all the parts are in there. Whether they work or not, that’s another problem all together.
Removing the lens mount revealed thick, nasty grease gumming up the parts. It looks like the original grease had been subjected to high temperatures, which caused it to flow into areas it shouldn’t be.
Fortunately, the canister-style design of the aperture assembly kept the blades spotless clean. If you do come across funky aperture blades, you can clean them with either 91% or higher Isopropyl Alcohol, or lighter fluid.

I would have taken a ‘before’ photo of the helicoid but by the time I got it apart, my hands where black and filthy with old, dirty grease that I didn’t want all over my phone. Here is the ‘after’ photo of the lens barrel side of the helicoid.
Using warm water and detergent, a soft toothbrush aids in cleaning out all of the crap that gets lodged in the threads.
After cleaning, I gently ran a #23 Explorer dental tool along the threads to feel for any rough spots. A light wet-sanding with 0000 sandpaper usually fixes that up. In this case, they were still pretty smooth.
Since this article isn’t really about how to teardown a lens and clean it, I’ll spare you all of the details. In summary: all of the glass elements were removed and cleaned.
The rear element group required a bath in a 50/50 mixture of hydrogen peroxide and ammonia. That is something you mix up when you need it… don’t store it already mixed. The resulting solution is a non-destructive wash for removal of lens fungus. Regular lens cleaner will not remove fungus.
All of the lens mechanical parts were cleaned and the helicoid was recoated using a #30 helicoid grease from Japan. A tiny jar of it costs about $40 with shipping but it goes a long way and it is the right stuff to use. I’ve used synthetic moly greases in the past but find it to be too stiff, especially in cold weather.
With the good #30 grease on threads, the focusing action of the lens is now a right proper-feeling haptic pleasure.
The back of the lens looks and feels like new again (save for a little discoloring in the brass).
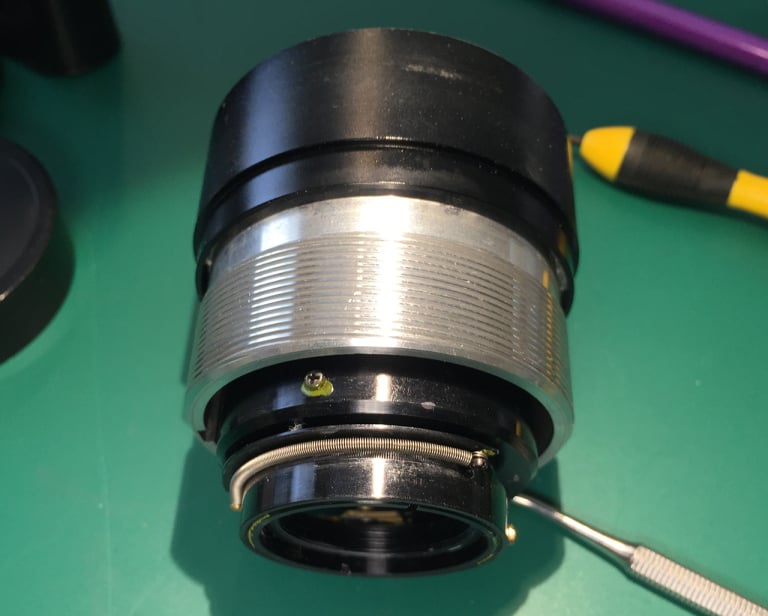
After reassembling the lens without the front rings and tube installed, I put the lens on my camera so I could take it outside to set the infinity focus of the lens. This is really simple to do on some lenses and an absolute nightmare on others. This lens was easy to adjust since you can access the lens barrel’s locking screws while the front element group is still in place.
Once I had my infinity point sharp through the viewfinder (magnified 14x), I removed the lens from the camera and tightened down the screws to lock the focus ring in place.
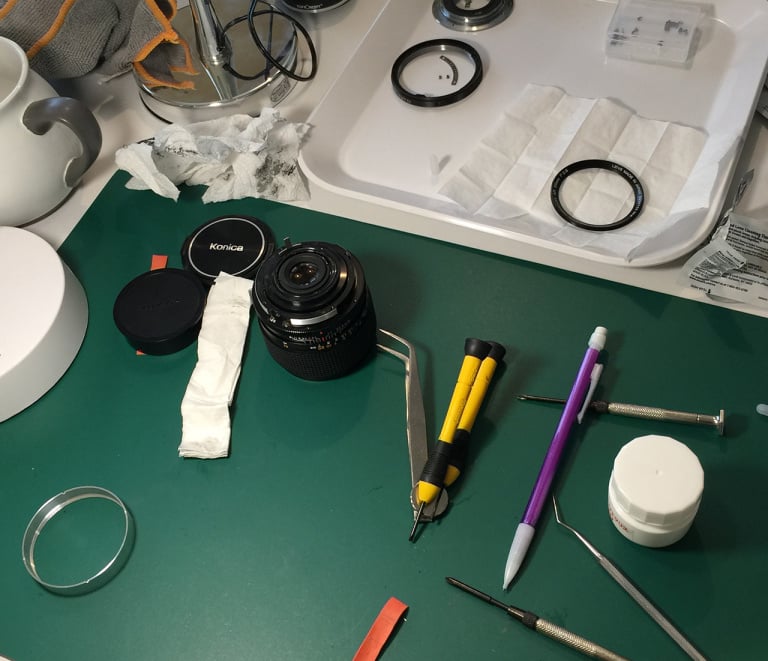
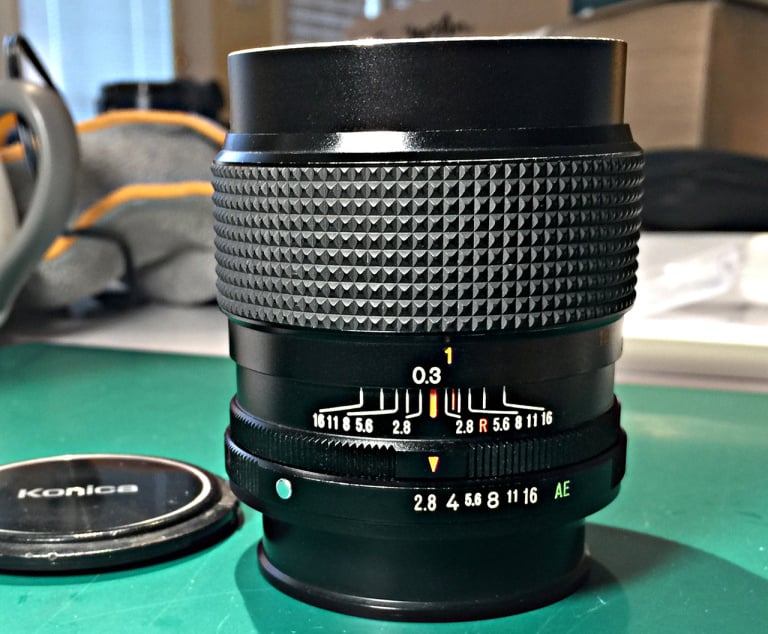
Here is the lens all put back together. All of the lettering is bright and clean again. The waffled rubber grip I had removed, soaked, and scrubbed clean now looks new again. The aperture ring is smooth to turn with sharp, precise clicks at each stop.
The front element group is now clean and clear. The lettering on the front ring is now bright white
The rear element is clean and clear and all the surrounding components are now free of grease and crud.
So now is the real question: Was it all worth it? Was it worth $50 and 4 hours of tedious labor and greasy hands? Was this underdog that had been resigned to the harsh confines of a bargain bin really a champ just in need of a darn good bath?
I believe so. I’ve owned sharper 35’s but some cost 25 times what I paid for this. This Konica has beautiful color rendering, great contrast, it’s sharp wide-open, it focuses close, handles flare and ghosting well, and the bokeh it produces is—for the most part—pleasing to me.
Here are some shots I made with this lens right after putting it all back together.
A simple shot to show the close focusing capability, and how it renders the out of focus background. I had the aperture set between the f/2.8 and f/4 click stops:
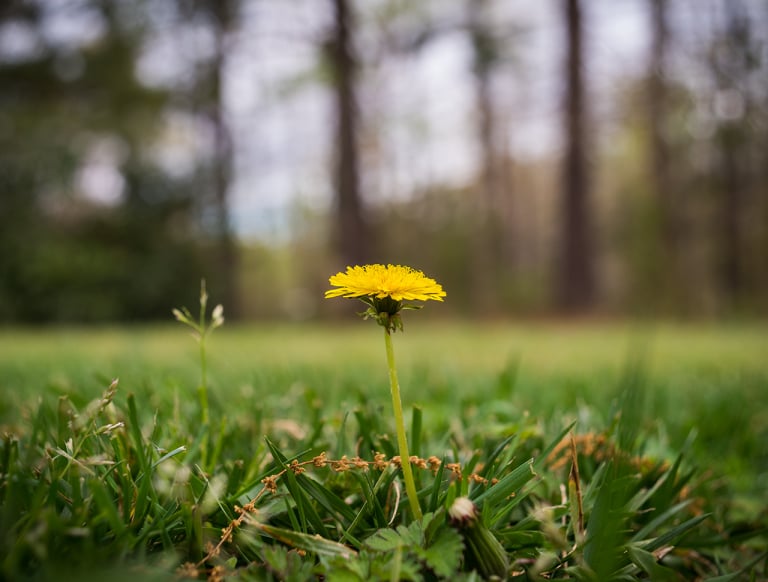
A brightly lit field in the background, I had one of my daughters stand under the shade of a tree for this photo.
I shot it at f/2.8, expecting the bright background to reduce foreground contrast. The lens exceeded my expectations under such conditions. The bokeh is a touch busy but I think that’s because of how much glare and small details there were in the field. Shiny, long grasses, pine trees, sticks and twigs, etc. Ok, now I just sound like I’m making excuses for it. Moving on.

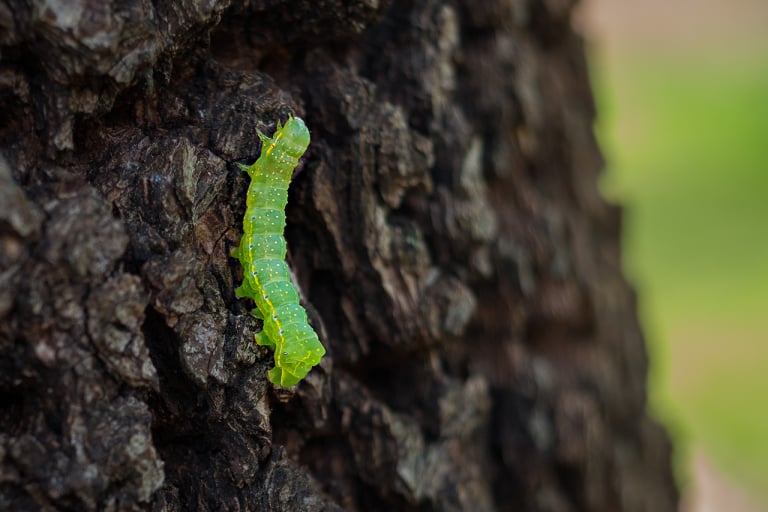
A tiny little inch worm on the bark of my Bradford Pear tree, this lens lets you get up pretty close. I did crop this in a bit so you could see the fine detail the lens managed to resolve even wide open at f/2.8.
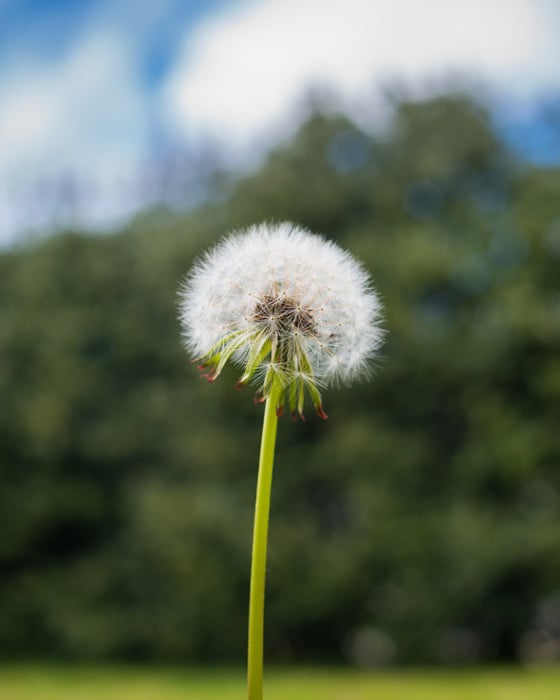
I had the aperture set to f/4 for this photo of the dandelion seeds.
This one was shot at f/2.8 and I did post-process the flare and low contrast into the image. I just liked the way it looked. The original image did show some loss of contrast to begin with so I just took it a few steps further with a lens flare render and some curves adjustment.

Shot at f/16 into direct sunlight, the Konica handled it really well, delivering rich details, great shadow color, and good contrast.
At 100% view, I expected diffraction at f/16 to reduce micro-contrast more than it did. The detail of the bark is clean and crisp just with a pleasant looking softness around it. I quite like it. Viewed fullscreen on a 5k monitor, the image looks three-dimensional.

One more shot at f/2.8. While 35mm is not the ideal portrait lens due to perspective of the face, she made for a better subject than almost everything else.
It was super windy out and hard to get good focus on less stationary things. I can tell you that at 100% view of the 42MP RAW file, the sharpness is unbelievably good. The roots of her lower eyelashes are crystal clear and texture of her skin is full of detail.

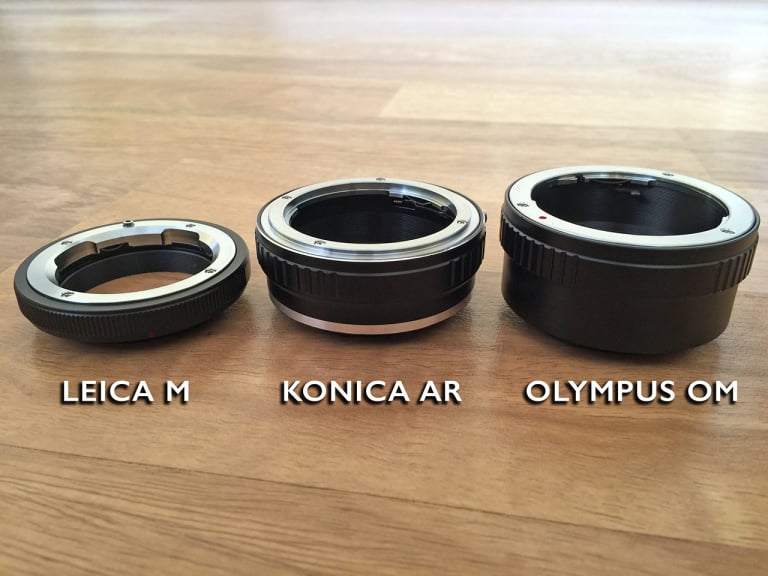
My opinion: The Konica Hexanon AR 35mm f/2.8 is a Champ and it’s an absolute pleasure to use. Additionally, it handles really well on the A7-series body, and the lens mount adapter for the Konica AR mount is shorter than I expected.
If you don’t feel like restoring one of these lenses yourself, they are available in good condition on eBay for around $80-150. As for my underdog, it now has a clean, dry, cabinet to sit in when it isn’t mounted to my camera. I suspect it won’t spend much time in there.
About the author: Tom Leonard is a photographer who travels the world 30 days at a time. He shares photographs from his journeys over on his website Out for 30. This article was also published here.