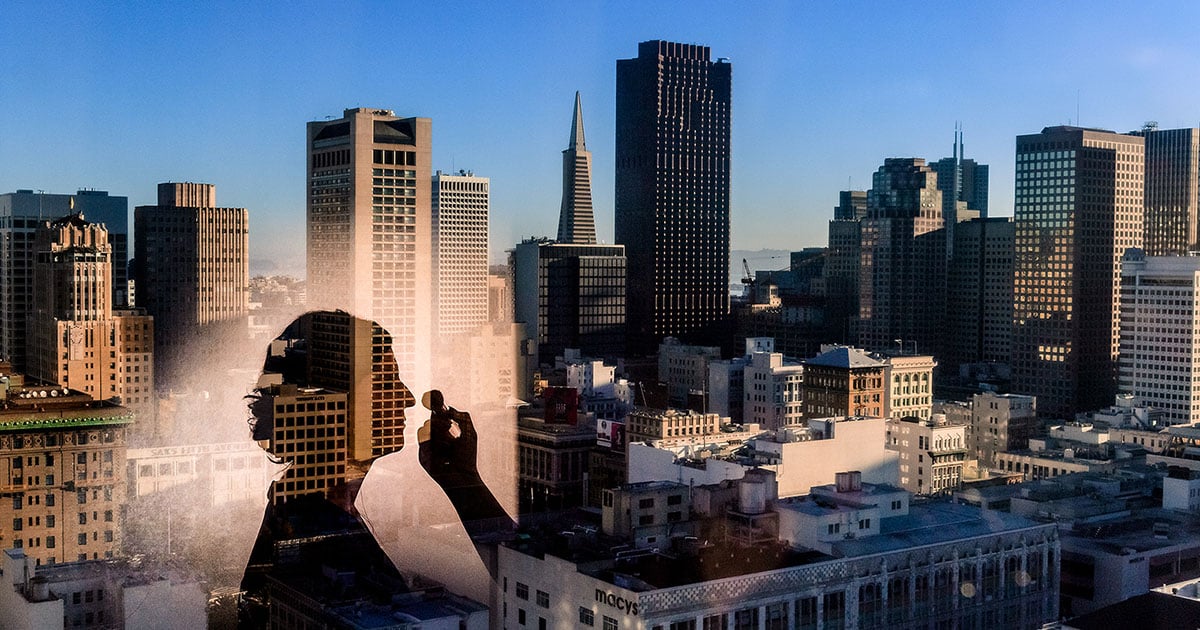
How to Create Basic Double Exposure Portraits in Camera and in Photoshop
Scouting the world to find the perfect shot is one of photography’s pure joys. You discover the perfect moment, carefully frame your viewfinder, and press the shutter button. Within a fraction of a second, the world is seemingly pulled in through your lens: striking your film or sensor to create an everlasting impression.
However, what would happen if you fired the shutter a second time and created another impression over the first? You would create a double exposure: two images combined within a single frame. Let’s take a look and see how these artful creations come to fruition through a bit of simple ingenuity.
The Magical Double Exposure
During the days of film, a double exposure could be captured by taking one photograph and then snapping another without advancing the frame. By carefully composing the shadows within the first image, the second image can fill in areas that were previously underexposed, creating a unique result. Manual winding cameras were typically preferred over more consumer friendly cameras that wouldn’t allow a user to ‘accidentally’ snap two photographs over a single frame.
Today, in the digital world, most manufacturers have added built-in camera modes that allow you to simulate the result once captured in the days of analog. However, not all cameras have this ability. Because of this, we will be exploring two different methods of creation. The first will be on camera while the second will be within Photoshop. Both methods return similar results and work quite well depending on the look you’re going for.
Since every camera operates differently, you are going to have to find out how to activate the multiple exposure mode on your camera. Once enabled, the camera will prompt you to take two photographs; the final result being a combination of these images. We suggest shooting your camera in live-view mode or via an electronic viewfinder, as most cameras will let you preview the entire process in real-time.
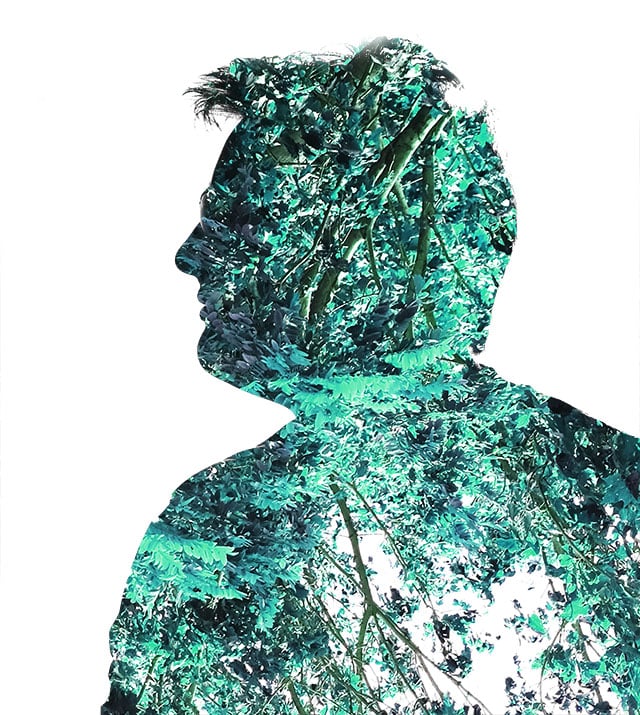
Let’s dip our toes into the water by creating a portrait that utilizes the double exposure method. We will start by taking a silhouette image of an individual and then placing a second image on top of the first.
Creating Double Exposures in Camera
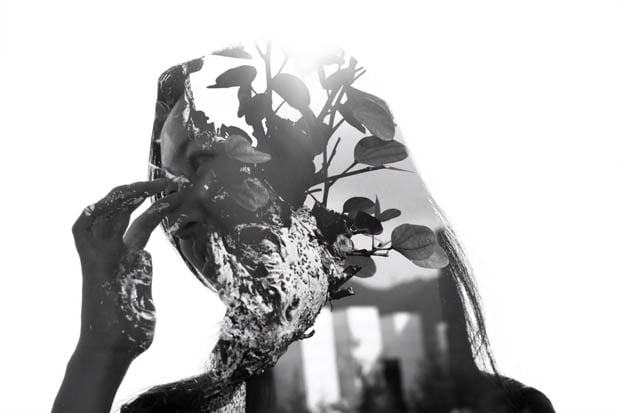
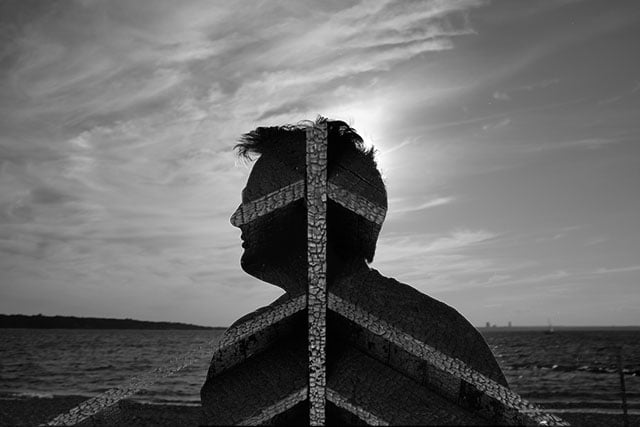
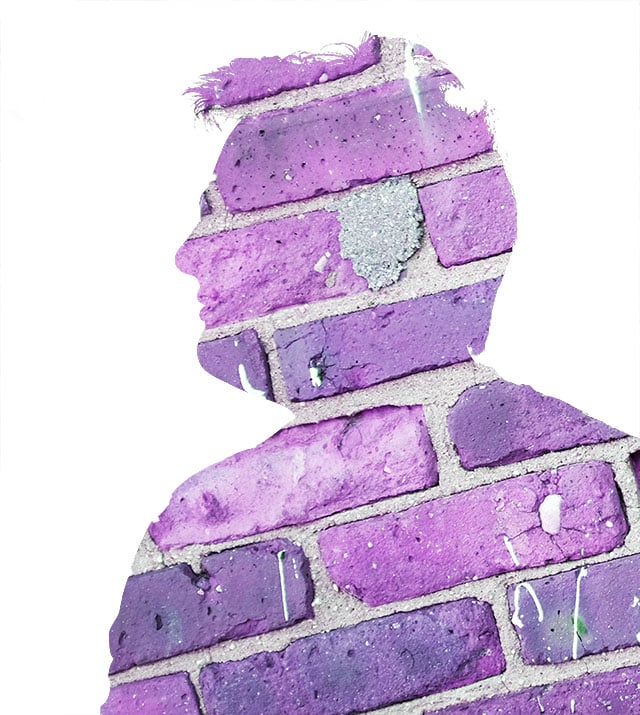
Begin by switching into your camera’s double exposure mode. For the first photograph, capture a silhouette image of your model. Make sure your subject is dark and the background is as blown-out as possible since the second image will show most heavily in areas that are underexposed within the first picture.
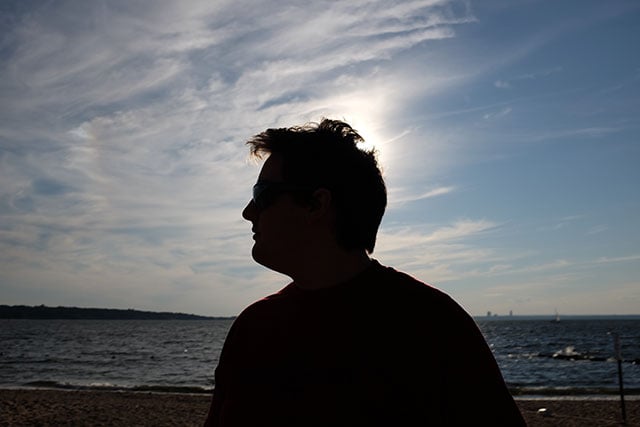
If you are shooting in a studio, you can utilize a large light box to create the silhouette effect by having your model stand in front of it. Otherwise, simply placing your model in front of a bright light source, such as the sun, will suffice for the effect.
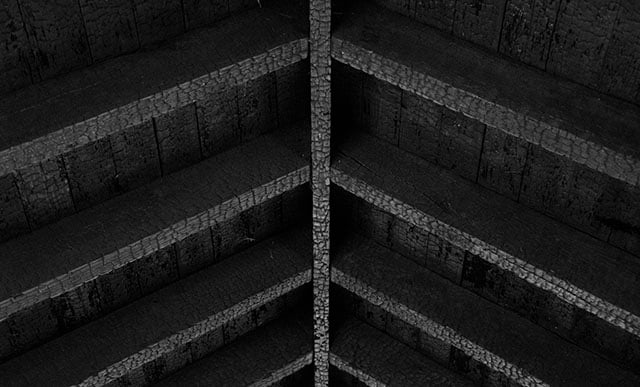
The subject of the second photograph can be of anything. I frequently use meshed patterns such as tree leaves, brick walls, or collections of flowers. Finding something that expresses your model’s personality can bring the photo to life. For example, if they love coffee then you might consider a closeup of unground coffee beans.
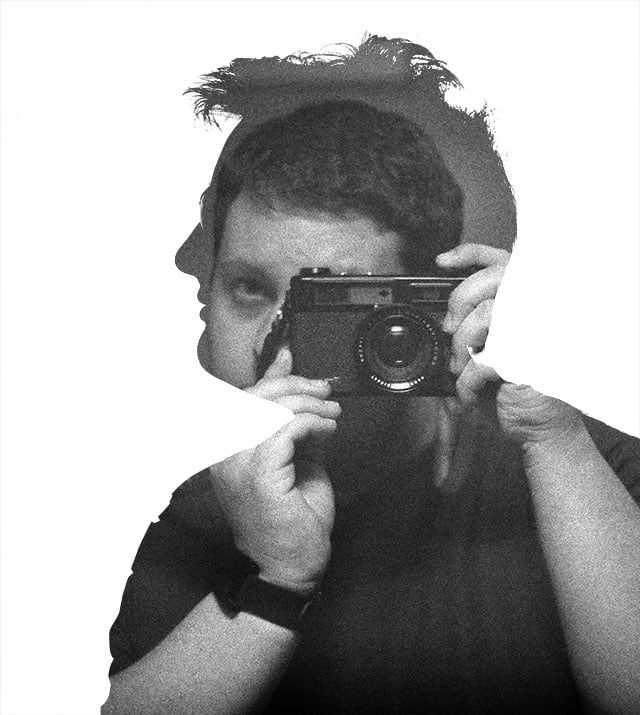
Once both of your images are taken, you can view the results within your camera. Note what you like and what you don’t like. Pay careful attention to the way the two photographs interact with one another. It may take you a few attempts before you capture an image that truly speaks to both you and your subject.
Double exposure photography is all about experimentation. If you are taking portraits, try posing your model at different angles or varying the second image. You may opt to keep more definition in an individual’s face by exposing it to more light.
Creating Double Exposures in Photoshop
Some photographers prefer to simulate the effect of a double exposure within a software editing program. The method we will cover involves blending two images together with only a few mouse clicks.
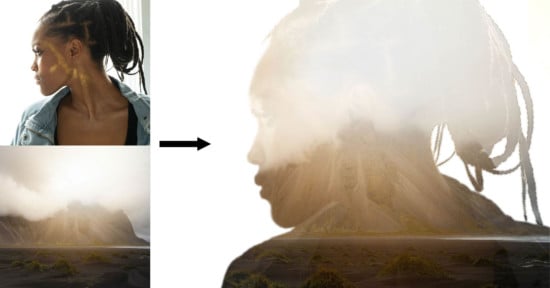
We are going to use the same two images from above, but instead of taking them in double exposure mode, we’ll take them as two separate still shots. Once you have the silhouette and the texture you desire, transfer the photos onto your computer and fire up Photoshop.
Open both of the images and then overlay them on top of each other. This can be done by tabbing over to one image, selecting the entire canvas by going to the ‘Select’ menu, and then hitting ‘All’. Next, head to the ‘Edit’ menu and hit ‘Copy’. Switch over to the second image and paste the first photo on top of it by selecting the ‘Paste’ option within the menu.

Finally, select the top layer in the ‘Layer’ window that is located in the lower right-hand corner and set the blending mode to ‘Lighten’. And that’s all it takes. With only a few clicks of the mouse, you now have the same results as an in-camera double exposure. One of the benefits of working with Photoshop is that you can rotate and adjust your images to line up exactly how you wish.
For more inspiration, be sure to check out this past article on surreal double exposure photography by Dan Montford.