Impressive Product Photograph Captured with a Smartphone, a Lamp, and a Few Flashlights
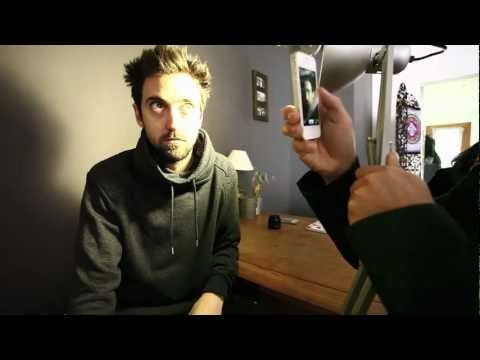
Inspired by Alex Koloskov’s popular iPhone vs. Hasselblad whisky glass video, photographer Tilo Gockel decided to give cheap gear professional product photography a try of his own — and he knocked it out of the park.
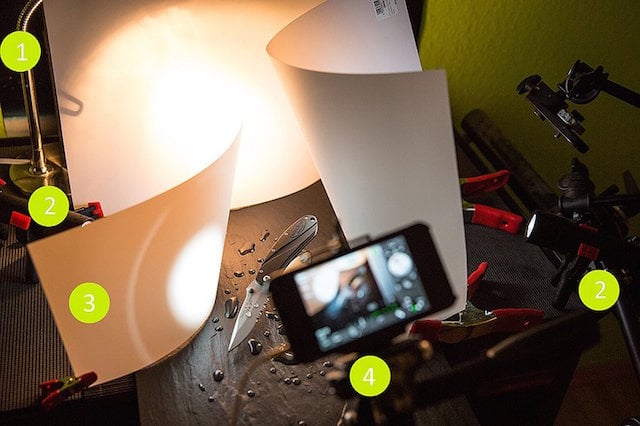
Using just an old iPhone 4s, an IKEA lamp, two LED flashlights, and a few Translumfoil cards (you can use parchment), he captured the photograph you see above.
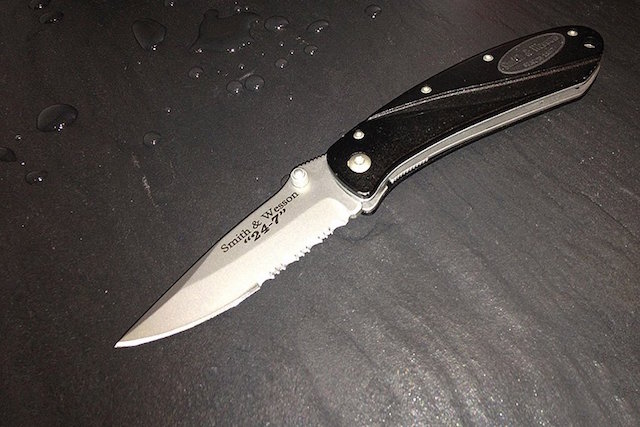
Not great… So he decided to put his lighting and photography skills to create something better.
There are several problems with the iPhone shot that Gockel wanted to address, namely: sharpness, exposure, white balance and light.
Sharpness is easy, just add a tripod and use the plus button on a set of Apple earbuds as a cable release. Problem solved. He also took two photos — one with the focus on the blade, and the other with the focus on the handle — which he combined later in Photoshop.
Next up are exposure and white balance, which are easy enough to address if you use a good camera app. Gockel decided to use the popular app 645 Pro Mk III, which offers a huge amount of control and even lets you pull TIFF files.
For exposure, he set the ISO to 50 and then adjusted the exposure compensation till he got decent results. For white balance, he used a grey card and the WB lock button available in the app.
Now that the settings are dialed in, it’s time to set up the product. He kept the same slate tile underneath the knife, but added a piece of metal (which he’ll clone out later) to lift up the handle. And for that final touch, he surrounded the knife with some glycerine droplets.
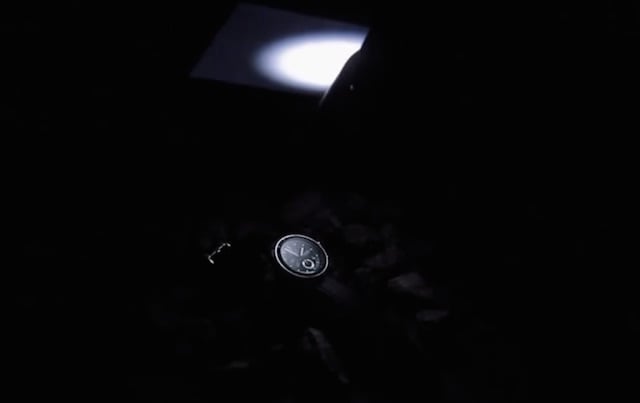
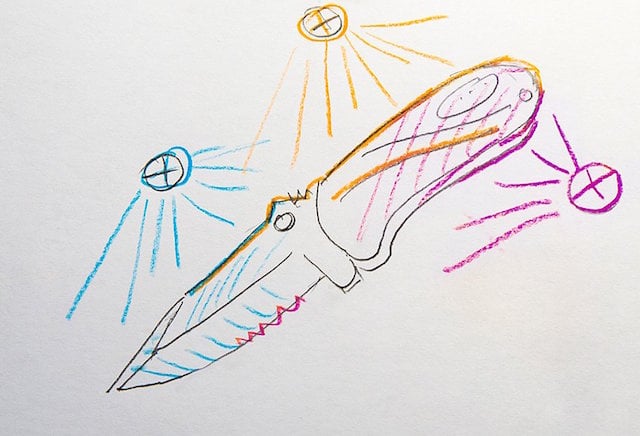
Finally, the most important part: the light. This, of course, requires a lighting diagram and some serious thought. In the end, Gockel decided on a three-light setup with two LED flashlights and one IKEA lamp he had lying around.
One flashlight was positioned on the left of the knife to act as a rim light for the blade’s upper edge. As Gockel explains, “that light should be oriented in a way, that each of the three different planes of the blade’s cut comes out in another brightness, to make the cut clearly visible.”
The second light comes from behind, courtesy of an IKEA lamp and a card that will act as a reflector. This lights up the upper edge of the handle and the curved pattern in the grip plate.
And, last but not least, the third light, another LED flashlight, comes in from the right hand side and, “serves as grazing light to show the emblem on the grip. It also gives a nice shadowing along the grip.”
Here’s what the final setup looks like IRL:
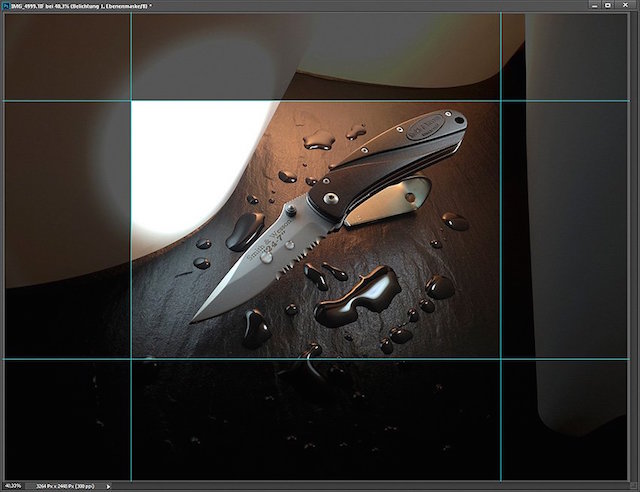
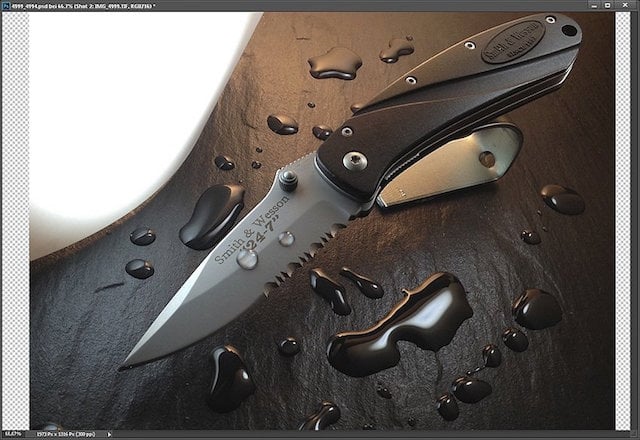
All that’s left now is actually taking the shot and pulling the photo into Photoshop. As you might have guessed, there was some Photoshop work done on the final photo, but it’s not anything too crazy.
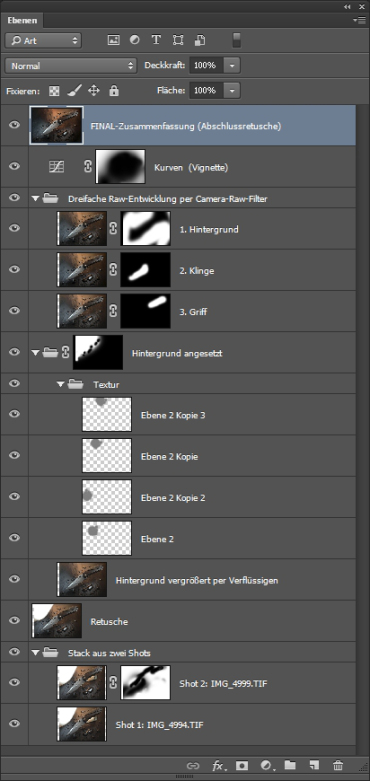
The basic steps involved cropping the iPhone’s 35mm perspective to about 50/60mm — he notes that you might want to use a lens attachment instead if you don’t want to sacrifice the already-limited resolution here — stacking those two shots we mentioned earlier, cloning out what needs to be cloned, patching up the background, and a 3x Raw Adjustment that involves the following:
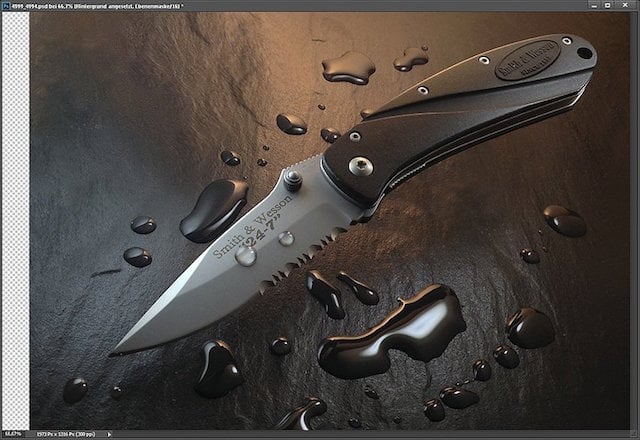
Copy your image on three layers, then choose in Photoshop CC: >Filter, > Camera-Raw-Filter; then combine the three layers using masks
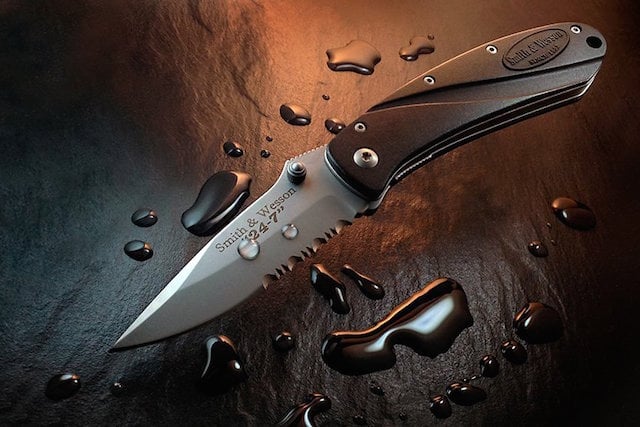
Finally, some color and contrast adjustments and sharpening later, you get the final shot. Here’s a visual breakdown:
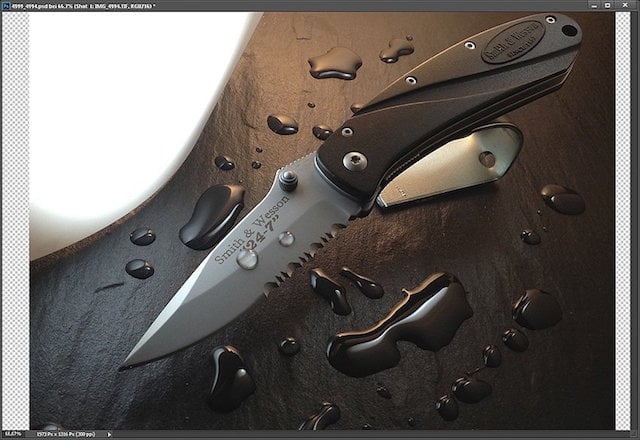
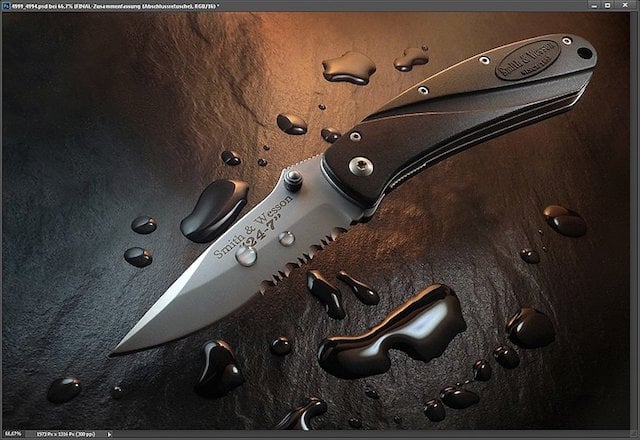

Not too shabby right? Of course, this involved a good bit of work, but so does any product shot. It just goes to show, once again, that professional techniques and lighting knowledge will get you most of the way there regardless of the gear used.
To see more from Gockel, including other smartphone photography walkthroughs (there’s an impress watch product shot and even a food photography tutorial) that turned out just as well as this one, head over to his blog.
Image creditsPhotographs by Tilo Gockel and used with permission