A Beginner’s Guide to Zone Focusing in Photography

Zone focusing (ZF) is a great way to pre-set your camera’s focus and aperture, then use that setting for multiple shots. Street shooters love it. And it’s also great for sports, pets, jumpy kids, parties, or any subjects in motion.
Note: This article refers to the lens’s actual focal length, regardless of the sensor format.
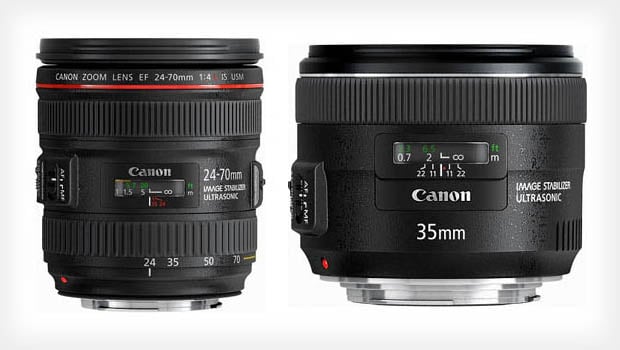
Wider Lenses Are Best for Zone Focusing
Although I rarely prefer the “look” of images shot with lenses wider than 35mm, I find it helpful to shoot with wider lenses and crop in edit if necessary. The wider the lens, the greater the depth of field. Wide lenses also capture images that might be missed in difficult situations like street photography or fast-moving pets and kids. If I shoot with 21mm, then crop to a 35mm field of view, my pixel width is reduced to 74% which is quite acceptable. My camera shoots 9,500 pixels wide and the websites that I shoot for only need 1,500 pixels of width.
Manual Lenses Are Easiest to Use for Zone Focusing
Manual lenses still have distance scales, which have disappeared from today’s autofocus lenses.
Pre-setting Manual Lenses for Zone Focus
Simply focus on something about one-third of the distance from the nearest to the farthest distance in your desired zone. I do this with my lens temporarily wide open then stop down to my shooting aperture.
Note: That one-third of the distance is an old approximation, but the best point actually varies with conditions. However, one-third is close enough.
For example, at a kid’s birthday party you might want a zone from 3 feet to 12 feet for a 35mm lens at f/16. A third of the way from near to far is 6 feet. So you would focus at that distance.
Pre-setting Autofocus Lenses for Zone Focus
Set your camera to manual focus and do the above. My Sony mirrorless camera remembers the setting when turned off and back on, provided that I do not rotate the focus ring. But if I accidentally rotate the focus ring, I must repeat the setting.
Distance Scale and Hyperfocal Distance
Regarding the distance scales on manual lenses and the hyperfocal distance:
The hyperfocal distance is the best compromise focus between near and infinity. It is recommended for scenes with depth, or as a zone setting. Everything from half the hyperfocal distance to infinity is supposed to be reasonably sharp.
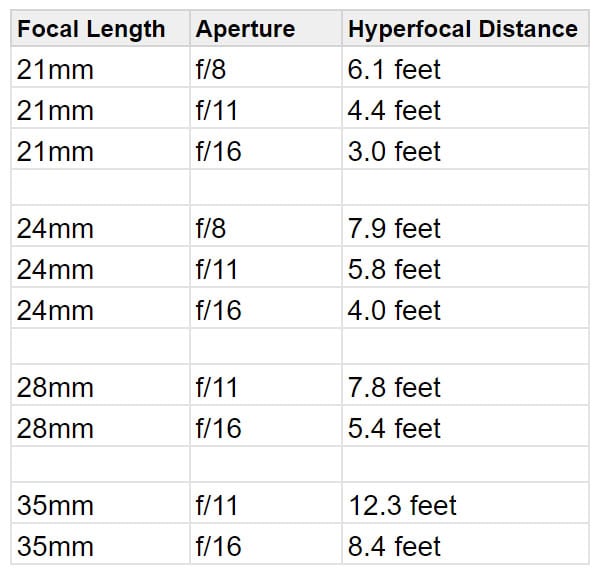
Many websites, including dofmaster.com will calculate this for you. Here is a brief table calculated with the above formula:
Using the Depth of Field Scales on Manual Lenses
Now let’s discuss using the depth of field scales on manual lenses to set the zone focus or the hyperfocal distance.
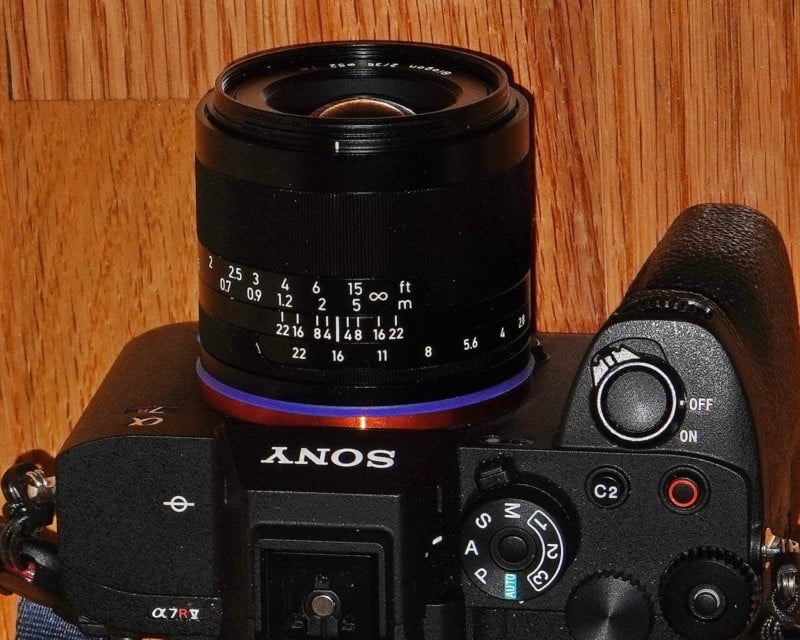
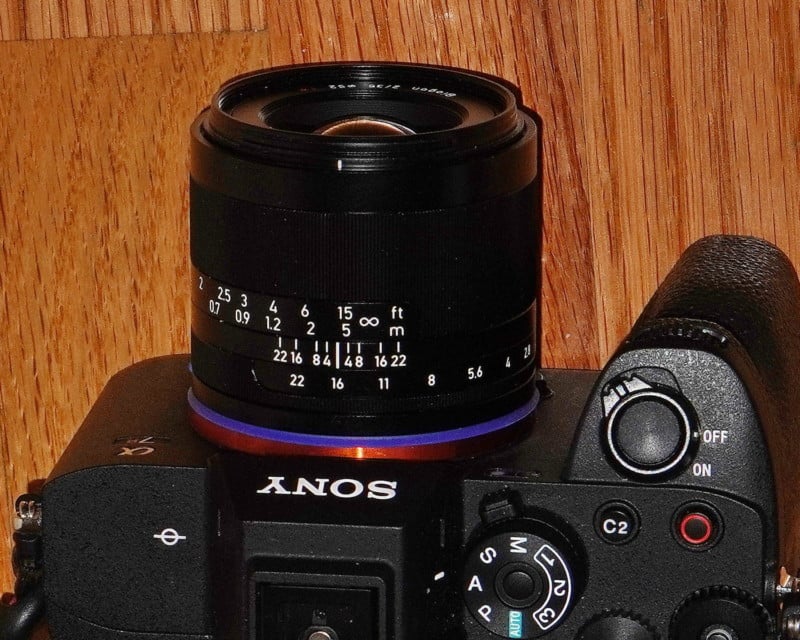
This is a 35mm Zeiss Loxia manual lens. The infinity symbol has been positioned over f/16. Setting the infinity symbol over your selected aperture mark is an easy way to set focus at the hyperfocal distance, which is 8.4 feet for any 35mm lens at f/16. Reading the distances under the two f/16 marks suggests that from 4.2 feet to infinity will be in focus. I’ve only found this to be most dependable when near and far subjects are both in the center.
In the real world, your near and far subjects won’t both be in the center. I shot many tests with different lenses set at the hyperfocal distance and found that distant subjects on the side of the frame were frequently soft while the near subjects on the side were ok. Perhaps that doesn’t matter in your shot, but if it does you can improve it by increasing the hyperfocal distance 1.5x. With manual lenses, just rotate the focus ring to where the infinity symbol is over the next wider aperture. For example, when shooting at f/16, rotate the focus ring to set the infinity symbol over f/11.
Inexpensive Chinese Manual Lenses
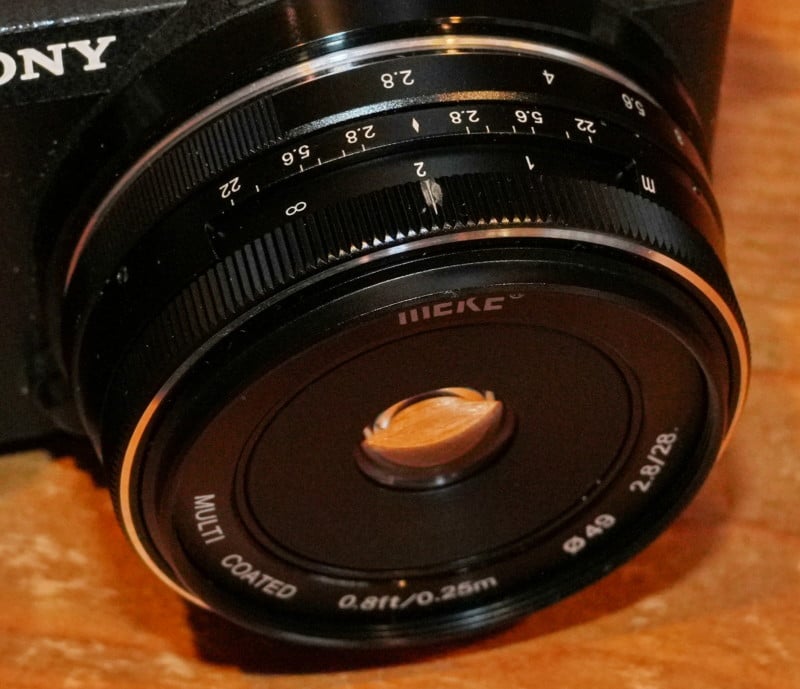
I love using inexpensive Chinese manual lenses for zone focusing and hyperfocal photography. At the small apertures required, they are essentially as sharp as premium lenses. And they are often lighter weight and smaller. Many cost less than $100. However, they rarely have correct distance scales. So, I find the hyperfocus setting by focusing on an object at the hyperfocal distance (with the help of a tape measure). Then I mark that setting on the lens with a silver Sharpie pen. (You can always remove the mark with a Q-Tip dipped in alcohol).
Which is Better, Zone Focus or Hyperfocal?
It depends on the conditions. If distant objects are in the field of view, and you want them reasonably sharp, then hyperfocal focus is probably best.
You can try out settings at dofmaster.com. I tried this situation.
With a 35mm lens at f/16:
8.49 ft is dofmaster’s hyperfocal distance and DOF = 4.24 ft to infinity.
With zone focus centered on 6 ft, it says DOF = 3.52 ft to 20.2 ft.
In this situation, zone focus moved the near limit 0.72 feet closer (than hyperfocal) and the far limit was reduced from infinity to 20.2 feet.
Example Photos
Let’s look at some photos shot with zone or hyperfocal focus
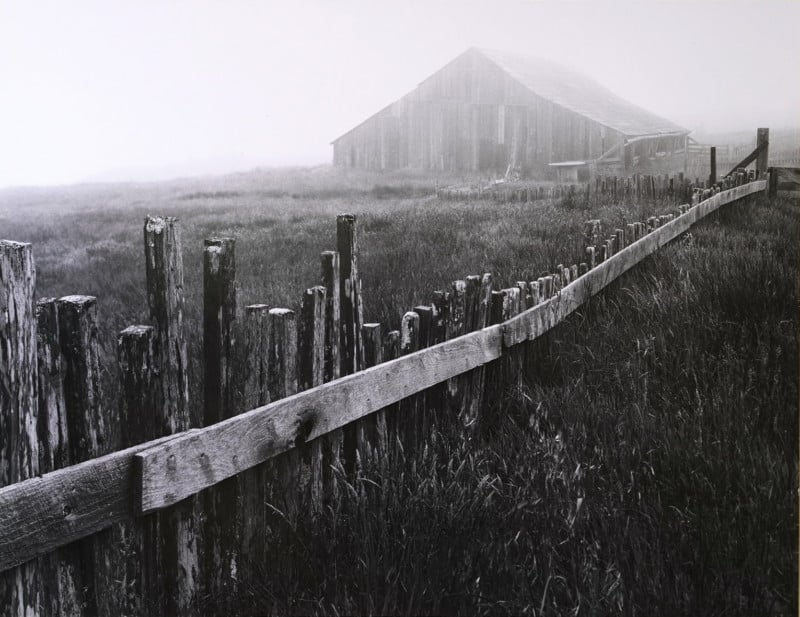
Fifty years ago I shot landscapes with a 4×5 view camera. My work sold through the Image Gallery in Palo Alto and Focus Gallery in San Francisco. My most successful shots had a lot of depth, which demanded zone focus. I focused on a spot about a third of the depth in the composition.
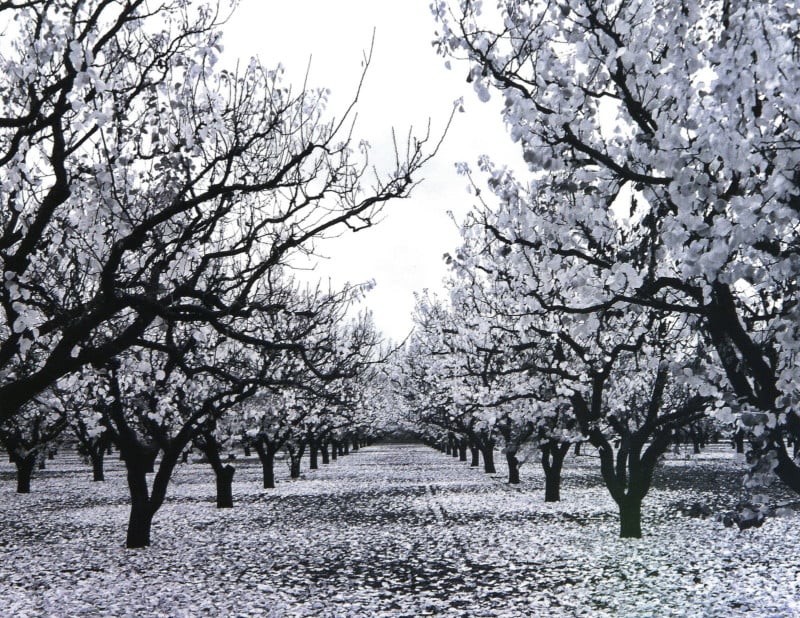
The wet orange leaves were translucent and glowed. I set up and shot then packed my tripod and camera and was about to drive away when I realized that an orange filter would enhance the glow of the leaves. I returned and positioned my tripod in the same dents in the dirt and shot with the filter.
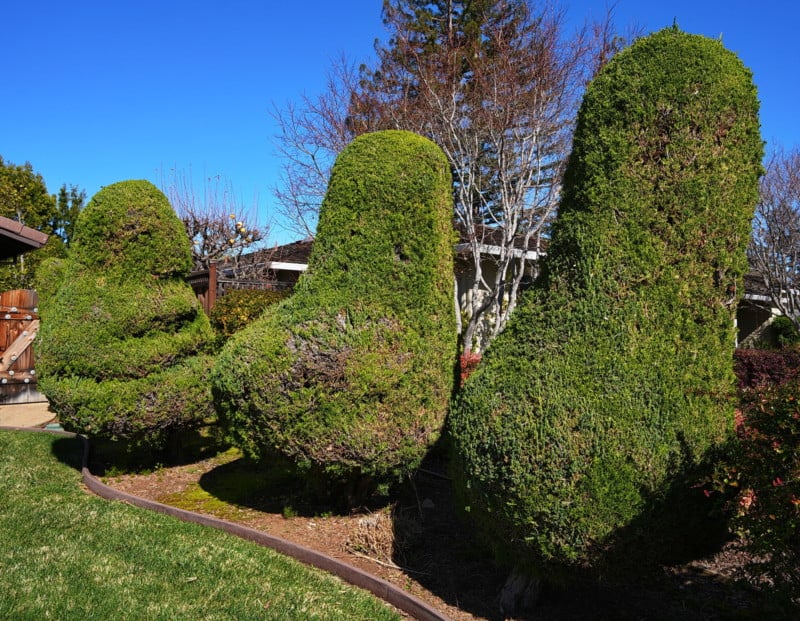
These creatures reminded me of Al Capp’s Shmoos. Google that. It’s quite a story.
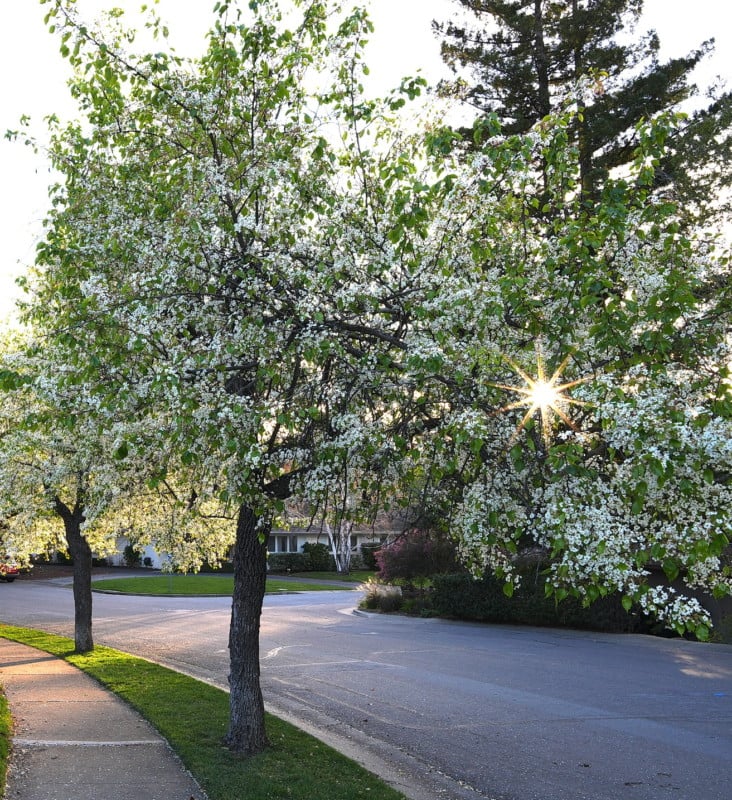
Trees are so deep that they almost always demand zone focus.
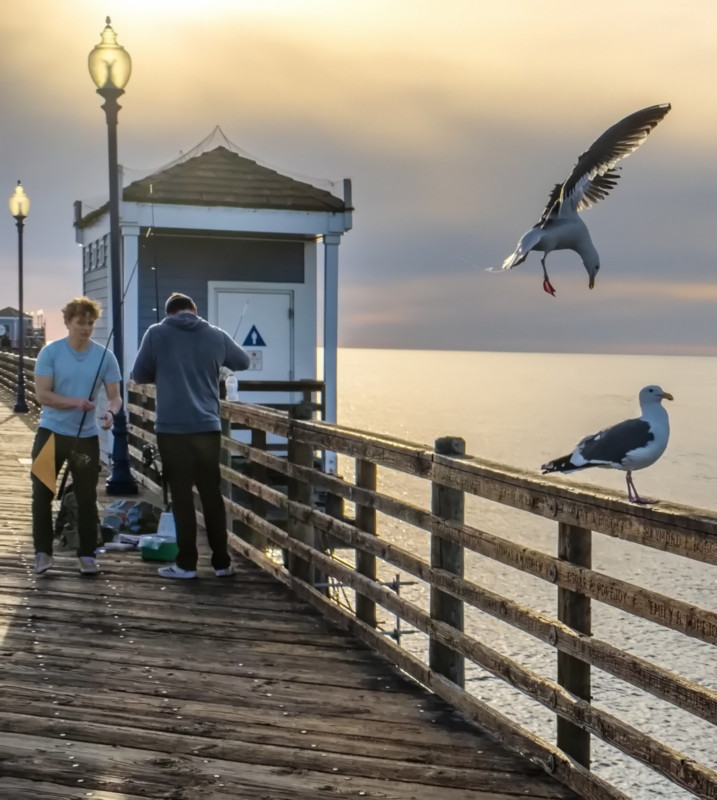
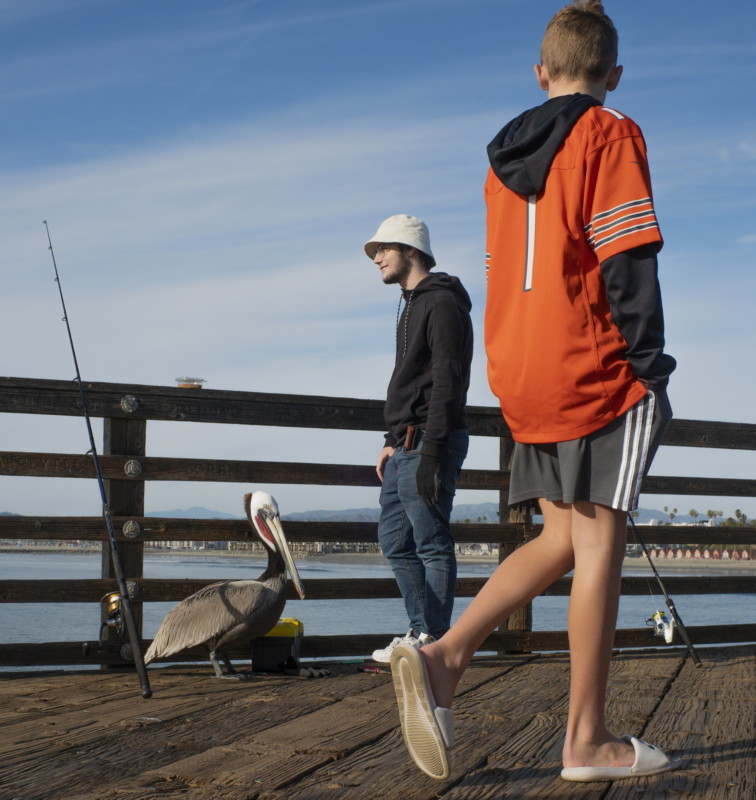
My friend Tim Torres in Oceanside, California, shoots almost solely zone focus with a 7Artisans 25mm manual lens on a Sony a6500. He shot these on the pier near his home.
About the author: Alan Adler lives in Los Altos, California. The opinions expressed in this article are solely those of the author. He has been an avid photographer for 60 years. He is also a well-known inventor with about 40 patents. His best-known inventions are the Aerobie flying ring and the AeroPress coffee maker.