A Look at Reducing Noise in Photographs Using Median Blending
Between a recent post here on PetaPixel about the Beauty of Space Photography, and my own experiments on blending series of images using averaging techniques, I noticed some rather interesting alignments in technique.
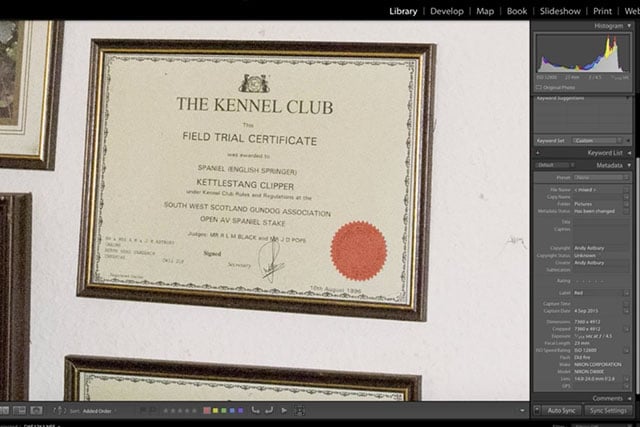
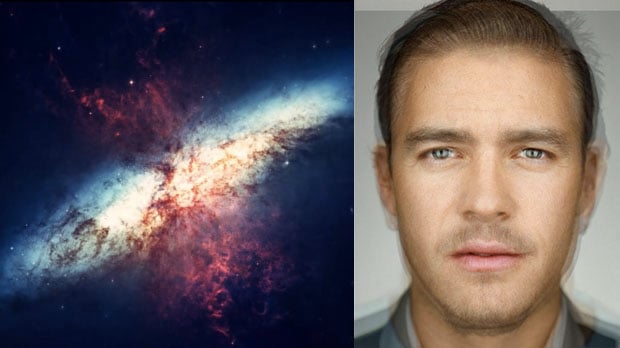
Have a look at this image (click it for a larger version):
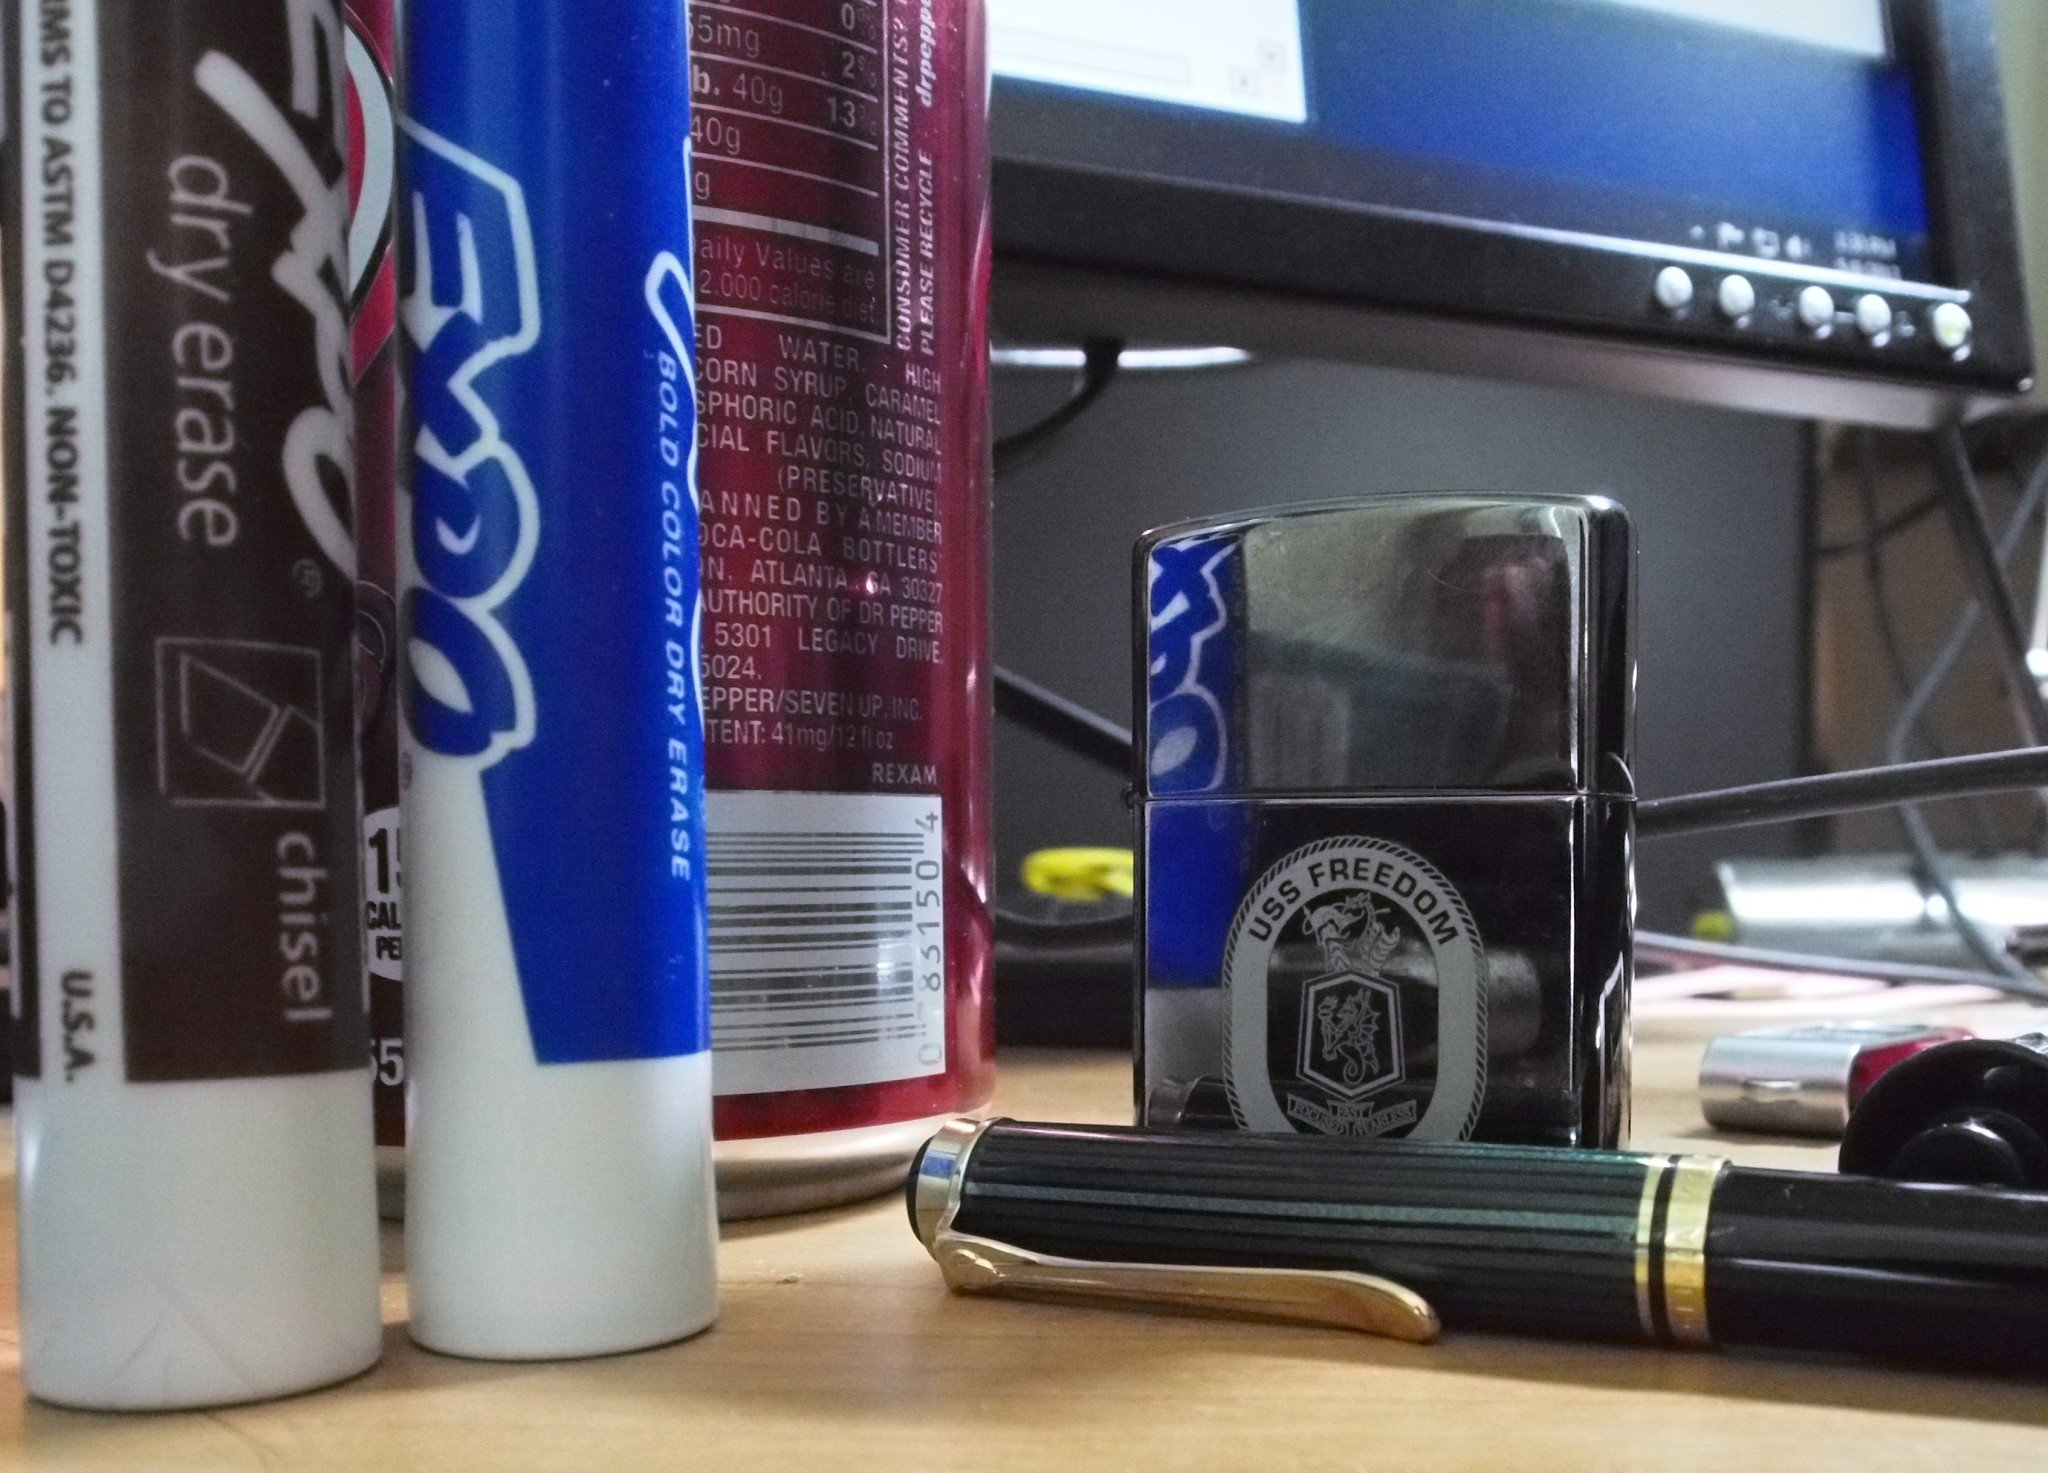
Although a relatively boring image, the interesting thing about it is that it was shot at ISO 25,600. To be fair, there is a little bit of cheating going on. The result above is derived from combining 10 images of the same scene. This is the power of using median image stacking to increase the signal-to-noise ratio in images.
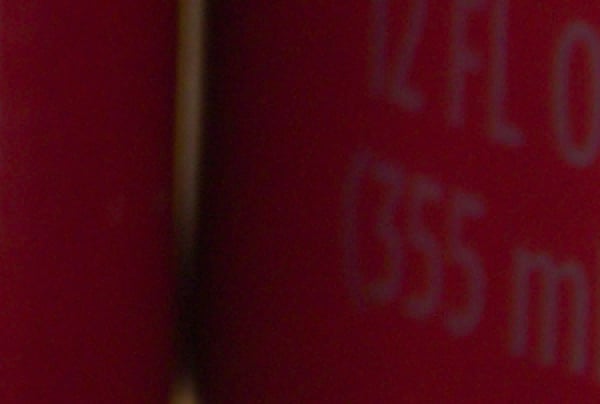
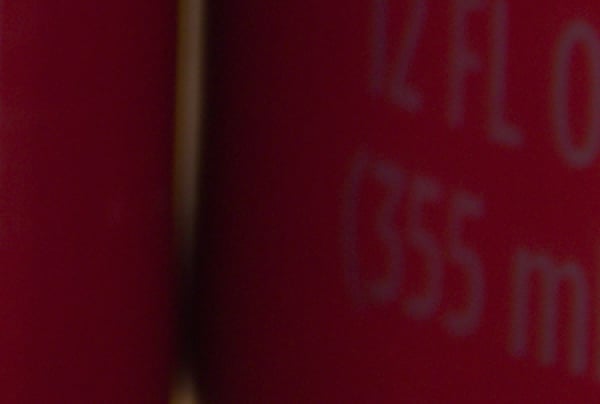
Here are a few 100% crops to demonstrate what is happening (single ISO 25,600 left, median stack right):
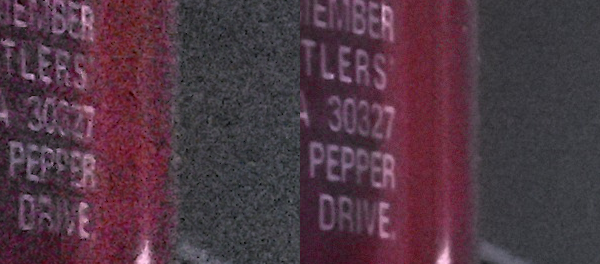
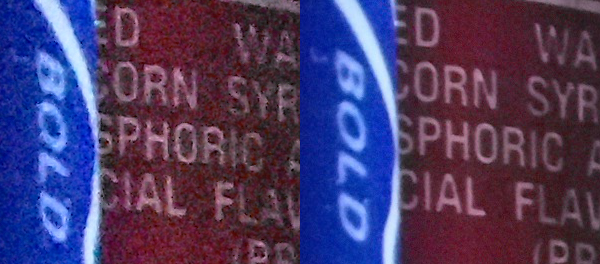


The last image really shows the strength in this technique. The words in the banner “Fast, Focused, Fearless” are not even distinguishable in the single ISO 25,600 shot. Stacking 10 images cleans up the noise enough to clearly read the text.
What Median Stacking Does
Median stacking will consider all the values of a pixel at a single location across each image in the stack, then choose the final value for that pixel based on the median result.
Assuming you took 5 images for a stack, then for a given pixel location, there will be at most 5 different pixel values:
Red  ( 115, 120, 130, 190, 191 )
 Green( 150, 166, 169, 200, 210 )
 Blue ( 200, 205, 209, 211, 220 )
A Median stack will give a final pixel value as RGB( 130, 169, 209 ). Basically, median will pick the value as the number that falls in the middle of the ordered list. If there are an even number of values, it will average the two values that fall on either side of the middle. This means that values that are spurious or outside of the range will be disregarded.
This works wonderfully, as noise is random, while the signal should remain constant at a location. It is this property of median stacking that is so useful for astrophotographers who often need to shoot at higher gain to capture their subjects. By combining multiple images they can significantly increase their Signal-to-Noise ratio.
Pushing the Results
An interesting result of this method is that it can be useful even when shooting in ideal conditions. Granted, you may not shoot a still subject at ISO 25,600 – but even shooting at a cameras base ISO, you can decrease that noise even further than what a camera is capable of in a single shot.
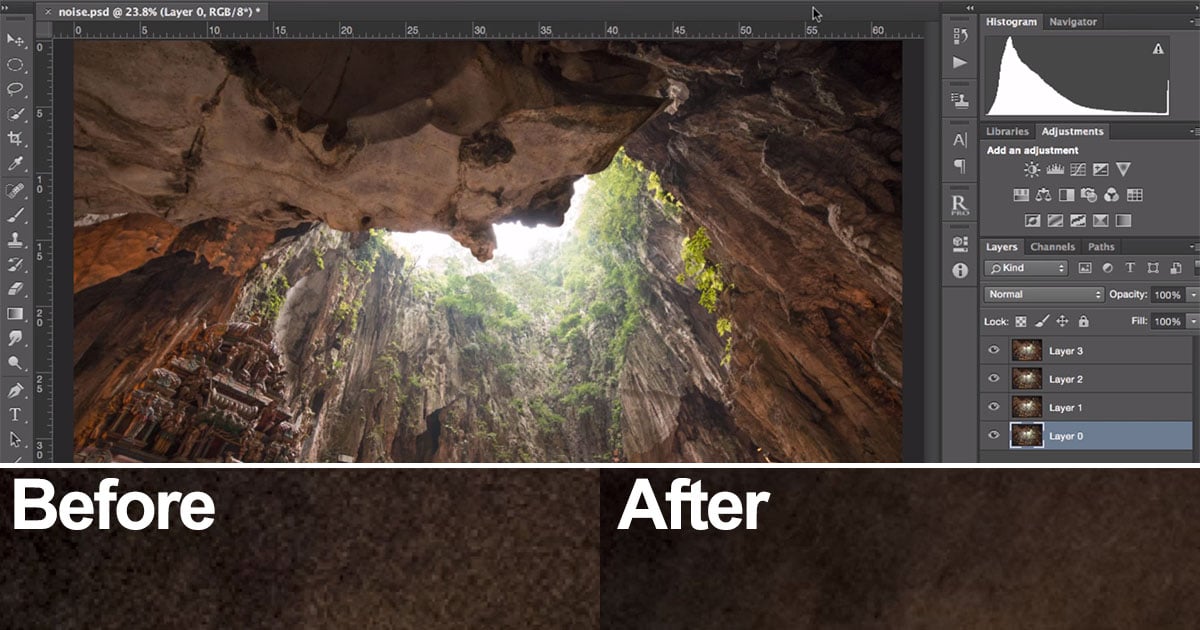
Below is a 200% crop from an image shot at my cameras base ISO 200:
Here is the same portion from a median stack of 6 images:
You can see that even at my cameras base ISO 200, there is still some noise when pixel-peeping (200%). The extra effort to create the median stack result was trivial overall. In fact, most modern enthusiast cameras can be setup for high-speed capture – so firing off 6 frames is effortless once everything is set up already.
This technique can be exploited by others as well – not just for astrophotography. It should be immediately apparent that this can be quite useful for any still image being captured. Some great uses for this technique can be applied in other areas as well:
- When shooting stock images you will sometimes shoot static scenes, and if it requires a very noise-free image, then this is a perfect technique to consider.
- I’ve seen some tutorials recently about digitizing negatives/slides using a dslr – this would again be a perfect technique to minimize the noise coming from the digital sensor, and to maximize the quality of the final scan.
- If you need to capture an image of a highly trafficked area, and want to easily remove people, cars, etc. from the scene quickly and easily (see below).
Creating a Median Stack
I’m primarily a Free/Open Source Software user – so the tools to create these stacks were already in my basic toolkit (Hugin/Imagemagick/GIMP). Median stacks can also be created using Photoshop (from CS3 Extended on).
Photoshop
Creating the median stack in Ps is relatively straightforward (disclaimer: I’m not a Ps user personally – so I apologize if there is some other method of achieving this that I am overlooking).
- Open each of the images in your stack as layers in Ps.
- Align them (Edit → Auto-Align Layers…). Auto should work fine here.
- Select all of the layers and turn them into a Smart Object (Convert to Smart Object).
- Now apply the Median Stack mode (Layer → Smart Objects → Stack Mode → Median).
Free/Open Source Tools (Hugin/Imagemagick)
Hugin is an open source panorama software that gets fairly heavy use on my system for a myriad of things, but in this case you only need the command align_image_stack to automatically align your images. It’s fairly straightforward:
/path/to/align_image_stack -m -a OUT_PREFIX file1 file2 ...
Where file1, file2, etc… are the images to be stacked.
Once this command is finished, there will be a series of images that are now aligned and named with the out_prefix from the command. At this point it only takes one more command using Imagemagick to create the median blended output:
convert OUT_PREFIX* -evaluate-sequence median OUTPUT.jpg
This will stack all of the OUT_PREFIX images, evaluate them using a median stack, and save the results to OUTPUT.jpg.
Interesting Side Effects
An interesting side effect of doing median stacks is that objects that move between the different images in the stack might be removed. In fact – this is another common use of median stacking. A good example is if you want to capture an image of a location that has people/cars/etc. moving about, but you don’t want those objects in the final image. A great example of this is trying to shoot touristy locations, but the desire is to remove all of the other tourists from the final result. Manually masking out each object could be time consuming, whereas a median stack might remove them quickly and easily.
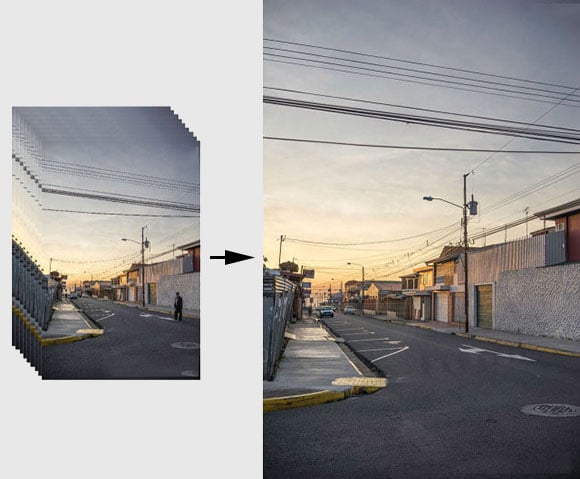
Here is a simple example to illustrate:
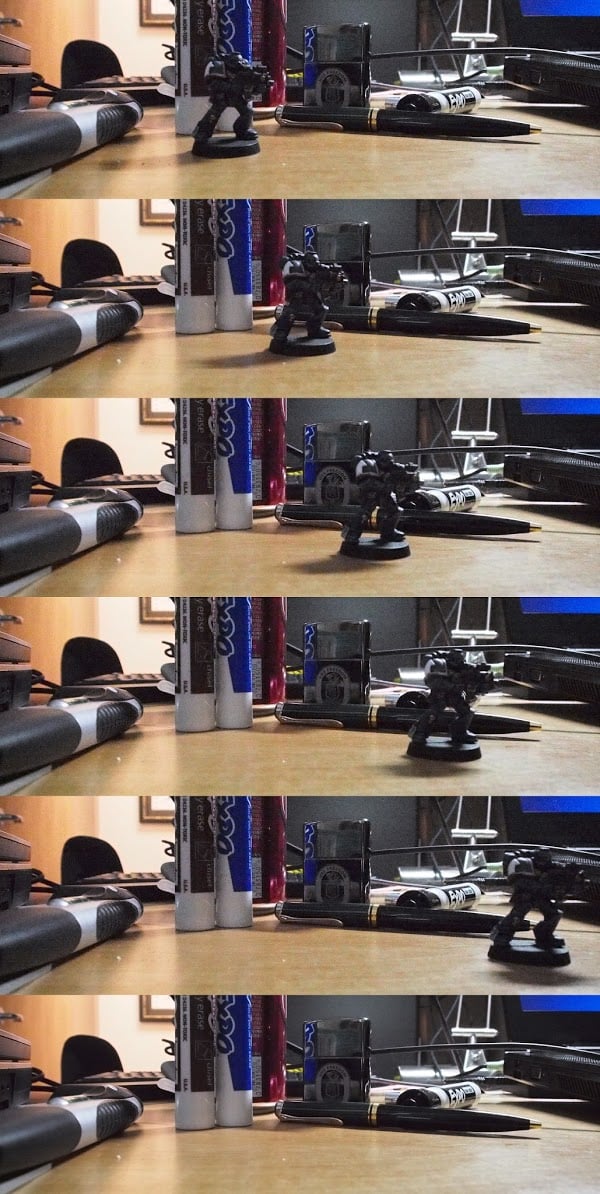
The top 5 images have an object that is moving across the frame, and the bottom image shows the result of doing a median stack. As far as the median stack is concerned, the pixel data that makes up the moving object is spurious data, and is not considered for the final output.
Overall, median stacking can be an incredibly powerful method of producing very clean and noise-free images. The only caveat is that the subject be static between each of the frames.