Build a Better Lightbox for Your DIY Film “Scanning” by Stacking Your Glass
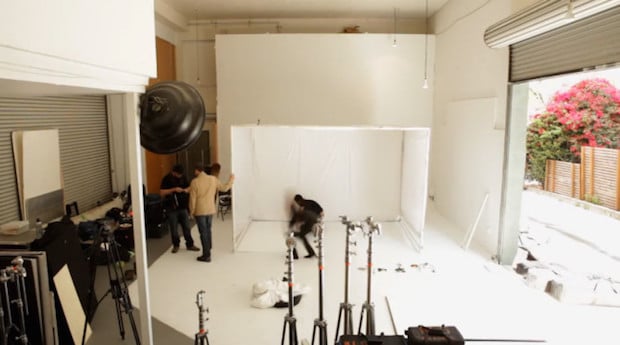
More and more photographers are attempting to build their own DIY lightboxes these days as they look for ways to easily digitize their film at home using a digital camera. However, a common problem that plagues these lightboxes is vignetting — lighting is uneven and shadows form gradients near the edges of the surface.
Photographer Rafał Nitychoruk of Gdynia, Poland tells us that he has solved the problem with his own custom lightbox. The trick? Make your lightbox short, and stack multiple layers of glass.
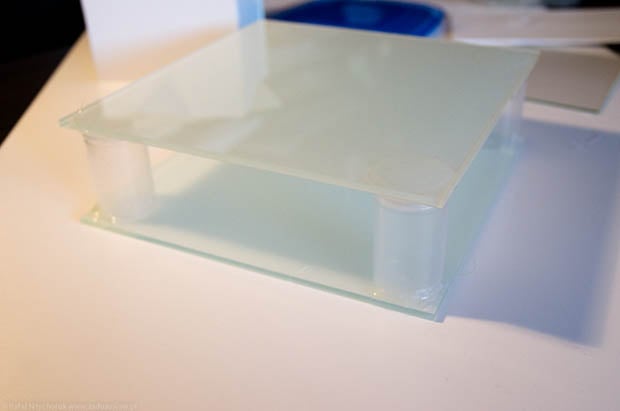
For the base layer above the light source, Nitychoruk took two large squares of frosted glass and stacked them on top of each other using translucent film canisters as spacers:
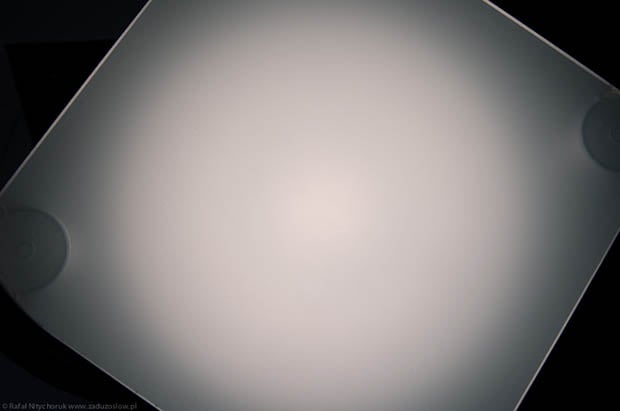
This evens out the lighting quite a bit when compared to using a single sheet of glass, but there are still a very noticeable light falloff along the edges:
Before adding the second layer of the “cake,” Nitychoruk first fixed an additional sheet of glass to the base layer to serve as a placemat. It evens up the lighting a tad more before the second — and final — layer:
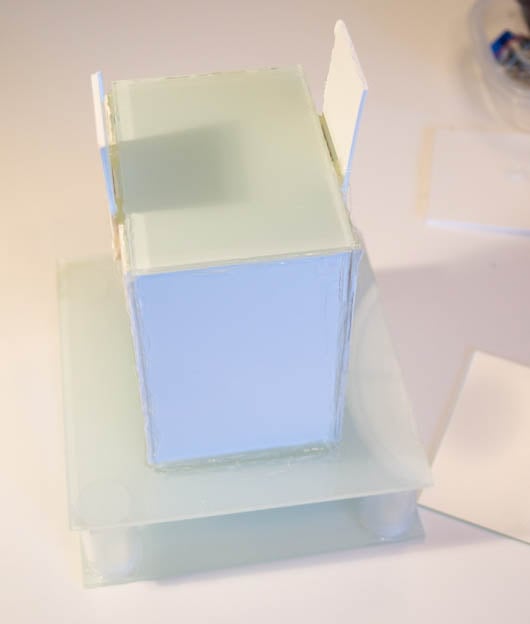
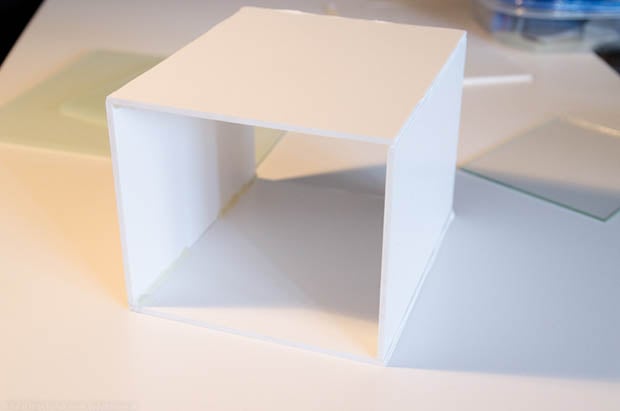
To have the light bounce around before reaching the surface on which the film rests, Nitychoruk created four walls using the white PVC foam board:
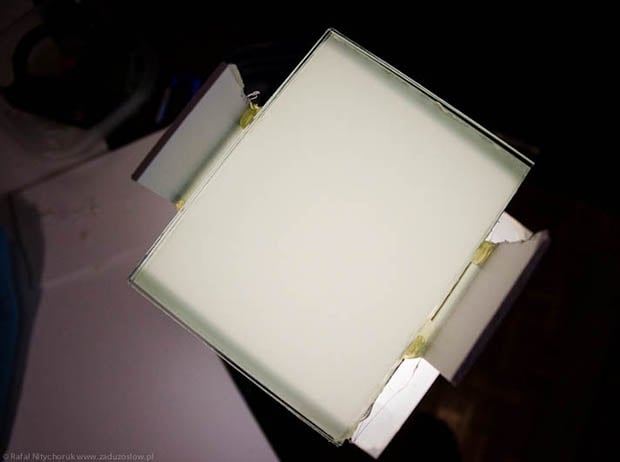
He then stacked more layers of frosted glass on top, capping everything off with a few layers of anti-reflective glass. Here’s what the final “wedding cake” lightbox looks like:
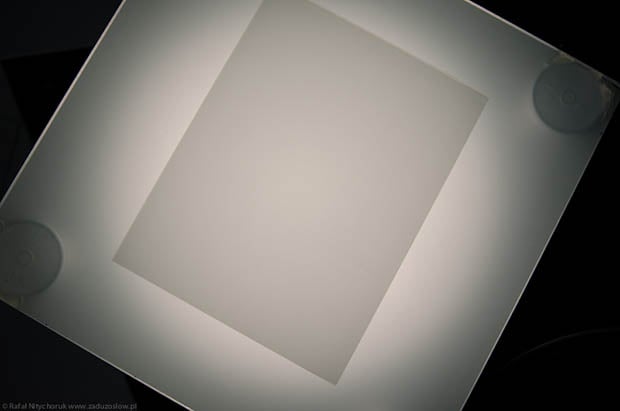
As you can see from this top view, the lightbox is very good at providing extremely even illumination. There isn’t any noticeable vignetting or shadows, even on the very edges:
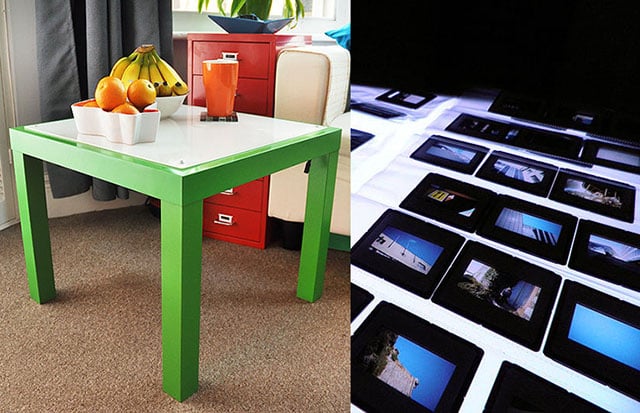
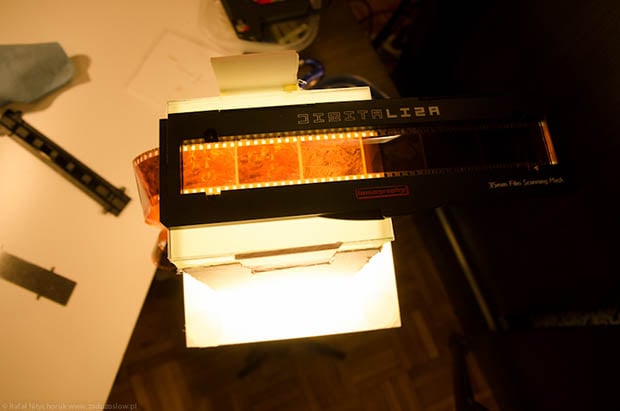
Now you can simply place your film on top of the lightbox and photograph it using your digital camera to digitize the analog photos:
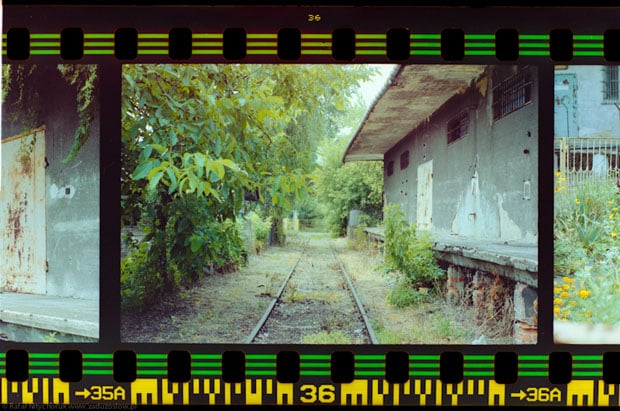
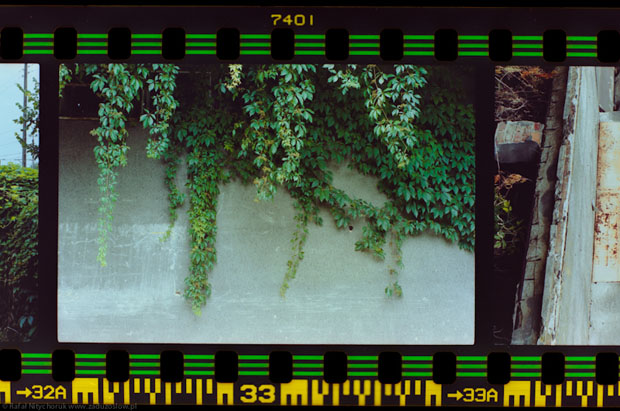
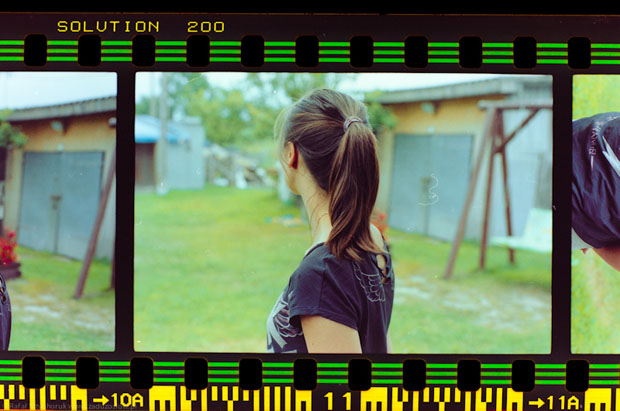
Here are some sample “scan” photographs Nitychoruk shot to show the effectiveness of his lightbox at providing proper lighting:
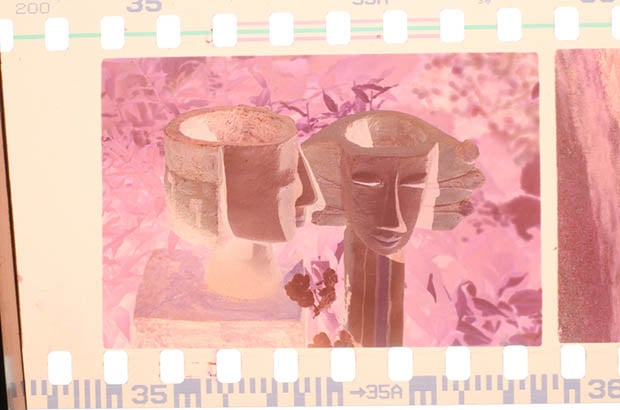
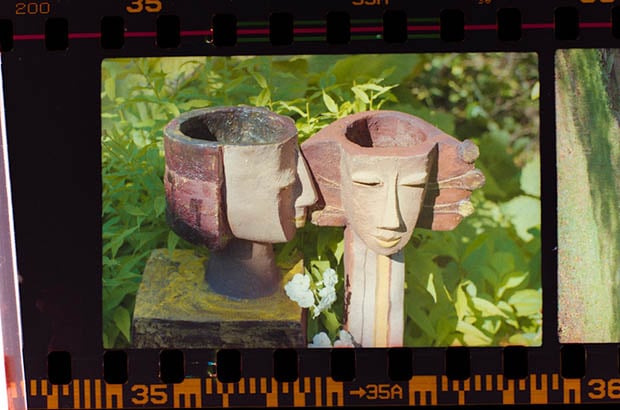
Here’s an example of one of his film photos going from “scan” shot, inverted shot, to final digitized photo:

You can find more details and photographs explaining/showing how Nitychoruk built his lightbox in this blog post on his website. It’s in Polish though, so you might need to rely on the photos and some computer translation to understand what’s going on. The main concept is easy to understand, though: stack multiple glass sections for better lighting.
Image credits: Photographs by Rafał Nitychoruk and used with permission