How to Set the Timer on Your iPhone Camera

The iPhone has a built-in timer feature that can snap a picture a few seconds after the shutter button is pressed. This can be very helpful when you want to be in the photo and need the full quality and all of the options available when using the rear cameras. The front-facing camera isn’t bad but doesn’t capture as much light and that often results in a photo that’s a bit flatter and softer.
Table of Contents
How to Use the iPhone’s Built-In Photo Timer
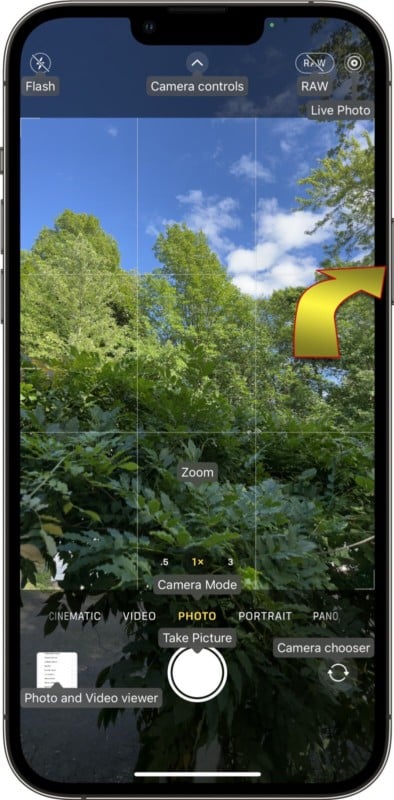
The iPhone has a built-in photo timer that is simple yet effective enough to serve your needs in most cases. To use it, simply open the camera app and swipe up from the center of the screen (away from the shutter button if in landscape mode) to open camera controls. Alternatively, you can tap the upward arrow that looks like a circumflex (^ symbol) at the top of the iPhone to see the same controls.
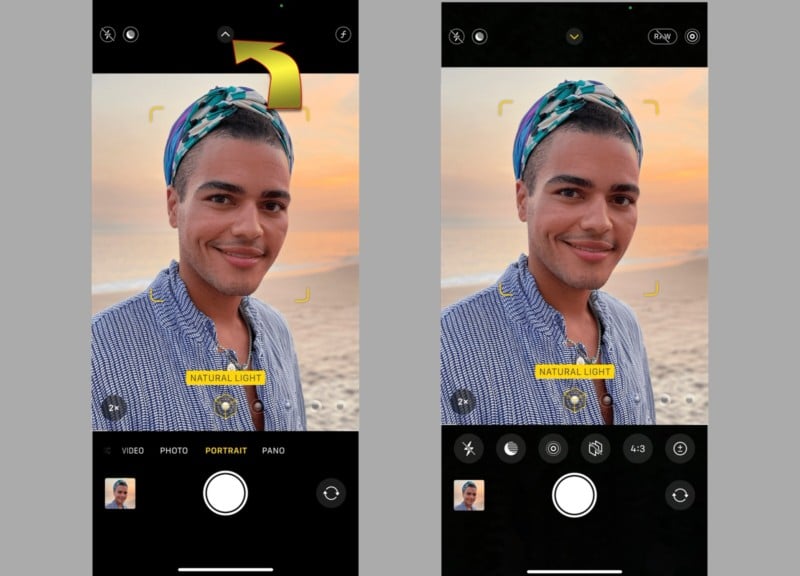
The timer control isn’t immediately visible, so you need to drag the control strip to find it. Tap the button that looks like a clock face to see the iPhone’s photo timer options. The choice is limited to 3s and 10s, representing 3-second and 10-second delays. When the self-timer is set, it will appear in the upper-right corner of the screen where the statuses of various camera settings are shown.
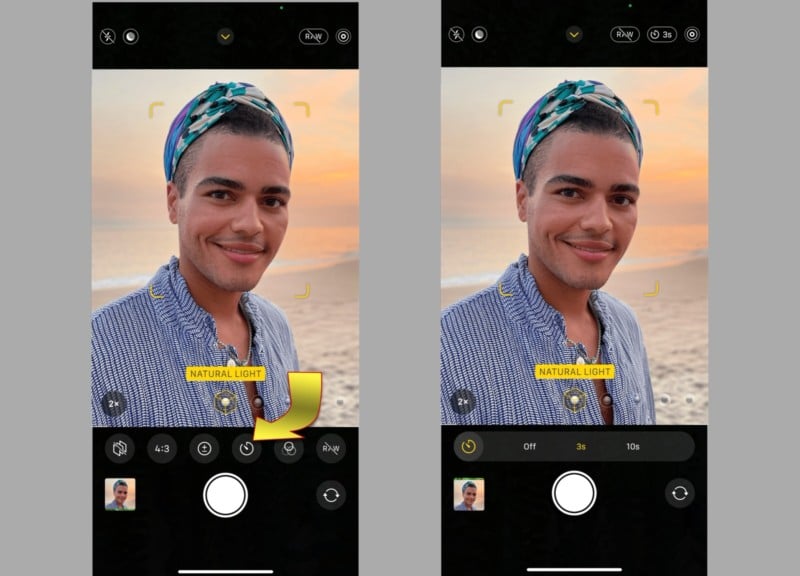
After choosing your preferred photo delay, you can close the timer control by tapping the clock button again, swiping from the center of the screen toward the shutter button, or tapping the downward arrow (v symbol). Then any other camera settings can be adjusted as you wish.
It’s important to note that the timer retains its settings for multiple photos and must be switched off if you want to snap a quick picture. There’s no option in the Settings app to change this behavior. Even closing the app and reopening, or sleeping the iPhone doesn’t change the camera timer mode. However, if you power the iPhone off and on or restart it, the timer resets to off.
Does the iPhone Camera Timer Work for Video and Portrait Mode?
Apple already had the code written and user-interface elements designed so it would have taken very little effort to give iPhone owners the option for a video timer. Unfortunately, the iPhone’s camera app doesn’t have a way to start a video after a few seconds delay. It’s hard to find fault with Apple since it’s easy to trim a few seconds off of the beginning of a video after it has been recorded. The iPhone’s self-timer is only available in Photo and Portrait mode.
Use Shortcuts to Make a Timer for iPhone Video
Shortcuts is a great feature that allows you to expand what’s possible on an iPhone without the need to install an app. A simple Shortcut lets you make your own iPhone camera timer to delay the recording of a video. To set it up, open the Shortcuts app that comes preinstalled on your iPhone, then add the actions listed below or install the free Video Timer Shortcut that’s been made for you.
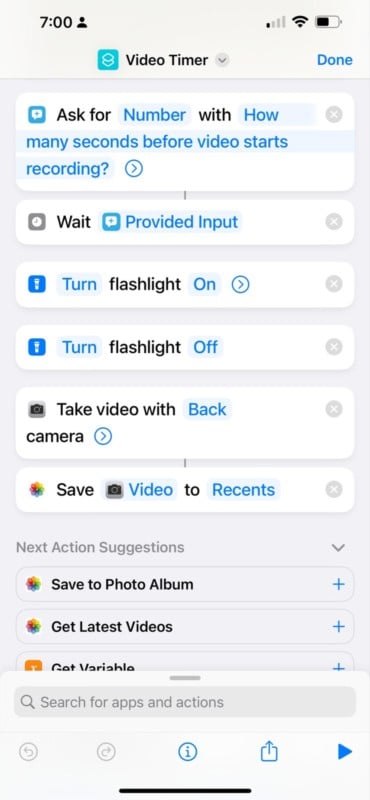
The Shortcut can be added to your Home Screen for quick access or run from the Shortcuts app. It will ask for the number of seconds to delay before starting the video. It uses the main rear camera and whatever the current settings are. After the delay, the flash will blink once and then the recording begins. It must be switched off manually, which brings up the option to save or retake the video.

Unfortunately, there’s no way to change which rear lens to use. There is an option in the code to use the front camera and it’s easy to tweak a Shortcut to make it suit your needs better. In fact, with enough effort, a more advanced photo and video timer Shortcut could be made to schedule the shutter in advance.
An Automation for Scheduled Photos and Recordings
A long-duration timer can be made using automation and that’s even easier than a shortcut. Check out the super-short iPhone Automation that lets you take a picture every day at sunset.
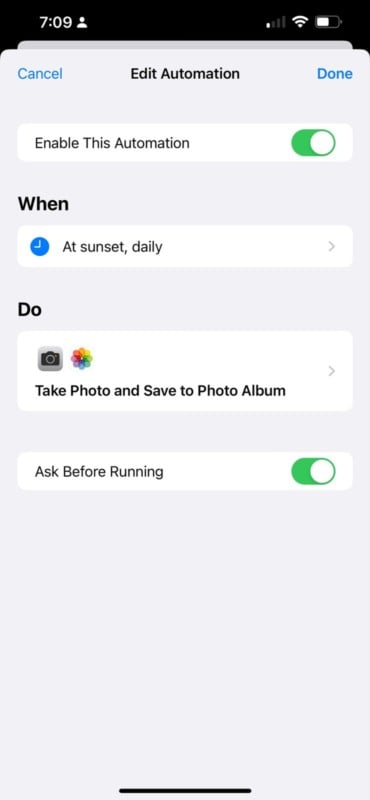
This is a fun idea but until Apple loosens up restrictions on Automations, it’s little more than a reminder to take a picture. A notification will appear with a Tap to Respond message which opens a simplified camera view ready to snap a picture. The same would be true if you made a Shortcut to schedule a photo or video. If you have to touch the iPhone to okay the action, you could just as easily open the camera app and take the photo or begin the recording yourself.
Third-Party Camera Timer Apps
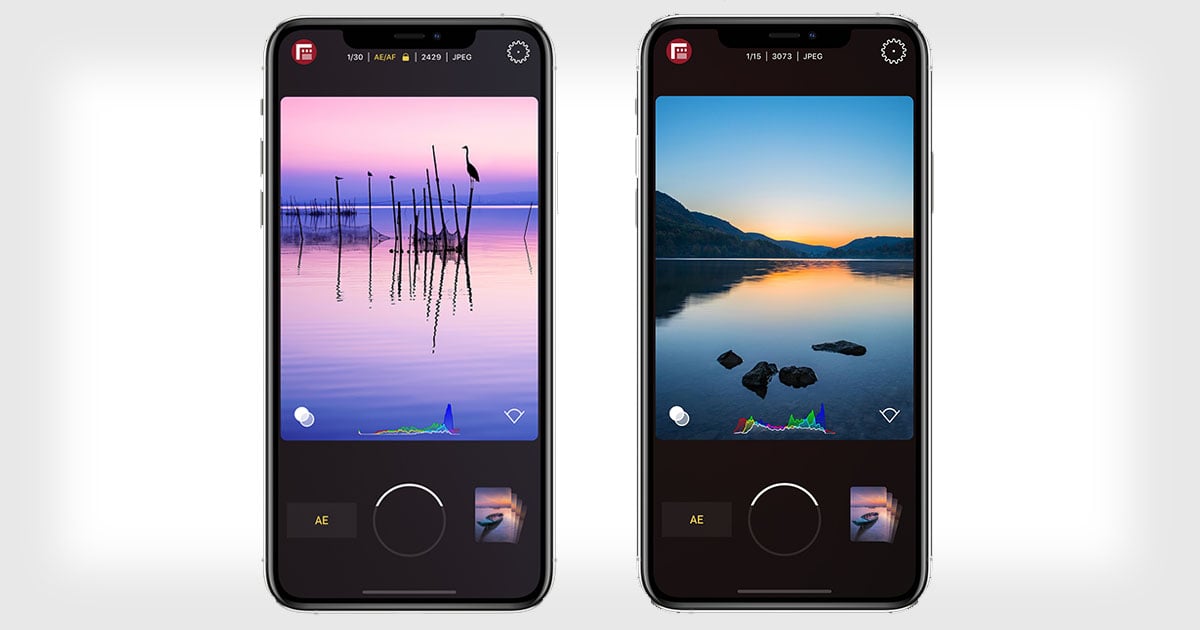
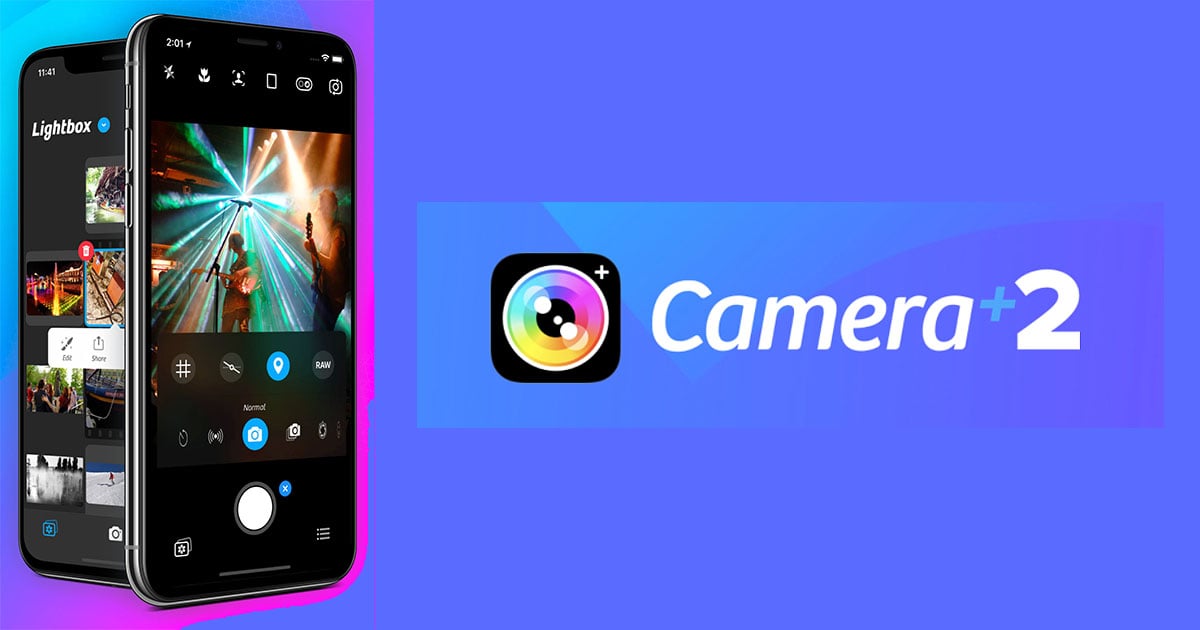
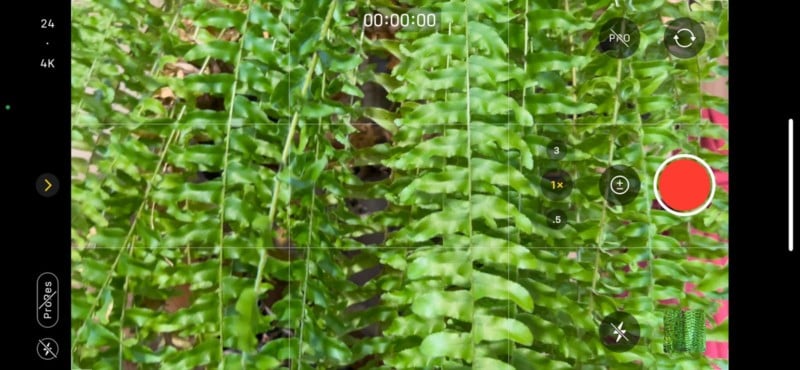
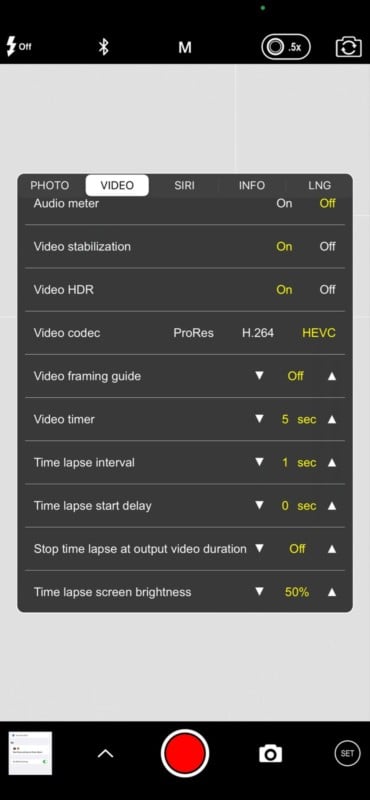
For more control over self-timed pictures, as usual, there’s an app for that. Most third-party camera apps provide much more control than Apple’s built-in solution. The popular Halide manual camera app offers three, ten, and thirty-second delays for photos. ProCam goes much further, allowing 1 to 60 second timers for both pictures and video recording.
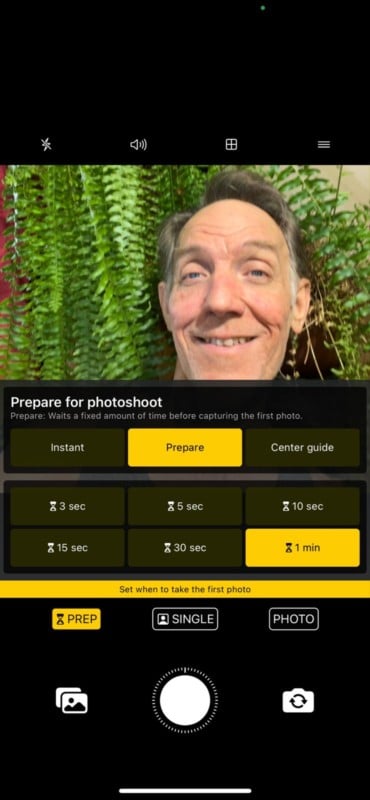
There’s also a free app called Lens Buddy that has several options for delayed pictures and photo sequences that is worth checking out if you need more than the ten-second maximum that Apple gives you to prepare for a group photo. Lens Buddy offers up to a minute for its advanced self-timer.
Voice Control of the Camera App
Moving beyond timers, the iPhone’s camera can also be triggered by voice, making it as easy as opening the camera and saying “Tap Take a Picture” to snap a photo or “Tap Record Video” to start a recording. There’s a little setup required in the Settings app. Search for ‘Voice Control,’ then set Overlay to Item Names and switch on Voice Control. The Camera app will label controls with the spoken names that will be recognized
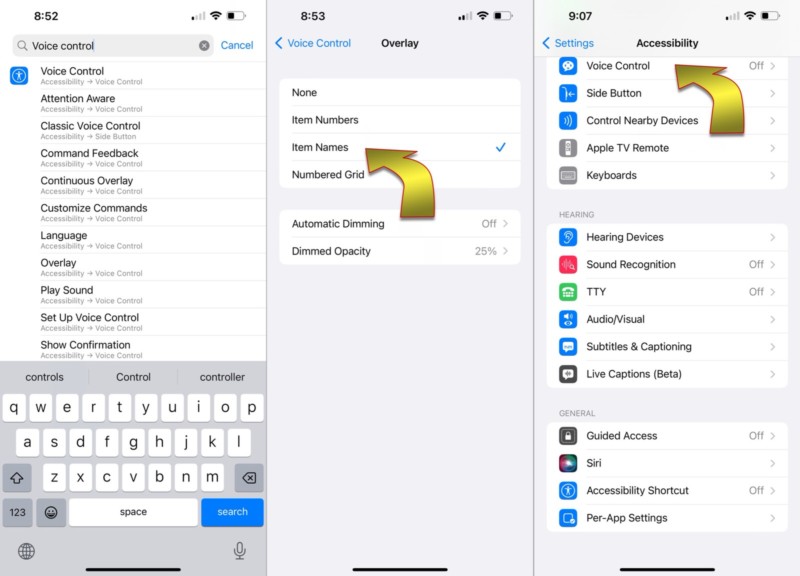
This affects every app and even iOS controls, so you might want to switch it back off when it isn’t needed. In the Settings app, under Accessibility Shortcut, you can set Voice Control to toggle on and off with a triple-click of the iPhone’s side button.
Bluetooth Remote Shutter Devices
Of course, an external Bluetooth remote can be used to trigger the iPhone’s shutter as well. It’s quite common for these to be bundled with low-cost selfie sticks. The Bluetooth shutter release must be paired to the iPhone before use and sometimes can be finicky. Given all of the other options, it might not be worth the hassle unless this method really appeals to you. If you already have one, it’s easy to test out and see if you like it. The setup is just like any other Bluetooth device. Open the Settings app, tap the Bluetooth tab and pair it. The camera app should take a photo or start a video when the remote button is pressed. This option might be handy for large, group shots in noisy environments.
What About Time-Lapse Videos?
Technically, the iPhone can take delayed videos in the form of time-lapse videos. In this case, a picture is taken every few seconds, slowing over time as the iPhone builds a collection of photos that are assembled into a video that compresses time and speeds up the action.
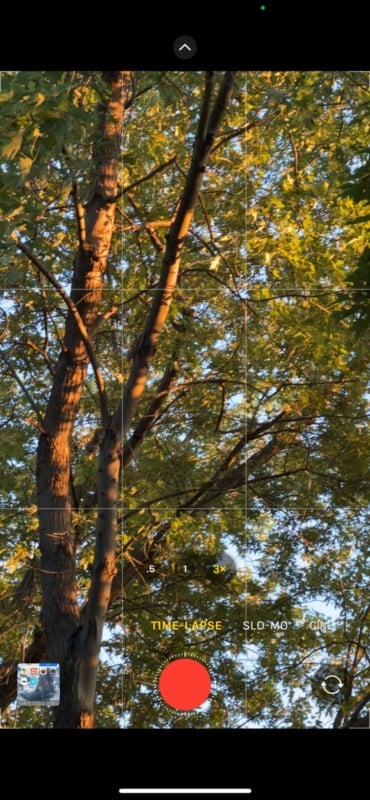
Apple’s Time-Lapse mode has virtually no controls and automatically decides how long to delay between pictures. The end result usually turns out pretty well but never exceeds 40 seconds in length and is a bit choppy. There are several third-party apps that allow creating the sort of dreamy, motion-blurred time-lapses seen in movies.
Conclusion
The iPhone includes a self-timer option that works in both Photo and Portrait mode but has a maximum delay of just ten seconds. Thankfully, there are some easy solutions available for free, or inexpensively, that open up many more possibilities and provide much greater control. There’s no reason to rush to make it into a photo any longer. The iPhone can be adjusted and accessorized to meet your need.