How to Download Photos from iCloud
With Apple’s iCloud, it’s easy to download photos from your online photo library to any device. If you own an iPhone, iPad, or Mac this can be set up to happen automatically. From a Windows computer, there are a few more steps required and the same is true for an Android phone or tablet.
Table of Contents
How to Automatically Download Photos from iCloud
The easiest way to download pictures and videos to an iPhone, iPad, or Mac computer is by using the pre-installed Photos app. In many cases, your media will simply be there on your Apple device without any effort needed at all. As Apple loves to say, “It just works.” It isn’t always that simple, however.
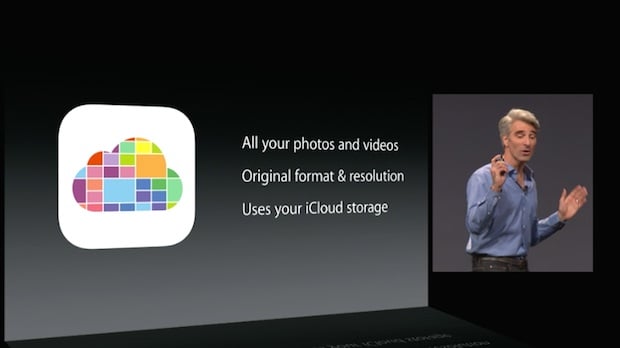
If you have iCloud Photos enabled on your iPhone, every picture and video you capture will be stored online at its full resolution with no loss of quality. You can access your media on an iPad or Mac as long as you’re signed in with the same Apple ID, which frees you from the hassle of remembering to back up or transfer files manually.
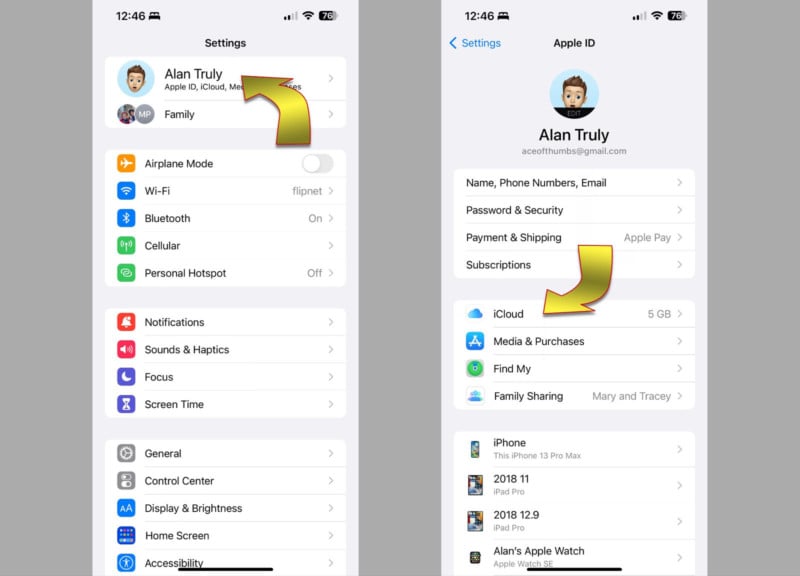
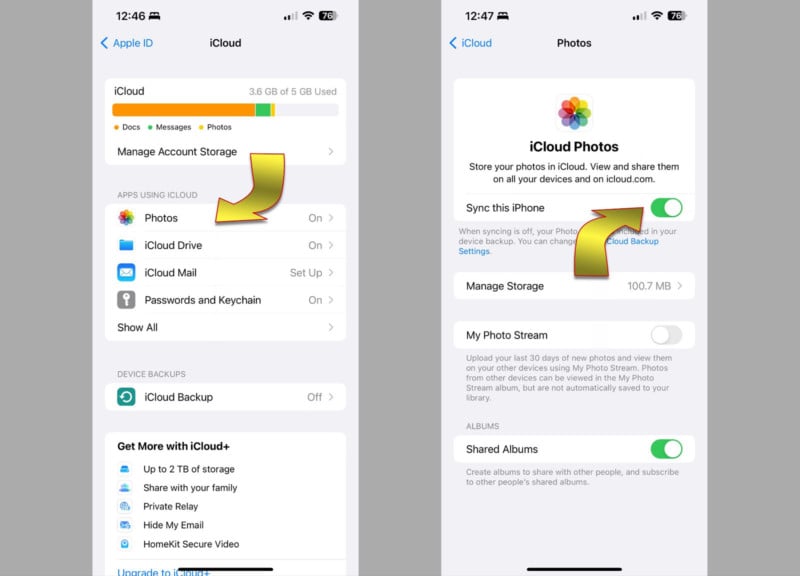
On your iPhone, open the Settings app, then find the iCloud section within your Apple account settings at the very top where your name appears.
In iOS 16, select Photos, then turn on Sync this iPhone to automatically download photos.
If your iPhone is running iOS 15, select Photos and turn on iCloud Photos to enable syncing media.
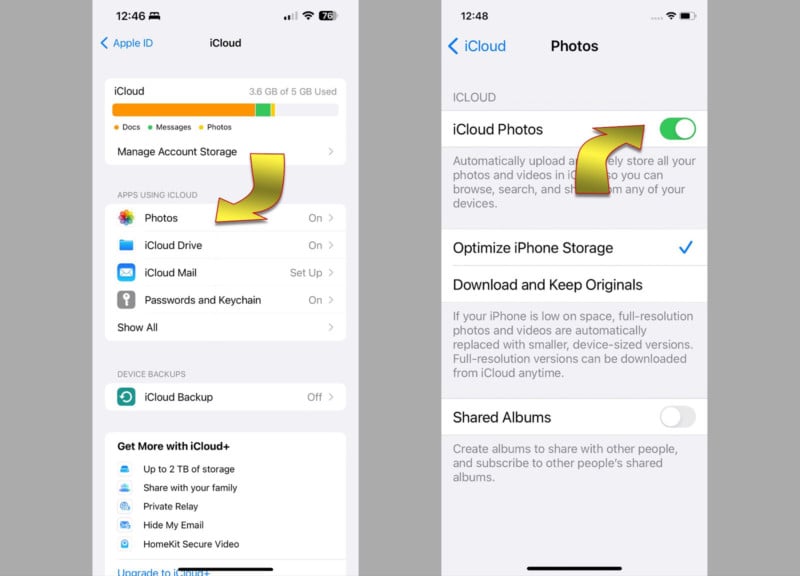
Apple provides two options for syncing and you’ll usually want to use the default setting which reduces the amount of space needed for media kept on your iPhone. This is achieved by lowering the resolution of the pictures while keeping the best quality backed up online. In iOS 15’s Settings app, touch the top section that has your name, then iCloud, and Photos to see this option, as shown above. If Optimize iPhone Storage is disabled, the large, full-quality images and videos you record with your iPhone will stay on the device even after they are backed up to iCloud. In iOS 16, this control is located in Settings / Photos.
The downside with either type of iCloud syncing is that you can fill up your online storage allotment in a hurry when recording ProRAW photos – as few as 13 pictures per gigabyte. ProRes videos are massive and you might get as little as 10 seconds of 4K ProRes per gigabyte. Even at standard quality, the five gigabytes of iCloud storage that’s provided to every Apple account for free will be consumed quickly. Afterward, you’ll need to pay for an iCloud subscription before syncing any more media.
Using Optimize iPhone Storage is a convenient way to store all of your media in iCloud while clearing space on your iPhone. When space runs low, the iPhone will automatically reduce the quality of the photos and videos on your iPhone. You’ll see a lower resolution preview in the Photos app, but when sharing, the full-quality will be used.
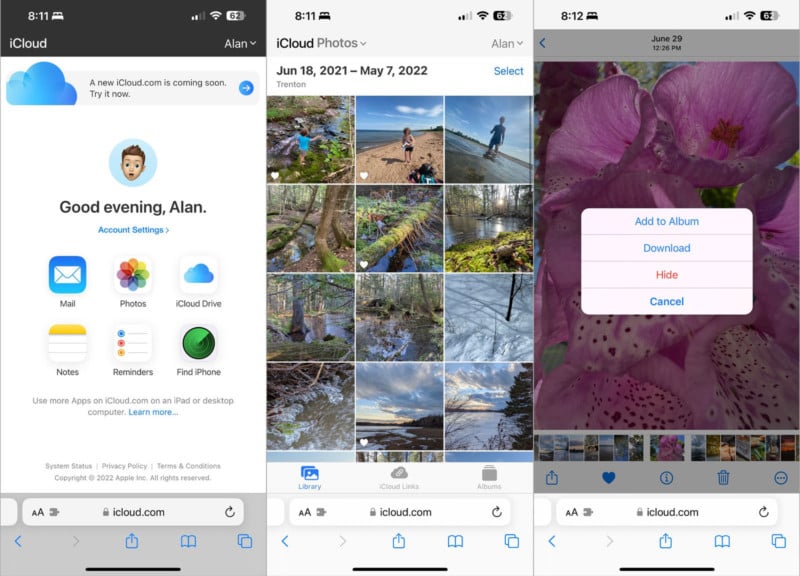
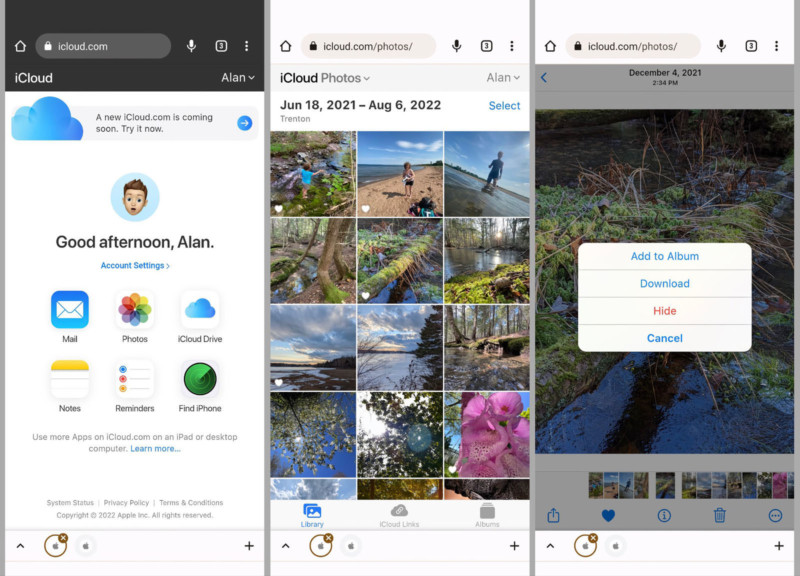
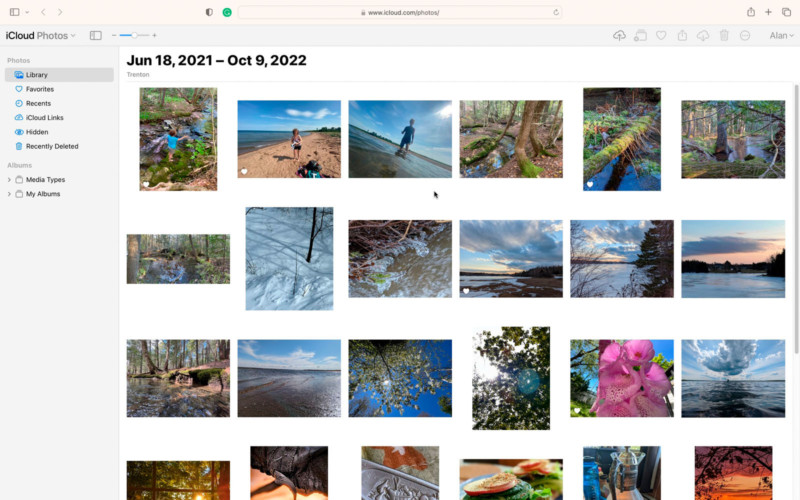
To get a full-resolution photo back on your iPhone you have to download it from iCloud.com. In the Safari browser, log into iCloud.com and select the iCloud Photos icon to see the media that you’ve uploaded. Select the picture or video you want and it will be downloaded to the Files app.
How to Manage Your iCloud and iPhone Storage Manually
To take control of your iPhone storage, you can disable the automatic sync feature and still use iCloud. It’s not as fast and friendly but you can pick and choose what gets uploaded to iCloud and downloaded to your iPhone.
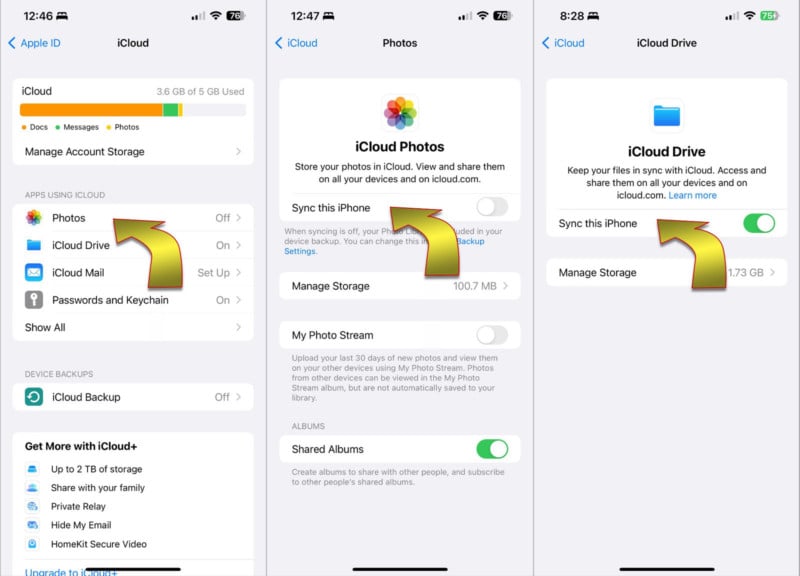
The trick is to use iCloud Drive instead of iCloud Photos. Both can handle pictures and videos but only iCloud Drive allows manual control. First, make sure that iCloud Photo syncing is disabled on your iPhone. Then switch on iCloud Drive in the Settings app by opening your Apple account, then selecting iCloud and iCloud Drive.
If you choose to manage your storage manually, the easiest way to download photos, videos, and other files from iCloud Drive is to use the built-in Files app.
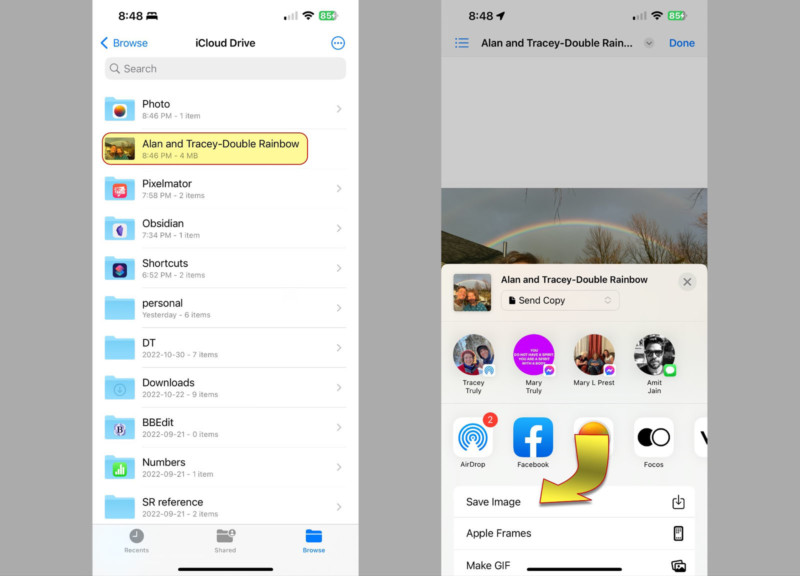
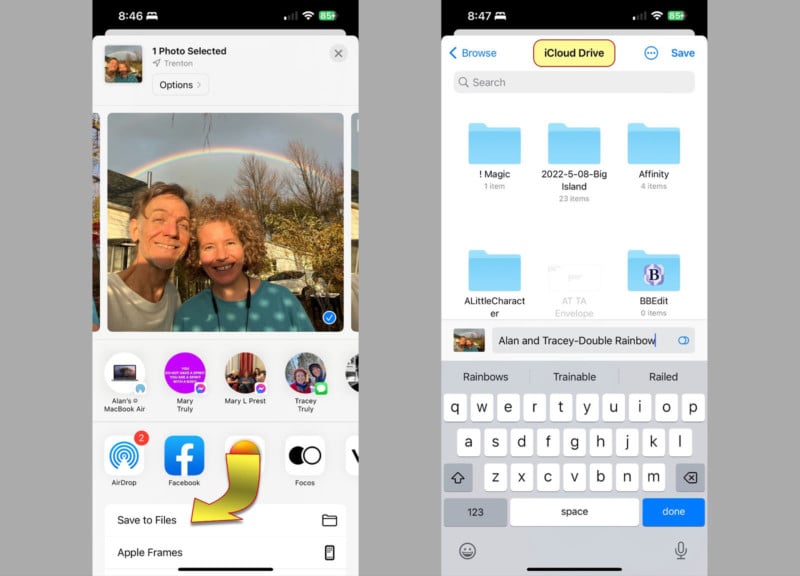
When you want to upload media, the Photos app lets you share to iCloud. Simply open the Share Sheet menu at the bottom-left and choose *Save to Files* and select iCloud Drive as the location.
How to Access iCloud from an Android Phone / Tablet
It’s not obvious but you can also use iCloud from an Android device. Simply open the Chrome browser and go to iCloud.com. After logging in, tap the iCloud Photos or iCloud Drive icon and find the photo you want.
Tap the thumbnail of the picture or video you want to download to your phone to open it in a larger view, then select the ellipsis (…) button at the bottom-right to open the more menu, then choose the download option. Any media that’s downloaded from iCloud.com is saved in the downloads folder, not Google Photos or any other image browser.
How to Download iCloud Photos using a Mac
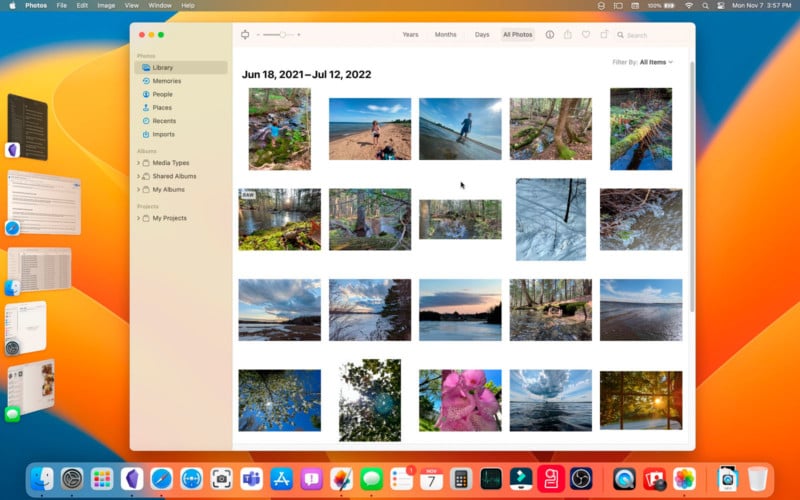
From a Mac computer or MacBook, you can use the built-in Photos app to see all of the photos and videos you have synced or uploaded to iCloud. If you’ve enabled iCloud Photos on your iPhone and iPad, you can easily use iCloud as a shared library that syncs to each of these devices. It works just like it does on your iPhone. That means downloading a photo usually isn’t necessary.
If you’re using the option to Optimize Mac Storage, you’ll have a smaller, lower-resolution version saved on your Mac while the original is safely stored on iCloud. If you need the original, it can be downloaded from a browser by logging into iCloud.com.
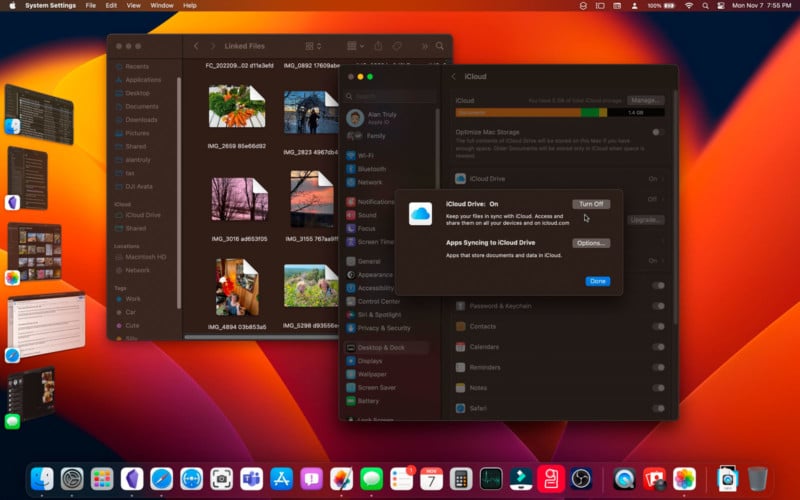
If you have pictures stored on iCloud Drive, those can be accessed with the Finder. Look for iCloud in the sidebar to the left of any Finder window. If you don’t see that option, you probably need to enable it in System Preferences (System Settings for macOS Ventura). The switch is in the Apple ID section.
How to Download iCloud Pictures to a Windows PC
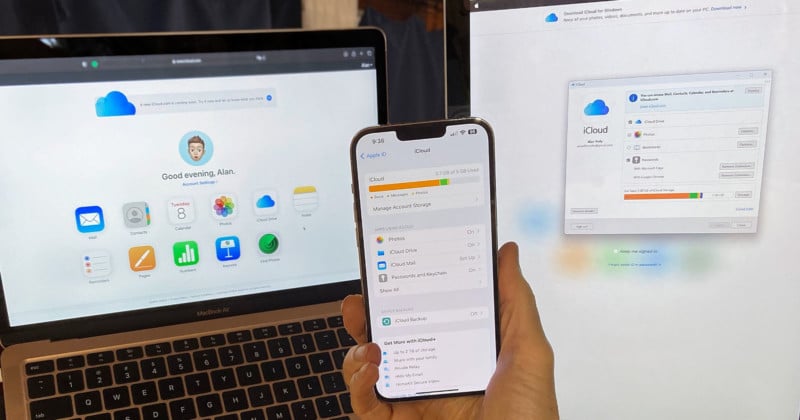
Apple makes an iCloud app for Windows and in some ways, it’s more convenient than iCloud for the Mac. While iCloud Photos appear only in the Mac’s Photos app, both iCloud Drive and iCloud Photos will appear in the Windows File Explorer.

Open any photo from the File Explorer or the Photos app to download the original. Windows doesn’t have an option for optimized storage to sync a low-resolution version of media, so a full download is needed to make changes or view a picture or video from a Windows app. Your iCloud Photos library will also be shown in Microsoft’s Photos app.

It’s also possible to use iCloud.com from Microsoft Edge or other browsers. Just log into iCloud.com and click a picture then select download from the more menu at the bottom-right.
Conclusion
Apple delivers on its promise of tight integration with iCloud Photos. Automatic sync takes all of the hassle out of backing up and accessing media from an iPhone, Mac, and even a Windows PC.
That may or may not align with the way you’d like to manage your media library. Rather than upload every picture and video in original quality, it might make more sense to handle those decisions on a case-by-case basis. You can upload to and download from iCloud as needed if you enable iCloud Drive and disable iCloud Photos.
This can dramatically reduce your iCloud subscription cost but means that you have to use iCloud Drive which is designed for files, not pictures, and lacks the convenient image recognition and search features of iCloud Photos. Unless the iCloud bill gets too high, enabling iCloud Photos is the best answer, making uploads and downloads happen automatically.