How to Take Graduation Photos
Graduation portrait photography is an opportunity to develop your portrait skills, make photos that your client will treasure, and have fun. There are important logistics to keep in mind for a smooth and well-executed graduation portrait shoot, and this guide will help prepare you.
Table of Contents
Get to Know the Locations
Similar to other forms of portrait photography, there are quite a few behind-the-scenes details to work out before you arrive at your graduation shoot.
Start by getting in contact with your client. Have an idea of whether you’d prefer to stay on school grounds, go somewhere nearby, or do both. You may want to offer location options, where more than one location might cost more and take more time.
If you’re planning at least part of the shoot on campus, make sure to visit if you are unfamiliar with it. An internet search will give you a good idea of where to start looking for the nicest spots on campus, but talking to students and/or faculty is another quick and easy way to learn. Your client might have a few spots in mind, but it’s good to have at least a few to pick from yourself. This will help you have a good sense of direction during the shoot.
Tip: Walk around the campus and drop virtual pins on a mapping app for where you’d like to photograph your subject. You can store and review these for when you’re getting ready for the shoot.
Make sure you know where to meet your client, and research parking beforehand. Schools are often limited in visitor parking, so make sure you and your client have a plan.
Learn the Attire for Graduations
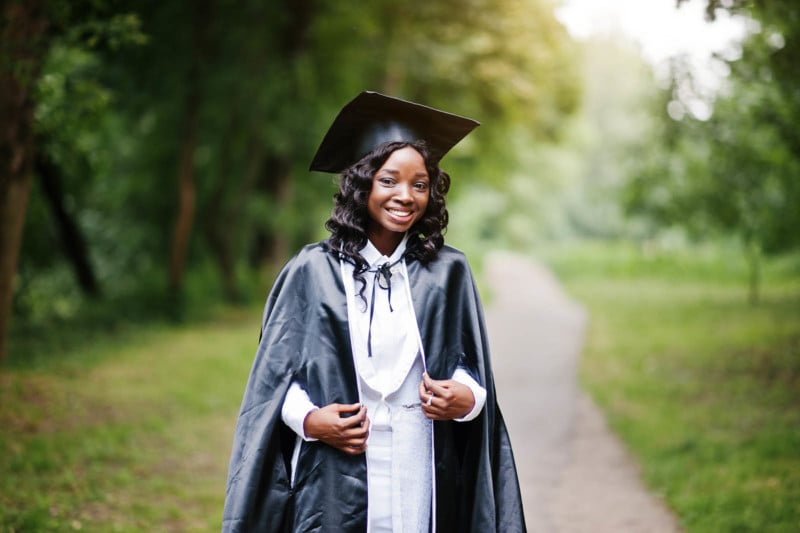
It’s important to learn what attire you’ll be working with so that you can make sure everything is in order. If your shoot is before the ceremony, chances are good your graduate will want some guidance. Here’s a summary of each common part of the graduation outfit.
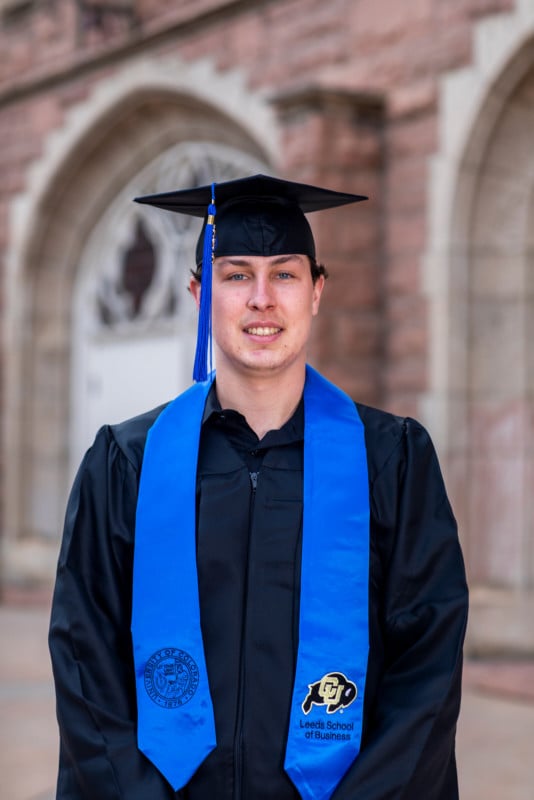
Cap and Tassel
The cap is pretty straightforward. The back of the cap will be slightly “deeper” than the front, and the cap just goes on like a normal hat once the direction is correct. The pointed end of the cap should stick straight out in front of the graduate in a diamond shape. The top of the cap should be parallel to the ground.
The tassel is attached at the top of the cap under a button. The tassel is normally situated on the front right side of the cap before the graduation ceremony, and on the front left side of the cap after the graduation ceremony.
Gown
The gown is also straightforward. Most gowns can zip, so you might want to take some photographs with them zipped and unzipped.
Stole
This is a sash that is worn around the neck during graduation. It’s easy to put on, and as the photographer, make sure the two ends are even throughout the shoot. Some will have an emblem or logo, so make sure you can see that in your photographs.
Cords
These are very similar to the stole above; they drape around the neck and hang at the graduate’s sides. Make sure they’re even.
Come Up With a Plan
This process is slightly more involved than it might be for other types of portraits. Start by emailing or calling, and if you’re comfortable with it, share your cell phone number to either text or call on the day of the shoot.
First of all, figure out your shoot location(s). Work with your client to see what they would like, and keep in mind that most graduation portraits are done at least partially on the graduate’s campus. Remember that most campuses are quite busy during the week, so you might want to plan a Friday, Saturday, or Sunday evening shoot.
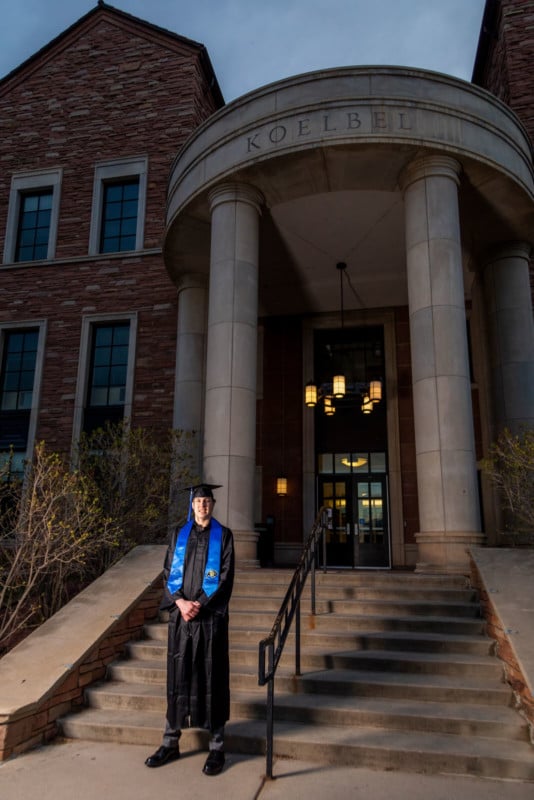
Pick a time when the light won’t be too harsh, generally an hour or so before sunset. Consider using a photo planning app such as PhotoPills or The Photographer’s Ephemeris to confirm ideal light timing for your location(s).
Talk to your client about what they’re going to wear. Make sure they know to wear nice clothes under their gown, so that you can do a few shots without the gown. If possible, have them take all of their graduation attire out of its packaging and get any wrinkles out before the shoot (this includes the cap and stole).
Ask what your graduate’s plans for the future are. They might want a few shots in their future school or employer’s attire, which is an easy way to add variety to the shoot.
It’s a good idea to remind and confirm with your client a day or two before the shoot. Double-check with them to see if they have any questions.
Equipment You Will Need
The nice thing about graduation portraits is that they don’t require much specialized camera gear, but here are a few recommendations for you to consider.
Camera
The ideal camera for this kind of photography is a DSLR or mirrorless camera that allows you to change lenses. However, just about any camera that allows you to control settings (especially aperture, read below) will do.
Lenses
Portrait lenses typically have a wide maximum aperture. For portraits of an individual, the ideal lens will stop to somewhere around f/2.8 and wider, allowing for a blurry background and nice bokeh. A great, usually inexpensive option is a 50mm f/1.8 prime lens, which won’t zoom but will be sharp and produce a nice bokeh. Other great options include 85mm prime, 105mm prime, and 70-200mm zoom lenses. You probably don’t need to bring more than two lenses to your shoot – a good set of two lenses will give you a range of focal lengths (e.g. a 50mm and a 105mm). Some photographers just bring one prime lens to their portrait shoots.
Lighting
Consider bringing a reflector if it will be bright outside. If you have someone to hold it, it can be very useful in aiming light toward your subject and illuminating them in a moderate, but noticeable way. Make sure you know how your reflector works before you’re working with your client.
If you have experience with off-camera flash, this can also add a nice “pop” to your portraits. While it isn’t necessary, flash, when used properly with some type of diffusion, can bring more attention to your subject and help you create even more beautiful portraits. However, it’s most important to be attentive to your subject and the location, so if in doubt, you can always make beautiful portraits without any additional lighting.
Miscellaneous
Your client will likely want a few portraits without their cap on, so it’s a good idea to bring a comb or brush to fix messy hair. You can bring a mirror as well, but using a phone camera in “selfie” mode works just fine, too.
If you want to get creative with props, you can talk with your client about what they’d like. Some examples of props for graduation portraits might be fun school attire, “champagne” (carbonated apple juice works just as well, and will be much less likely to break the law depending on where you are), and banners.
General Tips for Shooting the Photos
Now that your client is adorned in their wrinkle-free, perfectly situated graduation outfit, what’s next? This is the most fun part – get creative!
If your client wants suggestions, take them to one of the spots you scouted out first. Make sure to do shots that are standing, sitting, leaning, and everything in between. Use a wide aperture (something like f/2.8 and wider is a general starting point for an individual) for a nice blurry
background. After each location, it’s a good idea to show your client at least a few of the shots and see what they like. This is a good way to practice communication with your client during the shoot.
When your client is sitting, try not to have their torso pointed straight toward you. Angle them away slightly, and ask if they have a side they prefer to be shown in pictures. Don’t always have them just sit and smile – do some candid shots if you can.
Along with variations in poses, vary your subject’s size in your images. Get some shots from the shoulders up, some full-body shots, and everything in between.
Also, vary your client’s attire. Have them do some shots with all of their graduation wardrobe, but then do some with just the cap and tassel, some with just their nice clothes, and whatever else they’d like.

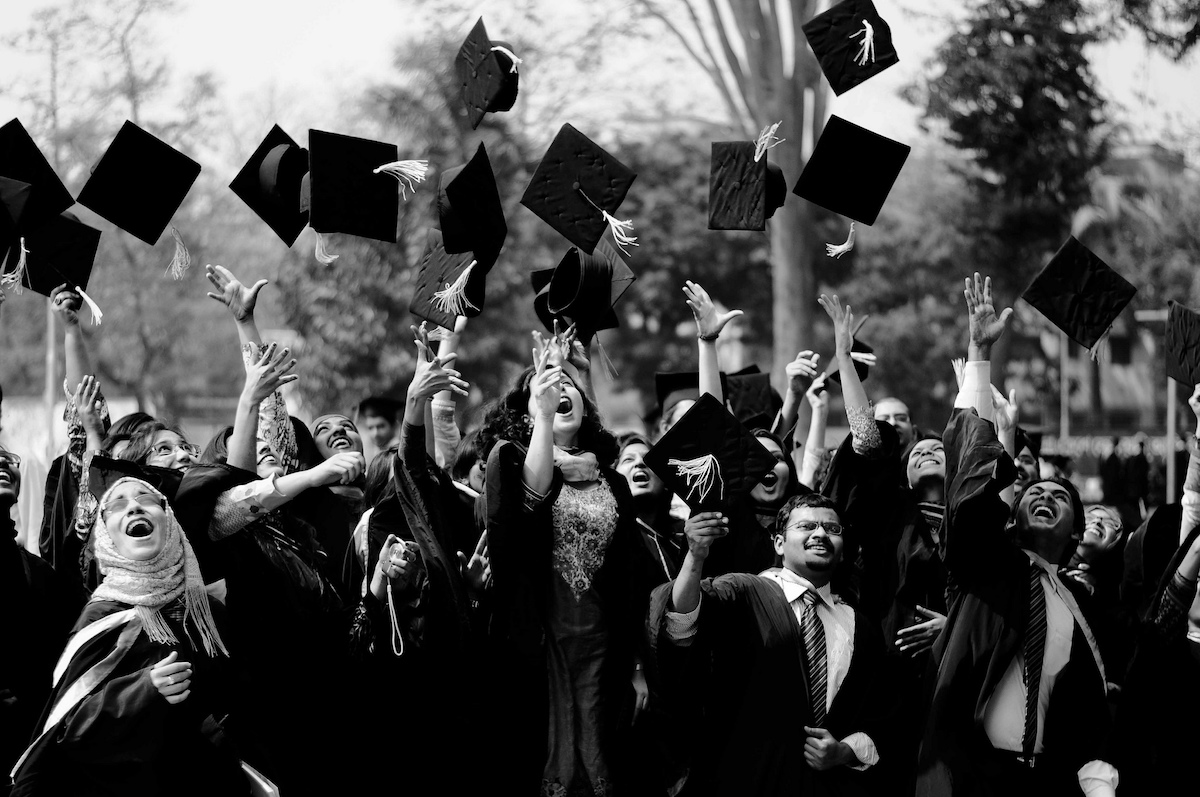
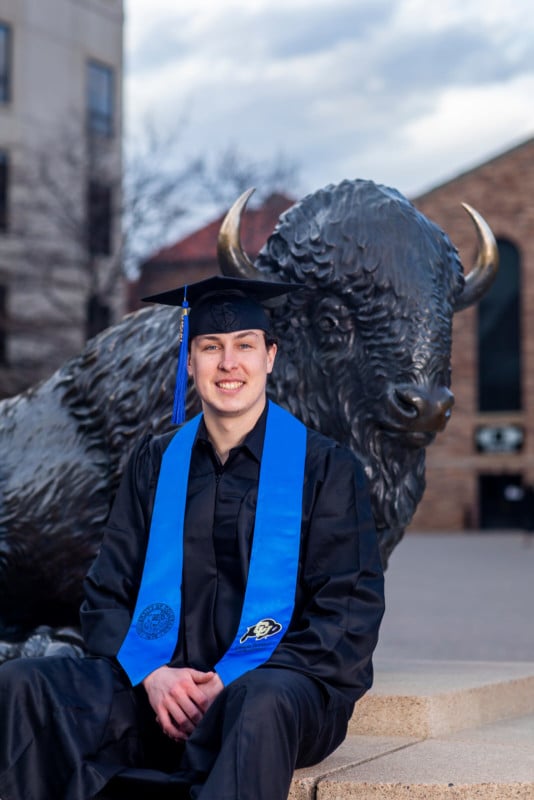
Have some fun with it. Incorporate motion, such as having your client toss their cap into the air (be sure to use a fast shutter speed to freeze the cap in the air). Find some “funnier” locations, such as statues or other landmarks around wherever you’re shooting. If the school has a mascot, challenge yourself to incorporate that somehow.
Finally, consider offering group graduation shoots. This is efficient for you as a photographer, and people (especially students) tend to lighten up around their friends. Groups provide great candid opportunities for fun and genuine shots.
Conclusion
Graduation portraits require careful planning but are ultimately rewarding and lighthearted. Make sure to keep in close touch with your client and clarify as much as you can before the shoot. Above everything else, have fun with it and keep an open, positive mind. You have the opportunity to capture one of the happiest times in someone’s life, so make the experience joyful for everyone involved. Now that you’ve graduated from this article, you should get some graduation portraits done for yourself!
Image credits: Stock photo licensed from Depositphotos